My partner took one bite of these fresh bread and butter refrigerator pickles and paused mid-chew, eyes widening just so, before quietly reaching for the jar again. Honestly, I wasn’t expecting much—the last batch of pickles I made was fine but forgettable. But this time, with the gentle warmth of turmeric and the subtle crunch of celery seed, something just clicked. The tangy sweetness, the crisp snap of cucumber, and that unexpected golden hue made these pickles stand out from anything we’d tried before. It was a moment where the snack truly spoke for itself, no fanfare needed.
The scent of freshly sliced cucumbers mingled with the earthy aroma of turmeric as I prepped the batch, but witnessing that quiet, almost reverent return to the jar made me realize this recipe wasn’t just another condiment—it was a keeper. I’ve since found myself reaching for it alongside everything from a simple sandwich to the crispy pan-seared chicken thighs I love making on busy weeknights. These pickles bring a fresh, tangy punch that’s both nostalgic and new at the same time.
What really surprised me was how straightforward the recipe is—no complicated canning or long waits. Just fresh ingredients, a little patience, and in a couple of days, you have that perfect balance of sweet, sour, and spice right in your fridge. It’s all the charm of homemade pickles without the fuss. I guess sometimes the best food stories start quietly, with a simple crunch and a second helping.
So, if you’re looking for a fresh, easy way to brighten up your meals and add a little unexpected warmth, these fresh bread and butter refrigerator pickles with turmeric and celery seed might just be the recipe you didn’t know you needed. They certainly became a staple in my kitchen, and I’m betting they’ll find a cozy spot in yours too.
Why You’ll Love This Fresh Bread and Butter Refrigerator Pickles Recipe
After testing this recipe multiple times, I can say these pickles have earned their spot in my fridge—and hopefully yours soon. They’re not your run-of-the-mill bread and butter pickles; the turmeric adds a subtle earthy warmth, and the celery seed gives a distinct, crunchy bite that keeps you coming back for more. Here’s what makes this recipe stand out:
- Quick & Easy: Ready to enjoy in just 48 hours, perfect for those last-minute cravings or when you want homemade pickles without the long wait.
- Simple Ingredients: No need for specialty stores—cucumbers, vinegar, sugar, turmeric, and celery seed are all pantry-friendly staples.
- Perfect for Snacking & Meals: These pickles pair beautifully with sandwiches, burgers, or even alongside a fresh, summery salad like the fresh grilled peach caprese salad.
- Crowd-Pleaser: The sweet and tangy flavor profile appeals to both kids and adults—plus, the vibrant color makes them a great addition to any snack platter.
- Unbelievably Delicious: The balance between the sharp acidity and mellow sweetness, with the hint of spice from turmeric, creates a comforting yet lively bite.
What separates this recipe from others is the special touch of turmeric and celery seed—a small addition that transforms your regular bread and butter pickles into something memorable. It’s that little spice twist that’s like a secret handshake among pickle lovers. I also love that this refrigerator pickle method means no hot water baths or complex preservation steps—just fridge magic.
Whether you’re aiming for a quick pickle fix to complement your weeknight dinner or want a delicious homemade gift for a friend, these pickles fit the bill. They bring that fresh crunch and tang with a hint of warmth that makes your taste buds sit up and pay attention. Honestly, I’m pretty sure these pickles will be the first thing guests reach for at your next get-together.
Ingredients Needed for Fresh Bread and Butter Refrigerator Pickles
This recipe calls for straightforward, wholesome ingredients that come together to create a perfect balance of flavor and texture without any fuss. Most of these are staples, so you might already have them ready to go in your kitchen.
- Cucumbers: 4 medium Kirby cucumbers, thinly sliced (these are ideal for pickling due to their firm texture and small seeds)
- Onion: 1 medium yellow onion, thinly sliced (adds a mild sharpness and sweetness)
- White Vinegar: 1 ½ cups (360 ml) – I prefer a clean-tasting brand like Heinz for balanced acidity
- Water: 1 ½ cups (360 ml)
- Granulated Sugar: ¾ cup (150 grams) – balances the vinegar’s tang; feel free to reduce slightly if you prefer less sweet
- Salt: 1 tablespoon kosher salt (Diamond Crystal is my go-to for pickling)
- Ground Turmeric: 1 teaspoon (this gives the pickles a warm color and a subtle earthiness)
- Celery Seed: 1 teaspoon (adds a crunchy, slightly bitter note that complements the sweetness)
- Mustard Seeds: 1 teaspoon (optional, for a little extra zing)
- Garlic Cloves: 2 cloves, peeled and smashed (adds depth and aroma)
- Red Pepper Flakes: ¼ teaspoon (optional, for a touch of heat)
When selecting cucumbers, I always look for firm ones without blemishes, as they make the crunchiest pickles. If you want to switch things up, English cucumbers work too but may be a bit less crunchy. For a gluten-free version, all these ingredients are naturally safe, but always double-check your vinegar brand for cross-contamination if that’s a concern.
If fresh turmeric root is available, feel free to swap the ground turmeric with about 1 tablespoon of finely grated fresh turmeric for an even brighter flavor. Just be cautious—it can stain your hands and surfaces easily!
Equipment Needed
Making these fresh bread and butter refrigerator pickles doesn’t require fancy tools, but having the right equipment can make the process smoother and more enjoyable.
- Sharp Knife or Mandoline: For slicing the cucumbers and onions evenly. A mandoline is my favorite for consistent thin slices, but a sharp knife works perfectly well if used carefully.
- Mixing Bowl: To combine the cucumbers, onions, and spices before packing into jars.
- Measuring Cups and Spoons: For precise vinegar, water, sugar, and spice measurements.
- Large Saucepan: To heat the pickling liquid and dissolve the sugar and salt.
- Glass Jars or Airtight Containers: Clean pint-sized jars or containers for storing the pickles in the fridge. Mason jars are ideal, but any clean, sealable container works.
- Cutting Board: A sturdy surface for prep.
For budget-friendly kitchens, a basic knife and a medium saucepan are all you really need. If you use a mandoline, be sure to keep your fingers safe with the guard. I’ve found that using glass jars is the best bet because they don’t retain odors and are easy to clean, but plastic containers will do in a pinch.
Preparation Method
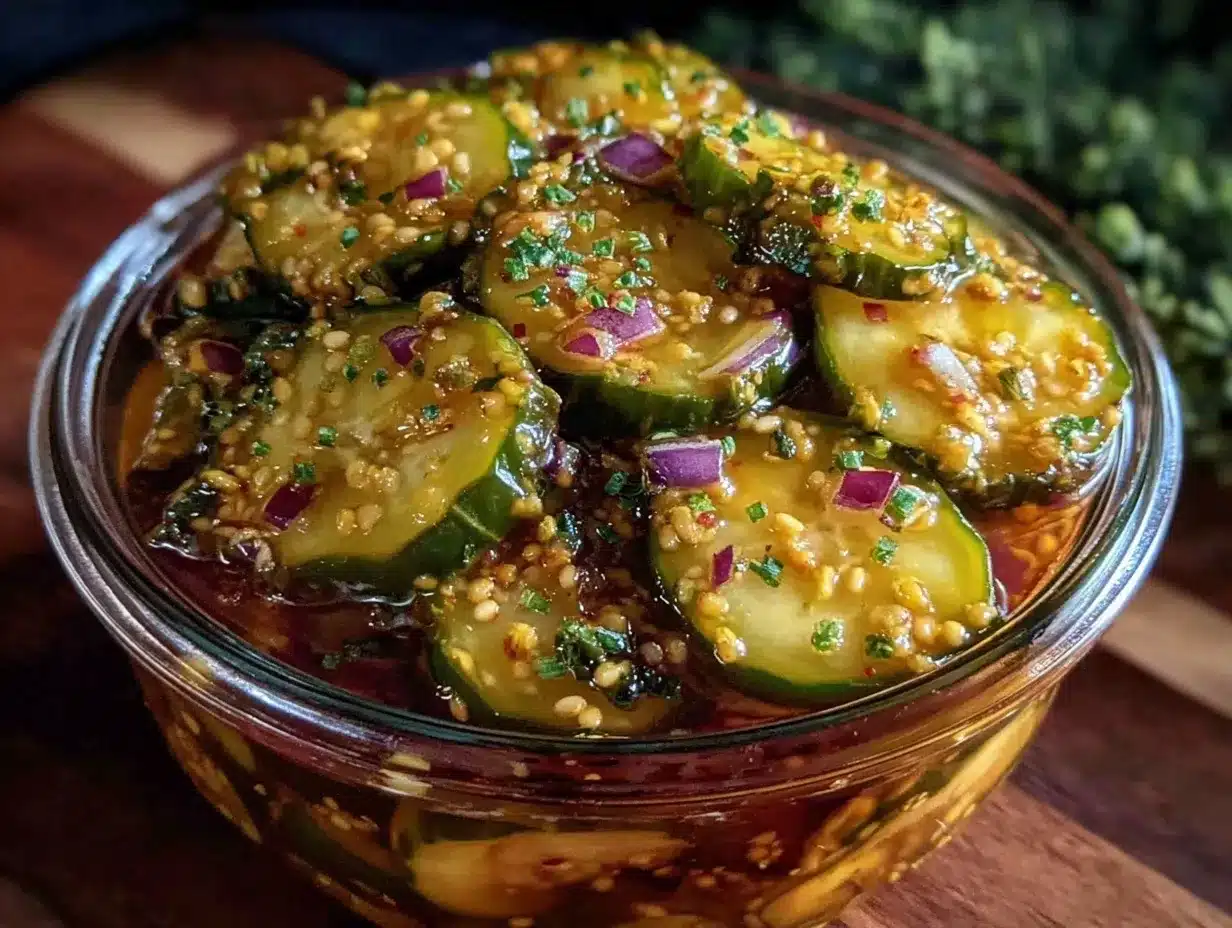
- Slice the Veggies: Thinly slice 4 medium Kirby cucumbers and 1 medium yellow onion. Aim for uniform slices about 1/8 inch thick for even pickling. This step usually takes about 10 minutes.
- Combine Dry Spices and Aromatics: In a large mixing bowl, add 1 teaspoon ground turmeric, 1 teaspoon celery seed, 1 teaspoon mustard seeds (optional), 2 smashed garlic cloves, and ¼ teaspoon red pepper flakes (optional). Toss to mix the spices evenly.
- Add Cucumbers and Onions: Immediately add the sliced cucumbers and onions to the bowl with the spices. Toss everything together until the veggies are fully coated. This helps the flavors start melding early.
- Prepare the Pickling Liquid: In a medium saucepan, combine 1 ½ cups white vinegar, 1 ½ cups water, ¾ cup granulated sugar, and 1 tablespoon kosher salt. Bring the mixture to a gentle boil over medium heat, stirring occasionally to dissolve the sugar and salt completely. This takes about 5 minutes.
- Pour Hot Brine Over Veggies: Carefully pour the hot pickling liquid over the cucumber and onion mixture. Stir gently to combine, making sure the veggies are submerged.
- Pack Into Jars: Using a slotted spoon, transfer the pickles into clean glass jars or airtight containers. Pour the remaining liquid over the top to cover the veggies completely. Leave about ½ inch of headspace.
- Cool and Refrigerate: Let the jars cool to room temperature (about 30 minutes), then seal tightly and place in the refrigerator.
- Wait and Taste: The pickles are best after at least 48 hours in the fridge, giving the flavors time to develop. They stay fresh for up to 2 weeks refrigerated.
Pro tip: If your cucumbers seem watery, sprinkle them lightly with salt and let them sit 15 minutes before rinsing and pickling to improve crunch. Also, avoid overcrowding jars to ensure even flavor distribution.
Cooking Tips & Techniques for Perfect Refrigerator Pickles
Making refrigerator pickles feels simple, but a few tricks can turn your batch from good to truly crave-worthy. Here’s what I’ve learned after a few kitchen experiments:
- Keep Slices Uniform: Evenly thin slices ensure the cucumbers pickle at the same rate and give you a consistent crunch. My mandoline slicer has saved me from uneven slices more than once.
- Don’t Skip the Salt Soak: If your cucumbers feel a bit limp or watery, a short salt soak before pickling firms them up. It’s a tiny extra step that pays off.
- Use Fresh Spices: Celery seed and mustard seeds lose potency over time. Fresh spices amplify flavor and aroma—try to buy smaller quantities and replace them regularly.
- Hot Brine Is Key: Pouring hot brine over the veggies helps dissolve the sugar and salt and jumpstarts the pickling process. Just don’t boil the cucumbers themselves, or they’ll get mushy.
- Storage Matters: Always refrigerate these pickles after preparation. Since they’re not canned, keeping them cold prevents spoilage and keeps that crisp texture.
Once, I forgot the red pepper flakes, and the pickles were noticeably milder. It’s small details like that which shape the final flavor. Also, when I tried making a larger batch in a wide-mouth jar, I found the pickles didn’t flavor as evenly — smaller jars are easier for quick, consistent results.
Timing is everything: grab a jar to snack on after 48 hours, but letting them sit a day longer deepens the flavor nicely. Multitasking tip: prep your pickles while simmering a batch of dump-and-bake Tuscan chicken pasta for a no-fuss dinner pairing.
Variations & Adaptations
You can easily tweak this fresh bread and butter refrigerator pickles recipe to suit different diets, seasons, or flavor preferences. Here are some ideas I’ve tried or recommend:
- Spicy Kick: Increase the red pepper flakes to ½ teaspoon or add a sliced jalapeño for pickles with a fiery punch.
- Low-Sugar Option: Cut the sugar in half and substitute with a tablespoon of honey or maple syrup for a natural sweetness and slightly different flavor nuance.
- Herb-Infused: Add fresh dill sprigs or a few thyme stems to the jars for an herbal twist that pairs well with the celery seed.
- Vinegar Swap: Use apple cider vinegar instead of white vinegar for a fruitier, milder tang.
- Seasonal Twist: In late summer, try adding sliced fresh peaches or heirloom tomatoes alongside the cucumbers for a sweet-savory combo akin to the Southern-style heirloom tomato pie I love.
For gluten-free or vegan diets, this recipe fits right in as is, and the substitutions mentioned keep it inclusive. I once made a batch using coconut sugar and it added a nice mellow depth, though the color was darker.
Serving & Storage Suggestions
These fresh bread and butter refrigerator pickles are best served cold, straight from the fridge, where their crisp texture shines. They’re fantastic alongside sandwiches, burgers, or as a zesty side to grilled dishes.
Try pairing them with rich mains like the lemon butter chicken thighs or a creamy grain bowl to cut through the richness. They also make an inviting addition to snack platters or picnic spreads.
Store the pickles in airtight glass jars in the refrigerator, and they’ll stay fresh for up to two weeks. Over time, the flavors deepen, and the turmeric’s golden color becomes even more vibrant. When reheating meals that include these pickles, keep them separate until serving to preserve their crunch.
Nutritional Information & Benefits
These fresh bread and butter refrigerator pickles are low in calories (about 15-20 calories per 2-tablespoon serving), with minimal fat and carbs mostly coming from the cucumbers and sugar. The turmeric adds a boost of antioxidants and anti-inflammatory compounds, while celery seed contributes trace minerals and a touch of fiber.
This recipe is naturally gluten-free, vegan, and free from artificial preservatives. The vinegar and salt act as natural preservatives, making them a lighter alternative to store-bought pickles packed with additives.
From my health-conscious perspective, these pickles are a flavorful way to enjoy crunchy vegetables and bring beneficial spices into your diet without extra calories or chemicals.
Conclusion
Fresh bread and butter refrigerator pickles with turmeric and celery seed bring a fresh, tangy crunch with a little warm spice twist that made them an instant favorite in my kitchen. The simplicity of the ingredients and the quick turnaround time make them an easy recipe to try, even if you’re new to pickling.
Make it your own by adjusting sweetness or spice levels, or adding fresh herbs for personalized flair. I love how these pickles bring a little unexpected sunshine to everyday meals and snacks.
If you give this recipe a go, I’d love to hear how you customize it or what dishes you pair them with—drop a comment below and share your experience! There’s something special about homemade pickles that just can’t be beat.
Here’s to crunchy, bright bites that make your fridge a little happier.
Frequently Asked Questions About Fresh Bread and Butter Refrigerator Pickles
How long do these refrigerator pickles last?
They keep well in the fridge for up to two weeks. After that, the texture may soften, but they’re usually still good for snacking.
Can I use regular cucumbers instead of Kirby cucumbers?
Yes, but Kirby cucumbers are preferred because they stay firmer and crunchier. English cucumbers can work but may be softer after pickling.
Do I need to can these pickles for long-term storage?
No, these are quick refrigerator pickles designed to be stored in the fridge and enjoyed fresh within a couple of weeks—no canning required.
What if I don’t have celery seed or turmeric on hand?
You can omit them, but they add a signature flavor and color. Mustard seeds or dill can be used for a different flavor profile.
Can I make this recipe vegan and gluten-free?
Absolutely! The recipe is naturally vegan and gluten-free as long as you use gluten-free vinegar brands and sugar.
Pin This Recipe!
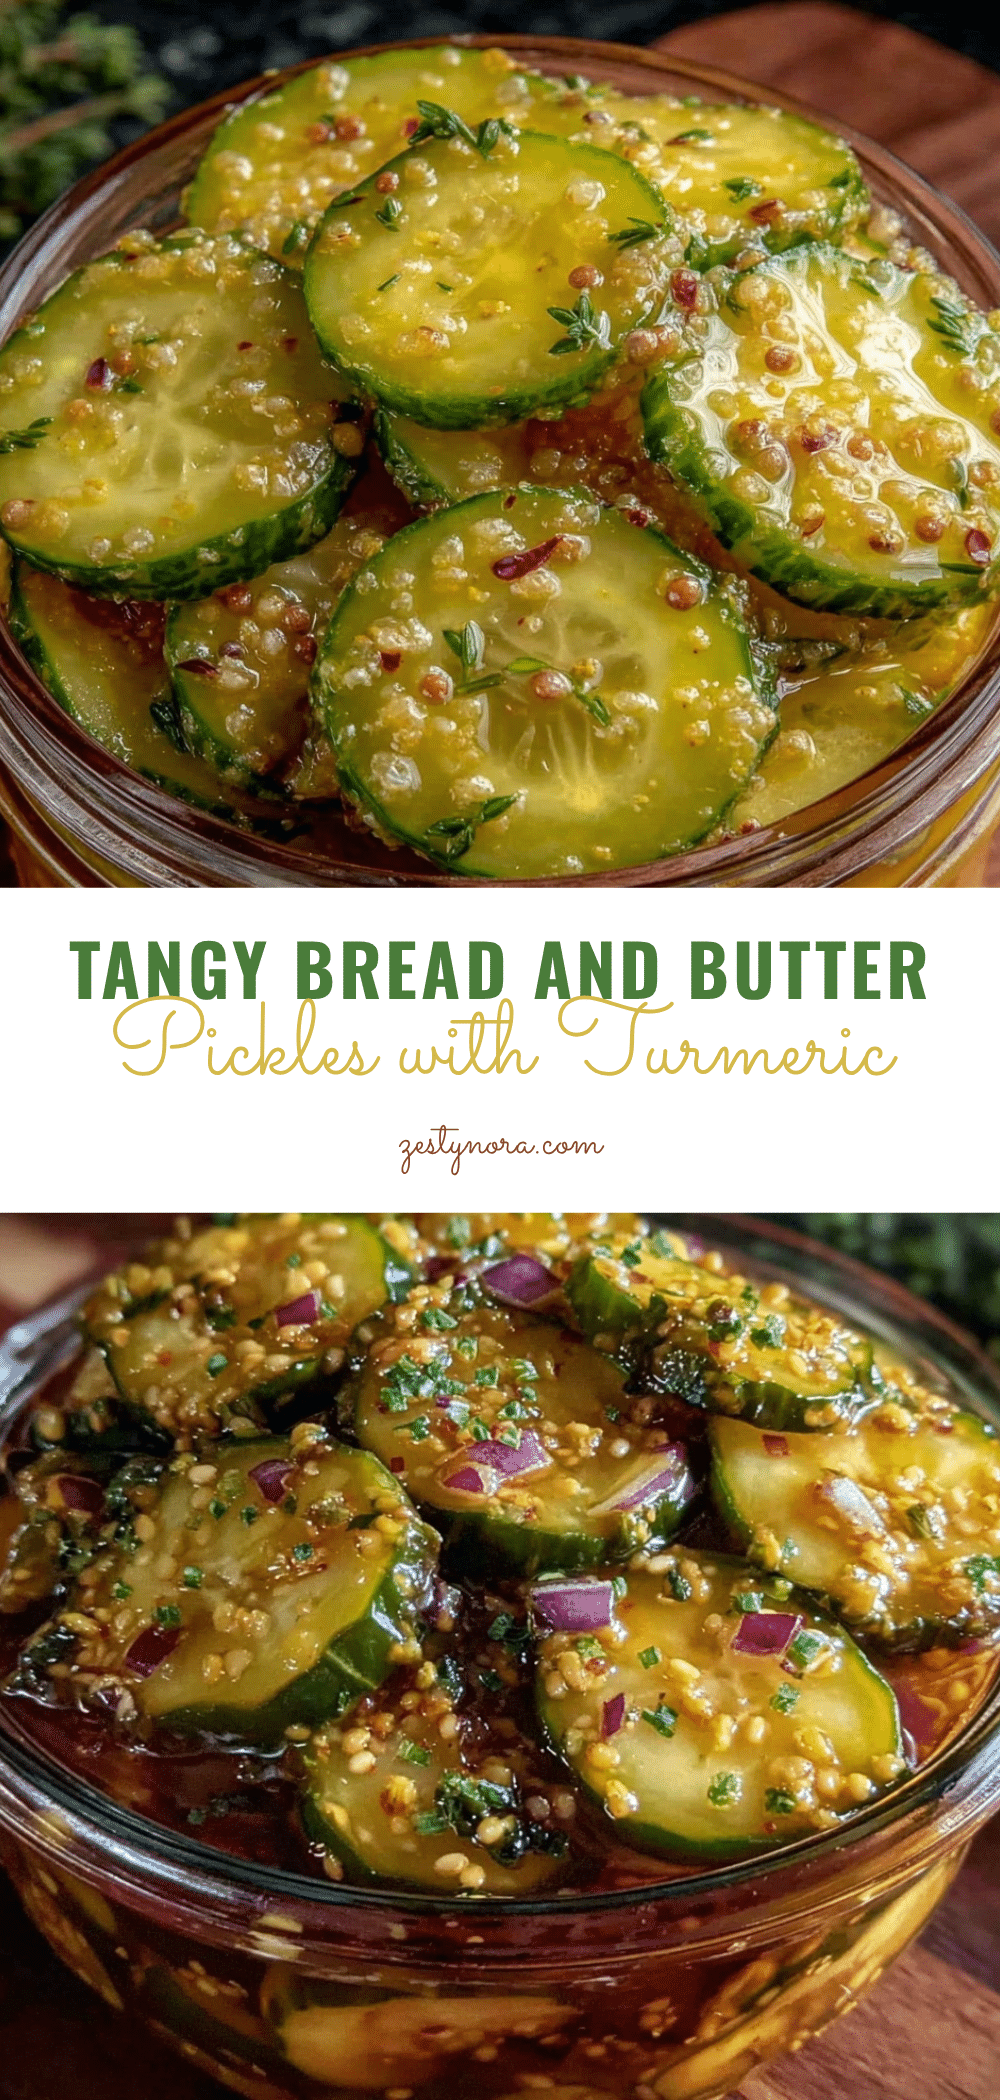
Fresh Bread and Butter Refrigerator Pickles Recipe Easy Homemade Turmeric Celery Seed Pickles
These fresh bread and butter refrigerator pickles feature a tangy sweetness with a subtle warmth from turmeric and a crunchy bite from celery seed. Ready in just 48 hours, they are perfect for snacking or pairing with meals.
- Prep Time: 15 minutes
- Cook Time: 5 minutes
- Total Time: 2 days 20 minutes
- Yield: About 4 cups of pickles (approximately 4 servings) 1x
- Category: Condiment
- Cuisine: American
Ingredients
- 4 medium Kirby cucumbers, thinly sliced
- 1 medium yellow onion, thinly sliced
- 1 ½ cups white vinegar
- 1 ½ cups water
- ¾ cup granulated sugar
- 1 tablespoon kosher salt
- 1 teaspoon ground turmeric
- 1 teaspoon celery seed
- 1 teaspoon mustard seeds (optional)
- 2 garlic cloves, peeled and smashed
- ¼ teaspoon red pepper flakes (optional)
Instructions
- Thinly slice 4 medium Kirby cucumbers and 1 medium yellow onion to about 1/8 inch thickness.
- In a large mixing bowl, combine 1 teaspoon ground turmeric, 1 teaspoon celery seed, 1 teaspoon mustard seeds (optional), 2 smashed garlic cloves, and ¼ teaspoon red pepper flakes (optional). Mix evenly.
- Add the sliced cucumbers and onions to the bowl with the spices and toss to coat the veggies thoroughly.
- In a medium saucepan, combine 1 ½ cups white vinegar, 1 ½ cups water, ¾ cup granulated sugar, and 1 tablespoon kosher salt. Heat over medium heat until the sugar and salt dissolve and the mixture gently boils, about 5 minutes.
- Pour the hot pickling liquid over the cucumber and onion mixture. Stir gently to combine and ensure the veggies are submerged.
- Using a slotted spoon, transfer the pickles into clean glass jars or airtight containers. Pour the remaining liquid over the top, leaving about ½ inch headspace.
- Let the jars cool to room temperature (about 30 minutes), then seal tightly and refrigerate.
- Allow the pickles to develop flavor for at least 48 hours before eating. They stay fresh for up to 2 weeks refrigerated.
Notes
For crunchier pickles, soak cucumber slices in salt for 15 minutes before rinsing and pickling. Use uniform thin slices for even pickling. Fresh spices yield better flavor. Store pickles in the refrigerator and consume within two weeks. Optional ingredients like mustard seeds and red pepper flakes can be adjusted for flavor. Fresh turmeric root can substitute ground turmeric but may stain.
Nutrition
- Serving Size: 2 tablespoons
- Calories: 15
- Sugar: 3.5
- Sodium: 460
- Carbohydrates: 4
- Fiber: 0.3
- Protein: 0.2
Keywords: bread and butter pickles, refrigerator pickles, turmeric pickles, celery seed pickles, easy pickles, homemade pickles, quick pickles, vegan pickles, gluten-free pickles


