For a while, I just accepted that quick pickles wouldn’t taste like the ones that had that perfect garlicky dill punch. Sure, there were plenty of refrigerator pickle recipes out there, but most of them felt like they took forever to develop flavor—or ended up too bland or too sour. I remember one late afternoon, slicing cucumbers with that satisfying crisp snap, wondering if it was even possible to have pickles ready in a day that were actually worth reaching for again and again.
The smell of fresh garlic mingling with dill and vinegar was always promising, but none of the attempts quite captured that lively balance I craved. Honestly, I wasn’t in a rush, but the kitchen timer ticking down while the cucumbers waited to soak always made me a little impatient. I’m no stranger to slow-fermented pickles, but sometimes you just want that quick fix—something tangy, fresh, and garlicky that you can pull out of the fridge after just 24 hours.
Eventually, this recipe settled into my routine—not because it was flashy or complicated, but because it hit that sweet spot of fast, flavorful, and easy. The garlic doesn’t overpower, the dill stays bright, and the cucumbers keep their crunch. It’s not a miracle cure or a game-changer, just the kind of quick garlic dill refrigerator pickles that make those random sandwich moments or snack cravings quietly satisfying. That’s why I keep coming back to this one. It’s a simple little thing, but it feels like a small kitchen win.
Why You’ll Love This Recipe
This quick garlic dill refrigerator pickles recipe is one of those things you don’t realize you need until it’s right there in your fridge, ready to go. Over the years, I’ve tested and tweaked it until it’s just right, and here’s why you might find it as handy as I do:
- Quick & Easy: Ready in just 24 hours, so you’re not waiting around for days to enjoy fresh pickles.
- Simple Ingredients: No fancy or hard-to-find stuff—just cucumbers, garlic, dill, vinegar, and a few pantry staples.
- Perfect for Snacks & Meals: Whether you want a crunchy side for your easy chicken pasta or a tangy topper for your sandwiches, these pickles fit right in.
- Crowd-Pleaser: Family and friends always ask for more once they try these—kids included (they love the crunch).
- Unbelievably Delicious: The garlic and dill give just the right punch without being too sharp; it’s balanced with a subtle sweetness and vinegar tang.
What makes this recipe stand out is the way the brine is crafted to infuse flavor quickly without sacrificing texture. Instead of overloading on salt or sugar, it uses a straightforward ratio that lets the natural cucumber crunch shine through. Plus, I always slice the garlic thinly to avoid any bitter bites, which I think makes a big difference.
Honestly, this recipe became a quiet favorite because it fits into my busy days without fuss. It’s the kind of pickle I can toss together between meal prep or while the oven’s warming up, and then trust it’ll be ready when hunger strikes. If you’ve ever wished for a fast pickle fix that actually tastes good, this could be the one you keep coming back to.
What Ingredients You Will Need
This recipe keeps things straightforward, using fresh, wholesome ingredients that work together to create that classic garlic dill pickle flavor. Most are pantry staples, and the cucumbers are the real star here.
- Fresh Cucumbers: About 4 medium pickling cucumbers (around 1.5 pounds or 700 grams). Choose firm, small to medium-sized cucumbers with thin skins for the best crunch. I usually go for Kirby or Persian cucumbers.
- Garlic Cloves: 4 large cloves, thinly sliced. The garlic adds that essential pungent kick without overpowering the pickles.
- Fresh Dill: 3-4 sprigs of fresh dill weed or fronds. If fresh isn’t available, 1 tablespoon dried dill seeds works in a pinch, but fresh is definitely best.
- White Vinegar: 1 cup (240 ml). This provides the sharp acidity that pickles need. I prefer a clean-tasting distilled white vinegar for this recipe, but you can try apple cider vinegar for a milder tang.
- Water: 1 cup (240 ml), to balance the vinegar and keep the brine from being too harsh.
- Salt: 1 tablespoon kosher salt or pickling salt (avoid iodized salt). Salt controls fermentation and draws out moisture from the cucumbers.
- Sugar: 1 teaspoon granulated sugar adds just a touch of sweetness to round out the flavors.
- Optional Spices: 1/2 teaspoon black peppercorns or mustard seeds for a subtle layer of flavor.
Substitution tips: For a gluten-free version, all ingredients here are naturally gluten-free, so no worries there. If you want a low-sodium option, reduce salt slightly but keep at least 1/2 tablespoon to maintain crispness. If fresh dill is out of season, try adding a small amount of dill seed or even a pinch of fennel seed as a creative tweak.
This recipe is flexible enough to work with whatever pickling cucumbers you find, and I’ve found that sticking to fresh, crisp cucumbers makes all the difference. It’s a simple lineup that lets the garlic dill combo shine without fuss.
Equipment Needed
- Glass Jar or Container: A quart-sized (1 liter) glass jar with a tight-fitting lid is ideal for storing the pickles. Mason jars work perfectly and are easy to clean.
- Sharp Knife: For slicing the cucumbers and thinly slicing the garlic cloves. A serrated knife works well if you want clean cuts without crushing the cucumbers.
- Measuring Cups and Spoons: Precise measurements help keep the brine balanced, especially the vinegar to water ratio.
- Mixing Bowl: To mix the brine ingredients before pouring over the cucumbers.
- Optional: A vegetable peeler or mandoline can speed up slicing if you want thinner cucumber rounds.
If you don’t have a mason jar, any glass container with a lid will do—just avoid plastic as vinegar can sometimes interact with it. I’ve tried this recipe in both wide-mouth and regular-mouth jars; wide-mouth makes it easier to pack the cucumbers in, but either works.
Preparation Method
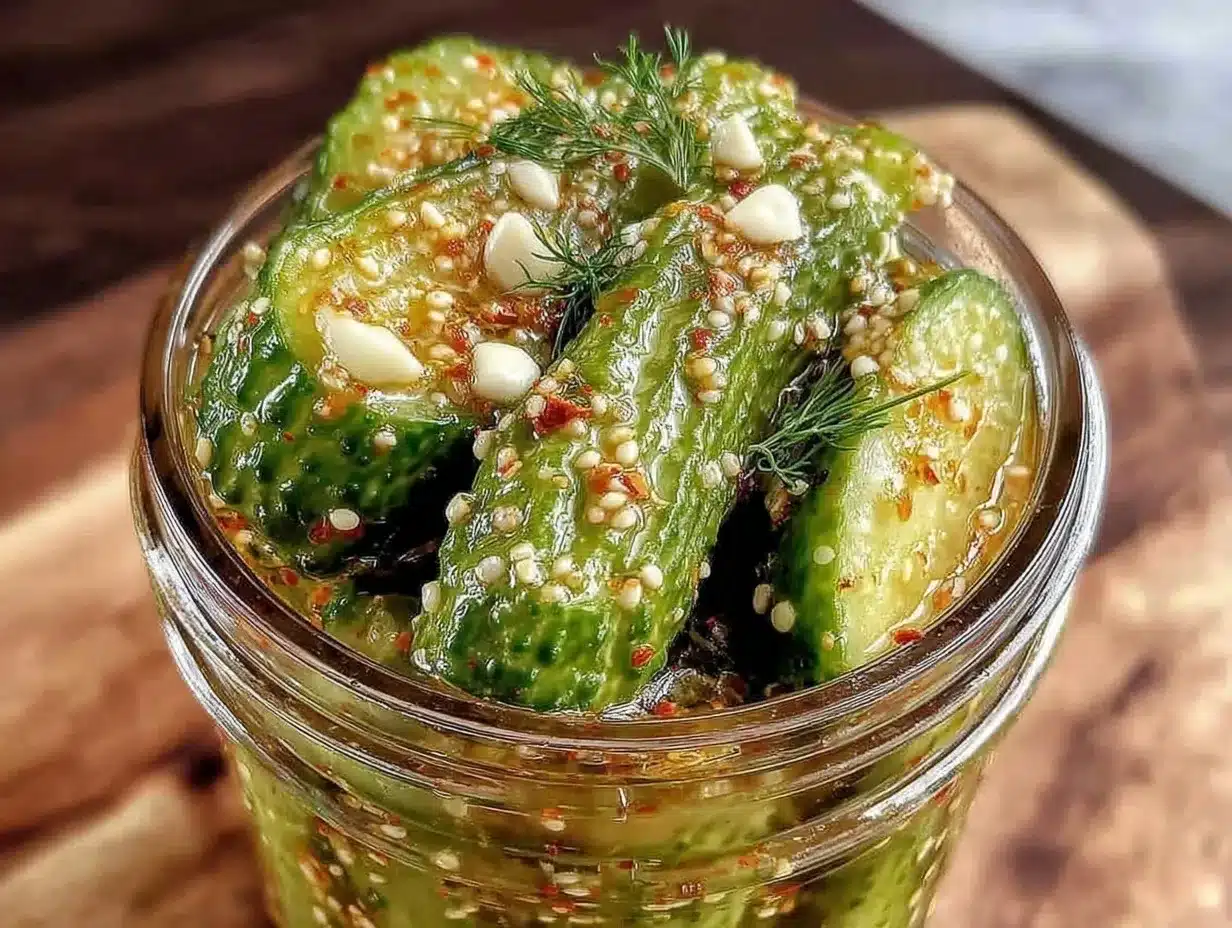
- Wash and Slice Cucumbers: Rinse the cucumbers under cold water and pat dry. Slice them into 1/4-inch (6 mm) thick rounds or spears, depending on your preference. I like rounds for sandwiches and spears for snacking. This step should take about 5 minutes.
- Prepare the Brine: In a mixing bowl, combine 1 cup (240 ml) white vinegar, 1 cup (240 ml) water, 1 tablespoon kosher salt, and 1 teaspoon sugar. Stir until the salt and sugar dissolve completely. This usually takes 2-3 minutes. Smell the brine—it should be tangy with a hint of sweetness, not overly salty.
- Add Flavorings to Jar: Place the sliced garlic cloves, fresh dill sprigs, and optional black peppercorns or mustard seeds into the bottom of your clean glass jar. These aromatics will infuse the cucumbers beautifully.
- Pack the Cucumbers: Tightly pack the sliced cucumbers into the jar on top of the dill and garlic. You want a snug fit to minimize floating but don’t crush the slices. Leave about 1/2 inch (1.3 cm) of headspace at the top.
- Pour Brine Over Cucumbers: Slowly pour the brine mixture over the cucumbers until they’re fully submerged. Use a clean utensil to press the cucumbers down if needed. It’s important they stay under the liquid to avoid spoilage.
- Seal and Refrigerate: Close the jar tightly with the lid. Place the jar in the refrigerator and let it sit for at least 24 hours before tasting. The flavor develops quickly but gets better after a couple of days.
- Check and Enjoy: After 24 hours, open the jar and sample a pickle. If it suits your taste, it’s ready to enjoy. If you want a stronger flavor, leave it refrigerated for another day or two. These pickles stay fresh and crunchy for up to 2 weeks.
Pro tip: If you notice any cloudiness or off smells, discard the batch—though with this quick fridge method, that’s rare if you keep the pickles submerged and refrigerated. Also, slicing garlic thinly helps prevent any bitter garlic bursts, which I learned the hard way the first time I threw in big chunks.
Cooking Tips & Techniques
Making quick garlic dill refrigerator pickles is pretty hands-off, but a few insider tips help make sure yours turn out crisp and flavorful every time.
- Use Fresh, Firm Cucumbers: Older or soft cucumbers can get mushy fast. I always pick ones that snap when bent—freshness matters here.
- Salt Matters: Kosher or pickling salt is your best bet. I’ve tried table salt, and it sometimes makes the brine cloudy or adds an odd taste.
- Keep Cucumbers Submerged: If the cucumbers float above the brine, they can get slimy. I sometimes use a small clean weight or even a folded piece of parchment to keep them down.
- Thin Garlic Slices: Thick garlic chunks take longer to mellow and sometimes create harsh bites. Thin slices release flavor quickly and evenly.
- Don’t Skip the Dill: Fresh dill’s bright flavor is key here. Dried dill seeds are okay, but the fresh stuff really makes the pickles pop.
- Patience is a Virtue: While the recipe is “quick,” giving it the full 24 hours (or a bit longer) helps the flavors meld perfectly.
From experience, rushing the process or skimping on salt usually leads to soggy or bland pickles. I’ve learned that a little care with the brine balance and ingredient prep goes a long way. And yes, these pickles pair beautifully with dishes like the quick creamy Greek yogurt chicken bowl, where the dill notes echo nicely.
Variations & Adaptations
This recipe is pretty flexible, and I often tweak it depending on what I have or what flavors I’m craving.
- Spicy Kick: Add 1/2 teaspoon red pepper flakes or a sliced jalapeño to the jar for a little heat.
- Low-Sodium Version: Cut the salt amount in half, but keep at least 1/2 tablespoon to maintain the crunch and safety of the pickles.
- Different Vinegars: Swap white vinegar for apple cider vinegar to add a fruitier note, or use rice vinegar for a milder, sweeter flavor.
- Herb Twists: Try adding fresh thyme, tarragon, or even a bay leaf to switch up the herbal profile.
- Pickle Shapes: Instead of rounds or spears, I’ve tried cutting cucumbers into sticks or even chunks for snacking or adding to salads.
One personal variation I love is adding a teaspoon of whole mustard seeds for a subtle tangy crunch. It pairs nicely with the garlic dill and adds a little complexity.
Serving & Storage Suggestions
These quick garlic dill refrigerator pickles shine best chilled straight from the fridge. You can serve them as a crunchy side with sandwiches, burgers, or alongside rich dishes like the lemon butter chicken thighs with garlic potatoes.
They also make a refreshing snack on their own or a tangy addition to salads and grain bowls. For storage, keep them refrigerated in a sealed jar; they’ll stay crisp and flavorful for up to two weeks.
Reheating isn’t necessary, but if you want a warm pickle bite, briefly toss them in a hot skillet or add to warm dishes at the end of cooking. Over time, the flavors deepen and soften slightly, so if you prefer crunchier pickles, enjoy them within the first week.
Nutritional Information & Benefits
This recipe is naturally low in calories—about 10-15 calories per serving (roughly 1/4 cup or 60 grams). It’s fat-free and gluten-free, making it a light and healthy snack or condiment. The cucumbers provide hydration and some fiber, while the garlic offers potential immune-boosting benefits.
The vinegar in the brine is thought to aid digestion, and dill contains antioxidants and minerals like calcium. Of course, the sodium content is higher due to the salt, so it’s best enjoyed in moderation if you’re watching sodium intake.
Personally, I appreciate that these pickles add flavor without a lot of fuss or empty calories, and they complement dishes like the fresh quinoa salad with roasted beets and arugula to keep meals bright and balanced.
Conclusion
Quick garlic dill refrigerator pickles fill that niche where you want something fresh, flavorful, and crunchy without waiting days or weeks. They’re straightforward to make, use simple ingredients, and bring a little something special to everyday meals and snacks.
What I love most is how adaptable this recipe is—you can tweak the flavors or spice level, and it still comes out tasting like a thoughtful homemade treat. Plus, having a jar in the fridge means you’re always just a moment away from that satisfying tangy crunch.
If you try this recipe, I’d love to hear how you make it your own or what dishes you pair it with. There’s something quietly rewarding about knowing you made your own pickles in just a day, and I hope you find the same little satisfaction I do.
FAQs
How long do these refrigerator pickles last?
Stored properly in the fridge, these pickles stay fresh and crunchy for up to 2 weeks. After that, they may start to soften and lose flavor.
Can I use regular cucumbers instead of pickling cucumbers?
Yes, but pickling cucumbers are firmer and less watery, which helps keep the pickles crisp. Regular slicing cucumbers might turn out a bit softer.
Do I need to boil the brine for this recipe?
Nope! This quick recipe uses a cold brine that dissolves salt and sugar without heating, making it faster and keeping flavors bright.
Can I make these pickles without garlic?
Yes, but the garlic is essential for that classic garlic dill flavor. You can reduce the amount if you prefer a milder taste or try adding garlic powder instead.
How can I make my pickles crunchier?
Use fresh, firm cucumbers, kosher salt, and keep them submerged in the brine. Adding a grape leaf or a small weight can help maintain crunchiness, too.
Pin This Recipe!
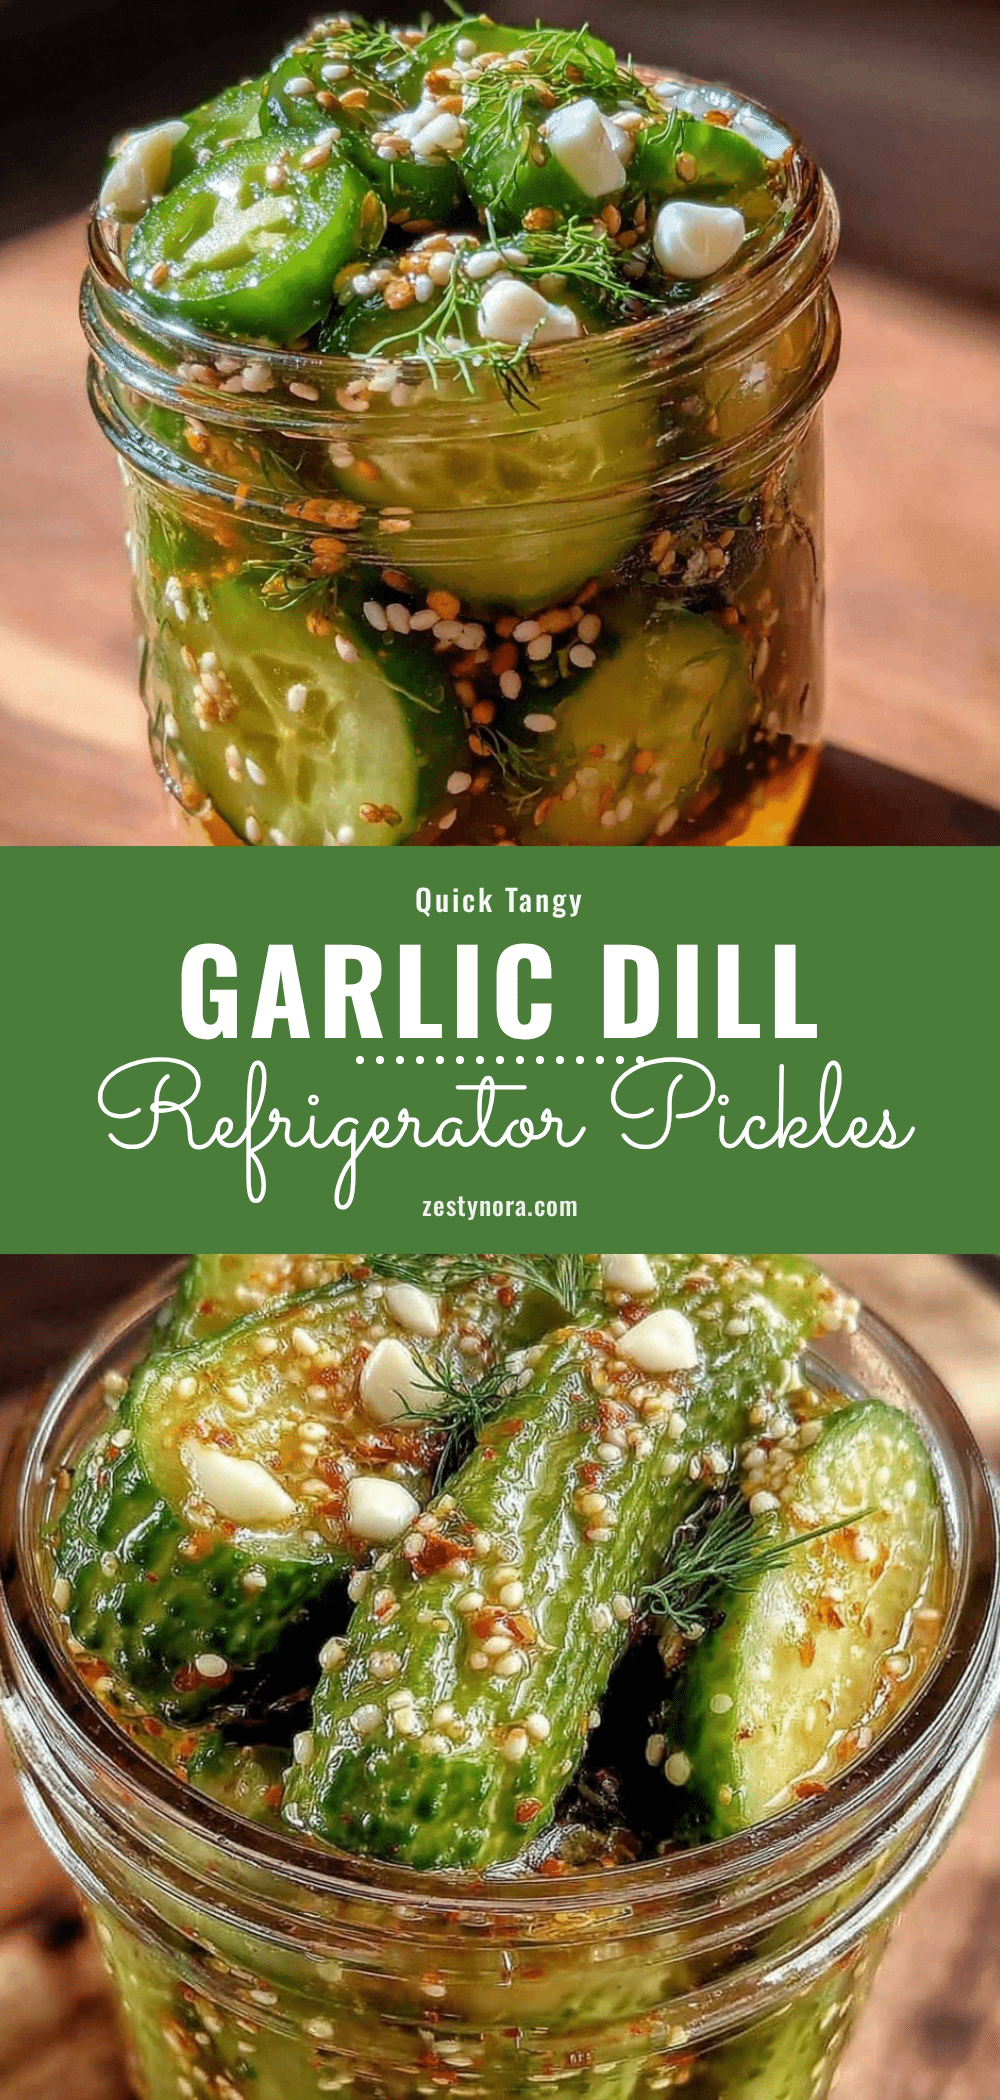
Quick Garlic Dill Refrigerator Pickles
A fast and easy recipe for flavorful garlic dill pickles ready in just 24 hours, perfect for snacks or as a tangy addition to meals.
- Prep Time: 10 minutes
- Cook Time: 0 minutes
- Total Time: 24 hours
- Yield: About 4 servings 1x
- Category: Condiment
- Cuisine: American
Ingredients
- 4 medium pickling cucumbers (about 1.5 pounds or 700 grams)
- 4 large garlic cloves, thinly sliced
- 3–4 sprigs fresh dill weed or fronds (or 1 tablespoon dried dill seeds)
- 1 cup (240 ml) white vinegar
- 1 cup (240 ml) water
- 1 tablespoon kosher salt or pickling salt (avoid iodized salt)
- 1 teaspoon granulated sugar
- Optional: 1/2 teaspoon black peppercorns or mustard seeds
Instructions
- Rinse cucumbers under cold water and pat dry. Slice into 1/4-inch (6 mm) thick rounds or spears.
- In a mixing bowl, combine white vinegar, water, kosher salt, and sugar. Stir until salt and sugar dissolve completely.
- Place sliced garlic cloves, fresh dill sprigs, and optional black peppercorns or mustard seeds into the bottom of a clean glass jar.
- Tightly pack the sliced cucumbers into the jar on top of the dill and garlic, leaving about 1/2 inch (1.3 cm) of headspace.
- Pour the brine mixture over the cucumbers until fully submerged. Press cucumbers down if needed to keep them under the liquid.
- Seal the jar tightly and refrigerate for at least 24 hours before tasting. Flavor improves after a couple of days.
- After 24 hours, sample a pickle. If desired, refrigerate longer for stronger flavor. Pickles stay fresh and crunchy up to 2 weeks.
Notes
Use fresh, firm cucumbers for best crunch. Keep cucumbers fully submerged in brine to avoid spoilage. Thinly slice garlic to prevent bitter bites. Kosher or pickling salt is preferred to avoid cloudy brine. Pickles improve in flavor after 24 hours and stay fresh up to 2 weeks refrigerated. Variations include adding red pepper flakes for heat or swapping vinegars for different flavor profiles.
Nutrition
- Serving Size: 1/4 cup (60 grams)
- Calories: 15
- Sugar: 1
- Sodium: 600
- Carbohydrates: 3
- Fiber: 1
Keywords: quick pickles, garlic dill pickles, refrigerator pickles, easy pickles, homemade pickles, crunchy pickles, snack, condiment


