The first time I made these homemade elderberry syrup gummies, I was standing over a pot of simmering elderberries, half-convinced my toddler would take one look at the dark purple blobs and push them away. I had already spent the better part of a year trying to get her to take a spoonful of regular elderberry syrup—a battle that usually ended with sticky floors and a stubborn pout. But the texture of these gummies—firm yet impossibly soft, with that slight jiggle when you pick one up—that’s what changed everything. They don’t feel like medicine. They feel like the fruit snacks she begs for at the grocery store checkout.
Honestly, I made this recipe out of pure desperation. I wanted the immune-boosting benefits of elderberry without the daily negotiation. So I grabbed my silicone molds, a bottle of honey, and a bag of dried elderberries, and I just started experimenting. The first batch was too tart. The second batch was too sticky. But the third batch? That one had the perfect balance of sweet and tangy, and my kid ate three before I could even get them out of the mold. I knew I had cracked the code.
These homemade elderberry syrup gummies kids love aren’t just about getting them to take their vitamins. They’re about giving you one less thing to fight about on a busy morning. They’re about packing real, whole-food ingredients into a treat that actually makes them smile. And honestly, the fact that I can make a batch while sipping my coffee and listening to my daughter ask for “more purple jellies” is a win I will never get tired of.
Why You’ll Love This Recipe
Let me tell you why this recipe has become a staple in our home. I’ve tested it more times than I can count, and it’s the kind of thing I feel genuinely proud to share with other parents.
- Kid-Approved Taste: These gummies are naturally sweetened with honey and have a fruity, slightly tart flavor that kids actually enjoy. No bitter aftertaste, no weird textures.
- Simple, Real Ingredients: You only need dried elderberries, water, honey, and gelatin. That’s it. No artificial colors, no high-fructose corn syrup, no preservatives.
- Quick & Easy: From start to finish, you can have a batch ready in about 20 minutes of active time. The hardest part is waiting for them to set in the fridge.
- Perfect for Picky Eaters: If your child refuses to take liquid elderberry syrup, these gummies are a game-changer. They look and feel like the store-bought fruit snacks they already love.
- Customizable: You can adjust the sweetness, add immune-boosting extras like vitamin C powder or ginger, or even make them with different fun-shaped molds for holidays or birthdays.
- Cost-Effective: A bag of dried elderberries makes multiple batches, and homemade gummies are way cheaper than buying specialty immune gummies from the health food store.
What makes this recipe different from the countless others I tried? It’s the ratio. I spent weeks tweaking the amount of gelatin and honey until I got a gummy that was soft enough for little teeth but firm enough to hold its shape. It’s not just another version—it’s the version that actually works. And honestly, the first time I saw my daughter reach for one of these over a packaged fruit snack, I knew I had done something right.
What Ingredients You Will Need
This recipe uses simple, wholesome ingredients that you can find at most grocery stores or online. The beauty of these gummies is that they rely on a few key players to deliver that perfect texture and flavor, without any of the junk you’ll find in commercial gummies.
For the Elderberry Syrup Base
- 1 cup dried elderberries – I recommend using organic dried elderberries from a reputable brand like Starwest Botanicals or Frontier Co-op. They have a deep, earthy flavor that’s perfect for syrup. (Avoid fresh elderberries—they need to be cooked before eating.)
- 4 cups filtered water – The water quality matters here because you’re concentrating the flavor. Tap water with a strong chlorine taste can affect the final syrup.
- 1/2 cup raw honey – Use local honey if you can for added immune benefits. The honey not only sweetens the gummies but also helps preserve them. (For kids under 1 year old, substitute with maple syrup or agave.)
- Optional: 1 cinnamon stick, 1-inch piece of fresh ginger (sliced), 1/2 teaspoon cloves – These add warmth and extra immune support. I usually add cinnamon and ginger for a gentle, cozy flavor.
For the Gummies
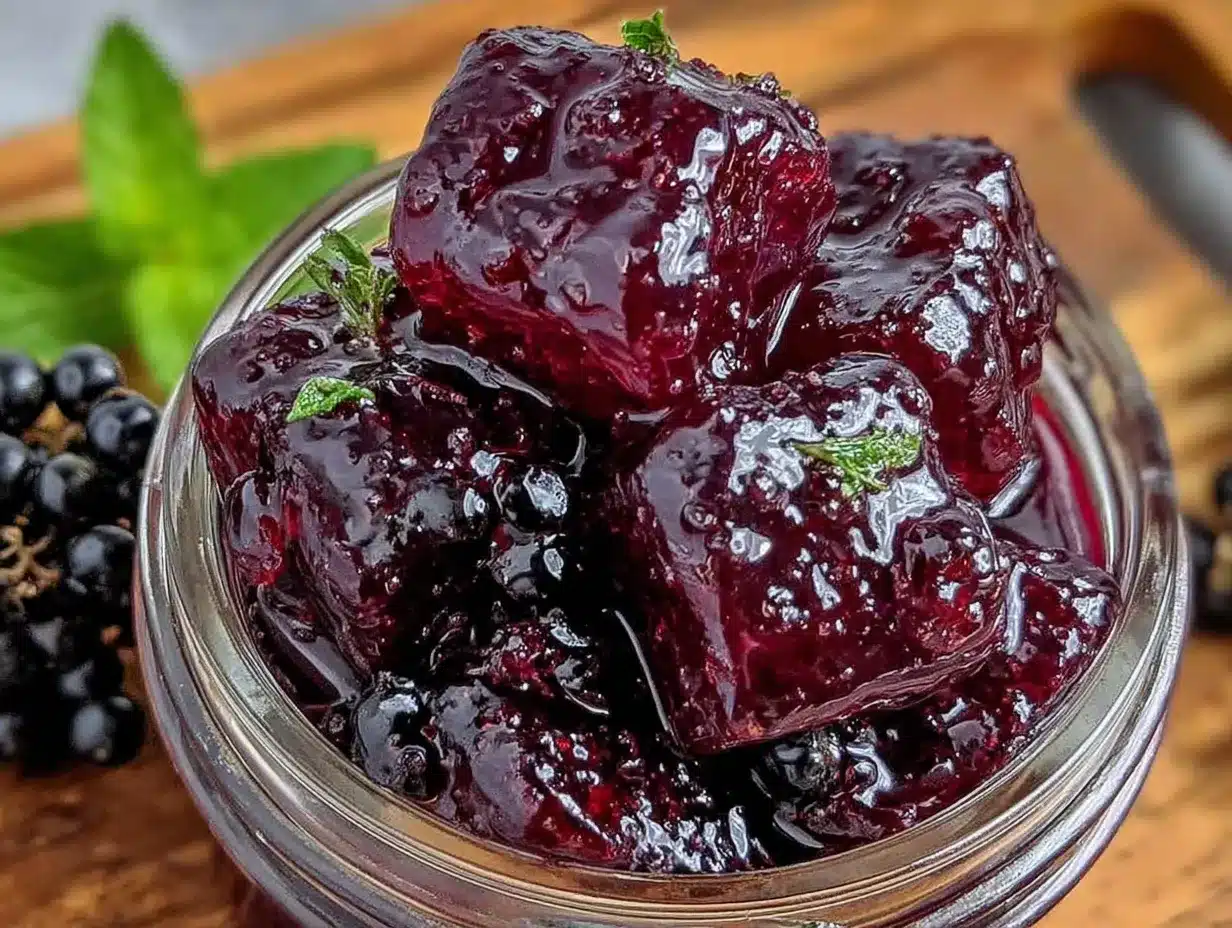
- 1 cup prepared elderberry syrup – You’ll make this from the ingredients above. It’s concentrated and rich, so a little goes a long way.
- 3 tablespoons grass-fed gelatin – This is the key to getting that perfect gummy texture. I use Great Lakes Gelatin or Vital Proteins beef gelatin. (Do not use collagen peptides—they won’t set properly.)
- 1-2 tablespoons extra honey (optional) – Depending on how sweet your syrup is, you might want to add a little more honey. I usually add an extra tablespoon because my kids prefer a sweeter gummy.
- 1/4 cup cold water – This is used to bloom the gelatin before mixing it with the warm syrup. It’s a small step but crucial for a smooth, lump-free texture.
When you’re shopping for elderberries, look for deep purple-black berries that are plump and not too dry. The fresher they are, the more flavor and immune-boosting compounds they’ll have. And if you’re using a different sweetener, just keep in mind that maple syrup will give the gummies a slightly thinner set, while honey creates a firmer, more traditional gummy texture.
Equipment Needed
You don’t need a fancy kitchen to make these gummies, but a few specific tools will make the process much smoother. Here’s what I use every single time:
- Silicone gummy molds – I love using fun shapes like bears, stars, or dinosaurs. The silicone makes it easy to pop the gummies out without sticking. You can find sets on Amazon or at craft stores for under $10.
- Medium saucepan – For simmering the elderberries and making the syrup. A stainless steel or enameled pot works best.
- Fine-mesh strainer or cheesecloth – To strain out the berries and spices. A nut milk bag also works great for this.
- Small bowl – For blooming the gelatin. A glass or ceramic bowl is ideal.
- Whisk – To ensure the gelatin dissolves completely without clumps.
- Dropper or small measuring cup with a spout – For filling the molds without making a mess. I use a glass dropper, but a small liquid measuring cup works too.
- Refrigerator-safe tray or plate – To hold the filled molds while they set.
If you don’t have silicone molds, you can pour the gummy mixture into a small glass dish (like an 8×8 baking pan) and cut it into squares once it sets. The texture will be slightly different—more like jelly than gummies—but the flavor is exactly the same. I’ve done this in a pinch, and my kids didn’t care one bit about the shape.
Preparation Method
Making these gummies is a two-part process. First, you’ll create a concentrated elderberry syrup. Then, you’ll turn that syrup into gummies. Trust me, the extra step is worth it for the depth of flavor.
Step 1: Make the Elderberry Syrup
- Combine the dried elderberries, water, and any optional spices (cinnamon, ginger, cloves) in a medium saucepan.
- Bring to a boil over medium-high heat, then reduce the heat to low and let it simmer uncovered for 30-40 minutes. The liquid will reduce by about half, and the berries will become soft and plump.
- Remove the pot from the heat and let it cool for about 10 minutes. Use a potato masher or the back of a spoon to gently press the berries, releasing as much liquid as possible.
- Strain the mixture through a fine-mesh strainer or cheesecloth into a clean bowl or glass jar. Press on the berries to extract every last drop of that deep purple syrup. Discard the solids.
- While the syrup is still warm, stir in the honey until fully dissolved. If you’re using spices, you can leave them in the liquid during simmering but remove them before adding honey. (Pro tip: if your syrup is too hot, it can degrade the beneficial compounds in the honey, so let it cool to about 120°F before stirring in the honey.)
- Let the syrup cool completely before using it for the gummies. You’ll need 1 cup for this recipe. Store any extra syrup in an airtight jar in the fridge for up to 2 weeks—it’s great in tea, smoothies, or drizzled over pancakes.
Step 2: Make the Gummies
- Pour the 1/4 cup cold water into a small bowl and sprinkle the gelatin evenly over the surface. Let it sit for 5-10 minutes until it becomes a firm, jiggly blob. This is called “blooming” and it prevents lumps.
- While the gelatin blooms, warm the 1 cup of elderberry syrup in a small saucepan over low heat. You want it to be warm but not boiling—about 110-120°F. If it’s too hot, it can weaken the gelatin’s setting power.
- Once the syrup is warm, add the bloomed gelatin and whisk gently until completely dissolved. The mixture should be smooth and silky, with no visible gelatin granules. If you see lumps, keep whisking—they’ll usually dissolve with a bit of patience.
- If you want sweeter gummies, stir in the extra tablespoon of honey at this point. Taste the mixture (carefully—it’s warm!) and adjust as needed.
- Using a dropper or small measuring cup, carefully fill your silicone molds with the liquid mixture. Work quickly, because the gelatin will start to set as it cools. If it thickens too much, gently reheat it for a few seconds on the stove.
- Place the filled molds on a tray or plate and refrigerate for at least 2-3 hours, or until the gummies are firm to the touch. I usually leave them overnight for the best texture.
- Once set, pop the gummies out of the molds. They should release easily—if they stick, try placing the mold in the freezer for 5 minutes.
Your kitchen will smell amazing at this point—like warm berries and honey. And honestly, the hardest part is not eating them all before they’re fully set.
Cooking Tips & Techniques
After making these gummies more times than I can count, I’ve learned a few tricks that make the process foolproof. Let me share the ones that saved me from a few sticky disasters.
Don’t skip blooming the gelatin. I know it feels like an extra step, but if you add gelatin directly to warm liquid, you’ll end up with grainy, lumpy gummies. Blooming ensures a smooth, silky texture every time. I once tried to rush this step, and I ended up with gummies that looked like they had sand in them. Not cute.
Keep the syrup warm, not hot. Gelatin is a protein, and high heat can break it down, preventing the gummies from setting properly. I use a thermometer to keep the syrup between 110-120°F. If you don’t have one, just test it with your finger—it should feel warm but not uncomfortable.
Work quickly when filling molds. The mixture will start to thicken as it cools, so have your molds ready and your dropper handy. If it gets too thick to pour, just reheat it gently for 10-15 seconds on the stove, whisking constantly.
Use a non-stick spray for stubborn molds. Some silicone molds are stickier than others. If you’re having trouble releasing the gummies, lightly spray the molds with coconut oil before filling them. This also gives the gummies a slight sheen that looks really professional.
Store them properly to extend shelf life. Homemade gummies don’t have preservatives, so they need to be kept in the fridge. I store mine in an airtight glass jar, and they stay fresh for up to 2 weeks. If they start to get too soft, it’s time to make a new batch.
Don’t over-simmer the elderberries. If you cook them too long, the syrup can become bitter and overly concentrated. Stick to 30-40 minutes, and you’ll get a rich, balanced flavor that’s perfect for kids.
Variations & Adaptations
One of the best things about this recipe is how easy it is to adapt. Here are some of my favorite variations that keep the gummies exciting and tailored to different needs.
- Vitamin C Boost: Add 1/2 teaspoon of powdered vitamin C (ascorbic acid) to the warm syrup before pouring it into the molds. It adds a slight tartness that balances the honey beautifully. I do this during cold and flu season for an extra immune punch.
- Ginger & Turmeric Gummies: Add 1/2 teaspoon of ground ginger and 1/4 teaspoon of ground turmeric to the syrup while it simmers. The turmeric gives the gummies a warm, golden hue and adds anti-inflammatory benefits. Just be aware that turmeric can stain your molds—I use a dedicated set for this version.
- Berry Blend: Substitute half of the elderberries with dried blueberries, raspberries, or cherries. This creates a more complex berry flavor that kids who are new to elderberries might prefer. My niece, who’s a notoriously picky eater, devours the blueberry-elderberry blend.
- Low-Sugar Version: For a lower-sugar option, use only 2 tablespoons of honey and add 1/4 cup of unsweetened apple juice concentrate. The natural sweetness of the apples complements the elderberries without adding refined sugar.
- Vegan Gummies: Replace the gelatin with agar agar powder (a plant-based alternative). Use 1 tablespoon of agar agar powder for every 1 cup of liquid. Note that agar agar sets much faster and at room temperature, so you need to work very quickly. The texture will be slightly firmer and less chewy, but they’re still delicious.
- Seasonal Shapes: Switch up your molds based on the holiday. I use pumpkin molds for fall, snowflake molds for winter, and flower molds for spring. It makes the gummies feel like a special treat, not just a supplement.
I once made a batch with extra ginger and a squeeze of lemon juice, and my husband ate half of them before I could hide them in the fridge. They had a little kick that adults really enjoy, so don’t be afraid to make a “grown-up” version for yourself.
Serving & Storage Suggestions
These gummies are best served cold, straight from the fridge. The texture is firm but soft, with a pleasant chew that kids love. I usually serve them as a mid-morning snack or an after-dinner treat, but they’re also great for packing in lunchboxes (just make sure they stay chilled with an ice pack).
For a fun presentation, arrange the gummies on a small plate or in a colorful bowl. If you’re serving them at a party or playdate, you can dust them lightly with arrowroot powder or cornstarch to prevent them from sticking together. It gives them a slightly matte finish that looks like store-bought gummies.
Storage Instructions:
- Place the gummies in an airtight container or glass jar, layered with parchment paper if stacking them.
- Store in the refrigerator for up to 2 weeks. They will gradually soften over time, so I recommend making smaller batches if you don’t think you’ll eat them quickly.
- You can freeze the gummies for up to 3 months. Place them in a single layer on a baking sheet, freeze until solid, then transfer to a freezer-safe bag. Thaw in the fridge overnight before serving.
- Do not leave them at room temperature for more than a few hours, as they can become sticky and lose their shape.
One thing I love about these gummies is that the flavor actually deepens after a day or two in the fridge. The honey and elderberry meld together, creating a more complex, rich taste. So if you can resist eating them all on day one, you’re in for a treat on day three.
Nutritional Information & Benefits
While these gummies are a treat, they also pack some serious nutritional benefits. Here are the estimated values per serving (about 6-8 gummies, depending on the size of your molds):
- Calories: 45-60
- Carbohydrates: 10-12g
- Sugars: 8-10g (from honey and elderberries)
- Protein: 2-3g (from gelatin)
- Vitamin C: 4-6mg (from elderberries)
- Antioxidants: High
Elderberries are rich in flavonoids and anthocyanins, which are powerful antioxidants that support the immune system. They’ve been used for centuries in traditional medicine to help reduce the severity and duration of colds and flu. The honey adds antimicrobial properties, while the gelatin provides collagen, which is great for skin, hair, and joint health.
These gummies are naturally gluten-free, dairy-free, and nut-free, making them suitable for many dietary restrictions. However, if you have a child under 1 year old, remember to substitute the honey with maple syrup or agave to avoid the risk of botulism. And if you’re watching sugar intake, you can easily reduce the honey without sacrificing too much flavor—the elderberries themselves are naturally sweet when cooked.
I love knowing that when I hand my daughter a handful of these gummies, I’m giving her something that actually supports her health. It’s a small win in the chaos of parenthood, but it feels huge.
Conclusion
These homemade elderberry syrup gummies kids love are one of those recipes that makes me feel like a supermom—even on days when I’m running on three hours of sleep and surviving on cold coffee. They’re simple to make, packed with immune-boosting goodness, and most importantly, my kids actually ask for them. Not because they’re good for them, but because they genuinely taste good.
I encourage you to play around with the flavors and shapes. Make them your own. Add a little ginger for warmth, or swap in some blueberries for a different berry profile. The beauty of this recipe is that it’s forgiving and flexible, just like real life. And if your kids end up eating a few extra gummies before bed? Honestly, I won’t tell.
If you make these, I’d love to hear how they turned out. Drop a comment below, share a photo, or tag me in your creations. Did your kids love them? Did you try a fun new shape? Let’s keep the conversation going—because we’re all in this together, one gummy at a time.
Frequently Asked Questions
Can I use fresh elderberries instead of dried?
Yes, but you’ll need to adjust the recipe slightly. Fresh elderberries have a higher water content, so use 2 cups of fresh berries with 3 cups of water. Simmer for 20-25 minutes instead of 30-40. Just remember that fresh elderberries must always be cooked before eating—they contain a compound that can cause stomach upset when raw.
How long do these gummies last at room temperature?
They can sit out for about 2-3 hours without issue, but I don’t recommend leaving them out longer than that. Because they’re made with natural ingredients and no preservatives, they’re best kept in the fridge. If you’re taking them on a road trip or to school, pack them with an ice pack to keep them cool.
My gummies didn’t set—what went wrong?
This usually happens for one of three reasons: the syrup was too hot when you added the gelatin (which breaks down the protein), you didn’t bloom the gelatin long enough, or you accidentally used collagen peptides instead of gelatin. Collagen won’t set into a firm gummy—it stays liquid. Double-check your packaging and try again with the right ingredient.
Can I make these without a gummy mold?
Absolutely! Pour the mixture into a small glass dish (like an 8×4 loaf pan) lined with parchment paper. Let it set in the fridge for 3-4 hours, then cut it into small squares or use cookie cutters for fun shapes. The texture will be more like jelly than individual gummies, but the flavor is exactly the same.
Are these safe for kids under 1 year old?
Not with honey, due to the risk of infant botulism. However, you can easily substitute the honey with maple syrup or agave nectar. The texture and taste will be slightly different, but they’re perfectly safe for babies over 6 months old. As always, check with your pediatrician before introducing new foods to your baby’s diet.
Pin This Recipe!
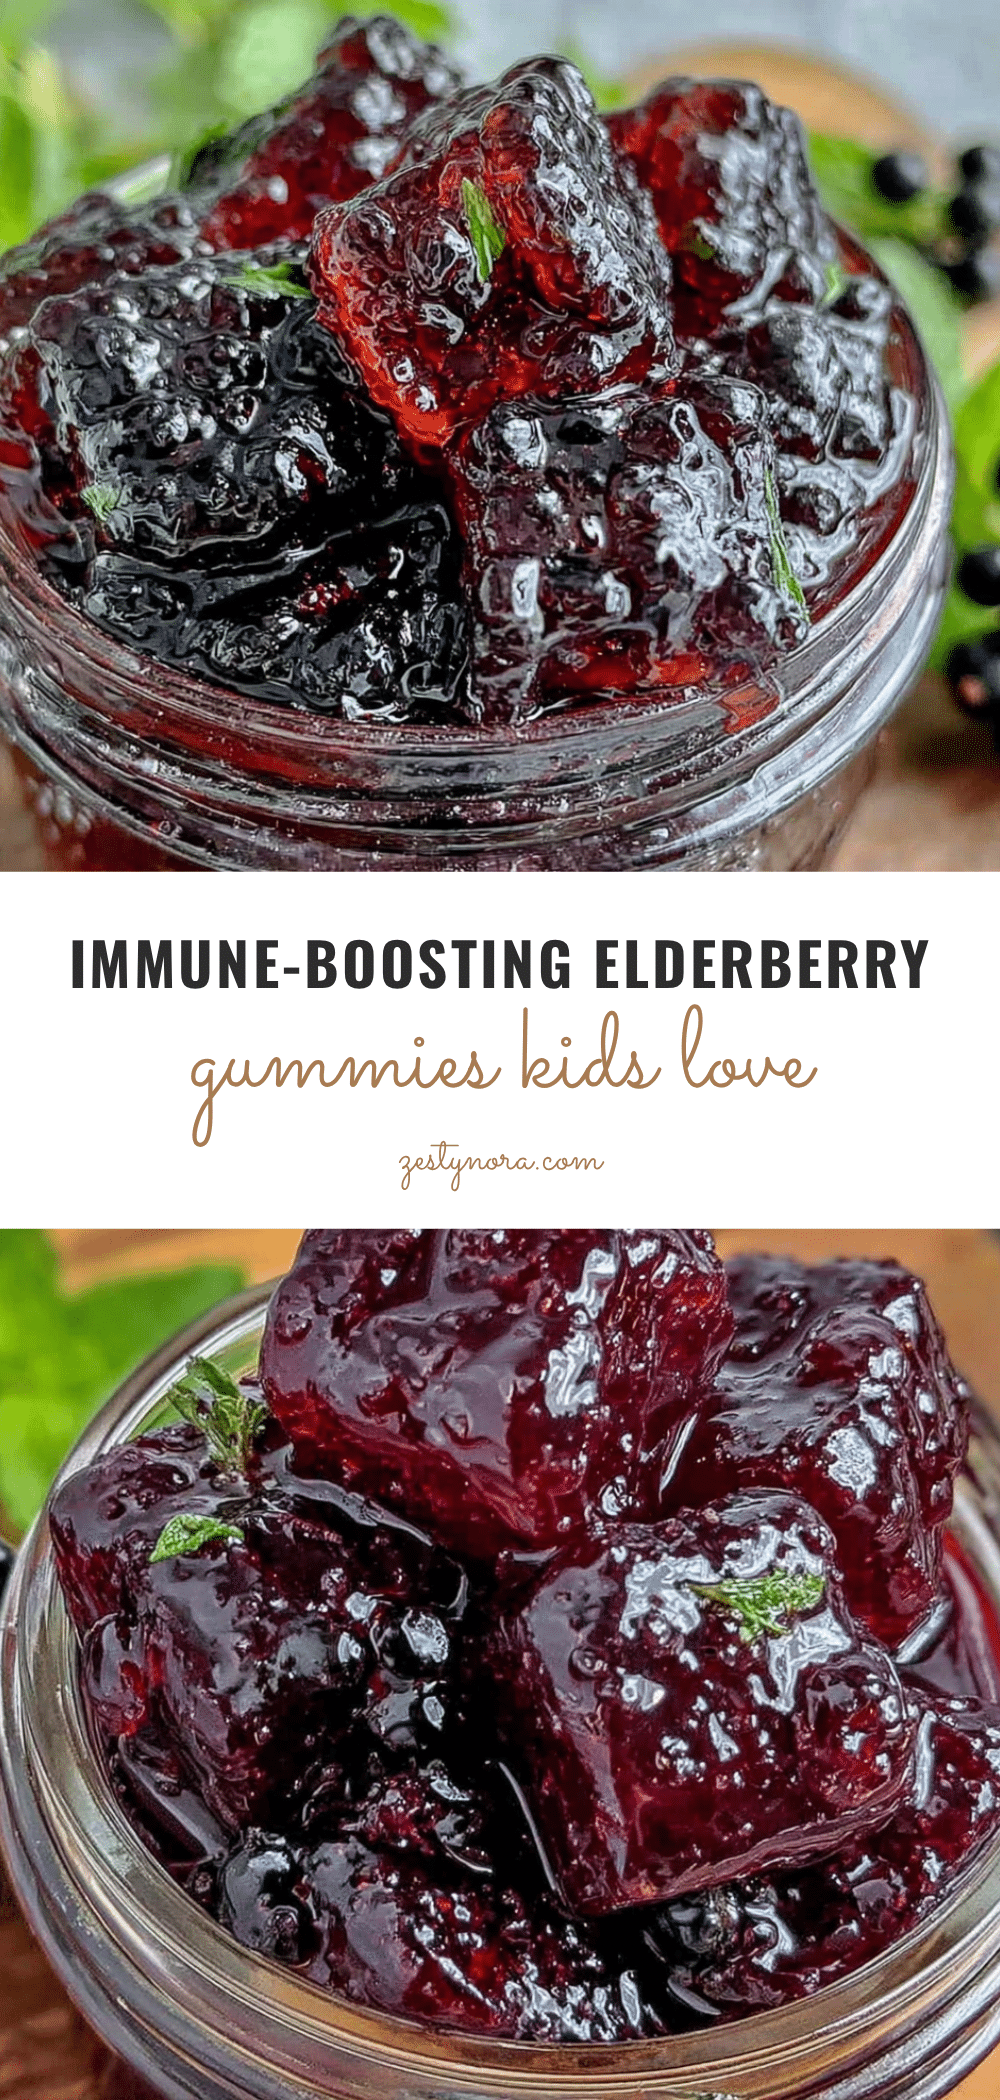
Homemade Elderberry Syrup Gummies Kids Actually Love (Easy Recipe)
These homemade elderberry syrup gummies are naturally sweetened with honey and have a fruity, slightly tart flavor that kids actually enjoy. They’re simple to make, packed with immune-boosting goodness, and most importantly, kids actually ask for them.
- Prep Time: 20 minutes
- Cook Time: 40 minutes
- Total Time: 3 hours (including setting time)
- Yield: 24-32 gummies (depending on mold size) 1x
- Category: Snack
- Cuisine: American
Ingredients
- 1 cup dried elderberries
- 4 cups filtered water
- 1/2 cup raw honey
- Optional: 1 cinnamon stick, 1-inch piece of fresh ginger (sliced), 1/2 teaspoon cloves
- 1 cup prepared elderberry syrup
- 3 tablespoons grass-fed gelatin
- 1–2 tablespoons extra honey (optional)
- 1/4 cup cold water
Instructions
- Combine the dried elderberries, water, and any optional spices (cinnamon, ginger, cloves) in a medium saucepan.
- Bring to a boil over medium-high heat, then reduce the heat to low and let it simmer uncovered for 30-40 minutes. The liquid will reduce by about half, and the berries will become soft and plump.
- Remove the pot from the heat and let it cool for about 10 minutes. Use a potato masher or the back of a spoon to gently press the berries, releasing as much liquid as possible.
- Strain the mixture through a fine-mesh strainer or cheesecloth into a clean bowl or glass jar. Press on the berries to extract every last drop of that deep purple syrup. Discard the solids.
- While the syrup is still warm, stir in the honey until fully dissolved. If you’re using spices, you can leave them in the liquid during simmering but remove them before adding honey. (Pro tip: if your syrup is too hot, it can degrade the beneficial compounds in the honey, so let it cool to about 120°F before stirring in the honey.)
- Let the syrup cool completely before using it for the gummies. You’ll need 1 cup for this recipe. Store any extra syrup in an airtight jar in the fridge for up to 2 weeks—it’s great in tea, smoothies, or drizzled over pancakes.
- Pour the 1/4 cup cold water into a small bowl and sprinkle the gelatin evenly over the surface. Let it sit for 5-10 minutes until it becomes a firm, jiggly blob. This is called ‘blooming’ and it prevents lumps.
- While the gelatin blooms, warm the 1 cup of elderberry syrup in a small saucepan over low heat. You want it to be warm but not boiling—about 110-120°F. If it’s too hot, it can weaken the gelatin’s setting power.
- Once the syrup is warm, add the bloomed gelatin and whisk gently until completely dissolved. The mixture should be smooth and silky, with no visible gelatin granules. If you see lumps, keep whisking—they’ll usually dissolve with a bit of patience.
- If you want sweeter gummies, stir in the extra tablespoon of honey at this point. Taste the mixture (carefully—it’s warm!) and adjust as needed.
- Using a dropper or small measuring cup, carefully fill your silicone molds with the liquid mixture. Work quickly, because the gelatin will start to set as it cools. If it thickens too much, gently reheat it for a few seconds on the stove.
- Place the filled molds on a tray or plate and refrigerate for at least 2-3 hours, or until the gummies are firm to the touch. I usually leave them overnight for the best texture.
- Once set, pop the gummies out of the molds. They should release easily—if they stick, try placing the mold in the freezer for 5 minutes.
Notes
Don’t skip blooming the gelatin. Keep the syrup warm, not hot. Work quickly when filling molds. Use a non-stick spray for stubborn molds. Store them properly to extend shelf life. Don’t over-simmer the elderberries.
Nutrition
- Serving Size: 6-8 gummies
- Calories: 4560
- Sugar: 810
- Sodium: 5
- Carbohydrates: 1012
- Protein: 23
Keywords: elderberry gummies, homemade gummies, immune boosting gummies, kid-friendly gummies, elderberry syrup gummies, natural gummies, honey sweetened gummies


