I want something cold, creamy, and satisfying for breakfast but I do not want to turn on the stove or even think before I’ve had my coffee. That’s the exact moment this recipe was born—not from a fancy food magazine or a wellness influencer’s kitchen, but from my own barely-caffeinated brain staring into the fridge at 11 PM on a Sunday. I had ripe bananas turning spotty on the counter (you know the ones), a half-empty jar of peanut butter, and a carton of milk that was about to expire. The oats were already in the pantry. Honestly, it felt less like cooking and more like assembling survival rations for the next morning’s version of myself.
What came out of that fridge-raiding session was genuinely good. Like, close-my-eyes-while-eating good. The peanut butter melts into the oats overnight, the banana does its magical thing where it almost caramelizes in the cold, and the whole situation tastes like a milkshake that decided to be responsible. I’ve made this creamy peanut butter banana overnight oats recipe at least thirty times since that night, tweaking ratios and testing different milk fat percentages. This version is the one I keep coming back to.
There is something deeply satisfying about opening your fridge in the morning and finding breakfast already waiting for you. No decisions. No dishes. Just a jar of something that tastes like you put in way more effort than you actually did. That’s the kind of morning win we all need sometimes.
Why You’ll Love This Recipe
I have tested this recipe through every season and every breakfast mood, and it keeps delivering. Here is why this version of overnight oats stands out from the dozens of other recipes floating around the internet.
- Ready in 5 minutes : No joke. If you can pour, stir, and close a lid, you can make this. The actual hands-on time is less than most people spend scrolling their phone in the morning.
- No cooking required : The fridge does all the work. You do not need a stove, microwave, or any heat source whatsoever. Perfect for hot summer mornings or lazy weekends.
- Made with pantry staples : Oats, peanut butter, banana, milk, and a pinch of salt. That is it. No weird ingredients you will use once and forget about.
- Naturally sweetened : The banana provides all the sweetness you need. I have made this without any added sugar dozens of times and never missed it.
- Meal prep superstar : Make four or five jars on Sunday and you have breakfast sorted for the entire work week. Each jar stays perfect in the fridge for up to five days.
- Kid-approved and adult-approved : My niece calls it “dessert breakfast” and my neighbor (a 60-year-old retired chef) asked for the recipe after trying one spoonful.
What makes this recipe different is the texture. Most overnight oats turn into a gluey, sad paste by morning. Not these. The ratio of liquid to oats is precise enough that you get a creamy, almost pudding-like consistency without any gumminess. The peanut butter stays present but not overwhelming, and the banana infuses every bite with natural sweetness. This is not just another overnight oats recipe. This is the one I would serve to someone who swore they hated overnight oats.
What Ingredients You Will Need
This recipe uses simple, everyday ingredients to create something genuinely special. Each component plays a specific role in building that creamy texture and balanced flavor.
Base Ingredients
- Rolled oats – 1 cup (90g). Use old-fashioned rolled oats, not quick oats or steel-cut. Rolled oats soak up liquid at the perfect rate and turn creamy without turning to mush. Quick oats dissolve too much and steel-cut oats stay too crunchy. I prefer Bob’s Red Mill or Quaker old-fashioned for consistent results.
- Milk – 1 cup (240ml). Whole milk gives the creamiest result, but 2% works great too. For a dairy-free version, oat milk is my top pick because it adds extra creaminess. Almond milk works but the texture will be slightly thinner. Coconut milk (from a carton, not a can) adds a lovely subtle flavor.
- Plain Greek yogurt – ¼ cup (60g). This is the secret to the ultra-creamy texture. The yogurt adds thickness, tanginess, and a protein boost. Full-fat Greek yogurt is ideal, but 2% works fine. For a dairy-free option, use a thick coconut or soy yogurt.
- Creamy peanut butter – 3 tablespoons (48g). Use a good-quality peanut butter with no added sugar or weird oils. I like Skippy Natural or Justin’s Classic. The peanut butter should be runny enough to stir easily—if yours is thick, microwave it for 10 seconds first.
- Ripe banana – 1 medium, mashed (about ½ cup or 120g). The banana needs to be spotty and soft. Green bananas will not provide enough sweetness or mash properly. The riper the banana, the sweeter your oats will be without any added sugar.
- Maple syrup or honey – 1 tablespoon (15ml), optional. I often skip this because the banana provides enough sweetness. Add it if you have a sweet tooth or if your banana is not super ripe.
- Vanilla extract – ½ teaspoon. Pure vanilla extract adds warmth and depth. Imitation vanilla works in a pinch but the flavor is noticeably less complex.
- Salt – A pinch. Salt is not optional here. It balances the sweetness and makes the peanut butter flavor pop. Use fine sea salt or kosher salt.
Optional Toppings
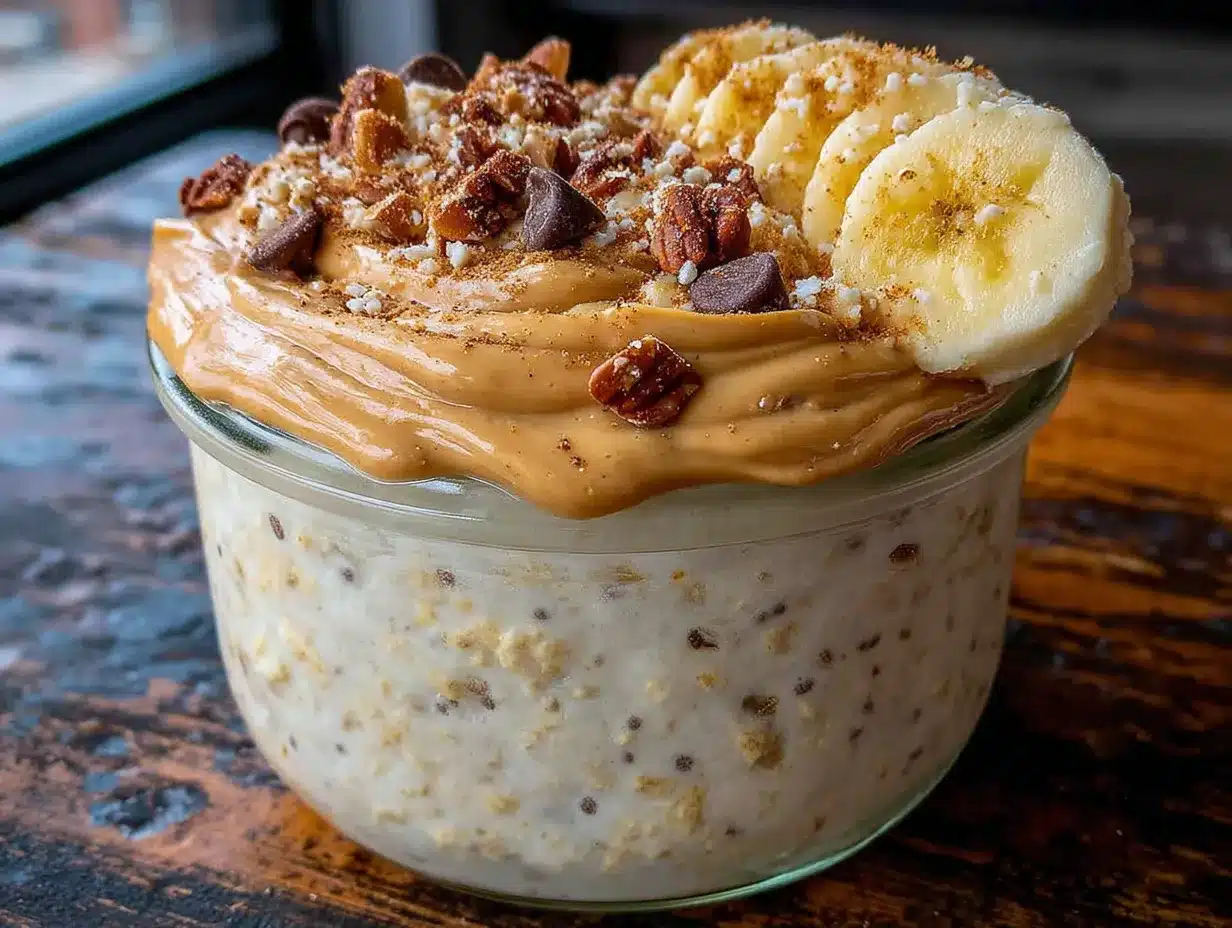
- Sliced banana – Fresh slices on top for presentation and extra banana flavor.
- Chopped peanuts – Adds crunch and visual appeal.
- Dark chocolate chips – Because peanut butter and chocolate are soulmates.
- Chia seeds – Adds fiber, omega-3s, and a fun texture contrast.
- Cinnamon – A sprinkle on top adds warmth and pairs beautifully with banana.
- Drizzle of extra peanut butter – For those who want maximum peanut butter impact.
If you love peanut butter as much as I do, you might also enjoy my easy five-ingredient peanut butter oat energy balls—they use similar ingredients in a snackable format that is perfect for lunchboxes or afternoon cravings.
Equipment Needed
You do not need fancy equipment for this recipe. That is part of the beauty.
- Mason jars or airtight containers – Four 8-ounce jars or two 16-ounce jars work perfectly. Wide-mouth jars are easier to eat from and clean. I use Weck jars because the glass lids seal tightly, but any jar with a tight-fitting lid will work.
- Measuring cups and spoons – For accuracy. I have made this enough to eyeball it, but measuring ensures consistent results every time.
- Mixing bowl – A medium bowl for combining the wet ingredients before adding oats. This prevents clumps.
- Fork or whisk – For mashing the banana and mixing everything together. A fork works better than a whisk for mashing banana.
- Spatula – To scrape every last bit of that peanut butter mixture into the jars. Waste not, want not.
- Cutting board and knife – For slicing banana for topping, if using.
If you do not have mason jars, any container with a lid works—meal prep containers, reused pasta sauce jars, even a bowl covered with plastic wrap. The key is an airtight seal so the oats absorb liquid properly and do not dry out on top.
Preparation Method
This is the easiest breakfast you will make all week. Follow these steps exactly the first time, then adjust ratios to your preference once you know the baseline.
- Mash the banana – In a medium mixing bowl, add the ripe banana. Use a fork to mash it until it is mostly smooth with a few small lumps remaining. Over-mashing is fine; under-mashing leaves you with random banana chunks that can be off-putting texture-wise. Aim for the consistency of baby food with tiny bits.
- Add the wet ingredients – To the mashed banana, add the milk, Greek yogurt, peanut butter, maple syrup (if using), and vanilla extract. Whisk or stir with your fork until everything is fully combined. The peanut butter should be completely incorporated—no streaks remaining. This takes about 30 seconds of vigorous stirring.
- Add the dry ingredients – Pour in the rolled oats and the pinch of salt. Stir until every oat is coated in the liquid mixture. The mixture will look thin and soupy at this point. Do not panic. That is correct. The oats will absorb the liquid overnight and thicken beautifully.
- Divide into jars – Pour the mixture evenly into your jars or containers. Leave about ½ inch of headspace at the top because the oats will expand slightly as they absorb liquid. If you are adding toppings like chocolate chips or chia seeds, sprinkle them in now and stir gently.
- Seal and refrigerate – Screw the lids on tightly and place the jars in the refrigerator. Let them sit for at least 6 hours, but overnight (8-12 hours) is ideal. The oats need this time to soften and absorb the liquid.
- Serve cold or at room temperature – In the morning, remove a jar from the fridge. Give it a good stir—the texture should be thick, creamy, and uniform. If it seems too thick, stir in a splash of milk. Top with sliced banana, chopped peanuts, a drizzle of peanut butter, or any toppings you like. Eat immediately.
Pro tip for texture perfection : If you want even creamier oats, let the mixture sit in the fridge for 15 minutes before dividing into jars. This gives the oats a head start on absorbing liquid and prevents any dry spots near the top of the jar.
Warning : Do not skip the salt. I made this mistake once and the oats tasted flat and one-dimensional. That tiny pinch of salt is what makes the peanut butter taste like peanut butter instead of just fatty paste.
Cooking Tips & Techniques
After making this recipe more times than I care to count, I have learned a few things the hard way. Here are the tips that make the difference between good overnight oats and great ones.
Use room temperature ingredients – Cold milk and cold yogurt straight from the fridge do not mix as smoothly with peanut butter. Let them sit on the counter for 10 minutes before starting. The peanut butter incorporates much more easily and you will not get those annoying little peanut butter globs.
Do not over-soak – Overnight oats can sit in the fridge for up to 5 days, but the texture changes over time. Days 1 and 2 are the creamiest. By day 4, the oats have absorbed most of the liquid and the texture becomes denser and more pudding-like. Still delicious, just different. If you are meal prepping for the week, consider making two batches on different days for optimal texture.
Topping timing matters – If you add sliced banana or other fresh fruit toppings to the jar before refrigerating, they will turn brown and mushy by morning. Always add fresh toppings right before serving. Dry toppings like chocolate chips, nuts, or seeds can be added before refrigerating without issue.
Adjust thickness to your preference – The ratio in this recipe produces a medium-thick, creamy consistency. If you prefer thicker oats (almost like a pudding), reduce the milk by 2 tablespoons. If you prefer thinner oats (more like a porridge), add 2 extra tablespoons of milk. Write down what works for you because everyone’s preference is different.
Double the batch with confidence – This recipe scales perfectly. I regularly make a quadruple batch on Sunday evenings. Just use a larger bowl and divide into as many jars as needed. The ratios stay exactly the same.
For another breakfast option that comes together just as quickly, try my easy make-ahead mini egg muffin cups—they are perfect for savory mornings when you want something warm and protein-packed.
Variations & Adaptations
This base recipe is incredibly flexible. Here are some of my favorite variations that keep breakfast interesting all year round.
Chocolate Peanut Butter Banana
Add 1 tablespoon of unsweetened cocoa powder to the wet ingredients before mixing. Stir in 1 tablespoon of mini chocolate chips when dividing into jars. The chocolate pairs with the peanut butter and banana like a dream. My personal favorite when I need something that feels indulgent but is still reasonably healthy.
Protein-Packed Version
Add 1 scoop (about 30g) of vanilla or chocolate protein powder to the dry ingredients. Increase the milk by 2-3 tablespoons to compensate for the extra powder. Use a high-quality protein powder that dissolves well—I have had the best results with whey protein isolate. This version keeps me full until lunch easily.
Vegan Option
Use oat milk or almond milk instead of dairy milk. Replace the Greek yogurt with a thick dairy-free yogurt (coconut yogurt works wonderfully). Use maple syrup instead of honey. Everything else stays the same. The texture will be slightly less creamy but still delicious.
Seasonal Fruit Swaps
In summer, swap half the mashed banana for mashed ripe strawberries or peaches. In fall, add ¼ teaspoon of pumpkin pie spice and top with diced apple. In winter, stir in 2 tablespoons of canned pumpkin puree and a pinch of nutmeg. The banana provides the base sweetness, so adjust any added sweetener accordingly.
Nut-Free Alternative
Replace the peanut butter with sunflower seed butter or tahini. The flavor profile changes significantly (tahini gives a savory-sesame note that is surprisingly good), but the creamy texture remains. Sunflower seed butter is the closest match in terms of consistency and familiarity.
Serving & Storage Suggestions
Serving temperature – These overnight oats are best served cold straight from the fridge. The chilled, creamy texture is part of the appeal. If you prefer room temperature, let the jar sit on the counter for 10-15 minutes before eating. I do not recommend microwaving them—the texture becomes gummy and the banana flavor changes.
Presentation ideas – For a pretty breakfast bowl (or Instagram-worthy photo), stir the oats well, then transfer to a bowl. Top with a swirl of peanut butter, fresh banana slices, a sprinkle of cinnamon, and a few chocolate shavings or chopped peanuts. The contrast of colors and textures makes it look like something from a café.
What to serve alongside – A hot cup of coffee or black tea is the perfect companion. For a more substantial breakfast, serve alongside a hard-boiled egg or a slice of tender one-bowl banana bread with brown butter chocolate swirl for an extra-special morning treat.
Refrigerator storage – Store sealed jars in the refrigerator for up to 5 days. Keep the lids tight to prevent the oats from absorbing other food odors. Do not freeze these—the texture becomes watery and unpleasant upon thawing.
Reheating (if you must) – If you absolutely want warm oats, transfer the mixture to a small saucepan and warm over low heat for 2-3 minutes, stirring constantly. Add a splash of milk to loosen the texture. This method works better than microwaving because you can control the heat and prevent scorching.
Flavor development – The peanut butter and banana flavors meld and deepen over time. Day-old oats taste noticeably more cohesive than freshly made ones. By day 3, the flavors have fully married and the texture is at its peak creaminess. This is one of those rare recipes that genuinely improves with a day or two of rest.
Nutritional Information & Benefits
Here is the approximate nutritional breakdown for one serving (based on the base recipe without toppings, using whole milk and full-fat Greek yogurt).
| Nutrient | Amount per Serving |
|---|---|
| Calories | 385 |
| Protein | 16g |
| Carbohydrates | 48g |
| Fiber | 7g |
| Sugar | 16g (naturally occurring) |
| Fat | 17g |
| Saturated Fat | 4g |
| Sodium | 210mg |
Health benefits – Rolled oats are a fantastic source of soluble fiber, specifically beta-glucan, which helps lower cholesterol and keeps you feeling full. Bananas provide potassium, vitamin B6, and natural energy. Peanut butter contributes healthy monounsaturated fats and plant-based protein. Greek yogurt adds probiotics for gut health and extra protein for satiety.
Dietary considerations – This recipe can easily be made gluten-free by using certified gluten-free oats. It is naturally vegetarian. With the substitutions listed above, it can be made vegan, dairy-free, and nut-free. It contains peanuts and dairy in its standard form, so be aware of potential allergens.
Personal wellness perspective – I love that this breakfast keeps me full until lunch without any mid-morning energy crash. The combination of complex carbs, protein, and healthy fat provides steady energy rather than a sugar spike and crash. It is the kind of breakfast that makes the rest of the day feel manageable.
Conclusion
This creamy peanut butter banana overnight oats recipe has become my go-to breakfast for good reason. It takes five minutes to throw together, uses ingredients I always have on hand, and delivers a breakfast that genuinely tastes like a treat. The texture is creamy without being gluey, the flavor is balanced without being cloying, and the whole process requires zero cooking skills or fancy equipment.
I love that this recipe is more of a template than a rigid formula. You can adjust the sweetness, change up the toppings, swap in different milks, or add protein powder depending on what you need that week. It meets you where you are—whether that is a busy weekday morning where you just need to grab and go, or a lazy weekend where you want to sit down with a pretty bowl and a cup of coffee.
If you try this recipe, I would love to hear how it goes. Leave a comment below with your favorite variation or any tweaks you made. Did you add chocolate chips? Try it with almond butter? Make a double batch for the week? Share your experience—your feedback helps other readers and gives me ideas for new versions to test. And if you snap a photo, tag me so I can see your beautiful breakfast creations. Happy eating, friends!
Frequently Asked Questions
Can I use quick oats instead of rolled oats?
You can, but the texture will be noticeably different. Quick oats absorb liquid faster and break down more, resulting in a softer, mushier consistency that is closer to baby food than creamy oats. If quick oats are all you have, reduce the milk by 2 tablespoons and only soak for 4-6 hours instead of overnight.
Why are my overnight oats watery in the morning?
This usually happens for one of three reasons: you used too much liquid, you did not let them soak long enough (they need at least 6 hours), or you used steel-cut oats which do not absorb liquid well in cold conditions. Next time, measure your milk carefully and give the oats the full overnight soak. If they are still watery, stir in an extra tablespoon of chia seeds or a spoonful of yogurt to thicken them.
Can I make these without yogurt?
Absolutely. Replace the yogurt with an equal amount of milk or a dairy-free alternative. The texture will be slightly thinner and less creamy, but still delicious. You can also add 1 tablespoon of chia seeds to help thicken the mixture if you are skipping the yogurt.
How long do overnight oats last in the fridge?
Properly stored in an airtight container, these overnight oats stay good for up to 5 days. The texture changes over time—they become denser and more pudding-like after day 3. Always check for any off smells or mold before eating, especially after day 4.
Can I eat overnight oats warm?
Yes, but gently. Transfer the oats to a small saucepan and warm over low heat, stirring constantly, for 2-3 minutes. Add a splash of milk to loosen the texture. Microwaving is not recommended because it can make the oats gummy and unevenly heated. Warm overnight oats have a different texture than cold ones—more like a traditional porridge—but they are still tasty.
Pin This Recipe!
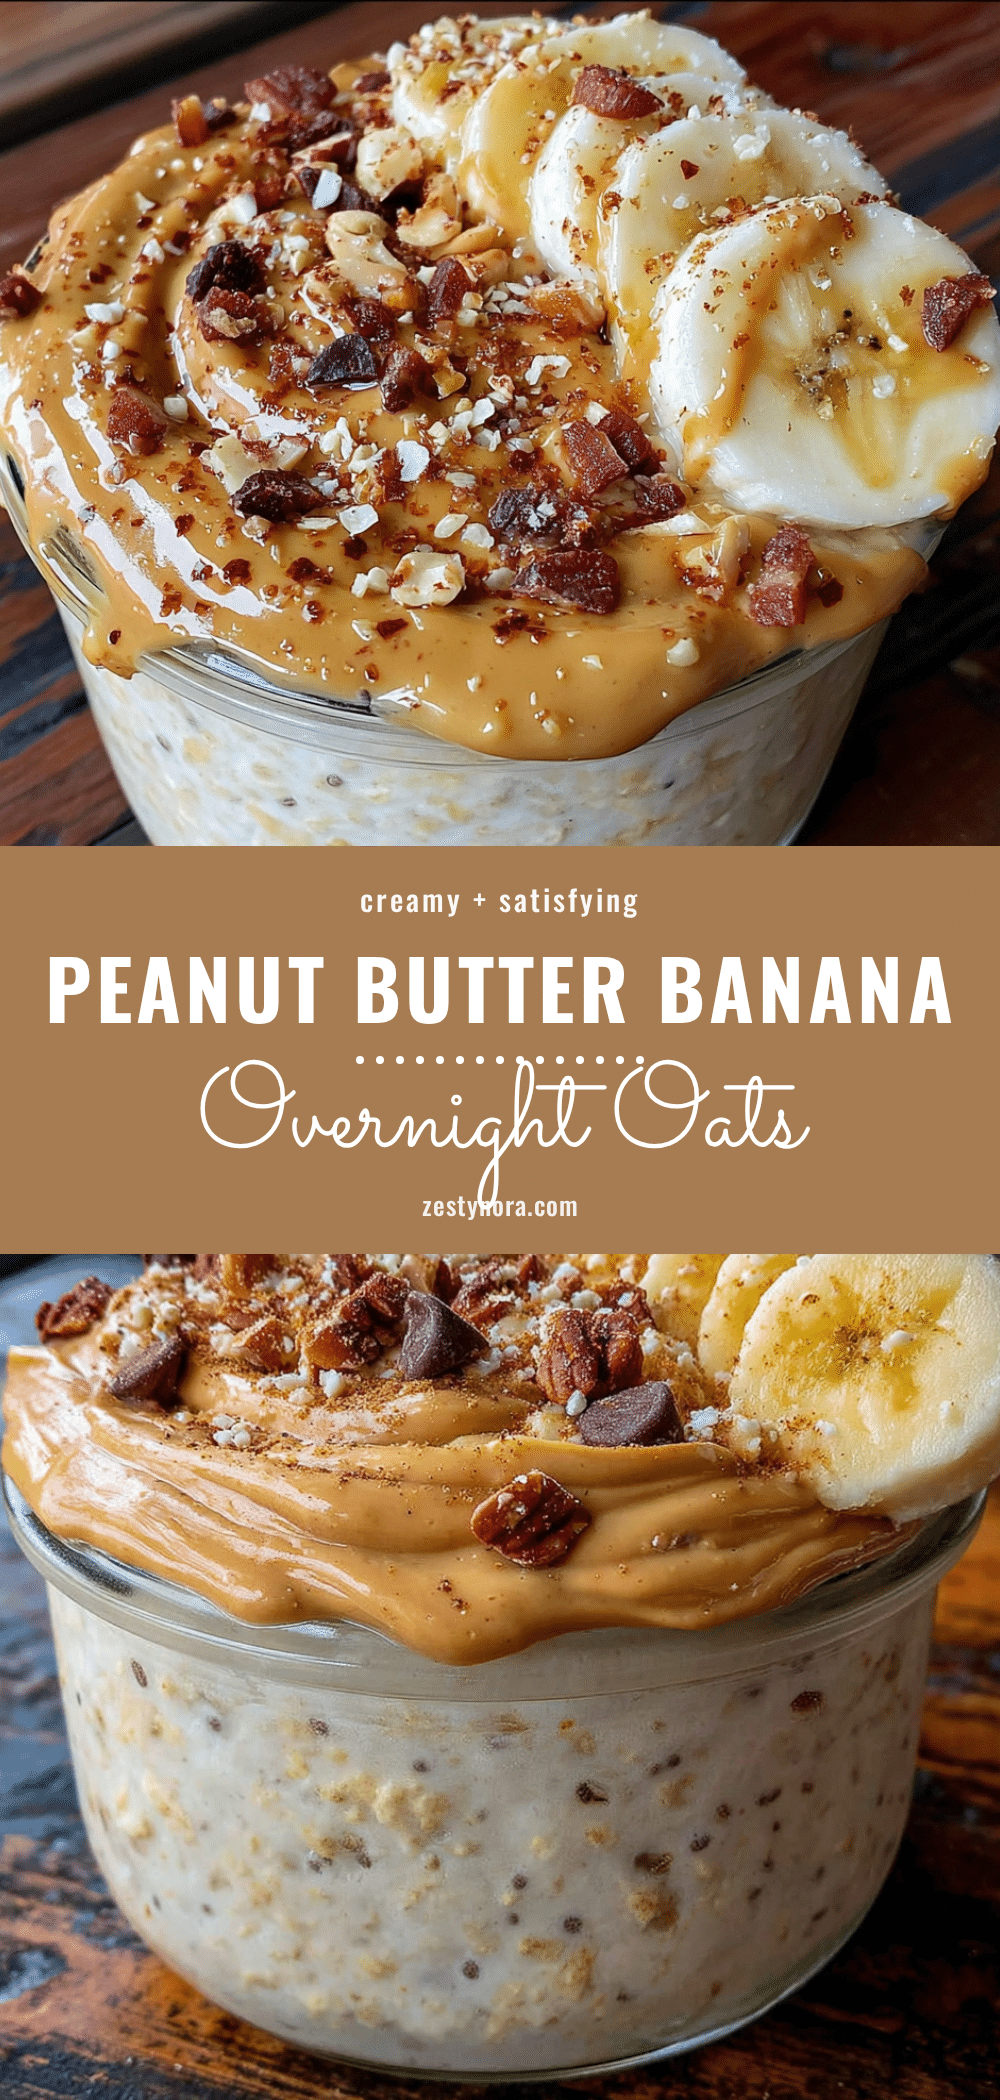
Creamy Peanut Butter Banana Overnight Oats (Easy 5-Minute Recipe)
A quick, no-cook breakfast made with rolled oats, peanut butter, banana, and Greek yogurt, soaked overnight for a creamy, pudding-like texture. Perfect for meal prep and naturally sweetened with ripe banana.
- Prep Time: 5 minutes
- Cook Time: 0 minutes
- Total Time: 5 minutes (plus 6-12 hours refrigeration)
- Yield: 2 servings 1x
- Category: Breakfast
- Cuisine: American
Ingredients
- 1 cup (90g) rolled oats
- 1 cup (240ml) milk (whole, 2%, or oat milk)
- 1/4 cup (60g) plain Greek yogurt
- 3 tablespoons (48g) creamy peanut butter
- 1 medium ripe banana, mashed (about 1/2 cup or 120g)
- 1 tablespoon (15ml) maple syrup or honey (optional)
- 1/2 teaspoon vanilla extract
- Pinch of fine sea salt
- Optional toppings: sliced banana, chopped peanuts, dark chocolate chips, chia seeds, cinnamon, extra peanut butter
Instructions
- In a medium mixing bowl, mash the ripe banana with a fork until mostly smooth with a few small lumps.
- Add the milk, Greek yogurt, peanut butter, maple syrup (if using), and vanilla extract. Whisk or stir until fully combined and no peanut butter streaks remain.
- Pour in the rolled oats and pinch of salt. Stir until every oat is coated. The mixture will be thin and soupy.
- Divide the mixture evenly into jars or airtight containers, leaving about 1/2 inch of headspace. If adding dry toppings like chocolate chips or chia seeds, sprinkle them in now and stir gently.
- Seal the jars tightly and refrigerate for at least 6 hours, preferably overnight (8-12 hours).
- In the morning, stir the oats. If too thick, add a splash of milk. Top with desired toppings and serve cold or at room temperature.
Notes
Use room temperature ingredients for easier mixing. Do not skip the salt—it balances sweetness and enhances peanut butter flavor. For creamier oats, let the mixture sit in the fridge for 15 minutes before dividing into jars. Add fresh fruit toppings just before serving to prevent browning. Oats keep in the fridge for up to 5 days; texture becomes denser over time. To reheat, warm gently in a saucepan over low heat with a splash of milk.
Nutrition
- Serving Size: 1 jar (about 1 cup)
- Calories: 385
- Sugar: 16
- Sodium: 210
- Fat: 17
- Saturated Fat: 4
- Carbohydrates: 48
- Fiber: 7
- Protein: 16
Keywords: overnight oats, peanut butter banana, no-cook breakfast, meal prep, healthy breakfast, creamy oats, easy breakfast


