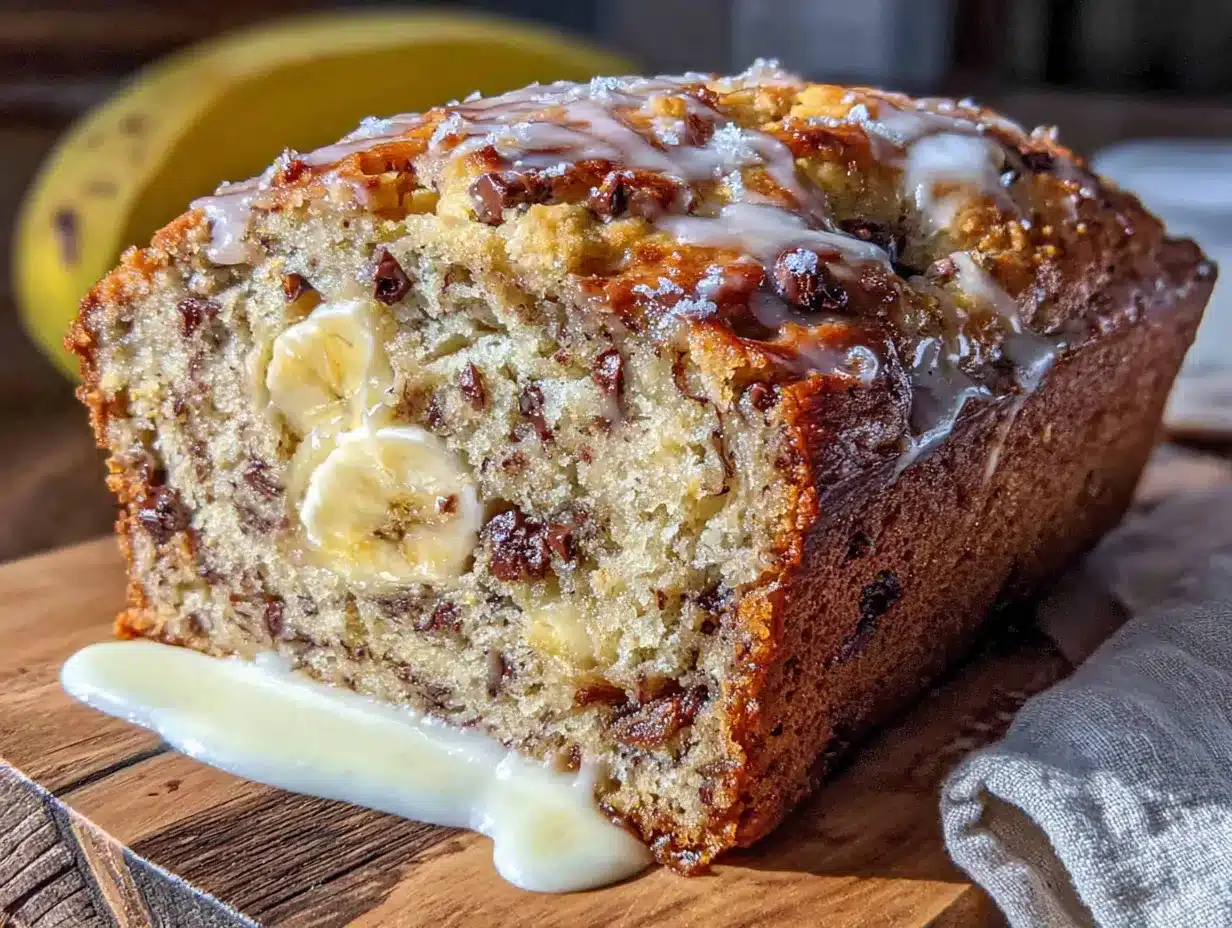
I had been looking for a banana bread that actually had a crackling, crusty top and an open, tender crumb—the kind you see in bakeries but never seem to get from a standard loaf pan. For a while, I just accepted that homemade banana bread was always going to be dense, squat, and a little too moist in the center. It was good, don’t get me wrong. But it wasn’t that bread. You know the one—where the top looks almost burnt but it’s not, where the inside is so soft it barely holds together, where every slice feels like a reward.
So I started tinkering. I tried letting the batter rest overnight. I tried different flour ratios. I even tried baking it in a Dutch oven like I do with my sourdough focaccia. And then it clicked—what if I treated banana bread like no-knead artisan bread? No mixer. No fuss. Just time, moisture, and a hot oven doing all the work.
The first time it came out of the Dutch oven, I actually laughed. The crust was that deep amber color I’d been chasing. The interior was impossibly soft, almost pudding-like in spots, but fully baked through. And the best part? I barely did anything. The dough did the heavy lifting overnight. This recipe isn’t flashy. It’s not complicated. It’s just the version I kept coming back to, and honestly, I think it’s the one that’ll stick.
Why You’ll Love This Recipe
This isn’t your average banana bread. The no-knead method changes everything—it builds structure without effort, giving you a loaf that’s taller, airier, and more satisfying than anything you can stir together in ten minutes. Here’s why it works so well:
- No Mixer Required : You don’t need a stand mixer, hand mixer, or even a whisk for more than a minute. Just a bowl and a spatula.
- Simple Ingredients : Everything is probably in your kitchen right now. Overripe bananas, flour, sugar, butter, eggs—that’s it.
- Perfect for Weekend Baking : The dough rests overnight in the fridge, so you can prep it on Friday night and bake it Saturday morning. It fits into real life.
- Crowd-Pleaser : I’ve brought this to brunches and potlucks, and people always ask for the recipe. It’s the kind of bread that makes you look like you tried harder than you did.
- Unbelievably Delicious : The crust is shatteringly crisp, and the inside is soft and almost custard-like. It’s comfort food that feels special.
What makes this recipe different from the rest is the technique. Most banana bread recipes rely on overmixing or extra leavening to get height. This one uses a long, cold fermentation to develop flavor and structure naturally. The result is a loaf that’s deeply banana-forward, with a texture that’s hard to achieve any other way. It’s not just another banana bread—it’s the one I make when I want to impress myself.
Honestly, this recipe is the kind that makes you close your eyes after the first bite. It’s comfort food reimagined—healthier in spirit (no weird additives), faster in effort (five minutes of hands-on time), but with the same soul-soothing satisfaction. Perfect for impressing guests without stress, or turning a simple weekend morning into something memorable.
What Ingredients You Will Need
This recipe uses simple, wholesome ingredients to deliver that artisan texture and flavor. Most are pantry staples, and the few that aren’t are easy to find at any grocery store.
- Overripe Bananas (3 large, mashed) : The darker the better. Brown spots are good; fully black peels are even better. They add natural sweetness and moisture. (I freeze my overripe bananas and thaw them before using—they release extra liquid, which works beautifully here.)
- All-Purpose Flour (2 ½ cups / 300g) : No need for bread flour. AP flour gives the right structure for a tender crumb. I prefer King Arthur Flour for consistent results.
- Granulated Sugar (¾ cup / 150g) : Adds sweetness and helps with browning. You can reduce to ½ cup if your bananas are very sweet.
- Unsalted Butter (½ cup / 113g, melted and cooled) : Adds richness and tenderness. Use good-quality butter—it makes a difference in flavor.
- Large Eggs (2, room temperature) : They bind the dough and add structure. Cold eggs will seize the melted butter, so let them sit out for 30 minutes first.
- Plain Yogurt or Buttermilk (¼ cup / 60ml) : Adds moisture and a slight tang that balances the sweetness. Full-fat works best, but low-fat is fine too.
- Baking Soda (1 teaspoon) : The only leavener you need. It reacts with the acidity in the bananas and yogurt to create lift.
- Salt (½ teaspoon) : Don’t skip it. Salt enhances all the flavors and keeps the bread from tasting flat.
- Vanilla Extract (1 teaspoon) : Adds warmth and depth. Use pure vanilla, not imitation, if you can.
Substitution Notes: For a dairy-free version, use melted coconut oil instead of butter, and swap the yogurt with dairy-free coconut yogurt. For a gluten-free option, use a 1:1 gluten-free flour blend (I like Bob’s Red Mill). The texture will be slightly denser but still delicious.
Equipment Needed
You don’t need much for this recipe, which is part of the appeal. Here’s what you’ll want:
- Large Mixing Bowl : Any bowl works, but a wide one makes mixing easier.
- Rubber Spatula or Wooden Spoon : For stirring the dough. No electric mixer required.
- Dutch Oven (5-6 quart) : This is key for the crust. The heavy lid traps steam, creating that crackly top. If you don’t have one, you can use a covered cast iron skillet or a heavy baking dish with a tight-fitting lid.
- Parchment Paper : For lining the Dutch oven. It makes lifting the bread out effortless.
- Plastic Wrap or a Clean Kitchen Towel : For covering the dough while it rests overnight.
- Cooling Rack : Essential for letting the bread cool evenly so the crumb sets properly.
I’ve made this in a cheap Dutch oven from a discount store, and it worked great. You don’t need fancy equipment—just something that holds heat well and has a lid.
Preparation Method
This method is deceptively simple. The magic happens while you sleep.
- Mash the Bananas (5 minutes) : In a large mixing bowl, mash your overripe bananas with a fork until mostly smooth. A few small lumps are fine—they add texture. You should have about 1 ½ cups of mashed banana.
- Mix the Wet Ingredients (2 minutes) : Add the melted and cooled butter, room temperature eggs, yogurt or buttermilk, and vanilla extract to the mashed bananas. Stir until everything is combined. Don’t worry if it looks a little separated—that’s normal.
- Add the Dry Ingredients (2 minutes) : Sprinkle the flour, sugar, baking soda, and salt over the wet mixture. Use your spatula to fold everything together until just combined. A few streaks of flour are okay. Overmixing will make the bread tough, so stop as soon as you don’t see dry flour anymore.
- Cover and Rest (12-18 hours) : Cover the bowl tightly with plastic wrap or a clean towel. Place it in the refrigerator. Let it rest overnight, or for at least 12 hours. This long rest is what develops the flavor and creates that open crumb. The dough will look slightly bubbly and smell more banana-y in the morning.
- Preheat the Oven (30 minutes before baking) : The next day, place your Dutch oven (with the lid on) in the cold oven. Preheat to 450°F (230°C). Let the pot heat up for a full 30 minutes after the oven reaches temperature. This step is crucial—the hot pot creates steam that gives you that crackling crust.
- Prepare the Dough (2 minutes) : While the pot heats, take the dough out of the fridge. It will be thick and slightly sticky. Don’t stir it. Just let it sit on the counter while the oven preheats. Line a piece of parchment paper that’s large enough to hang over the edges of your Dutch oven.
- Transfer and Score (1 minute) : Carefully remove the hot Dutch oven from the oven. Use the parchment paper to lift the dough into the pot—it will be soft and spread out. Don’t worry if it looks messy. Use a sharp knife or lame to score a shallow slash across the top. This helps the bread expand evenly.
- Bake Covered (30 minutes) : Place the lid on the Dutch oven and bake for 30 minutes. The steam trapped inside will create that beautiful, glossy crust.
- Bake Uncovered (15-20 minutes) : Remove the lid and continue baking until the top is deep golden brown and a toothpick inserted in the center comes out clean or with a few moist crumbs. If the top is browning too quickly, tent loosely with foil.
- Cool Completely (1 hour) : Use the parchment paper to lift the bread out of the pot and transfer it to a cooling rack. Let it cool completely before slicing. I know it’s tempting, but cutting into it warm will make the crumb gummy. Patience pays off here.
Sensory Cues: When you take the lid off after 30 minutes, the top should be pale and set. As it bakes uncovered, you’ll see it turn from pale gold to deep amber. The smell will fill your kitchen with caramelized banana and butter. When it’s done, tapping the top should sound hollow.
Cooking Tips & Techniques
I’ve made this recipe more times than I can count, and I’ve learned a few things the hard way. Here’s what I wish someone had told me:
- Don’t Skip the Overnight Rest : The first time I made this, I was impatient and only let it rest for 4 hours. The bread was good, but it wasn’t great. The overnight rest is non-negotiable for that artisan texture. It gives the flour time to hydrate fully and the flavors to deepen.
- Use Ripe Bananas : Green or barely yellow bananas won’t give you enough sweetness or moisture. If your bananas aren’t ripe enough, you can speed things up by roasting them in a 300°F (150°C) oven for 15-20 minutes until the skins blacken. Let them cool before mashing.
- Don’t Overmix : I ruined my first few batches by stirring too enthusiastically. The dough should be shaggy and slightly lumpy. Overmixing develops gluten, which makes the bread tough instead of tender.
- Watch the Oven : Every oven runs differently. My oven runs hot, so I start checking at the 25-minute mark during the uncovered bake. If the top is getting too dark, I cover it loosely with foil for the last 5-10 minutes.
- Let It Cool : I know this is hard. But cutting into warm banana bread is the number one mistake people make. The crumb needs time to set. If you slice it too soon, you’ll end up with a gummy, sticky mess. Trust me—I’ve done it.
Variations & Adaptations
This recipe is forgiving, so feel free to play around. Here are some of my favorite variations:
- Chocolate Swirl : Before the overnight rest, fold in ½ cup of chocolate chips or chopped dark chocolate. For an extra decadent version, swirl in ¼ cup of melted chocolate with a tablespoon of cocoa powder. It turns this into a dessert-worthy loaf. (I’ve done this and it’s incredible—think molten chocolate pockets in every bite.)
- Nutty Banana Bread : Add ½ cup of toasted walnuts or pecans when you mix the dry ingredients. Toasting the nuts first brings out their oils and adds a deeper flavor. This pairs beautifully with the caramelized banana notes.
- Spiced Version : Add 1 teaspoon of cinnamon, ½ teaspoon of nutmeg, and ¼ teaspoon of ground ginger to the dry ingredients. It gives the bread a warm, cozy flavor that’s perfect for fall mornings.
- Gluten-Free Adaptation : Use a 1:1 gluten-free flour blend. The texture will be slightly more crumbly, but the flavor is still fantastic. Add an extra tablespoon of yogurt to help with moisture.
- Vegan Version : Replace the eggs with two flax eggs (2 tablespoons ground flaxseed mixed with 6 tablespoons water, let sit for 5 minutes). Use melted coconut oil instead of butter, and dairy-free yogurt. The texture will be denser but still delicious.
Serving & Storage Suggestions
This bread is best served warm, but it’s also fantastic at room temperature. Here’s how I like to enjoy it:
- Serving Temperature : Serve slightly warm with a pat of salted butter melting into the crumb. Or toast a slice and top with a drizzle of honey or a smear of cream cheese. It’s also incredible with a scoop of vanilla ice cream for dessert.
- Complementary Dishes : This bread pairs beautifully with a creamy roasted butternut squash soup for a cozy lunch, or alongside a fresh Greek orzo pasta salad for a light dinner. For a sweet breakfast spread, serve it with easy fresh peach jam.
- Storage : Store the bread wrapped tightly in plastic wrap or in an airtight container at room temperature for up to 3 days. The crust will soften slightly, but it’s still delicious. For longer storage, wrap it in plastic wrap and then foil, and freeze for up to 3 months.
- Reheating : To revive the crust, reheat slices in a 350°F (175°C) oven for 5-7 minutes, or toast them. For a whole loaf, wrap in foil and warm in a 300°F (150°C) oven for 15-20 minutes.
- Flavor Development : The flavors actually deepen after a day or two. The banana sweetness becomes more pronounced, and the crust softens into a chewy, satisfying texture. Day-old slices are perfect for French toast or bread pudding.
Nutritional Information & Benefits
This bread is a treat, but it also has some redeeming qualities. Here’s the breakdown per slice (based on 12 slices):
| Nutrient | Amount per Slice |
|---|---|
| Calories | 285 |
| Total Fat | 12g |
| Saturated Fat | 7g |
| Carbohydrates | 40g |
| Fiber | 2g |
| Sugar | 18g |
| Protein | 5g |
Health Benefits: Bananas are rich in potassium, vitamin B6, and vitamin C. They also contain resistant starch, which is good for gut health. The yogurt adds a small amount of probiotics and calcium. This bread is lower in sugar than many banana bread recipes, thanks to the natural sweetness of overripe bananas.
Dietary Considerations: This recipe is vegetarian. For vegan or gluten-free options, see the variations section. It contains dairy (butter, yogurt) and gluten (flour).
I don’t pretend this is health food, but it’s made with real ingredients, and that counts for something. It’s the kind of bread you can feel good about serving to your family—or eating for breakfast when no one’s looking.
Conclusion
This no-knead artisan banana bread is proof that you don’t need complicated techniques or fancy equipment to make something truly special. It’s the kind of recipe that feels like a secret—simple enough for a weekday, impressive enough for company. The overnight rest does all the hard work, and you get to reap the rewards with a loaf that looks and tastes like it came from a bakery.
What I love most about this recipe is how adaptable it is. You can keep it plain, or you can dress it up with chocolate, nuts, or spices. It’s forgiving enough for beginners and satisfying enough for experienced bakers. And honestly, the first time you pull that golden, crackling loaf out of the Dutch oven, you’ll feel like a pro.
I’d love to hear how yours turns out. Did you add any variations? Did it come out as crusty as you hoped? Leave a comment below and share your experience. And if you loved it, share this recipe with a friend who needs a little comfort baking in their life. Happy baking!
Frequently Asked Questions
Can I use frozen bananas for this recipe?
Absolutely. Frozen bananas are actually ideal because they release extra moisture when thawed, which helps create a softer crumb. Thaw them completely, drain off any excess liquid (or use it in the recipe for extra banana flavor), and mash them well before using.
Why does the dough need to rest overnight?
The long rest allows the flour to fully hydrate and the flavors to develop. It also gives the baking soda time to activate, creating a lighter, airier texture. Without this rest, the bread will be denser and less flavorful.
Can I bake this without a Dutch oven?
Yes, but the crust won’t be as crackly. Use a heavy baking dish or cast iron skillet with a tight-fitting lid. You can also bake it in a standard loaf pan, but reduce the baking time by about 10 minutes and skip the covered baking step. The texture will be more like traditional banana bread.
How do I know when the bread is done baking?
Insert a toothpick or skewer into the center of the bread. It should come out clean or with a few moist crumbs, not wet batter. The top should be deep golden brown, and the bread should sound hollow when tapped. If the top is browning too quickly, cover it loosely with foil.
Can I make this recipe dairy-free?
Yes. Replace the butter with melted coconut oil or a dairy-free butter substitute. Use dairy-free yogurt (coconut or almond-based works well) or simply omit it and add an extra tablespoon of mashed banana. The texture will be slightly different but still delicious.
Pin This Recipe!
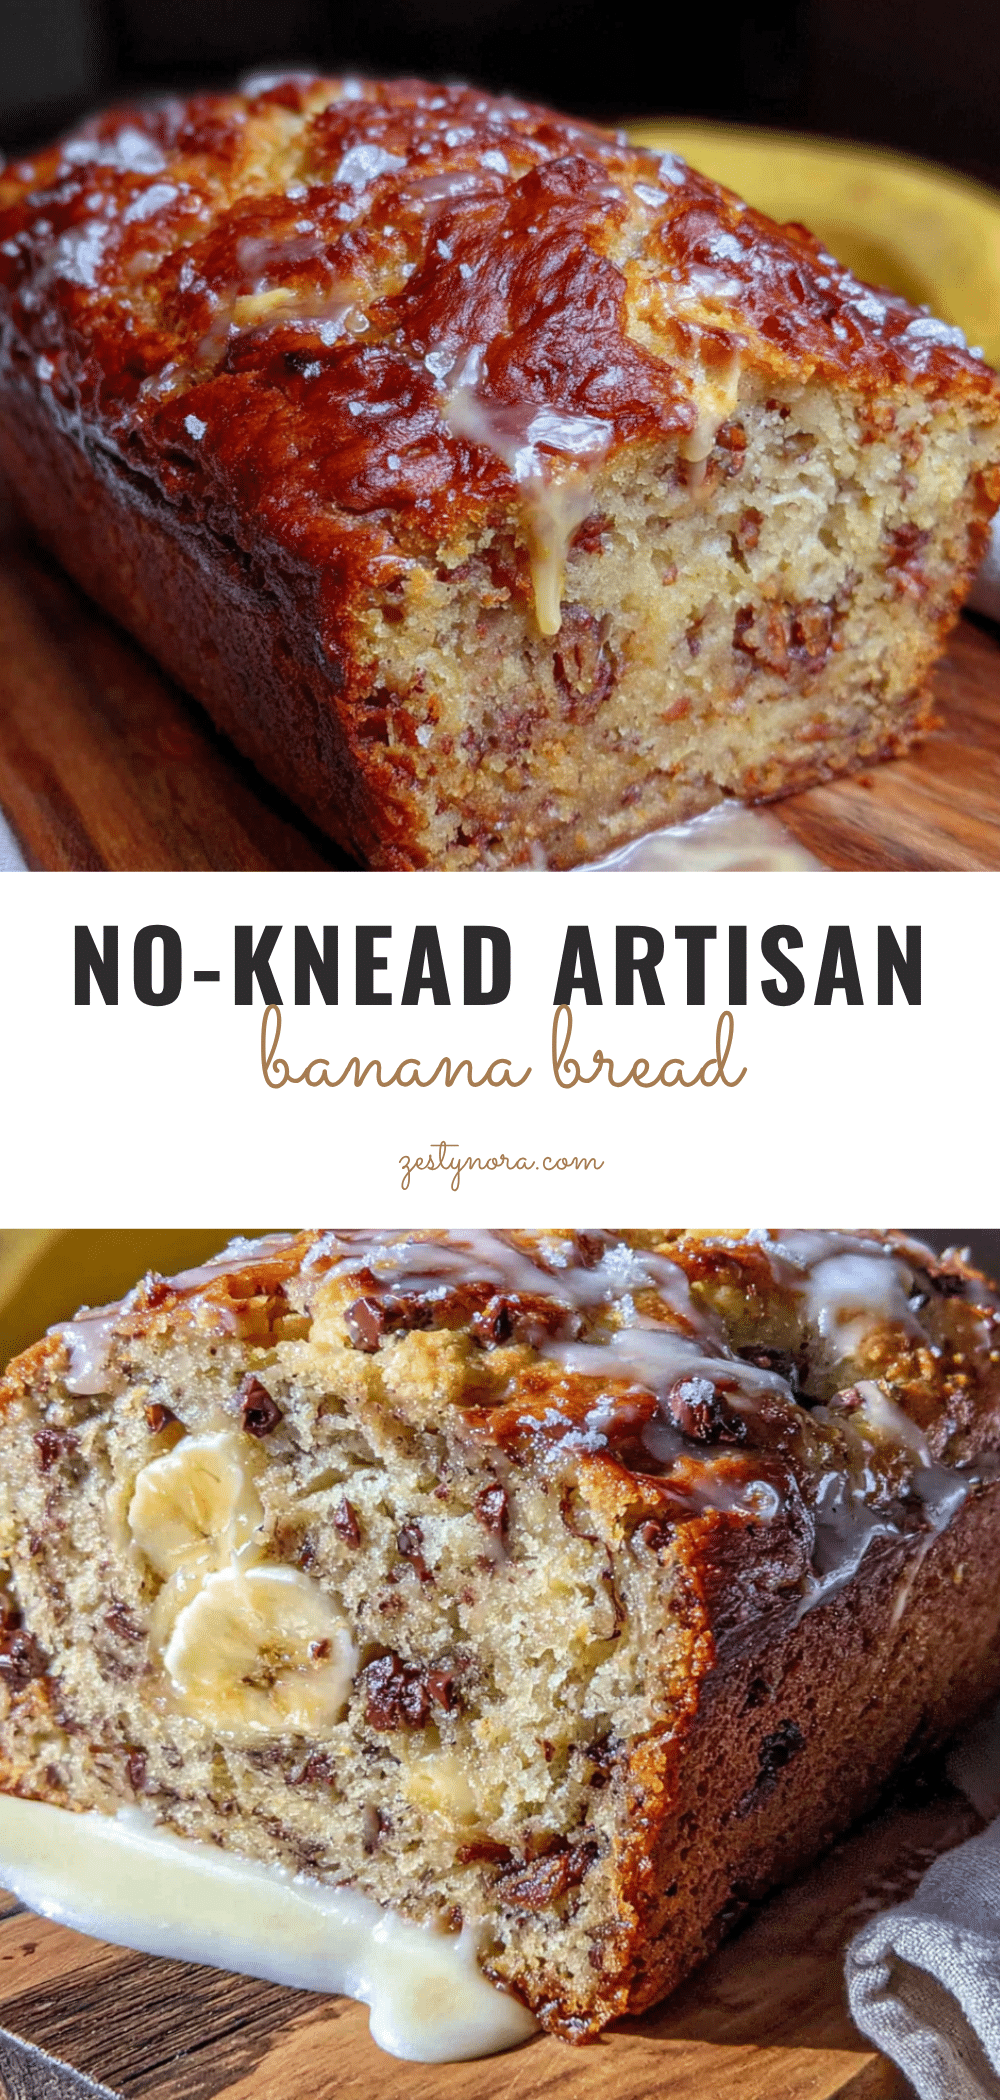
Perfect No-Knead Artisan Banana Bread: Easy Homemade Recipe
This no-knead artisan banana bread uses an overnight rest to develop a crackling crust and tender, custard-like crumb. Simple ingredients and minimal effort yield a bakery-quality loaf that’s perfect for weekend baking.
- Prep Time: 15 minutes
- Cook Time: 45 minutes
- Total Time: 13 hours 15 minutes (includes overnight rest)
- Yield: 12 servings 1x
- Category: Dessert
- Cuisine: American
Ingredients
- 3 large overripe bananas, mashed (about 1 ½ cups)
- 2 ½ cups (300g) all-purpose flour
- ¾ cup (150g) granulated sugar
- ½ cup (113g) unsalted butter, melted and cooled
- 2 large eggs, room temperature
- ¼ cup (60ml) plain yogurt or buttermilk
- 1 teaspoon baking soda
- ½ teaspoon salt
- 1 teaspoon vanilla extract
Instructions
- Mash the bananas in a large mixing bowl until mostly smooth.
- Add melted butter, room temperature eggs, yogurt or buttermilk, and vanilla extract. Stir until combined.
- Sprinkle flour, sugar, baking soda, and salt over the wet mixture. Fold until just combined; a few streaks of flour are okay.
- Cover the bowl tightly with plastic wrap or a clean towel and refrigerate for 12-18 hours.
- Place a Dutch oven (with lid) in the cold oven. Preheat to 450°F (230°C) and let the pot heat for 30 minutes after reaching temperature.
- Remove dough from fridge. Line a piece of parchment paper large enough to hang over the edges of the Dutch oven.
- Carefully remove hot Dutch oven from oven. Use parchment to lift dough into the pot. Score a shallow slash across the top with a sharp knife.
- Cover and bake for 30 minutes.
- Remove lid and bake for 15-20 minutes more, until deep golden brown and a toothpick inserted in the center comes out clean or with a few moist crumbs.
- Use parchment to lift bread out of pot and transfer to a cooling rack. Cool completely before slicing.
Notes
Don’t skip the overnight rest—it’s essential for texture and flavor. Use very ripe bananas (brown or black peels). Let the bread cool completely before slicing to avoid a gummy crumb. For a dairy-free version, use melted coconut oil and dairy-free yogurt. For gluten-free, use a 1:1 gluten-free flour blend.
Nutrition
- Serving Size: 1 slice
- Calories: 285
- Sugar: 18
- Sodium: 240
- Fat: 12
- Saturated Fat: 7
- Carbohydrates: 40
- Fiber: 2
- Protein: 5
Keywords: banana bread, no-knead, artisan, easy, homemade, Dutch oven, overnight


