I did not trust baked chicken tenders to actually be crispy. Let’s be honest, most of them come out looking like sad, pale strips of rubber that dry out before you even get to the middle. I spent years stuck in a loop of either deep frying them—guilty pleasure, sure, but heavy and greasy—or buying the frozen bags from the grocery store that tasted like cardboard and preservatives. My kids would look at the oven version with that same disappointed sigh they reserve for broccoli, so I usually just gave up and ordered takeout.
The turning point wasn’t some magical moment in a professional kitchen. It was a rainy Tuesday in November when I was tired, broke, and staring at a package of chicken breasts that needed to be used up. I decided to try a method that sounded too simple to work: using a mix of panko breadcrumbs and a little bit of grated parmesan, coated in egg wash, but baked on a wire rack instead of directly on the pan. I figured the worst that could happen was another disappointing dinner.
When I pulled the baking sheet out of the oven, the smell hit me first. It didn’t smell like “diet food” or “boiled chicken.” It smelled like a diner menu. The crust was golden brown and held its shape when I lifted a strip. I took a bite, expecting the usual dryness. Instead, the crust shattered slightly, and the meat underneath was juicy enough that I actually closed my eyes. It wasn’t just edible; it was genuinely good.
That night, my kids asked for seconds. Not the polite “thanks for trying” kind of seconds, but the “can I have more?” kind. I realized I had accidentally stumbled onto a way to make chicken tenders that were actually healthy, quick, and satisfying. I stopped buying the frozen bags that week. Now, this is my go-to weeknight solution. It’s not about reinventing the wheel; it’s about making the wheel roll smoother. I’m sharing this because if you’ve given up on baked chicken, you need to give this one last shot.
Why You’ll Love This Recipe
There is a specific kind of satisfaction that comes from biting into something crispy on the outside and tender on the inside, without the guilt of a deep fryer. These crispy baked chicken breast tenders hit that spot perfectly. I’ve tested this recipe dozens of times, tweaking the breadcrumb ratios and oven temperatures, to get to this exact balance. It’s not just another chicken recipe; it’s the one that actually works when you’re rushing around after work.
Here is why this recipe stands out from the hundreds of chicken tutorials online:
- Quick & Easy: From start to finish, you’re looking at about 20 minutes. That includes prep time. If you are working a busy weeknight or dealing with picky eaters, this speed is a lifesaver. You can have dinner on the table before the kids even finish their homework.
- Simple Ingredients: You do not need to go to a specialty store for this. The ingredients are things you likely already have in your pantry or fridge. Panko, parmesan, eggs, spices. That’s it. No fancy sauces or hard-to-find flours.
- Perfect for Meal Prep: These tenders are fantastic for lunchboxes. They hold up well in the fridge and can be eaten cold or reheated. I often make a double batch on Sunday to have quick protein ready for the week ahead.
- Crowd-Pleaser: Whether it’s a toddler who only eats nuggets or a teenager who thinks they know better, these get rave reviews. They are familiar comfort food, just made better.
- Unbelievably Delicious: The texture is the star here. The panko creates a shatteringly crisp exterior, while the parmesan adds a savory, nutty depth that regular breadcrumbs just can’t match. It’s next-level comfort food that doesn’t feel heavy.
What makes this different from the rest is the technique. Most recipes tell you to just dip and bake. But using a wire rack allows the hot air to circulate under the chicken, preventing that soggy bottom that plagues so many home cooks. It’s a small change, but it makes all the difference in achieving that restaurant-quality crunch. This recipe isn’t just good; it’s the kind that makes you forget you’re eating “healthy” chicken. It’s comfort food reimagined—faster, lighter, but with the same soul-soothing satisfaction. Perfect for impressing guests without stress, or turning a simple meal into something memorable.
What Ingredients You Will Need
This recipe uses simple, wholesome ingredients to deliver bold flavor and satisfying texture without the fuss. The magic really happens in the coating, so picking the right components matters more than you might think. You don’t need expensive cuts of meat or rare spices, but you do need to pay attention to a few details to get that perfect crunch.
Here is what you need to gather:
- Chicken Breasts: Use 1 to 1.5 pounds of boneless, skinless chicken breasts. Look for breasts that are relatively uniform in size so they cook evenly. If you have larger breasts, you can slice them in half horizontally to create thinner cutlets, which cook faster and stay juicier.
- Panko Breadcrumbs: This is non-negotiable for crispiness. Panko is lighter and airier than standard breadcrumbs, creating that signature shatter-crunch. I recommend using Senko Panko because the flakes are large and distinct. Avoid fine, dust-like breadcrumbs if you want that real crunch.
- Grated Parmesan Cheese: About 1/4 cup of finely grated parmesan adds saltiness and umami. It helps the breadcrumbs stick and adds a savory note. Use the pre-grated kind if you’re in a rush, but freshly grated melts better and tastes sharper. Avoid the green shaker-can stuff; it has anti-caking agents that can make the coating gritty.
- Eggs: Two large eggs, beaten. These act as the glue for your breading. Room temperature eggs blend more smoothly, but cold ones work fine too. Whisk them until they are completely uniform in color.
- Garlic Powder: 1 teaspoon. This adds a foundational savory note. It’s subtle but essential for balancing the richness of the cheese and chicken.
- Onion Powder: 1 teaspoon. Complements the garlic and adds a bit of sweetness that rounds out the flavor profile.
- Dried Parsley: 1 teaspoon. Adds a touch of color and a mild, herbal freshness. It breaks up the monotony of the golden-brown crust.
- Salt and Black Pepper: To taste. I usually use about 1/2 teaspoon of kosher salt and a generous crack of black pepper in the breadcrumb mix. Don’t forget to season the chicken itself lightly before dipping.
- Cooking Spray or Olive Oil: You need something to help the breadcrumbs brown. A light spray of olive oil cooking spray works best because it covers evenly without making the chicken greasy. You can also brush with olive oil, but spray is easier.
If you are out of panko, you can pulse regular breadcrumbs in a food processor to break them up, but the texture won’t be quite as light. For a gluten-free option, use certified gluten-free panko or crushed gluten-free crackers. I’ve also swapped the parmesan for nutritional yeast if I’m feeling dairy-light, though the cheese really does add the best flavor.
Equipment Needed
You don’t need a lot of fancy gadgets for this, but having the right tools makes the process smoother.
- Baking Sheet: A standard half-sheet pan is perfect. Rimmed edges help contain any mess, though with this recipe, there’s barely any.
- Wire Rack: This is the most important piece of equipment. A wire cooling rack that fits inside your baking sheet is essential. It elevates the chicken, allowing heat to circulate underneath. Without it, the bottom of the tenders will steam in their own juices and become soggy. If you don’t have a rack, you can place the chicken directly on the pan, but you’ll need to flip them halfway through, and the crispiness will be slightly less pronounced.
- Three Shallow Bowls: You need a standard breading station: one for the egg wash, one for the breadcrumb mixture, and one empty one for the finished tenders. Small cereal bowls or pie plates work well.
- Chef’s Knife and Cutting Board: For slicing the chicken breasts into strips. A sharp knife makes clean cuts without shredding the meat.
- Whisk: For beating the eggs smoothly. A fork works, but a whisk incorporates air and removes the yolk whites more effectively.
I’ve tried using aluminum foil to line the pan for easy cleanup, but I don’t recommend it. The foil can trap moisture and prevent the bottom from crisping up. If you must use foil for cleanup, place the wire rack on top of it. The rack is the hero here, not the liner.
Preparation Method
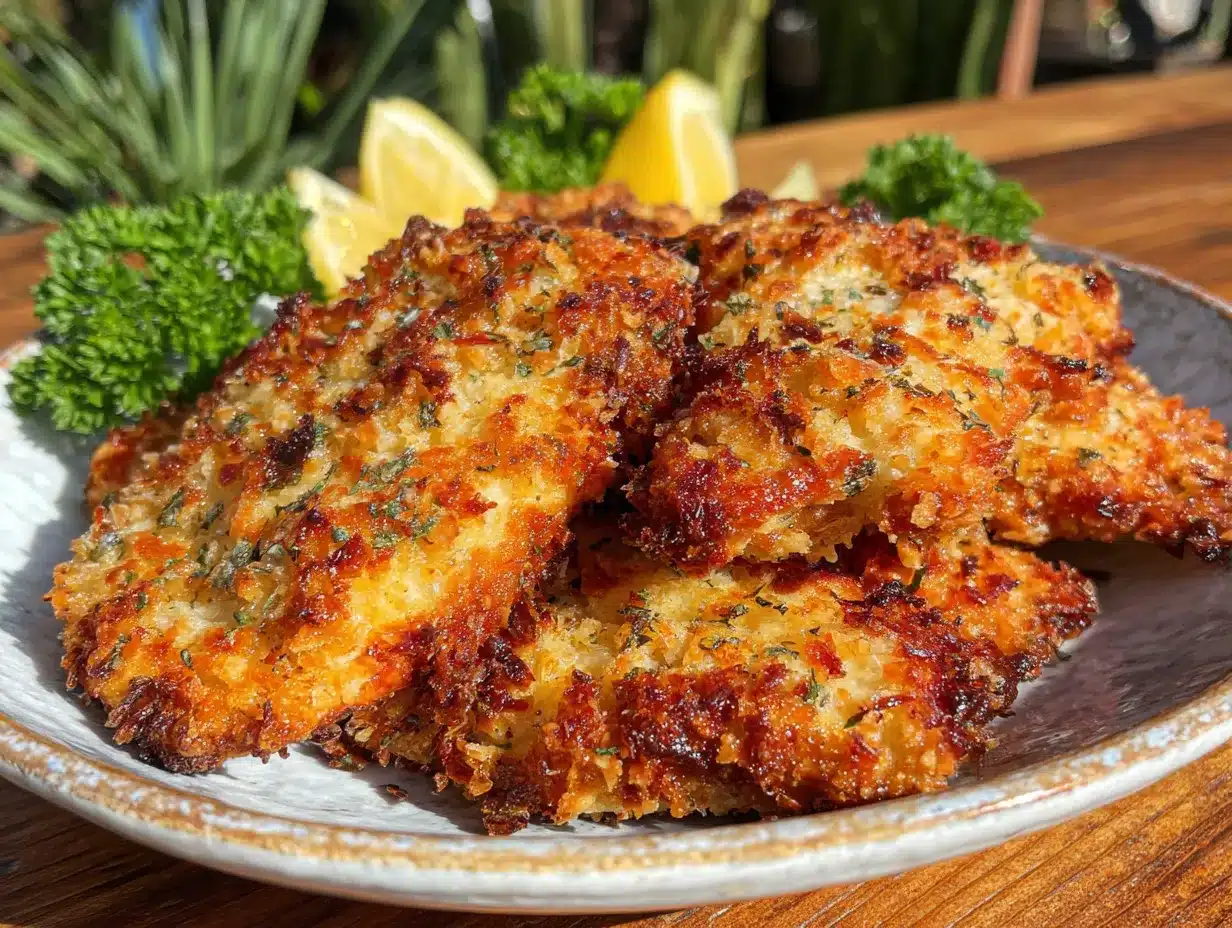
Getting the breading station set up correctly is half the battle. Once you have everything measured and ready, the actual assembly is fast. Here is how to make these crispy baked chicken breast tenders step-by-step.
- Prep the Chicken (5 minutes): Start by patting your chicken breasts dry with paper towels. This sounds minor, but removing excess moisture helps the egg wash stick better. Place the chicken breasts on a cutting board. If they are very thick, slice them horizontally into two or three thinner cutlets. Then, slice these cutlets into strips that are about 1 inch wide and 3-4 inches long. Aim for uniform sizes so they cook at the same rate. Season the raw chicken strips lightly with a pinch of salt and pepper.
- Set Up the Breading Station (2 minutes): Take three shallow bowls. In the first bowl, beat the two eggs with a fork until they are smooth and uniform. In the second bowl, combine the panko breadcrumbs, grated parmesan, garlic powder, onion powder, dried parsley, salt, and black pepper. Mix these dry ingredients thoroughly with a fork. The third bowl will be empty and used to hold the breaded tenders as you finish them.
- Dredge the Chicken (5 minutes): Take a chicken strip and dip it into the egg wash, turning it over to coat both sides completely. Let any excess egg drip off for a second—don’t rush this, or you’ll get clumpy breading. Next, transfer the wet chicken into the panko mixture. Press the breadcrumbs onto the chicken firmly with your fingers. You want a thick, even coating. Don’t be shy with the pressure; pressing helps the crumbs adhere. Lift the strip and gently shake off any loose crumbs, then place it in the empty bowl. Repeat with all the chicken strips.
- Arrange on the Rack (2 minutes): Place the wire rack inside your baking sheet. Arrange the breaded chicken strips on the rack in a single layer. Make sure they are not touching each other. Crowding the pan will cause steam to build up, which leads to soggy spots. If you have a lot of chicken, use two racks or bake in batches.
- Apply the Oil (1 minute): Lightly spray the tops of the chicken tenders with olive oil cooking spray. This is crucial for browning. The oil helps the panko turn golden brown in the oven. If you don’t have spray, you can brush them lightly with melted butter or olive oil, but spray is more even and uses less fat.
- Bake (12-15 minutes): Preheat your oven to 400°F (200°C). Place the baking sheet with the rack in the center of the oven. Bake for 12 to 15 minutes. You want the chicken to reach an internal temperature of 165°F (74°C). The crust should be golden brown and crisp. If your tenders are thicker, they may need an extra minute or two. Avoid opening the oven door too often, as this drops the temperature and can affect the rise of the crust.
- Rest and Serve (2 minutes): Remove the pan from the oven. Let the chicken rest on the rack for about 2-3 minutes before serving. This allows the juices to redistribute throughout the meat, ensuring every bite is moist. Serve immediately while the crust is still shatteringly crisp.
One tip I learned the hard way: don’t skip the resting step. If you cut into the chicken immediately, the juices run out, and the meat can seem drier than it actually is. A short rest keeps it succulent.
Cooking Tips & Techniques
There are a few nuances that separate a good baked chicken tender from a great one. I’ve burned plenty of breadcrumbs and dried out enough chicken to know what to avoid.
- Don’t Skip the Wire Rack: I cannot stress this enough. Baking directly on a pan is the enemy of crispiness. The rack allows hot air to hit all sides of the chicken. If you don’t have a rack, you can use a crumpled-up piece of aluminum foil to create a makeshift bed, but a proper rack is best.
- Press the Breadcrumbs: When you are dredging the chicken, press the panko into the meat. If you just roll the chicken in the crumbs, they will fall off in the oven. Pressing ensures a strong bond between the egg, the cheese, and the crumbs.
- Watch the Oven Temperature: Ovens vary. If your breading is turning brown too quickly before the chicken is cooked, cover the pan loosely with aluminum foil for the last few minutes of cooking. Conversely, if the crust isn’t browning enough, you can switch to broil for the last 1-2 minutes, but watch it like a hawk. Panko burns fast.
- Keep It Dry: Moisture is the enemy of crispiness. Make sure your chicken is patted dry before dipping. Also, ensure your hands are relatively dry when pressing the crumbs on. Wet hands can make the coating gummy.
- Use Panko, Not Regular Breadcrumbs: Regular breadcrumbs are dense and absorb more oil. Panko is structured to stay crunchy. If you use regular breadcrumbs, you might need to add a little more oil spray to get them to brown.
- Don’t Overcrowd: Give the tenders space. Steam is your worst friend here. If you pack them too tight, they will steam each other instead of bake.
I once tried to bake these on a stone because I was trying to be fancy. Big mistake. The stone retained too much heat from the bottom and burned the crust while the inside was raw. Stick to the rack. It’s simple, it works, and it’s what the pros use.
Variations & Adaptations
One of the best things about this recipe is how adaptable it is. Once you master the base technique, you can tweak it to fit your dietary needs or flavor preferences.
- Spicy Kick: Add 1 teaspoon of cayenne pepper or red pepper flakes to the breadcrumb mixture. This gives a nice heat that pairs well with the cool ranch or honey mustard dipping sauces. I like to add a pinch of smoked paprika for a deeper, smoky flavor.
- Herb Garden: Swap the dried parsley for fresh chopped parsley, chives, or thyme. Fresh herbs add a brighter, more vibrant flavor. Just make sure to chop them finely so they distribute evenly in the panko.
- Gluten-Free Option: Use certified gluten-free panko breadcrumbs. Brands like Enjoy Life or Bob’s Red Mill make good gluten-free panko that behaves similarly to the wheat version. You can also use crushed gluten-free cornflakes for a different kind of crunch.
- Dairy-Free: Omit the parmesan cheese. You can add an extra teaspoon of garlic powder and onion powder to make up for the lost savory depth, or use a nutritional yeast substitute that mimics the cheesy flavor. The coating will still be crispy without the cheese.
- Baking vs. Air Frying: These work beautifully in an air fryer too. Cook at 375°F (190°C) for 8-10 minutes, flipping halfway through. The air fryer circulates air so intensely that you might not even need the wire rack, but using one still helps. The air fryer version is even crispier but cooks faster, so keep an eye on it.
I often make a batch of the spicy version for my husband and a plain batch for the kids. It’s easy to divide the breadcrumb mixture and season one half with extra spices. This recipe is a canvas, not a rigid rulebook. Feel free to experiment with different herbs and spices to find your family’s favorite combination.
Serving & Storage Suggestions
These crispy baked chicken breast tenders are versatile when it comes to serving. They are great on their own, but they shine when paired with the right sides.
- Dipping Sauces: Classic pairings include ranch dressing, honey mustard, barbecue sauce, or even a simple ketchup. For a gourmet touch, try a garlic aioli or a spicy sriracha mayo. The crispy crust is perfect for scooping up sauces.
- Side Dishes: Serve with a crisp green salad, roasted vegetables like broccoli or asparagus, or mashed potatoes. The tenders also work well in salads, sliced over greens for a healthy lunch. They are also excellent in sandwiches or wraps.
- Storage: Store leftover tenders in an airtight container in the refrigerator for up to 3-4 days. They do not reheat well in the microwave, as the steam will make the crust soggy. Instead, reheat them in a toaster oven, conventional oven, or air fryer at 350°F (175°C) for 3-5 minutes. This restores the crispiness.
- Freezing: You can freeze these tenders before or after cooking. To freeze before cooking, bread them and place them on a baking sheet in the freezer. Once solid, transfer them to a freezer bag. Bake from frozen, adding 2-3 minutes to the cooking time. To freeze after cooking, let them cool completely, then freeze in a single layer before bagging. Reheat in the oven for best results.
- Flavor Development: Interestingly, these tenders taste even better the next day if reheated properly. The flavors meld together, and the crust holds up well to the second bake. They are a great meal-prep item for busy weekdays.
I often make a double batch on Sunday and freeze half for Wednesday night dinner. It saves so much time during the week. Just remember, if you’re serving them to guests, make them fresh. The crispiness is at its peak right out of the oven.
Nutritional Information & Benefits
One of the biggest advantages of baking these tenders instead of frying is the significant reduction in fat and calories. A typical serving of baked chicken tenders (about 3-4 strips) contains roughly 200-250 calories, depending on the size of the chicken and the amount of oil used. This is much lower than the deep-fried version, which can easily exceed 400 calories per serving due to oil absorption.
Chicken breast is an excellent source of lean protein, which is essential for muscle repair and satiety. The panko breadcrumbs provide carbohydrates for energy, while the parmesan adds calcium and protein. If you use the gluten-free or dairy-free variations, the nutritional profile shifts slightly, but the protein content remains high.
For those watching their sodium intake, you can reduce the salt in the breadcrumb mixture and rely more on herbs and spices for flavor. The garlic and onion powders add depth without adding salt. Overall, this recipe is a balanced, protein-rich option that fits well into most dietary plans, whether you are counting calories, tracking macros, or just trying to eat cleaner. It’s a way to enjoy comfort food without the heavy guilt trip.
Conclusion
Making crispy baked chicken breast tenders at home is easier than you think, and the results are worth the effort. They are quick, healthy, and incredibly satisfying. I hope this recipe helps you break free from the cycle of frozen nuggets and takeout. Once you try this method, you might find yourself making them regularly.
Feel free to customize the spices and sauces to match your family’s tastes. Cooking is about experimentation, so don’t be afraid to add a pinch of this or a dash of that. I’d love to hear how your version turns out. Leave a comment below with your favorite dipping sauce or any variations you tried. Share this recipe with friends who are looking for a healthier dinner option, and don’t forget to save it to your Pinterest board for easy access later. Enjoy every crunchy, juicy bite.
FAQs
Can I use chicken thighs instead of breasts?
Yes, you can use boneless, skinless chicken thighs. They are juicier and have a richer flavor, but they are also softer, so the coating might not stick as firmly. You may need to press the breadcrumbs on more aggressively. Thighs also cook slightly faster, so keep an eye on the internal temperature to avoid overcooking.
Why are my chicken tenders not crispy?
The most common reason is skipping the wire rack. Baking directly on a pan traps steam. Another reason is not spraying the breadcrumbs with oil. The oil is necessary for browning. Also, ensure your oven is fully preheated before putting the chicken in. If the oven is too cool, the chicken will steam instead of bake.
How do I store leftover chicken tenders?
Store them in an airtight container in the refrigerator for up to 4 days. Reheat them in the oven, toaster oven, or air fryer to maintain crispiness. Avoid the microwave, as it will make the crust soggy.
Can I make these gluten-free?
Absolutely. Use certified gluten-free panko breadcrumbs. You can also use crushed gluten-free cornflakes or almond flour for a low-carb option. Just note that almond flour browns faster, so watch the oven closely.
What is the best way to cut chicken breasts for tenders?
Slice the breast horizontally into thin cutlets first. This creates a larger surface area and ensures even thickness. Then, slice these cutlets into strips that are about 1 inch wide. Uniform size ensures even cooking, so try to keep the strips similar in width.
Pin This Recipe!
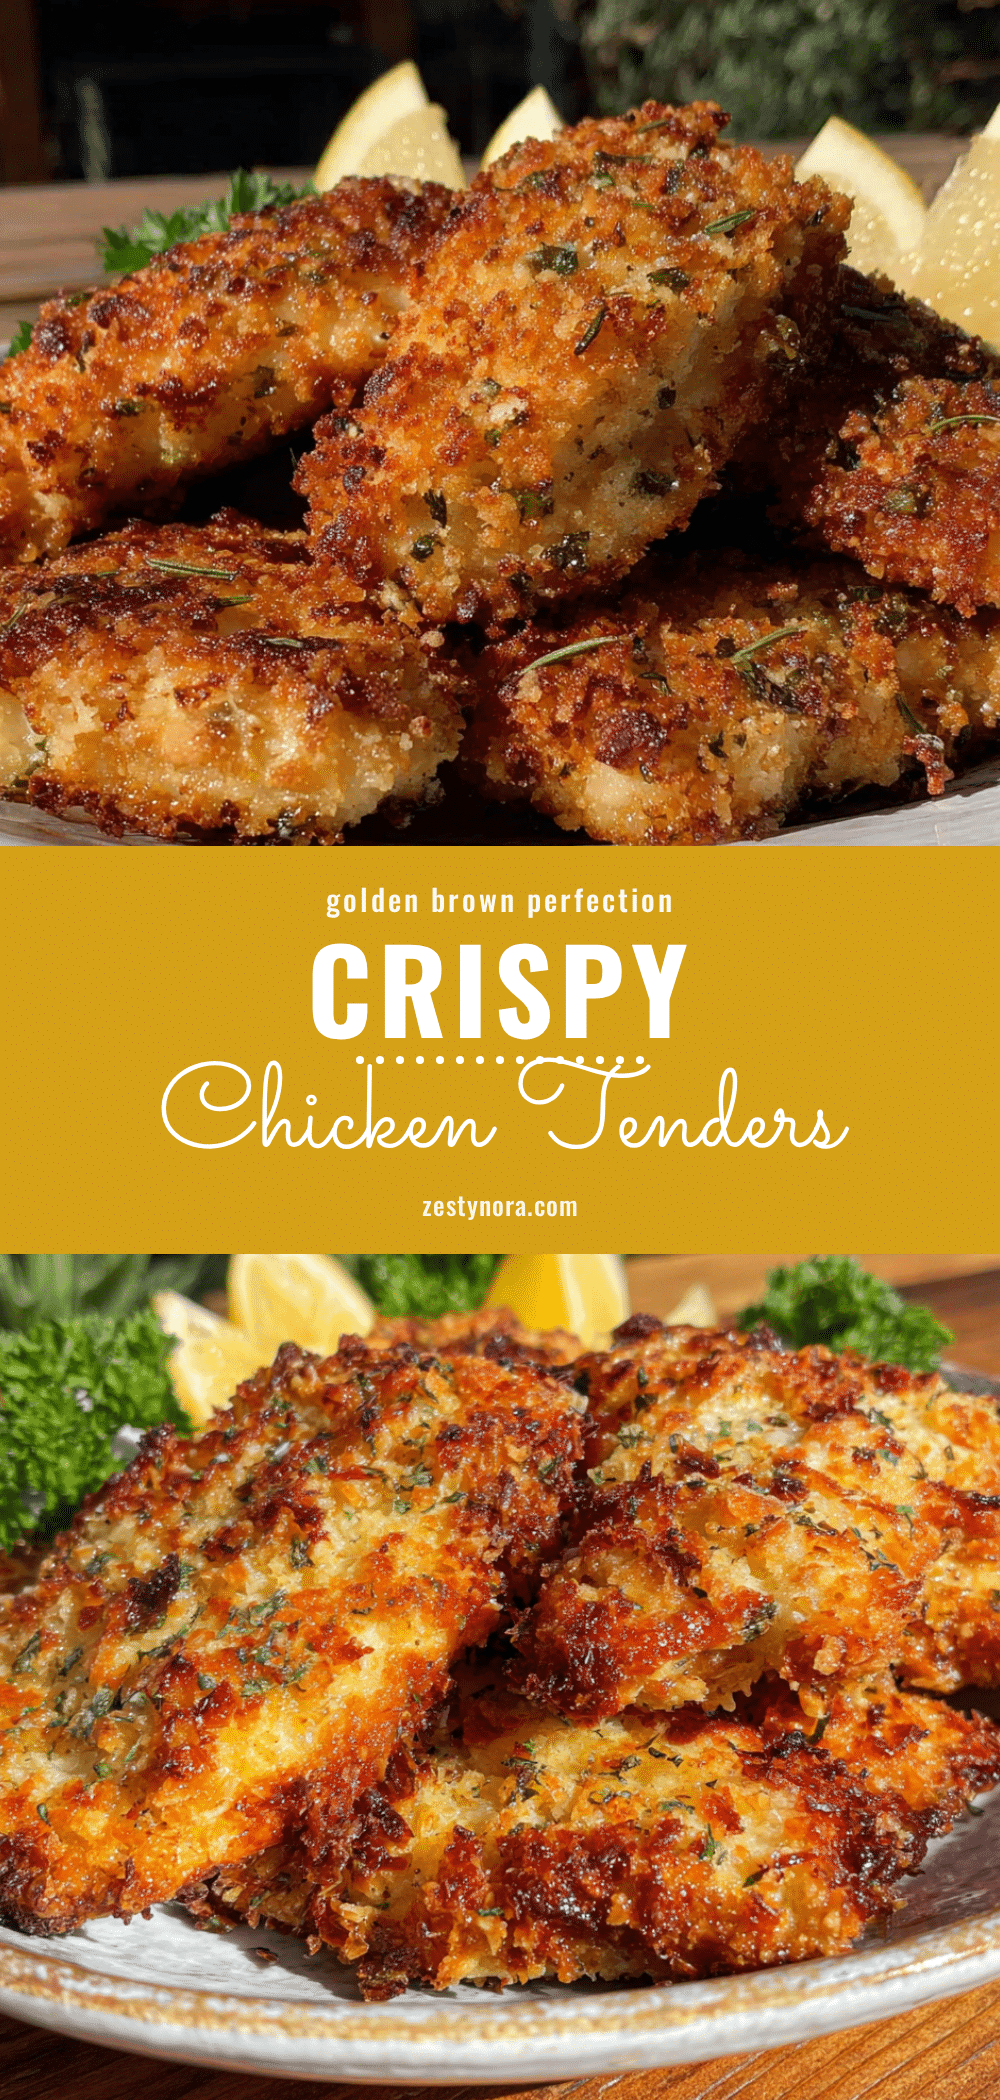
Crispy Baked Chicken Breast Tenders: 15-Min Easy Dinner

These crispy baked chicken breast tenders offer a healthier alternative to deep-fried nuggets, featuring a shatteringly crisp panko-parmesan crust and juicy interior. Ready in just 20 minutes, this easy weeknight dinner is perfect for families and meal prep.
- Prep Time: 15 minutes
- Cook Time: 15 minutes
- Total Time: 30 minutes
- Yield: 4 servings 1x
- Category: Main Course
- Cuisine: American
Ingredients
- 1 to 1.5 pounds boneless, skinless chicken breasts
- 2 large eggs, beaten
- 1 cup panko breadcrumbs
- 1/4 cup finely grated parmesan cheese
- 1 teaspoon garlic powder
- 1 teaspoon onion powder
- 1 teaspoon dried parsley
- 1/2 teaspoon kosher salt
- Generous crack of black pepper
- Olive oil cooking spray
Instructions
- Preheat oven to 400°F (200°C).
- Pat chicken breasts dry with paper towels. Slice horizontally into thinner cutlets if necessary, then cut into 1-inch wide strips. Season lightly with salt and pepper.
- Set up a breading station with three shallow bowls: one with beaten eggs, one with panko mixed with parmesan, garlic powder, onion powder, parsley, salt, and pepper, and one empty bowl for finished tenders.
- Dip each chicken strip into the egg wash, letting excess drip off. Press firmly into the breadcrumb mixture to coat evenly, then place in the empty bowl.
- Place a wire rack inside a baking sheet. Arrange breaded tenders in a single layer on the rack, ensuring they are not touching.
- Lightly spray the tops of the tenders with olive oil cooking spray.
- Bake for 12-15 minutes until the crust is golden brown and the internal temperature reaches 165°F (74°C).
- Let rest for 2-3 minutes before serving to allow juices to redistribute.
Notes
Using a wire rack is essential for crispiness as it allows air circulation. Do not overcrowd the pan. If baking from frozen, add 2-3 minutes to cooking time. Reheat in oven or air fryer to maintain crunch; avoid microwaving.
Nutrition
- Serving Size: 3-4 strips per servi
- Calories: 225
- Sugar: 1
- Sodium: 350
- Fat: 8
- Saturated Fat: 2
- Carbohydrates: 15
- Fiber: 1
- Protein: 22
Keywords: baked chicken tenders, crispy chicken, healthy dinner, quick meals, meal prep, panko chicken, family friendly, weeknight dinner