Introduction
The Snap
That sharp, audible snap is the whole point. It’s the sound that cuts through the background noise of a movie night or the quiet hum of a Sunday afternoon. You know that feeling when you’re eating something and you can’t stop because your mouth is waiting for the next crunch? That is what I made this for — everything else is secondary. The cinnamon scent? Nice. The sweetness? Good. But the texture is the star of the show.
I used to toss pumpkin seeds into the oven without a second thought. I’d rinse them, shake off the water, and throw them on a tray. They came out chewy. Soggy, even. Disappointing. I hated that texture. It felt like a waste of good ingredients. So, I started obsessing over the dryness. I started patting them down with paper towels like they were delicate pastries. I started roasting them lower and slower.
It wasn’t until last October, while carving a huge pie pumpkin, that I decided to stop being lazy. I coated them in butter and cinnamon sugar, just like I do with my easy one-bowl apple cinnamon bread. I watched them in the oven. I listened for the crackle. When I pulled them out, they were hard. Crisp. Perfectly golden.
I ate one. Then another. Then the whole bowl. It wasn’t just a snack; it was a sensory experience. The sugar caramelized slightly, creating a glass-like shell around the nutty seed. That shell is what keeps you coming back. It’s the difference between a garnish and a treat.
Honestly, I’ve made these dozens of times since then. I’ve tried salt only. I’ve tried spicy chili powder. But the cinnamon sugar version remains the king. It’s nostalgic, sure, but it’s also technically precise. You have to get the moisture out. You have to get the sugar right. It’s not hard, but it requires attention. And that attention pays off in every single bite.
This recipe isn’t about saving time. It’s about savoring the process. It’s about taking something usually considered “waste” and turning it into the best part of the meal. If you’ve ever been skeptical about pumpkin seeds, this will change your mind. The crunch is non-negotiable.
Why You’ll Love This Recipe
Why These Seeds Win Every Time
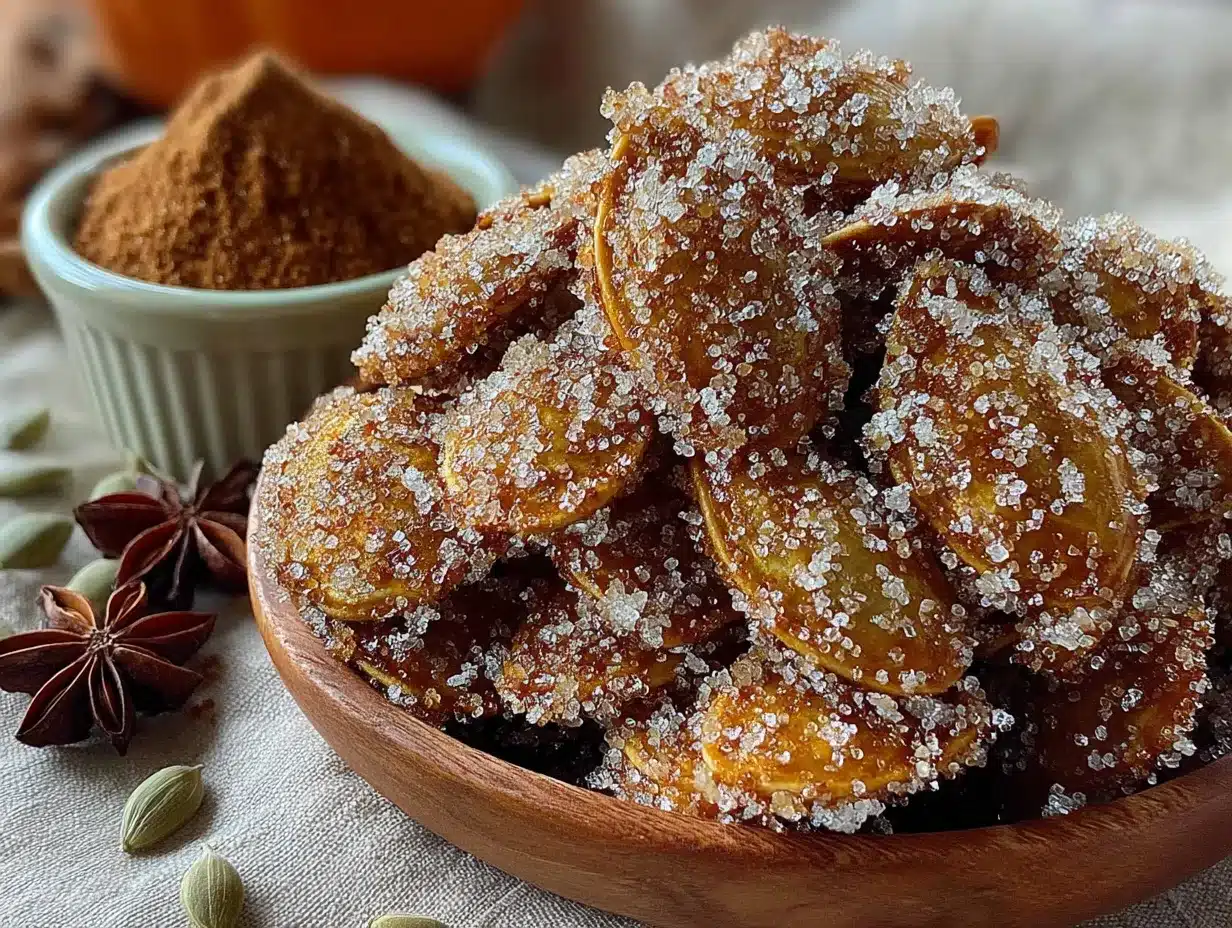
There is a specific kind of magic that happens when you transform humble pumpkin seeds into something irresistible. This isn’t just a side dish; it’s a testament to patience and a little bit of culinary obsession. I’ve tested this method so many times that I can predict exactly when they’re done just by the smell of the cinnamon hitting the hot air.
Here is why these crispy cinnamon sugar roasted pumpkin seeds deserve a permanent spot in your kitchen rotation:
- Quick & Easy Prep: While they take time in the oven, the actual hands-on work is minimal. Once you’ve cleaned and seasoned them, you can walk away. It’s perfect for busy weeknights or when you’re hosting friends and need a low-effort, high-reward snack.
- Simple Ingredients: You don’t need a trip to a specialty store. You likely already have pumpkin seeds (saved from your last roast), butter, cinnamon, and sugar in your pantry. It’s wholesome, unpretentious cooking.
- Perfect for Fall Entertaining: These are the ultimate autumn snack. They pair beautifully with cozy activities. Think of them alongside a warm cup of cider or as a topping for a hearty soup like our easy 30-minute butternut squash soup with sage. They add a necessary textural contrast.
- Crowd-Pleaser: Kids love the sweetness. Adults appreciate the savory undertone of the seed itself. They are universally liked. I’ve served these at game day gatherings, and they disappear faster than any dip. They work just as well as a standalone treat as they do when paired with savory bites like best game day pulled pork sliders with easy tangy slaw.
- Unbelievably Delicious: The texture and flavor combo is next-level comfort food. The sugar creates a delicate crunch that shatters on the tongue, while the cinnamon adds warmth. It’s better than store-bought bags, which often taste stale or overly processed.
What makes this recipe different from the rest is the technique. Most people boil the seeds first or just throw them wet into the oven. That leads to sogginess. My method involves thorough drying and a precise roasting temperature that ensures every seed is uniformly crisp. It’s not just another version—it’s the best version.
This recipe isn’t just good—it is the kind that makes you close your eyes after the first bite. It’s comfort food reimagined. It turns a messy, messy task (cleaning seeds) into a rewarding outcome. It’s perfect for impressing guests without stress, or turning a simple Tuesday night into something memorable.
What Ingredients You Will Need
Gathering Your Essentials
This recipe uses simple, wholesome ingredients to deliver bold flavor and satisfying texture without the fuss. The beauty of this snack lies in its simplicity. You don’t need exotic spices or hard-to-find items. You just need quality basics and a bit of care.
Here is what you will need to make the best batch of roasted pumpkin seeds:
- Pumpkin Seeds (Pepitas): About 2 cups of raw seeds, freshly extracted from a large pie pumpkin. If you can’t find fresh ones, high-quality raw, unsalted seeds from the grocery store work fine. I recommend looking for seeds that are plump and white, not shriveled. Fresh seeds have a higher moisture content, which actually helps them crisp up better if handled correctly.
- Unsalted Butter: 3 tablespoons, melted. Using butter adds a rich, creamy flavor that oil alone can’t match. It helps the sugar adhere to the seed. If you prefer dairy-free, you can use coconut oil, but the flavor profile will shift slightly. I usually use Kerrygold or a high-quality European butter for the best color and taste.
- Granulated White Sugar: 3 tablespoons. This is the main source of the crunch. White sugar caramelizes nicely without burning too quickly. Brown sugar can be used, but it contains molasses, which can make the seeds chewy if you aren’t careful with the oven time. For that classic “candy-like” snap, stick to white.
- Ground Cinnamon: 1 ½ teaspoons. Use a good quality cinnamon. If your spice jar has been sitting open for two years, toss it. Fresh cinnamon provides that warm, spicy aroma that defines this recipe. Vietnamese cinnamon is often sweeter and more potent, which works well here.
- Sea Salt: ½ teaspoon. Even though these are sweet, a little salt balances the sugar and highlights the natural nuttiness of the seed. Flaky sea salt can be sprinkled on top after roasting for an extra gourmet touch.
- Vanilla Extract: ½ teaspoon (optional). A few drops of vanilla add a hidden layer of complexity. It makes the seeds taste more like a dessert. I often add this when I’m making them for a holiday party, as it pairs well with other sweet treats like cozy small batch pumpkin snickerdoodle cookies.
The key to success here is the ratio. Too much sugar and they clump together into a sugary rock. Too little and they taste bland. The butter acts as the glue. Make sure your butter is fully melted but not hot, so it coats the seeds evenly without cooking them prematurely.
If you are using store-bought seeds, check the packaging. Some are pre-roasted. If so, you will need to reduce the roasting time significantly, or they will burn. For this recipe, raw is best. If you must use pre-roasted, treat them as a finishing step rather than a cooking step.
Equipment Needed
Tools for the Job
You don’t need a fancy kitchen to make these seeds. However, having the right tools makes the process much less frustrating. The biggest mistake people make is using the wrong pan, which leads to uneven cooking.
- Rimmed Baking Sheet: A standard half-sheet pan is ideal. It provides enough surface area for the seeds to spread out in a single layer. If the seeds are piled on top of each other, they will steam instead of roast. I use a heavy-gauge aluminum sheet because it conducts heat evenly. Avoid dark non-stick pans if you are sensitive to burning, as they absorb more heat.
- Mixing Bowls: You’ll need one medium bowl for tossing the seeds with butter and spices, and a larger bowl or colander for the initial rinsing. A fine-mesh strainer is helpful for washing the seeds thoroughly.
- Paper Towels: This is the most important tool. You will need several sheets to pat the seeds dry. Moisture is the enemy of crispiness. I keep a roll right next to my sink for this exact purpose. If you don’t dry them enough, the sugar will slide off and burn.
- Whisk or Fork: Use a whisk to mix the melted butter with the sugar and cinnamon. This ensures the spices are evenly distributed in the fat, so every seed gets coated. A fork works too, but a whisk breaks up any clumps in the sugar better.
- Silicone Spatula: Helpful for scraping the bowl clean and ensuring no seeds are left behind. It also helps in stirring the seeds on the pan without scratching your baking sheet.
If you don’t have a baking sheet, you can use a cast-iron skillet, but you must stir them frequently. The oven method is more hands-off and generally yields more consistent results. Keep your equipment clean and ready before you start, because once the seeds are coated, you want to get them into the oven quickly to prevent the butter from solidifying again.
Preparation Method
Step-by-Step Instructions
Making crispy cinnamon sugar roasted pumpkin seeds is a process of patience. Rushing any step will result in chewy, soggy seeds. Follow these steps carefully for the best texture.
- Extract and Rinse (10 minutes): Start by scooping the seeds out of your pumpkin. Use a large spoon to scrape the insides. Place the seeds and pulp into a large bowl of cold water. Swirl them around. The good, dense seeds will sink to the bottom. The stringy pulp and bad seeds will float. Skim off the floating debris and pour the water through a colander to catch the seeds. Repeat this rinsing process 2-3 times until the water runs mostly clear. This removes the sticky mucilage that prevents crisping.
- The Critical Dry (15-30 minutes): Spread the rinsed seeds out on a clean kitchen towel or several layers of paper towels. Pat them dry. Then, spread them out on a second set of dry towels. Let them sit for at least 15 minutes, preferably 30. You want them as dry as possible. If they are wet, the butter will bead up and roll off. This step is non-negotiable if you want that crunch. (Check out perfect salted caramel apple cheesecake bars if you need more tips on achieving the perfect texture in desserts!)
- Melt and Mix (5 minutes): Preheat your oven to 325°F (165°C). Melt the butter in a small microwave-safe bowl or saucepan. Let it cool slightly. In your mixing bowl, combine the dried seeds, melted butter, sugar, cinnamon, and vanilla. Toss thoroughly with a spatula or your hands. You want every seed coated in a thin, even layer of spiced butter. If there are clumps of dry sugar, add a tiny bit more butter.
- Spread on Pan (2 minutes): Line your baking sheet with parchment paper. This makes cleanup easier and prevents sticking. Spread the seeds out in a single layer. Do not crowd the pan. If they overlap, they will steam. Use two pans if necessary. Sprinkle the sea salt evenly over the top.
- Roast (20-30 minutes): Place the pan in the preheated oven. Roast for 20 minutes. At the 10-minute mark, pull the pan out and give the seeds a good stir. This ensures even browning. After 20 minutes, check them. They should be golden brown and smell fragrant. If they look pale, continue roasting in 5-minute increments. Do not walk away. Sugar burns quickly.
- Cool Completely (30 minutes): This is the hardest part. Pull the pan out and let the seeds cool completely on the pan. They will continue to crisp up as they cool. If you try to eat them hot, they might still feel slightly soft. Once cool, they will snap. Store them in an airtight container once they are fully cooled to room temperature.
Pay attention to the smell. When the cinnamon starts to smell toasted and sweet, you are getting close. If it smells bitter, they are burning. Trust your nose.
Cooking Tips & Techniques
Secrets to Perfect Crunch
I have learned a lot of lessons the hard way. I have burnt batches of seeds. I have made soggy ones. Here is how to avoid those pitfalls.
- Dryness is Key: I cannot stress this enough. The more water you remove before roasting, the crispier the result. If you are in a hurry, you can spread them on a towel and use a fan to blow air on them. It speeds up the drying process significantly.
- Low and Slow: Many recipes call for 350°F or higher. I find that 325°F is the sweet spot. It allows the sugar to caramelize and the seed to dry out without burning the outside before the inside is cooked. High heat creates a charred, bitter taste.
- Stir Frequently: Sugar melts and can stick to the pan. Stirring every 10 minutes prevents hot spots and ensures even browning. It also breaks up any seeds that start to clump together.
- The Cool Down: Seeds continue to cook after they leave the oven. The residual heat dries them out further. If you remove them when they look “done,” they might be too dark by the time they cool. Pull them when they look slightly underdone. They will firm up as they cool.
- Use Fresh Cinnamon: Old cinnamon loses its potency. If your seeds taste flat, it might be the spice. Fresh cinnamon adds a bright, spicy note that cuts through the sugar.
One personal failure I had was adding the salt after roasting. The salt didn’t stick, and the seeds tasted one-dimensional. Adding it before roasting helps it adhere to the butter and balances the flavor throughout. Also, don’t skip the parchment paper. Cleaning sugar off a baking sheet is a nightmare. Parchment paper saves you time and sanity.
Variations & Adaptations
Customize Your Crunch
While the cinnamon sugar version is my favorite, these seeds are a blank canvas. You can easily adapt them to suit your taste or dietary needs.
- Spicy Chili Lime: Swap the cinnamon and sugar for chili powder, cumin, and lime zest. Use olive oil instead of butter. This version is great for game day snacks, especially if you’re serving easy bacon wrapped jalapeño popper bites. The heat pairs well with cold drinks.
- Herb and Parmesan: Omit the sugar and cinnamon. Use olive oil and toss with dried rosemary, thyme, and grated Parmesan cheese. This savory version is excellent crouton alternatives for salads or soups.
- Maple Pecan: Add chopped pecans to the pan during the last 10 minutes of roasting. Use maple syrup instead of sugar. This adds a rich, autumnal flavor that complements the pumpkin seed’s natural nuttiness. It’s similar to the vibe of cozy brown butter maple pecan apple crisp.
- Gluten-Free and Vegan: This recipe is naturally gluten-free. To make it vegan, simply swap the butter for coconut oil or a plant-based butter alternative. The texture remains just as crispy.
- Low-Sugar Option: Use a erythritol or stevia blend instead of sugar. Note that these sweeteners don’t caramelize the same way, so the texture might be slightly different. You may need to roast them a bit longer to achieve the same crunch.
I once tried a honey version, but it was too sticky. The granulated sugar provides the necessary structure for the crunch. Honey tends to make seeds chewy. If you want a glaze, a light brush of maple syrup at the very end, after roasting, can work, but it reduces shelf life.
Serving & Storage Suggestions
How to Enjoy and Keep Them Fresh
These seeds are best served at room temperature. They lose their crunch if they get cold and damp, or if they are stored while still warm.
- Serving Ideas: Serve them in small bowls for movie nights. Sprinkle them over pumpkin soup for texture. Use them as a topping for oatmeal or yogurt. They pair wonderfully with a glass of warm apple cider, like the easy crockpot apple cider sangria recipe for a crowd. They are also a great addition to a charcuterie board, offering a sweet contrast to salty cheeses and cured meats.
- Storage: Once completely cooled, store the seeds in an airtight container at room temperature. They will stay crisp for up to two weeks. If your kitchen is humid, they might soften after a few days. In that case, pop them back in the oven at 250°F for 5 minutes to re-crisp them.
- Freezing: You can freeze roasted pumpkin seeds. Place them in a freezer-safe bag or container. They will last for up to three months. Thaw them at room temperature before eating. Do not refreeze them multiple times, as this will affect the texture.
- Reheating: If they lose their crunch, spread them on a baking sheet and heat at 300°F for 5-10 minutes. Let them cool completely before eating. This revives the crispiness.
The flavors develop over time. The cinnamon and sugar meld together, creating a more cohesive taste after a day or two. I often make a double batch because they disappear so quickly. They are addictive in the best way possible.
Nutritional Information & Benefits
Healthy Snacking Made Easy
Pumpkin seeds are a nutritional powerhouse. They are rich in magnesium, zinc, and protein. A one-ounce serving contains about 5 grams of protein and 2 grams of fiber. This makes them a satisfying snack that helps keep you full.
The cinnamon sugar coating adds calories and sugar, so moderation is key. However, compared to chips or candy, these are a healthier alternative. They provide sustained energy rather than a sugar crash.
For those watching their sodium, you can reduce the salt or omit it entirely. The seeds are naturally low in sodium. They are also gluten-free and dairy-free (if you use oil), making them suitable for many dietary restrictions.
I love that this recipe allows me to enjoy a sweet treat while getting some nutrients. It’s a small way to incorporate more plant-based proteins into my diet. Plus, using the seeds from your own pumpkin reduces waste, which is always a win for sustainability.
Conclusion
Final Thoughts on Crispy Pumpkin Seeds
Making crispy cinnamon sugar roasted pumpkin seeds is a rewarding experience. It transforms a usually overlooked part of the pumpkin into a delicious, crunchy snack. The key is patience. Dry them well. Roast them slowly. Let them cool completely.
I hope you try this recipe. It’s simple, but the results are impressive. Customize it with your favorite flavors. Share them with friends and family. I’d love to hear how you make them. Do you add extra spice? Do you use a different sweetener? Let me know in the comments below.
Don’t forget to share your creations on social media. Tag me so I can see your crunchy masterpieces. Happy roasting!
FAQs
Common Questions About Roasted Pumpkin Seeds
Can I use store-bought pumpkin seeds?
Yes, you can use raw, unsalted pumpkin seeds from the grocery store. Just make sure they are raw. Pre-roasted seeds will burn quickly in this recipe. You may need to reduce the roasting time by a few minutes.
Why are my seeds chewy?
They are likely too wet. Make sure you rinse them thoroughly and dry them completely before roasting. Also, ensure you are not overcrowding the pan. If they are piled up, they will steam. Lower the oven temperature and roast for a longer time to dry them out fully.
How do I prevent the sugar from burning?
Sugar burns easily. Keep the oven temperature at 325°F. Stir the seeds frequently during roasting. Watch them closely in the last 5 minutes. If they look dark, pull them out immediately. They will continue to cook from residual heat.
Can I make these ahead of time?
Yes, these seeds keep well for up to two weeks in an airtight container at room temperature. They actually taste better after a day or two as the flavors meld together. Just make sure they are completely cool before storing.
What is the best way to clean fresh pumpkin seeds?
The best method is the water float test. Place seeds in a bowl of water. Stir them around. The good seeds sink, and the pulp floats. Skim off the pulp and rinse the sunk seeds. Repeat until the water is clear. This removes the sticky bits that prevent crisping.
Pin This Recipe!
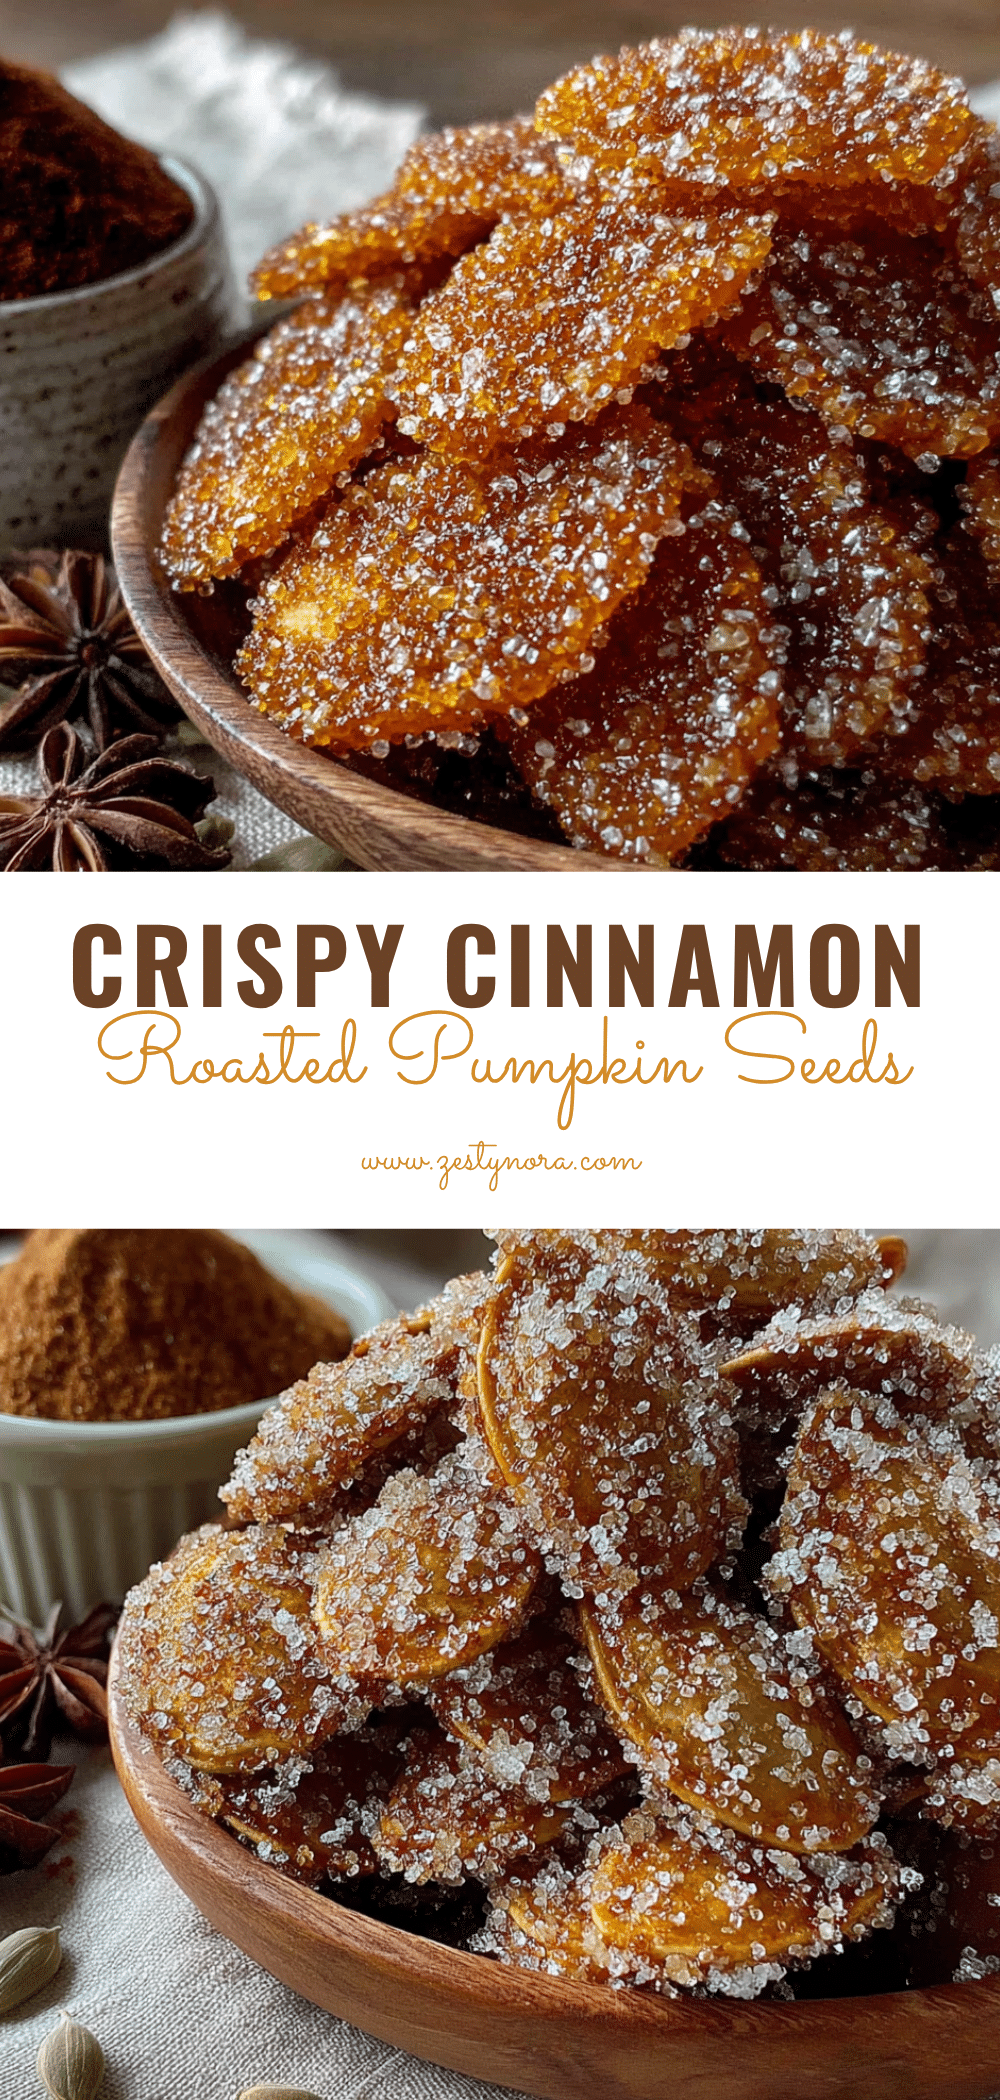
Crispy Cinnamon Sugar Roasted Pumpkin Seeds: Easy Snack
These crispy cinnamon sugar roasted pumpkin seeds are the ultimate crunchy snack. By thoroughly drying the seeds and roasting them low and slow, you achieve a perfect, glass-like snap that is better than store-bought.
- Prep Time: 30 minutes
- Cook Time: 30 minutes
- Total Time: 1 hour
- Yield: 4 servings 1x
- Category: Snack
- Cuisine: American
Ingredients
- 2 cups raw pumpkin seeds (pepitas)
- 3 tablespoons unsalted butter, melted
- 3 tablespoons granulated white sugar
- 1 ½ teaspoons ground cinnamon
- ½ teaspoon sea salt
- ½ teaspoon vanilla extract (optional)
Instructions
- Extract seeds from pumpkin and place in a large bowl of cold water. Swirl to separate pulp; skim off floating debris and rinse seeds 2-3 times until water runs clear.
- Spread rinsed seeds on paper towels or a clean kitchen towel. Pat dry and let sit for 15-30 minutes until completely dry. This step is crucial for crispiness.
- Preheat oven to 325°F (165°C). In a mixing bowl, combine dried seeds, melted butter, sugar, cinnamon, and vanilla. Toss thoroughly until every seed is evenly coated.
- Line a rimmed baking sheet with parchment paper. Spread seeds in a single layer without crowding. Sprinkle sea salt evenly over the top.
- Roast for 20 minutes, stirring halfway through at the 10-minute mark to ensure even browning. Check for golden brown color and fragrant smell. If pale, roast in 5-minute increments.
- Remove from oven and let cool completely on the pan. Seeds will continue to crisp as they cool. Store in an airtight container once fully cooled.
Notes
Ensure seeds are completely dry before roasting to prevent sogginess. Do not overcrowd the pan, as seeds will steam instead of roast. Let seeds cool completely on the pan to achieve maximum crunch. If using store-bought seeds, ensure they are raw, not pre-roasted.
Nutrition
- Serving Size: 1/2 cup
- Calories: 180
- Sugar: 10
- Sodium: 150
- Fat: 12
- Saturated Fat: 6
- Carbohydrates: 15
- Fiber: 3
- Protein: 6
Keywords: pumpkin seeds, pepitas, cinnamon sugar, roasted seeds, fall snack, gluten-free, vegan option, crunchy snack, healthy snack