There I was, halfway through cleaning out the fridge when I spotted a sad, shrinking cucumber hiding behind a jar of mustard. The evening was slipping away, and honestly, I didn’t feel like a full cooking session. But hey, the garlic bulb was fresh, and the dill was still bright green in its little pot. So, I grabbed those, found a mason jar, and threw together what would soon become my go-to recipe for crispy garlic dill refrigerator pickles. The whole thing came together in a pinch, and guess what? They were ready to crunch and pop with flavor in just 24 hours. No long waits or complicated canning—just a quick, satisfying snack born from a fridge cleanout emergency.
There’s a certain joy in turning random kitchen scraps into something that not only tastes great but feels like a little victory. These pickles hit that sweet spot between tangy, garlicky, and fresh dill goodness, with a crunch that holds up well past the first day. I’ve kept coming back to this recipe every summer since, especially when I want a quick zing on sandwiches or a bright, savory snack without fuss. They’ve even become a favorite alongside dishes like my crispy pan-seared chicken thighs—the pickle’s crunch cuts through the richness perfectly.
Honestly, making these pickles feels like a little act of kitchen magic—simple ingredients, minimal effort, and a big payoff. If you like a quick, fresh twist on classic dill pickles that doesn’t require days of waiting or special equipment, this recipe is going to stick with you too.
Why You’ll Love This Recipe
- Quick & Easy: Ready in just 24 hours, making it perfect for last-minute cravings or throwing together when unexpected guests show up.
- Simple Ingredients: You don’t need any fancy stuff here—just fresh cucumbers, garlic, dill, vinegar, and a few pantry staples.
- Perfect for Snacking and Sides: Whether you’re building a sandwich, adding zip to a salad, or just craving a crunchy snack, these pickles fit the bill.
- Crowd-Pleaser: The garlicky dill combo is universally loved, from kids to adults, thanks to that ideal balance of tang and spice.
- Unbelievably Delicious: The secret’s in the crispness—these pickles stay crunchy and fresh, without getting soggy or mushy.
- Distinctive Technique: Unlike some refrigerator pickles that can get soft fast, this recipe uses a salt soak and a quick vinegar brine that locks in that perfect crunch.
- Emotionally Satisfying: There’s something about the garlicky punch and fresh dill aroma that just makes you want to savor every bite, especially on cozy summer evenings.
What Ingredients You Will Need
This recipe uses simple, wholesome ingredients that come together to deliver bold flavor and satisfying crunch without a fuss. Most are pantry staples, with fresh dill and cucumbers being the only real “fresh” items you’ll want to source.
- Kirby cucumbers: About 6-8 small or mini cucumbers, scrubbed and sliced into spears or rounds. I prefer Kirby for their firmness and crunch.
- Fresh garlic cloves: 4-5 cloves, smashed or thinly sliced for that punchy, aromatic flavor.
- Fresh dill sprigs: 4-5 sprigs, including some of the feathery fronds for extra flavor.
- Distilled white vinegar: 1 cup (240 ml) – the classic tangy base. You can swap with apple cider vinegar for a slightly sweeter note.
- Water: 1 cup (240 ml), to balance the vinegar’s acidity.
- Kosher salt: 1 tablespoon – this helps draw out moisture and preserve the crunch. Avoid iodized salt as it can cloud the brine.
- Granulated sugar: 1 teaspoon, just a touch to balance acidity.
- Black peppercorns: 1 teaspoon, whole for subtle spice.
- Mustard seeds: 1 teaspoon, optional but adds a nice tangy pop.
- Red pepper flakes: ¼ teaspoon, optional if you want a hint of heat.
Pro tip: Look for firm cucumbers without soft spots for the best results. Fresh garlic and dill from a local market make a noticeable difference in flavor, but supermarket versions work just fine. If you can’t find kosher salt, sea salt is a fine substitute, but skip regular table salt to keep the brine clear.
Equipment Needed
- Mason jar or any glass jar with a tight lid: A quart size (about 1 liter) works perfectly for this batch. Glass is best for preserving flavor and avoiding reactions with vinegar.
- Mixing bowl: For soaking cucumbers in salt water before brining.
- Measuring cups and spoons: To get the vinegar, salt, and spices just right.
- Sharp knife and cutting board: For slicing cucumbers and prepping garlic.
- Small saucepan: For warming the vinegar brine to dissolve sugar and salt efficiently.
If you don’t have a mason jar, any clean, food-safe container with a lid will work, but I always find glass jars keep the pickles tasting fresh and crisp longer. For budget-friendly options, thrift stores often have perfectly good jars that are worth checking out. Also, a small mesh strainer helps if you want to rinse the cucumbers after the salt soak, but it’s not mandatory.
Preparation Method
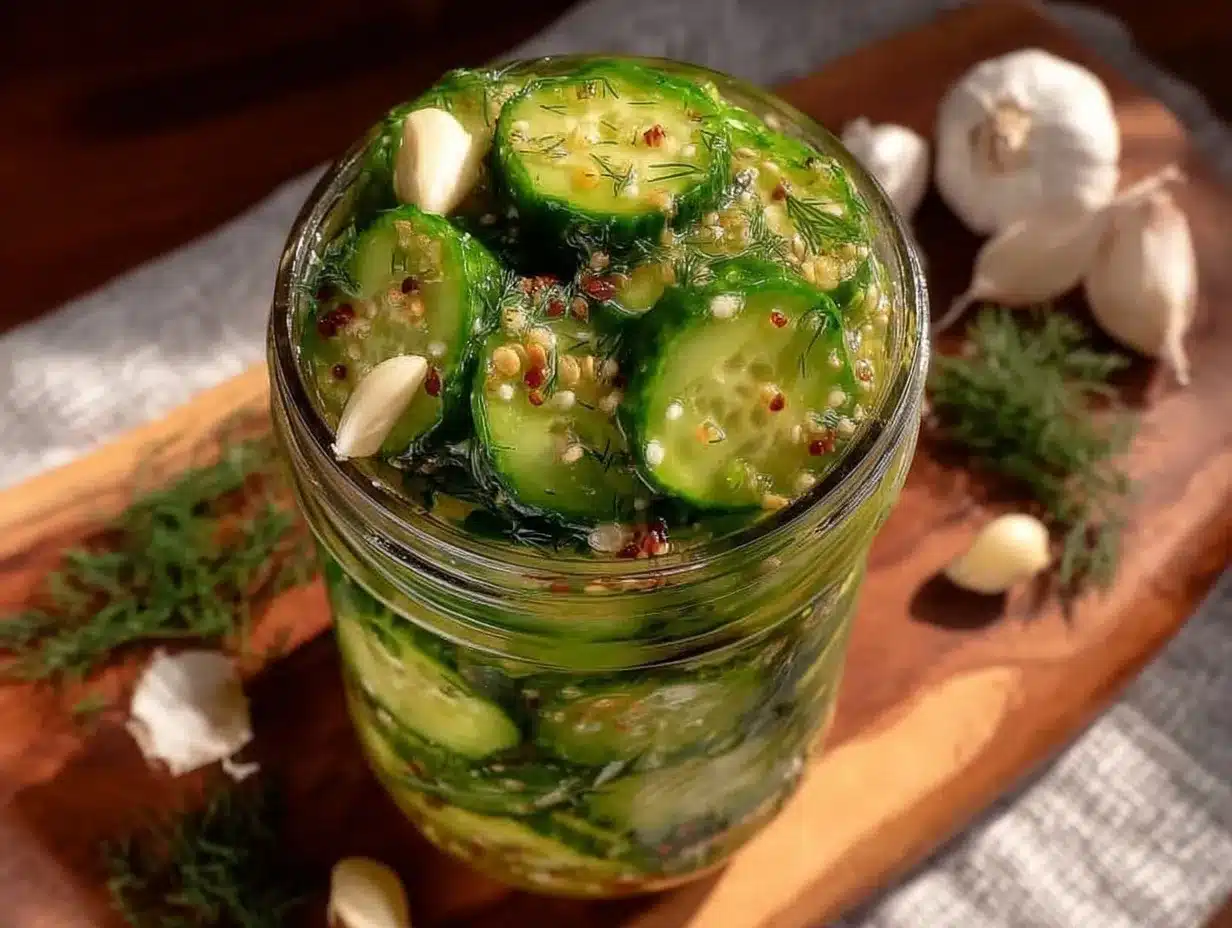
- Prepare the cucumbers: Rinse 6-8 Kirby cucumbers well and slice them into spears or rounds about ¼ to ½ inch thick (6 to 12 mm). This size keeps them crisp and easy to snack on. Time: 5 minutes.
- Salt soak: Place the sliced cucumbers in a mixing bowl and add 1 tablespoon kosher salt with 2 cups (480 ml) cold water. Stir gently to dissolve the salt. Let them soak for 1 hour to draw out excess moisture—this is key to keeping your pickles crispy. After soaking, drain and rinse cucumbers well under cold water to remove excess salt. Pat dry with clean kitchen towels. Time: 1 hour soak + 5 minutes rinse and dry.
- Make the brine: In a small saucepan, combine 1 cup (240 ml) distilled white vinegar, 1 cup (240 ml) water, 1 teaspoon sugar, 1 teaspoon black peppercorns, 1 teaspoon mustard seeds, and ¼ teaspoon red pepper flakes (if using). Warm gently over medium heat, stirring until sugar and salt dissolve. Remove from heat and let cool slightly. Time: 5-7 minutes.
- Pack the jar: Place 4-5 fresh dill sprigs and 4-5 smashed garlic cloves at the bottom of a clean 1-quart mason jar. Add the drained cucumber slices on top, packing them tightly but without crushing. Pour the warm brine over the cucumbers, covering them completely. Use a spoon or chopstick to press down cucumbers if needed. Leave about ½ inch (1.25 cm) headspace at the top. Time: 5 minutes.
- Seal and refrigerate: Screw on the lid tightly and place the jar in the refrigerator. Let the pickles rest for at least 24 hours before tasting. The flavor will intensify over the next few days, but they’re delicious right at 24 hours. Time: 24 hours minimum.
Note: If after 24 hours the pickles aren’t quite tangy enough, just let them sit a bit longer. They keep well in the fridge for up to 3 weeks. For even quicker pickles, slice cucumbers thinner, but watch that they don’t get too soft.
Cooking Tips & Techniques
One of the trickiest things with refrigerator pickles is keeping them crisp, so a good salt soak is non-negotiable here. It pulls out excess water from the cucumbers, which means they won’t get soggy in the vinegar brine. I learned the hard way that skipping this step leads to limp pickles, and nobody wants that.
Warming the brine just enough to dissolve sugar and salt helps flavors blend but don’t boil it! Too hot can soften cucumbers prematurely. Also, smashing the garlic releases its oils and gives a stronger flavor punch, but if you prefer a milder garlic note, slice thinly or add whole cloves instead.
Another tip: use fresh dill whenever possible. Dry dill just can’t replicate that bright, herbaceous flavor that fresh sprigs bring. Keep an eye on the jar during the first day; if you see bubbles or cloudiness, that’s normal fermenting action—just give it a gentle shake.
When you’re ready to serve, grab a fork to avoid handling pickles with your fingers, which can introduce unwanted bacteria and reduce shelf life. If you love the tang but want a bit more zip, a splash of fresh lemon juice over the pickles right before serving is a nice trick I picked up from my Greek yogurt chicken bowl with cucumber and dill.
Variations & Adaptations
- Spicy Pickles: Add more red pepper flakes or toss in a sliced jalapeño for a fiery kick that wakes up your taste buds.
- Low-Sodium Version: Cut the salt soak time in half and reduce salt in the brine, but keep in mind this may affect the pickles’ crispness and shelf life.
- Herb Twists: Swap dill for fresh tarragon or fresh basil for a different herbaceous note. I once tried dill and mint together for a refreshing summer twist that was surprisingly good.
- Quick Bread and Butter Style: Add a tablespoon of sugar and a few slices of onion to the brine for a sweeter, tangier pickle variation.
- Vinegar Swap: Use apple cider vinegar for a mellower, fruitier tang, or white wine vinegar for a subtler acidity.
If you’re craving a crunchy tangy snack but want to branch out, these pickles pair nicely with roasted dishes like lemon butter chicken thighs or as a fresh contrast on a sandwich alongside creamy spreads.
Serving & Storage Suggestions
Serve these pickles chilled straight from the fridge for that satisfying crunch on sandwiches, burgers, or alongside a cheese board. They’re fantastic with rich, creamy dishes because the acidity cuts through the heaviness, brightening every bite.
Store the pickles in the jar tightly sealed in the refrigerator. They’ll last up to 3 weeks but are best within the first 10 days for maximum crunch. Flavors deepen over time, becoming more complex and tangy, so don’t hesitate to taste them daily.
When reheating dishes that include pickles or serve them warm, add pickles fresh to keep their texture intact. For picnic or potluck transport, keep them cool in an insulated bag to maintain that crispness.
Nutritional Information & Benefits
These crispy garlic dill refrigerator pickles are a low-calorie, flavorful snack loaded with probiotics if you allow a slight natural fermentation. Each serving (about 3 spears) contains roughly 10-15 calories, virtually no fat, and minimal carbs.
Cucumbers are hydrating and provide antioxidants, while garlic adds immune-boosting compounds. Dill contributes vitamins A and C along with antioxidants, making these pickles not just tasty but a healthy addition to your diet.
They’re naturally gluten-free, vegan, and perfect for anyone watching calories or seeking a wholesome snack. Just watch the sodium content if you’re on a low-salt diet.
Conclusion
This crispy garlic dill refrigerator pickles recipe is one of those rare finds that feels both effortless and deeply satisfying. It grew out of a small kitchen scramble but stuck around because it works so well—quick, fresh, and packed with flavor.
What I love most is how easy it is to make these your own, whether you add heat, swap herbs, or adjust the tang. They’re the kind of pickles that make you close your eyes with that first bite, the crunch and garlic-dill combo hitting just right.
If you try them, I’d love to hear how you customize your batch or what dishes you pair them with—sharing those little tweaks is what keeps recipes alive and fun. Happy pickling!
FAQs About Crispy Garlic Dill Refrigerator Pickles
How long do refrigerator pickles last?
Stored properly in the fridge, these pickles last up to 3 weeks. For best crunch and flavor, enjoy within 10 days.
Can I use regular cucumbers instead of Kirby cucumbers?
Yes, but Kirby cucumbers are preferred for their firm texture. Regular cucumbers can work but may yield softer pickles.
Do I need to boil the brine?
No need to boil—just warm it enough to dissolve salt and sugar. Boiling can soften cucumbers prematurely.
Can I make these pickles without garlic?
Yes, but garlic adds signature flavor. You could try substituting with shallots or onion slices for a different aromatic note.
Why are my pickles not crunchy?
Likely reasons include skipping the salt soak, slicing cucumbers too thin, or using cucumbers that aren’t fresh and firm. Make sure to soak and rinse properly.
Pin This Recipe!
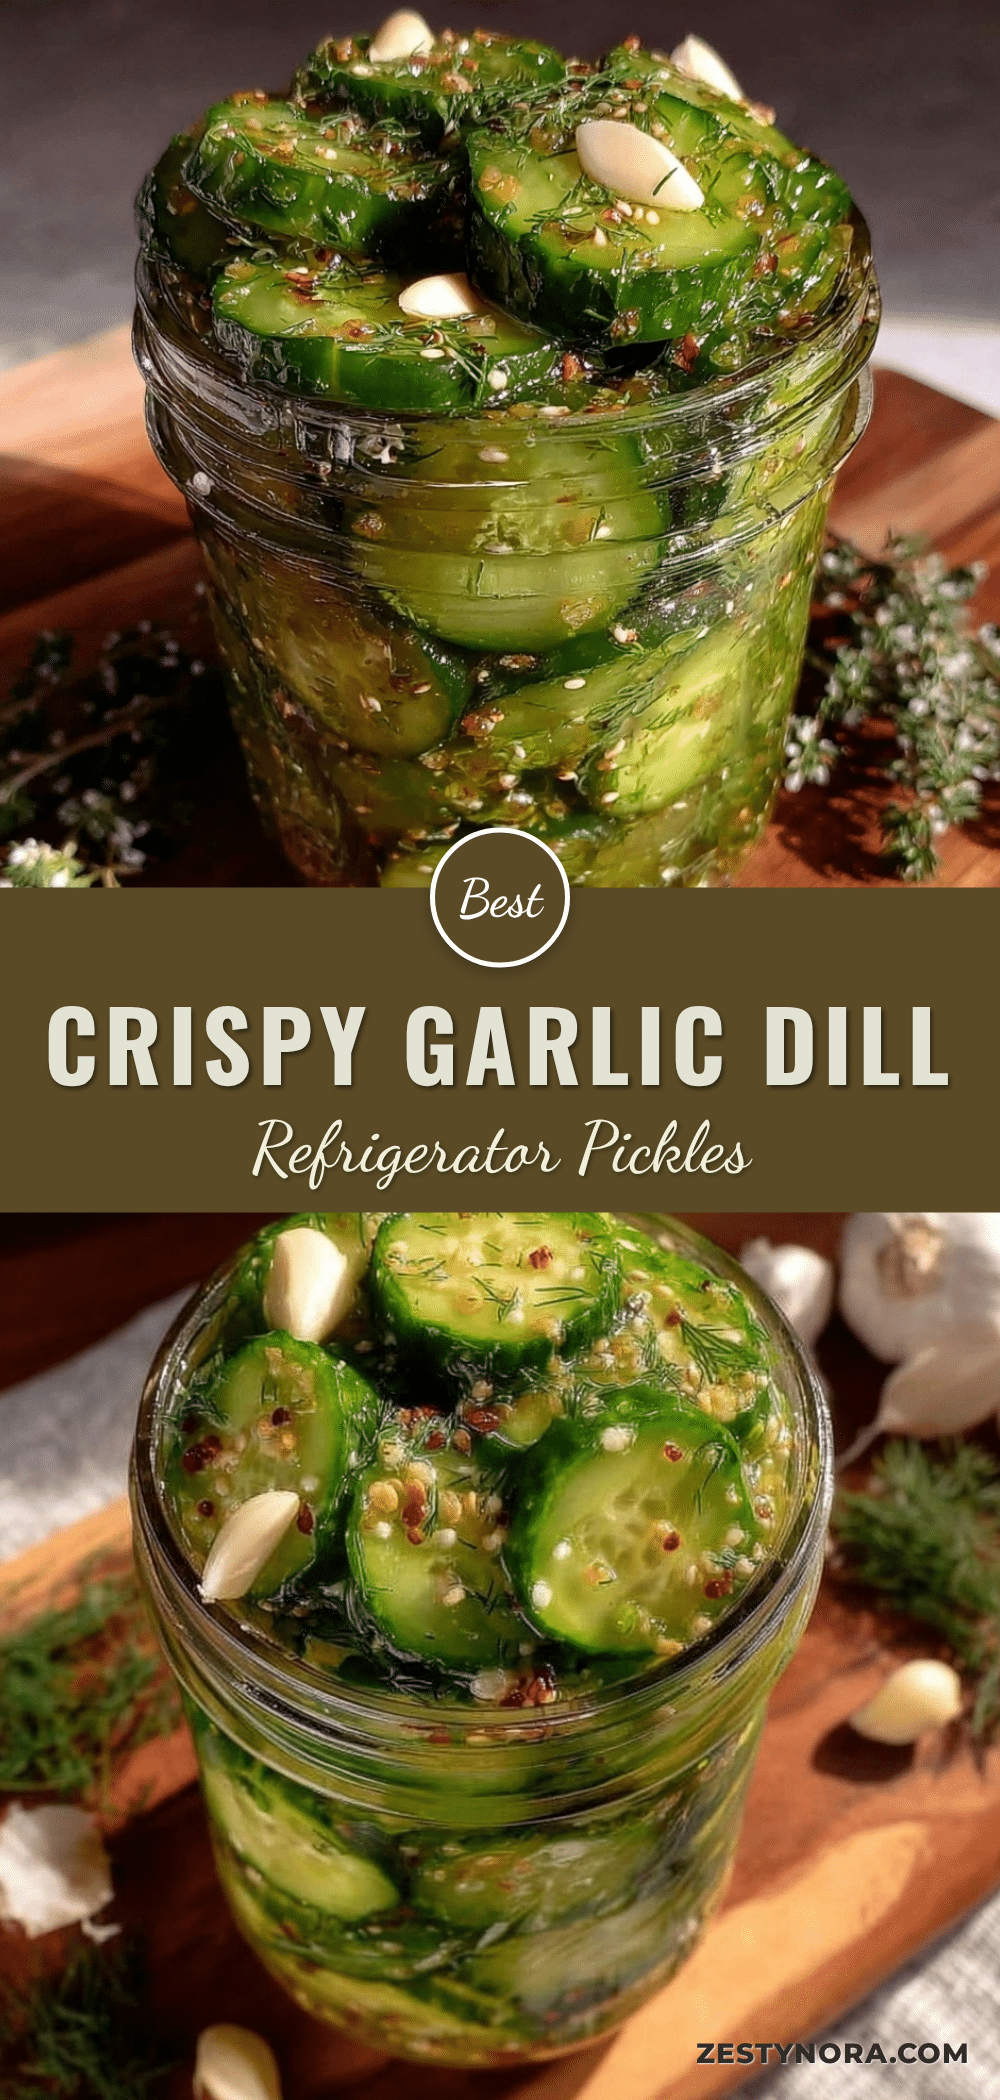
Crispy Garlic Dill Refrigerator Pickles
Quick and easy refrigerator pickles ready in 24 hours with a perfect balance of tangy, garlicky, and fresh dill flavors. These pickles stay crunchy and fresh without complicated canning.
- Prep Time: 10 minutes
- Cook Time: 7 minutes
- Total Time: 24 hours 17 minutes
- Yield: About 1 quart (4 servings) 1x
- Category: Snack / Side Dish
- Cuisine: American
Ingredients
- 6–8 small Kirby cucumbers, scrubbed and sliced into spears or rounds
- 4–5 fresh garlic cloves, smashed or thinly sliced
- 4–5 fresh dill sprigs, including feathery fronds
- 1 cup (240 ml) distilled white vinegar
- 1 cup (240 ml) water
- 1 tablespoon kosher salt
- 1 teaspoon granulated sugar
- 1 teaspoon whole black peppercorns
- 1 teaspoon mustard seeds (optional)
- 1/4 teaspoon red pepper flakes (optional)
Instructions
- Rinse 6-8 Kirby cucumbers and slice into 1/4 to 1/2 inch thick spears or rounds.
- Place sliced cucumbers in a mixing bowl with 1 tablespoon kosher salt and 2 cups (480 ml) cold water. Stir gently to dissolve salt and soak for 1 hour.
- Drain and rinse cucumbers well under cold water to remove excess salt. Pat dry with clean towels.
- In a small saucepan, combine 1 cup distilled white vinegar, 1 cup water, 1 teaspoon sugar, 1 teaspoon black peppercorns, 1 teaspoon mustard seeds, and 1/4 teaspoon red pepper flakes (if using). Warm gently over medium heat, stirring until sugar and salt dissolve. Remove from heat and let cool slightly.
- Place 4-5 fresh dill sprigs and 4-5 smashed garlic cloves at the bottom of a clean 1-quart mason jar.
- Add drained cucumber slices on top, packing tightly without crushing.
- Pour warm brine over cucumbers, covering completely. Leave about 1/2 inch headspace.
- Seal jar tightly and refrigerate for at least 24 hours before tasting. Flavor intensifies over several days.
Notes
Use firm cucumbers without soft spots for best crunch. The salt soak is essential to keep pickles crispy. Warm brine just enough to dissolve sugar and salt; do not boil. Fresh dill is preferred for best flavor. Pickles keep up to 3 weeks refrigerated, best within 10 days. For more tang, let sit longer. Avoid iodized salt to keep brine clear.
Nutrition
- Serving Size: About 3 pickle spear
- Calories: 1015
- Sugar: 1
- Sodium: 400
- Carbohydrates: 3
- Fiber: 0.5
- Protein: 0.3
Keywords: refrigerator pickles, garlic dill pickles, quick pickles, crunchy pickles, easy pickles, no canning pickles, homemade pickles


