Introduction
The container was empty before the school bus even pulled away. Twice in the same week. My neighbor’s kid peeked over the fence and asked if I could share the recipe. Honestly, I didn’t expect these Easy No-Bake Peanut Butter Energy Bites to get such a fast fan club, but there it was — little hands grabbing for more, backpacks stuffed with these bite-sized powerhouses. It wasn’t always like this though.
It all started last fall when the morning rush felt like a blur of forgotten lunches and missed snack time. I needed something quick, wholesome, and kid-friendly — no baking, no mess, just grab-and-go energy. Peanut butter was an obvious choice, a staple in my pantry that somehow never fails. Tossing in oats, a touch of honey, and a few surprise mix-ins, these little bites came together in minutes and quickly became the secret weapon of our hectic school mornings.
Now, every time the kids ask for “those peanut butter balls,” it’s a quiet reminder of how simple ingredients and a little planning can turn a chaotic morning into a win. The best part? They don’t just fuel little bodies — they spark genuine smiles, and honestly, that’s the kind of success I live for in the kitchen.
Why You’ll Love This Recipe
From my experience juggling school mornings and snack requests, these Easy No-Bake Peanut Butter Energy Bites have proven themselves in countless ways. They’re the kind of recipe that feels both smart and satisfying — you know, the kind you want to keep on repeat without the hassle.
- Quick & Easy: Ready in under 15 minutes, these bites are perfect for those chaotic back-to-school mornings or a last-minute afternoon pick-me-up.
- Simple Ingredients: No need for fancy grocery runs; you probably have everything in your pantry already.
- Perfect for Back-to-School: Portable, mess-free, and kid-approved — these energy bites fit seamlessly into lunchboxes and backpacks.
- Crowd-Pleaser: Whether it’s my own family or neighborhood kids, these bites always disappear fast and get raving reviews.
- Unbelievably Delicious: The creamy peanut butter paired with chewy oats and a hint of sweetness makes this snack feel like a treat, not just fuel.
What sets this recipe apart? It’s the balance — a texture that’s just right, not too dry or sticky, and a flavor profile that’s simple yet comforting. Plus, no baking means less stress and more time for the chaos of the day. It’s not just another peanut butter snack; it’s the one that sticks around because it works.
And for me, it’s the kind of recipe that’s quietly dependable — the one I reach for when I want to feel like I’ve got a handle on things, even if the rest of the morning feels like a whirlwind.
What Ingredients You Will Need
This recipe uses simple, wholesome ingredients to deliver bold flavor and satisfying texture without the fuss. Most of them are pantry staples, so there’s no last-minute dash to the store. Feel free to swap or tweak depending on what you have on hand.
- Rolled oats (1 ½ cups / 135g) – the base for chewiness and fiber. I prefer old-fashioned oats for texture.
- Natural creamy peanut butter (¾ cup / 190g) – the star ingredient. Choose one with no added sugar or oils for the best flavor.
- Honey (⅓ cup / 113g) – just enough sweetness to keep things balanced. Maple syrup works well too.
- Ground flaxseed (2 tablespoons) – adds a subtle nuttiness and boosts nutrition. Optional but recommended.
- Mini chocolate chips (½ cup / 90g) – the kid-approved fun factor. Dark or semi-sweet work best.
- Vanilla extract (1 teaspoon) – a little flavor lift that makes a difference.
- Chia seeds (1 tablespoon) – for texture and omega-3s, optional but great for an extra health kick.
- Salt (a pinch) – balances the sweetness and enhances flavors.
If you’re after a gluten-free option, double-check your oats are certified gluten-free. For a nut-free variation, try sunflower seed butter in place of peanut butter. I’ve found that small tweaks like these keep the recipe flexible and friendly for different needs.
Equipment Needed
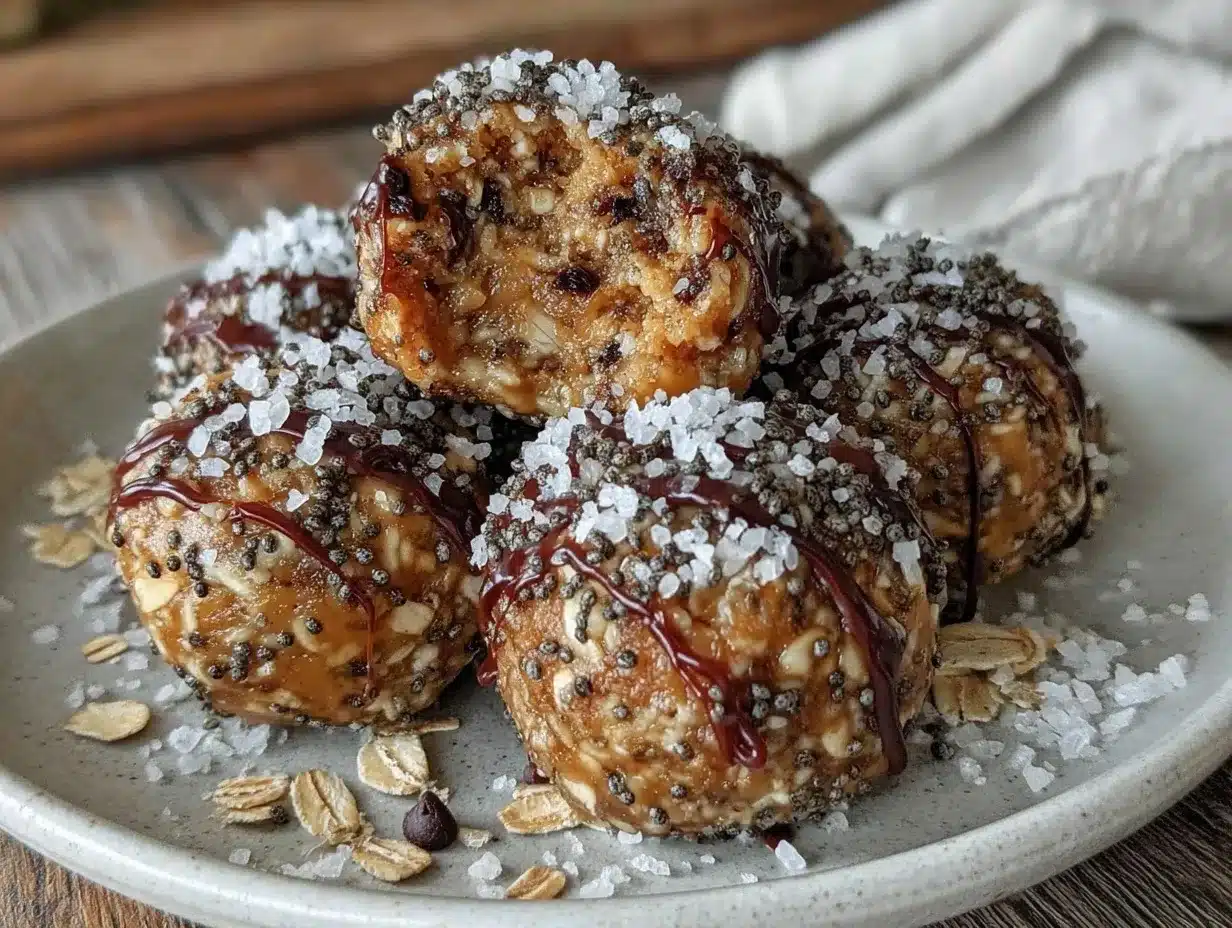
Luckily, this recipe doesn’t demand any fancy gadgets — perfect for a quick fix or even cooking with kids.
- Mixing bowl: A medium-sized bowl for combining ingredients.
- Measuring cups and spoons: Accuracy matters, especially with sticky peanut butter and honey.
- Spatula or wooden spoon: For mixing everything evenly.
- Baking sheet or tray: To line with parchment paper for shaping and chilling the bites.
- Refrigerator: Not exactly equipment but essential for setting the bites.
If you want to speed things up, I sometimes use a stand mixer with the paddle attachment — it blends the peanut butter and honey smoothly without much effort. For those on a budget, a simple wooden spoon does the trick just fine. Just be ready for a little arm workout!
Preparation Method
- Gather your ingredients. Measure out rolled oats, peanut butter, honey, flaxseed, chocolate chips, vanilla extract, chia seeds (if using), and salt. Having everything ready makes assembly quick.
- Mix the wet ingredients. In your mixing bowl, combine peanut butter, honey, and vanilla extract. Stir until smooth and well combined — it should look glossy and a bit runny, not stiff.
- Add the dry ingredients. Toss in the rolled oats, ground flaxseed, chia seeds, salt, and chocolate chips. Stir gently but thoroughly until all ingredients are evenly coated. The mixture should be thick but sticky enough to hold together.
- Test the mixture’s consistency. Pinch a small amount and try to roll it into a ball. If it crumbles, add a teaspoon of honey or peanut butter. If too sticky, add a tablespoon of oats. This ensures your bites hold up well.
- Shape into bites. Line a baking sheet with parchment paper. Scoop about 1 tablespoon (15 ml) of mixture and roll into a compact ball between your palms. Place on the tray. Repeat until all mixture is used — should make about 20 bites.
- Chill to set. Pop the tray in the refrigerator for at least 30 minutes. This helps everything firm up and makes the bites easier to handle.
- Store and serve. Transfer the bites to an airtight container once chilled. Keep refrigerated and enjoy within a week for the best flavor and texture.
Pro tip: If you’re short on time, you can freeze these bites for up to a month. Just thaw a few at a time before heading out. I learned this the hard way when a batch disappeared faster than expected!
Cooking Tips & Techniques
I’ve made these energy bites more times than I can count, and a few lessons stick out. First, mixing the peanut butter and honey well before adding dry ingredients helps everything come together with less effort. Sometimes, if the peanut butter is too stiff, I warm it slightly in the microwave for 10 seconds — just warm enough to loosen it, not melt.
Don’t skip the chilling step. It’s tempting to grab one right away (guilty!), but letting them set tightens the texture and prevents crumbling. If the bites feel too dry, a splash of milk — dairy or plant-based — can rescue the mixture.
When rolling, try to keep your hands slightly damp (a quick rub of cold water works) to prevent sticking. Also, mixing chocolate chips last preserves their shape and texture better.
Timing-wise, these bites are a great multitasker. While chilling, you can prep lunches or even whip up a batch of creamy dump-and-bake Tuscan chicken pasta for dinner — that recipe is a lifesaver on busy nights.
Variations & Adaptations
One of the best things about this recipe is how easy it is to customize based on your family’s tastes or dietary needs.
- Nut-Free Version: Swap peanut butter for sunflower seed or soy nut butter. It’s just as creamy and kid-friendly.
- Boost the Protein: Add a scoop of your favorite protein powder or toss in some chopped nuts for extra bite and nutrition.
- Flavor Twists: Mix in dried cranberries, shredded coconut, or even a pinch of cinnamon for a subtle warming note.
- Seasonal Swap: During summer, I sometimes replace chocolate chips with chopped fresh berries or freeze-dried fruit for a refreshing touch.
- Vegan Friendly: Use maple syrup instead of honey and make sure peanut butter is free of additives. Coconut sugar can be an alternative sweetener too.
I once tried adding a spoonful of cocoa powder for a chocolate peanut butter combo — the kids went wild for it. Feel free to experiment; that’s half the fun!
Serving & Storage Suggestions
These peanut butter energy bites are best served chilled or at room temperature. They make perfect little snacks alongside a glass of milk or a fresh fruit smoothie. I sometimes pack a few in lunchboxes with a small note — those mini surprises go a long way.
Store them in an airtight container in the refrigerator. They keep well for up to a week, but honestly, they rarely last that long in my house. For longer storage, freeze in a single layer on a tray, then transfer to a zip-top bag. Thaw in the fridge or at room temperature before eating.
The flavor tends to deepen after a day in the fridge, so making them a day ahead can reward you with an even tastier bite. Just don’t forget where you put them — these disappear fast!
Nutritional Information & Benefits
Each energy bite packs roughly 90-100 calories, depending on size, with a good balance of protein, healthy fats, and fiber. Peanut butter provides heart-healthy monounsaturated fats, while oats add slow-digesting carbohydrates that keep energy steady. The ground flaxseed and chia seeds contribute omega-3 fatty acids and fiber, supporting digestion.
This recipe is naturally gluten-free if you use certified oats, and dairy-free as well, making it suitable for many dietary needs. Keep in mind, these bites contain nuts, so they’re not safe for nut allergies. For those needing a nut-free snack, sunflower seed butter is a solid alternative.
I appreciate how these energy bites offer a wholesome snack option without relying on refined sugars or artificial ingredients — something I always aim for in my kitchen, especially during the school year rush.
Conclusion
Easy No-Bake Peanut Butter Energy Bites have quietly become a staple in our back-to-school routine. Their fuss-free prep, simple ingredients, and satisfying flavor make them a snack I trust to keep everyone fueled and happy. I love how adaptable the recipe is, allowing for tweaks that suit different tastes and dietary needs without fuss.
If you’ve got a few minutes and a craving for a snack that’s as reliable as it is tasty, this recipe will be right up your alley. I’d love to hear how you make it your own — whether you add a twist or keep it classic, these bites are a little kitchen win that feels like a big one.
Here’s to smooth mornings, happy kids, and snacks that stick around (at least for a little while).
Frequently Asked Questions
Can I make these peanut butter energy bites ahead of time?
Absolutely! Prepare them up to a week in advance and store in the refrigerator. You can also freeze them for up to a month and thaw as needed.
What if my mixture is too sticky to roll?
Try chilling the mixture for 10-15 minutes to firm up. You can also add a tablespoon more oats to help absorb excess moisture.
Can I use crunchy peanut butter instead of creamy?
Yes, but keep in mind the texture will be chunkier. If your kids prefer smoother bites, creamy peanut butter works best.
Are these energy bites suitable for kids with nut allergies?
Not with peanut butter, but you can substitute sunflower seed butter or soy nut butter to make a nut-free version.
How many energy bites does this recipe make?
This batch yields about 20 bites, depending on the size you roll them. Perfect for packing multiple snacks or sharing.
Pin This Recipe!
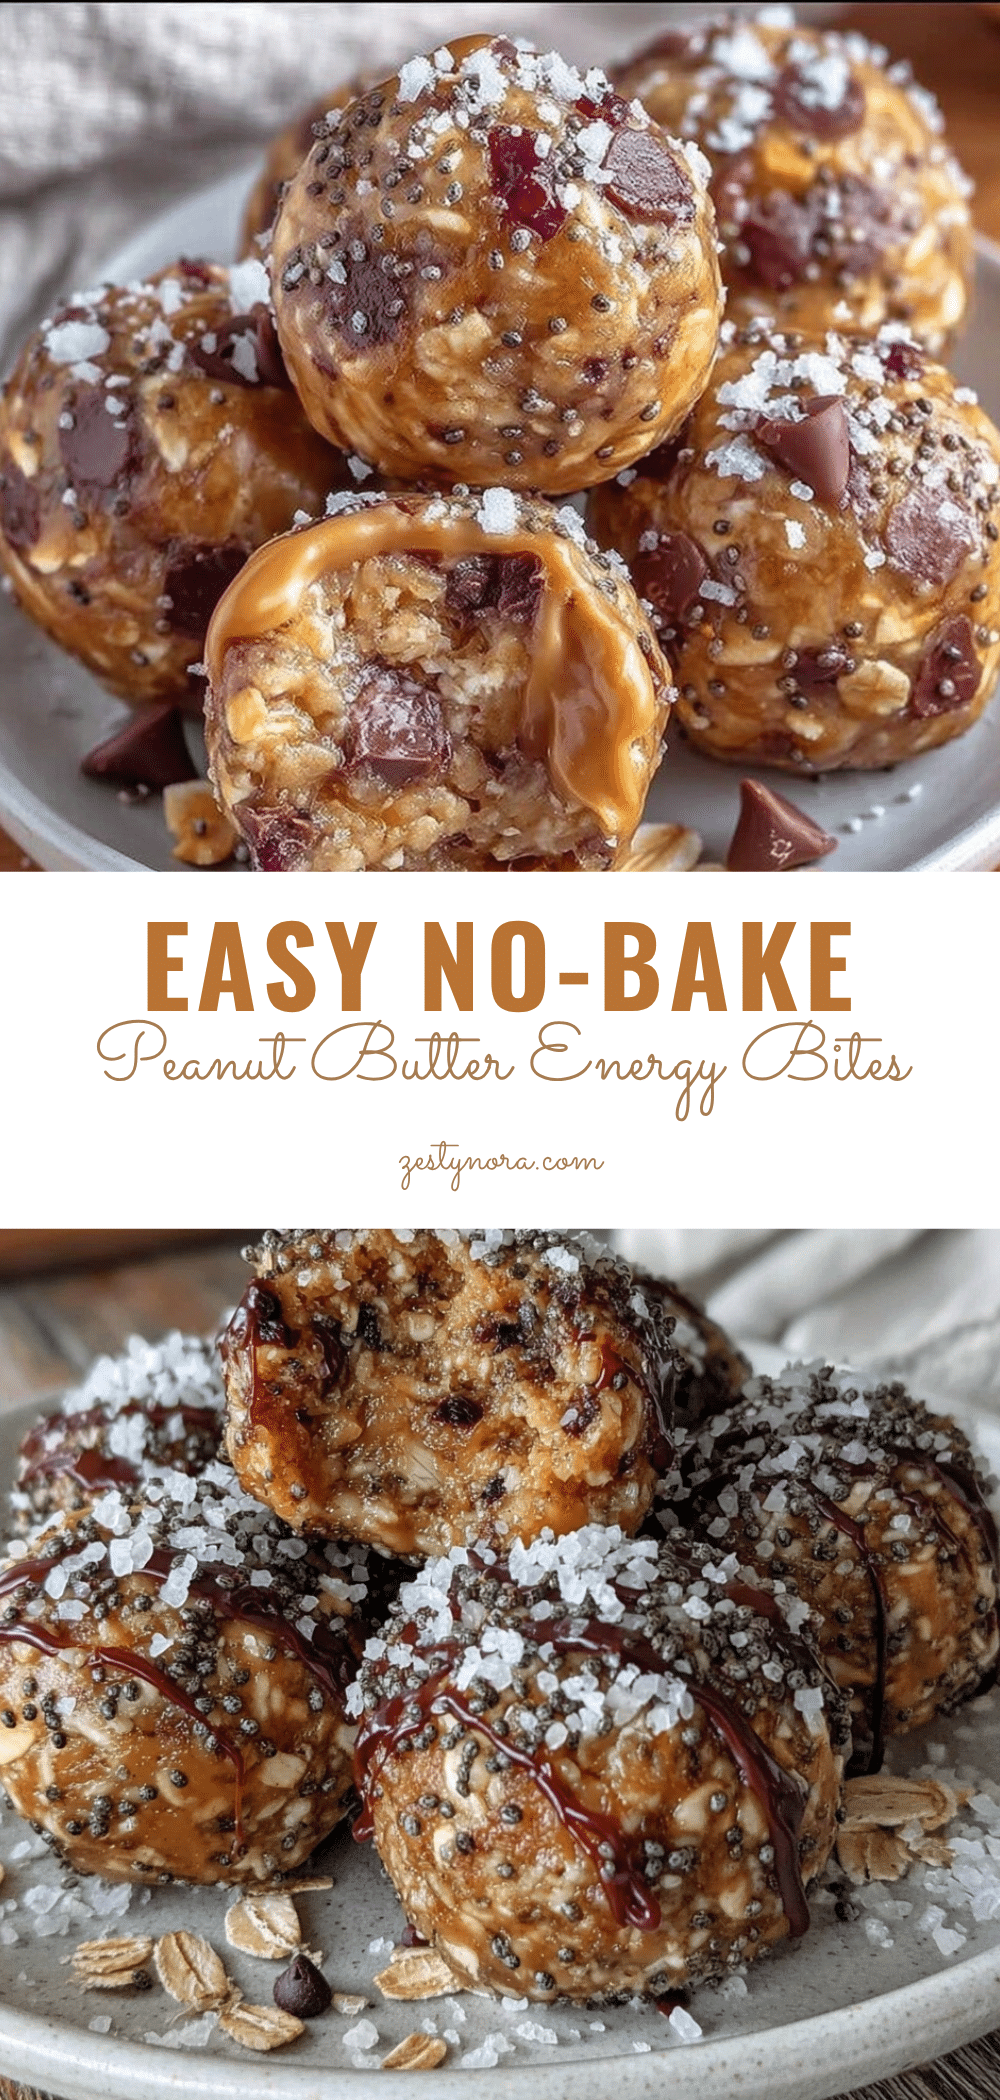
Easy No-Bake Peanut Butter Energy Bites

These no-bake peanut butter energy bites are quick, wholesome, and kid-friendly snacks perfect for back-to-school mornings or anytime grab-and-go energy. Made with simple pantry staples, they offer a delicious balance of creamy peanut butter, chewy oats, and a hint of sweetness.
- Prep Time: 10 minutes
- Cook Time: 0 minutes
- Total Time: 40 minutes
- Yield: 20 bites 1x
- Category: Snack
- Cuisine: American
Ingredients
- 1 ½ cups rolled oats (135g)
- ¾ cup natural creamy peanut butter (190g)
- ⅓ cup honey (113g) or maple syrup
- 2 tablespoons ground flaxseed (optional)
- ½ cup mini chocolate chips (90g)
- 1 teaspoon vanilla extract
- 1 tablespoon chia seeds (optional)
- Pinch of salt
Instructions
- Gather your ingredients. Measure out rolled oats, peanut butter, honey, flaxseed, chocolate chips, vanilla extract, chia seeds (if using), and salt.
- In a mixing bowl, combine peanut butter, honey, and vanilla extract. Stir until smooth and well combined.
- Add rolled oats, ground flaxseed, chia seeds, salt, and chocolate chips. Stir gently until all ingredients are evenly coated and the mixture is thick but sticky.
- Test the mixture’s consistency by pinching a small amount and rolling it into a ball. If it crumbles, add a teaspoon of honey or peanut butter. If too sticky, add a tablespoon of oats.
- Line a baking sheet with parchment paper. Scoop about 1 tablespoon (15 ml) of mixture and roll into a compact ball. Place on the tray. Repeat until all mixture is used (about 20 bites).
- Chill the tray in the refrigerator for at least 30 minutes to set.
- Transfer the bites to an airtight container once chilled. Store refrigerated and enjoy within a week.
Notes
Warm peanut butter slightly if too stiff for easier mixing. Chill bites for at least 30 minutes to prevent crumbling. Keep hands damp when rolling to prevent sticking. Freeze for up to one month for longer storage.
Nutrition
- Serving Size: 1 bite
- Calories: 90100
- Sugar: 5
- Sodium: 50
- Fat: 6
- Saturated Fat: 1
- Carbohydrates: 10
- Fiber: 2
- Protein: 3
Keywords: no-bake, peanut butter, energy bites, back-to-school snacks, healthy snacks, kid-friendly, quick snack


