My neighbor Kate watched me wrestling with a block of cheddar on a Tuesday afternoon, my fingers slipping off the knife handle as I tried to cut perfect little cubes. She didn’t say anything at first—just leaned against my doorway with this knowing smile. Then she walked over, picked up a skull-shaped cookie cutter from my counter, and said, “You’re overthinking it. Halloween is supposed to be fun, not a geometry test.” That was three years ago, and I haven’t cut a cheese cube since. Kate wasn’t a chef or a food blogger—she was just a mom who figured out that the best party food makes people laugh before they even take a bite. She showed me how to press that little plastic skull into a slab of cheddar, pop out the shape, and arrange it on a board with grapes and crackers like it was no big deal. Honestly, I was a little embarrassed I hadn’t thought of it myself. I mean, how many times had I stressed over making charcuterie look “presentable” when all I needed was a $3 cookie cutter and some confidence?
That afternoon, we stood in my kitchen, snacking on the imperfect skulls—the ones where the cheese cracked a little or the nose got squished—and talked about how Halloween had turned into this weird pressure cooker of perfection. Kate’s philosophy stuck with me: make something that looks fun, tastes good, and doesn’t require a culinary degree. So these Wholesome Halloween Charcuterie Skulls with Cheddar and Grapes are my little tribute to her. They’re the recipe I pull out every October when I want to feed my family something festive without spending hours in the kitchen. Maybe you’ve been there too—staring at Pinterest boards full of elaborate charcuterie displays and thinking, “I don’t have time for that.” Trust me, I get it. But this one? It takes ten minutes, uses real ingredients, and honestly makes me feel like I’m winning at Halloween.
Why You’ll Love This Recipe
Let me tell you why these Wholesome Halloween Charcuterie Skulls with Cheddar and Grapes have become my go-to for every spooky season gathering. I’ve tested this approach over three Halloweens now, and it never fails to get the same reaction: people stop, smile, and then actually eat the food. No picking around weirdly colored treats or overly sweet candy. Just real, good food that happens to look like tiny skulls.
- Quick & Easy: Comes together in under 15 minutes, perfect for last-minute Halloween parties or when the kids come home hyped up on sugar and you need something real on the table fast.
- Simple Ingredients: No fancy grocery trips needed—cheddar, grapes, crackers, and maybe some nuts or berries you already have in your fridge. That’s it.
- Perfect for Halloween Gatherings: Great for classroom parties, potlucks, cozy movie nights, or even a spooky-themed brunch. It’s festive without being fussy.
- Crowd-Pleaser: Always gets rave reviews from kids and adults alike. I’ve watched grown adults giggle over cheese skulls, and that’s a beautiful thing.
- Unbelievably Delicious: The sharp cheddar paired with sweet grapes and salty crackers is next-level comfort food. No tricks, just treats.
What makes this recipe different from the rest? It’s the texture and flavor combo—creamy cheddar, juicy grapes, crunchy crackers—all shaped into something that makes you smile. I’ve tried other Halloween charcuterie ideas that rely on food coloring or processed snacks, but this one keeps it real. It’s comfort food reimagined for the holiday: healthier, faster, but with the same soul-soothing satisfaction. Perfect for impressing guests without stress, or turning a simple snack into something memorable.
What Ingredients You Will Need
This recipe uses simple, wholesome ingredients to deliver bold flavor and satisfying texture without the fuss. Everything here is likely already in your kitchen or easy to grab at the store. Here’s what you’ll need to make these Wholesome Halloween Charcuterie Skulls with Cheddar and Grapes come to life.
- Sharp cheddar cheese block (8 ounces, cold) — I prefer Tillamook or Cabot for their firm texture and bold flavor. The cold block cuts cleaner and holds the skull shape better. Pre-shredded cheese won’t work here; you need the block.
- Red seedless grapes (1 cup, washed and dried) — Sweet and juicy, they balance the sharp cheddar perfectly. Look for firm grapes without wrinkles. In fall, I sometimes swap in black grapes for a darker, spookier look.
- Green seedless grapes (1 cup, washed and dried) — Adds color contrast and a slightly different sweetness. You can use all red if that’s what you have.
- Whole wheat crackers (about 20, or enough to surround the skulls) — I like the nutty flavor of whole wheat against the cheddar. Mary’s Gone Crackers or Triscuits work great. For a gluten-free option, use rice crackers or seed crackers.
- Mixed nuts (½ cup, optional) — Almonds, walnuts, or pecans add crunch and make the board feel more substantial. I usually add them when serving adults; kids sometimes skip them.
- Fresh rosemary sprigs (2-3 sprigs, optional for garnish) — Adds that Halloween-witchy vibe without being overpowering. Totally skip if you don’t have it.
- Dried apricots or figs (¼ cup, optional) — Their chewy sweetness is a nice contrast to the sharp cheese. I add these when I want the board to feel more “fancy.”
For the skull shapes, you’ll need a small skull-shaped cookie cutter (about 1.5 to 2 inches). I got mine at a craft store for under $5, and it’s paid for itself many times over. If you can’t find a skull, a pumpkin or ghost shape works too—just adjust the theme.
Equipment Needed
You don’t need much to pull this off, which is part of the beauty. Here’s what I use every time:
- Skull-shaped cookie cutter (1.5 to 2 inches) — The star of the show. I bought a set of three different sizes online, but the medium one works best for cheddar. If you don’t have one, a small pumpkin or bat cutter works for Halloween vibes.
- Cutting board — A sturdy one that won’t slip. I prefer wood because it grips the cheese better than plastic.
- Sharp knife — For slicing the cheese block into slabs about ¼-inch thick. A chef’s knife works, but a serrated knife gives cleaner cuts through cold cheese.
- Serving board or platter — A wooden board, slate tile, or even a large dinner plate works. I’ve used a white platter to make the colors pop, and it looked great.
- Small bowl (optional) — For holding nuts or dried fruit if you’re adding them. Keeps the board organized.
- Paper towels — For patting grapes dry. Wet grapes make crackers soggy, and nobody wants that.
If you don’t have a cookie cutter, you can freehand skull shapes with a paring knife—just trace a simple skull outline on the cheese and cut carefully. It takes a bit longer but works in a pinch. I’ve done it when my cutter was MIA, and honestly, the imperfect ones have more character.
Preparation Method
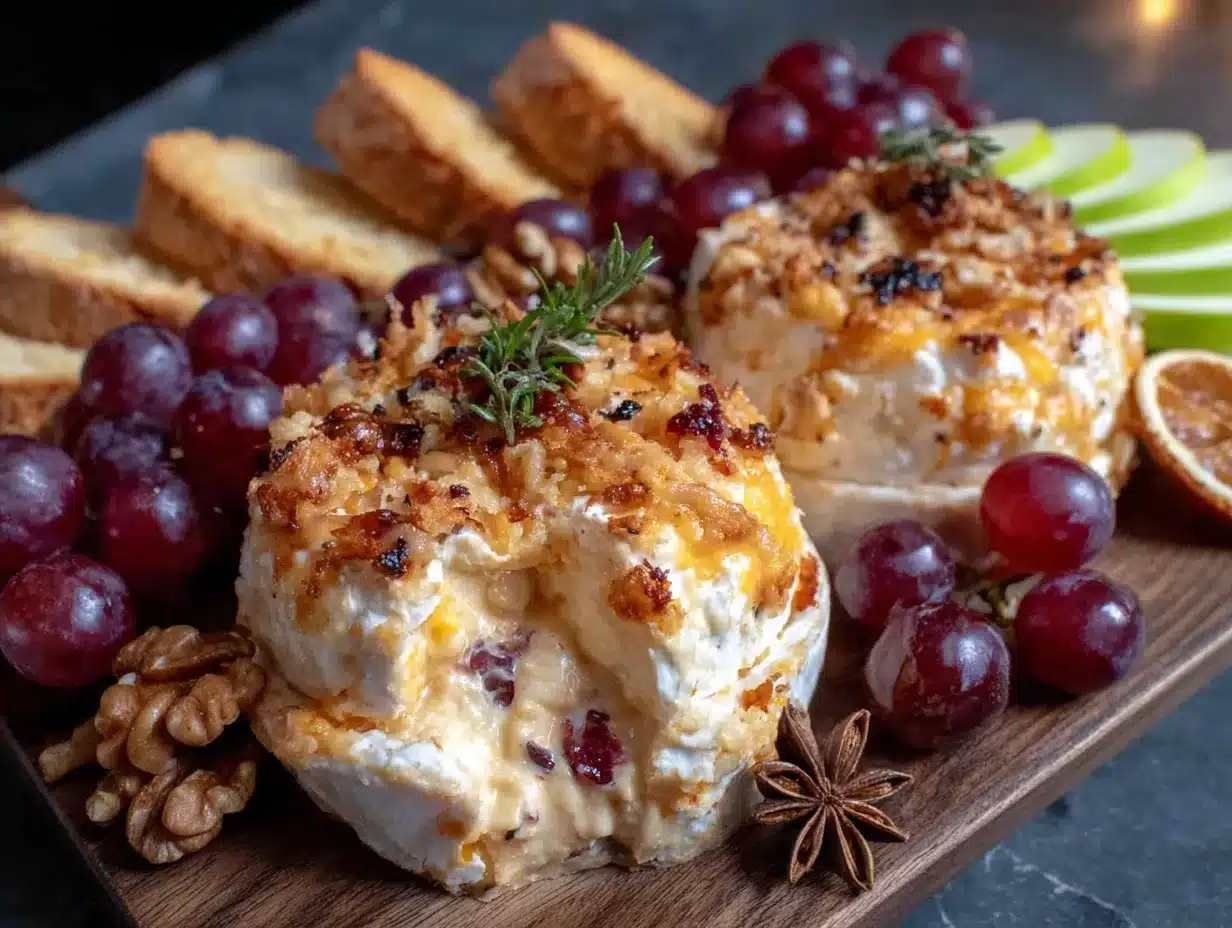
Here’s how to put it all together. I’ve broken it down step by step so you don’t miss anything. Trust me, even if you’ve never made charcuterie before, you can nail this.
- Prep the cheese (2 minutes). Take your cold cheddar block and slice it into slabs about ¼-inch thick. Cold cheese is key here—warm cheese will crumble or stick to the cutter. If your cheese starts softening as you work, pop it back in the fridge for 5 minutes. I’ve learned this the hard way after a few squished skulls.
- Cut the skull shapes (5 minutes). Press the skull-shaped cookie cutter firmly into the cheese slab. Wiggle it slightly to release the edges, then lift straight up. You should get a clean skull shape. Repeat until you’ve used all the cheese. You’ll get about 12-15 skulls from an 8-ounce block, depending on the cutter size. Don’t stress about the scraps—eat them as a chef’s snack or save them for mac and cheese later.
- Wash and dry the grapes (2 minutes). Rinse both red and green grapes under cold water, then pat them completely dry with paper towels. This step matters more than you think—wet grapes will make your crackers soggy within minutes. I once skipped drying them and ended up with a sad, mushy board.
- Arrange the board (5 minutes). Place your serving board on the counter. Start by positioning the cheese skulls in the center, spaced about an inch apart. I like to arrange them in a loose circle or a zigzag pattern—nothing too perfect. Then scatter the grapes around the skulls, mixing red and green for color. Next, add the crackers in small clusters between the grapes. If you’re using nuts or dried fruit, place them in little piles or a small bowl on the board.
- Add garnishes (1 minute). Tuck fresh rosemary sprigs between the skulls for that Halloween witchy feel. The rosemary isn’t just for looks—its earthy scent pairs beautifully with cheddar. If you don’t have rosemary, skip it or use a few fresh sage leaves.
- Serve immediately. This board is best enjoyed within an hour of assembling. The crackers stay crunchy, the grapes stay firm, and the cheese is at that perfect cool-but-not-cold temperature. If you’re making it ahead, prep the cheese skulls and wash the grapes separately, then assemble just before serving.
One thing I’ve learned: don’t overthink the arrangement. The beauty of charcuterie is that it looks rustic and inviting even when it’s a little messy. I’ve placed skulls upside down before and just laughed it off—it’s Halloween, after all.
Cooking Tips & Techniques
After making these Wholesome Halloween Charcuterie Skulls with Cheddar and Grapes more times than I can count, I’ve picked up a few tricks that make the process smoother. Here’s what I wish someone had told me the first time.
Keep the cheese cold. This is non-negotiable. If your cheddar warms up, the skulls will crumble or stick to the cutter. I keep the block in the fridge until the last minute, and if I’m cutting a lot of shapes, I work in batches—cut a few, pop the rest back in the fridge. The difference between cold and room-temperature cheese is the difference between a clean skull and a cheese blob.
Press firmly and lift straight. When using the cookie cutter, press down with steady pressure, then lift straight up without twisting. Twisting can tear the cheese edges. I ruined my first few skulls by twisting like I was opening a jar. Now I know better.
Pat grapes bone-dry. I cannot stress this enough. Moisture is the enemy of crunchy crackers. After washing the grapes, spread them on a clean kitchen towel and let them air dry for a few minutes before arranging. I once served a board with damp grapes, and within 20 minutes, the crackers around them were soft and sad.
Timing is everything. Assemble the board no more than 30 minutes before serving. If you’re hosting a party, prep all the components ahead of time—cut the cheese skulls, wash the grapes, arrange the crackers on a tray—then assemble right before guests arrive. This keeps everything fresh and crisp.
Don’t overcrowd the board. Leave a little space between items so people can grab what they want without knocking over a skull. I learned this after watching a guest accidentally send a grape avalanche across my kitchen floor. Give each element room to breathe.
Variations & Adaptations
One of the best things about this recipe is how flexible it is. I’ve tried several variations over the years, and they’ve all been hits. Here are some ideas to make it your own.
- Dietary adaptations: For a dairy-free version, use a firm vegan cheddar or a block of aged gouda-style vegan cheese. I’ve tried Miyoko’s Smoked Farmhouse and it cuts beautifully. For gluten-free, swap whole wheat crackers for gluten-free seed crackers or sliced cucumber rounds. For a low-carb option, skip the crackers and add extra nuts and cheese.
- Seasonal swaps: In summer, replace grapes with fresh figs or sliced peaches—they pair gorgeously with cheddar. In winter, add pomegranate seeds for a pop of red that looks like little jewels against the cheese. I did this for a Christmas party and everyone thought I was fancy.
- Flavor twists: Try using smoked cheddar or pepper jack for a different flavor profile. Smoked cheddar adds a rich, bacon-like note that’s amazing with grapes. I once made a board with half sharp cheddar and half smoked gouda skulls—it was gone in 20 minutes.
- Other shapes: If you can’t find a skull cutter, use a small pumpkin, ghost, or bat cutter for the same Halloween vibe. I’ve even used a star cutter for a “witchy” theme and called them “star skulls.” No one questioned it.
- Add protein: For a heartier board, add sliced salami or prosciutto rolled into small roses. The salty meat balances the sweet grapes and sharp cheese beautifully. I do this when serving adults at a party.
Serving & Storage Suggestions
These Wholesome Halloween Charcuterie Skulls with Cheddar and Grapes are best served at cool room temperature, which brings out the full flavor of the cheese. I like to take the board out of the fridge about 10 minutes before serving to let the cheese soften slightly—but not longer, or the crackers will start to lose their crunch.
For presentation, I arrange the skulls in the center and build outward with grapes, crackers, and nuts. A few rosemary sprigs tucked between the skulls add a witchy, forest-floor feel that’s perfect for Halloween. If you’re serving kids, you can add a small bowl of candy eyeballs or pretzel sticks for them to snack on alongside the cheese.
This board pairs beautifully with a crisp apple cider, a light red wine like Pinot Noir, or even a sparkling water with a splash of pomegranate juice. For a Halloween brunch, serve it alongside a pumpkin soup or a simple salad.
For storage, the components are best kept separate. Store leftover cheese skulls in an airtight container in the fridge for up to 3 days. Grapes should be stored in a separate container to prevent them from making the cheese damp. Crackers go in a sealed bag at room temperature. To reheat? You don’t need to—this is a cold dish. But if you want to refresh the crackers, pop them in a 300°F oven for 3 minutes to crisp them back up.
One thing I’ve noticed: the flavors actually meld a bit if you let the assembled board sit for 15 minutes at room temperature. The cheese softens slightly, the grapes release a tiny bit of juice, and everything gets a little more cohesive. Just don’t leave it out longer than an hour for food safety.
Nutritional Information & Benefits
These Wholesome Halloween Charcuterie Skulls with Cheddar and Grapes offer a balanced snack with real nutritional value. Here’s a rough estimate per serving (about 3 cheese skulls, a handful of grapes, and a few crackers): approximately 250-300 calories, 18g fat, 12g protein, 15g carbohydrates, and 2g fiber.
Cheddar cheese is a good source of calcium and protein, which helps keep you full and supports bone health. Grapes provide antioxidants like resveratrol and vitamin C, plus they’re hydrating and naturally sweet. Whole wheat crackers add fiber and complex carbohydrates for steady energy. Nuts, if you add them, bring healthy fats and vitamin E.
This recipe is naturally vegetarian and can be made gluten-free or dairy-free with simple substitutions. It’s lower in sugar than most Halloween treats, making it a smart choice for balancing out the candy overload. I love serving it before trick-or-treating so the kids have something real in their stomachs before the sugar rush.
As always, check for allergens: cheddar contains dairy, crackers may contain gluten and wheat, and nuts are a common allergen. If serving at a party, label the board if you’re unsure about guests’ dietary needs.
Conclusion
These Wholesome Halloween Charcuterie Skulls with Cheddar and Grapes have become a tradition in my house, and I hope they become one in yours too. They’re proof that Halloween food doesn’t have to be complicated or loaded with artificial ingredients to be fun. A little creativity, a simple cookie cutter, and some good-quality ingredients are all you need to create something that makes people smile.
I love this recipe because it brings people together—whether it’s my kids giggling over cheese skulls or my neighbors grabbing a handful at a party. It’s the kind of food that sparks conversation and makes memories. And honestly, it’s just really, really good.
So go ahead and give it a try. Customize it with your favorite cheeses or add a spooky garnish. Make it your own. And when you do, I’d love to hear about it. Drop a comment below, share a photo, or tell me how your family reacted to the skulls. Happy Halloween, and happy snacking!
Frequently Asked Questions
Can I make these ahead of time?
Yes! You can cut the cheese skulls and wash the grapes up to a day in advance. Store the cheese in an airtight container in the fridge and the grapes in a separate container. Assemble the board just before serving for the best texture.
What if I don’t have a skull-shaped cookie cutter?
No problem! Use any Halloween-themed cutter—pumpkin, ghost, bat, or even a star. You can also freehand shapes with a paring knife. Imperfect skulls have their own charm.
Can I use other types of cheese?
Absolutely. Smoked cheddar, gouda, pepper jack, or even a firm goat cheese log all work well. Just make sure the cheese is cold and firm enough to hold its shape when cut.
How long can the board sit out?
For food safety, don’t leave the assembled board out for more than 2 hours. If you’re serving at a party, consider making smaller boards and refreshing them as needed.
Is this recipe kid-friendly?
Very! Kids love the skull shapes and the sweet grapes. It’s a great way to get them to eat real food before the Halloween candy. Let them help press the cookie cutter into the cheese—they’ll love it.
Pin This Recipe!
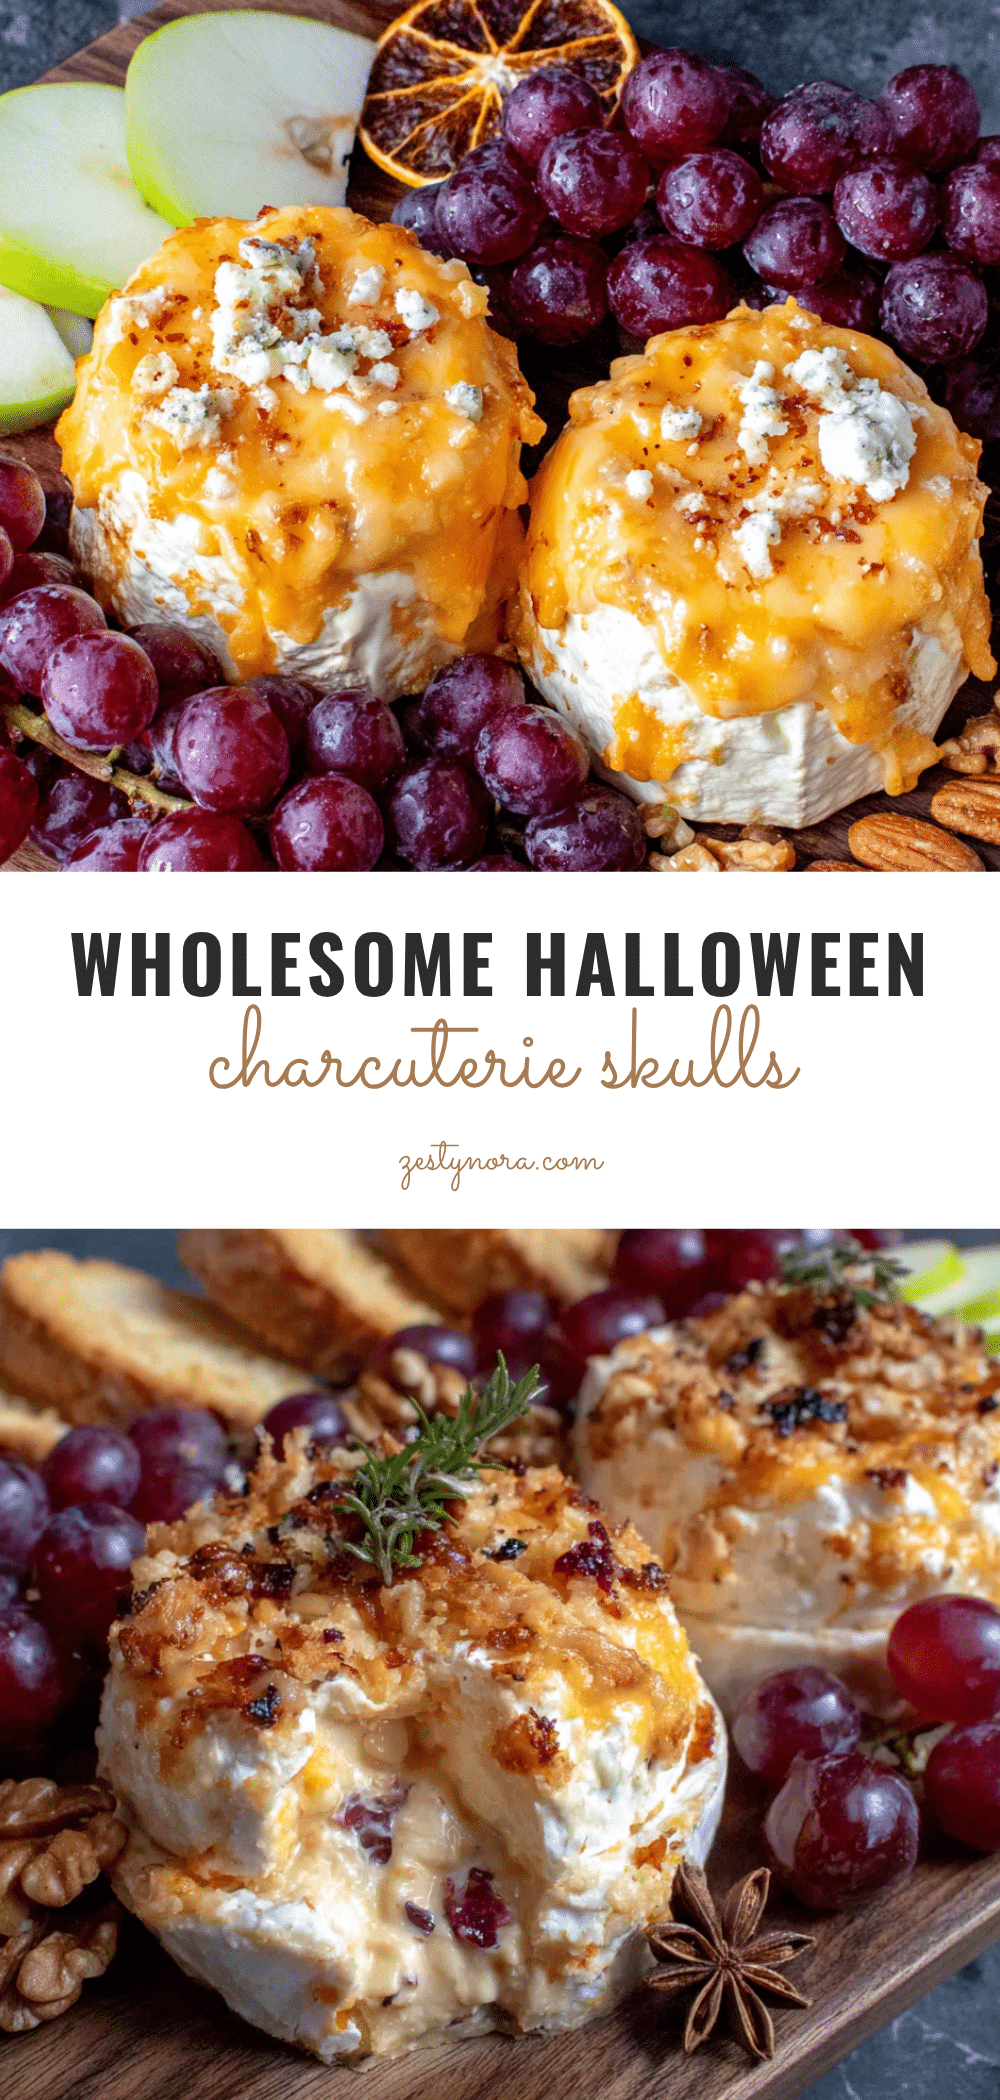
The Best Halloween Charcuterie Skulls with Cheddar

These Wholesome Halloween Charcuterie Skulls with Cheddar and Grapes are a quick, fun, and delicious snack that comes together in under 15 minutes. Perfect for Halloween parties, they feature sharp cheddar cheese cut into skull shapes, paired with sweet grapes, crunchy crackers, and optional nuts for a crowd-pleasing treat.
- Prep Time: 10 minutes
- Cook Time: 0 minutes
- Total Time: 10 minutes
- Yield: 4 servings 1x
- Category: Appetizer
- Cuisine: American
Ingredients
- 8 ounces sharp cheddar cheese block, cold
- 1 cup red seedless grapes, washed and dried
- 1 cup green seedless grapes, washed and dried
- 20 whole wheat crackers (or gluten-free crackers)
- ½ cup mixed nuts (optional)
- 2–3 sprigs fresh rosemary (optional for garnish)
- ¼ cup dried apricots or figs (optional)
Instructions
- Prep the cheese: Slice the cold cheddar block into slabs about ¼-inch thick.
- Cut the skull shapes: Press a skull-shaped cookie cutter firmly into the cheese slab, wiggle slightly to release edges, then lift straight up. Repeat until all cheese is used (yields about 12-15 skulls).
- Wash and dry the grapes: Rinse both red and green grapes under cold water, then pat completely dry with paper towels.
- Arrange the board: Place cheese skulls in the center of a serving board, spaced about an inch apart. Scatter grapes around the skulls, mixing red and green. Add crackers in small clusters between the grapes. If using nuts or dried fruit, place them in small piles or a small bowl on the board.
- Add garnishes: Tuck fresh rosemary sprigs between the skulls for a Halloween witchy feel.
- Serve immediately: Best enjoyed within an hour of assembling.
Notes
Keep the cheese cold for clean cuts. Pat grapes bone-dry to prevent soggy crackers. Assemble no more than 30 minutes before serving. For dairy-free, use firm vegan cheddar. For gluten-free, use gluten-free crackers or cucumber rounds. Leftover cheese skulls can be stored in an airtight container in the fridge for up to 3 days.
Nutrition
- Serving Size: 3 cheese skulls, a h
- Calories: 275
- Sugar: 8
- Sodium: 350
- Fat: 18
- Saturated Fat: 10
- Carbohydrates: 15
- Fiber: 2
- Protein: 12
Keywords: Halloween charcuterie, cheese skulls, cheddar grapes, Halloween appetizer, easy Halloween snack, charcuterie board, spooky snack


