The Cookie That Stopped Me Cold
My neighbor Kate wasn’t trying to impress anyone. I’d stopped by to return her measuring cups—ones I’d borrowed three weeks prior and honestly kept forgetting about—and the smell hit me before I even got through the screen door. It was nutty, almost caramel-like, with that unmistakable warmth of butter doing something magical in a hot pan. I stood there in her doorway like an idiot, inhaling, while she waved me in with a spatula.
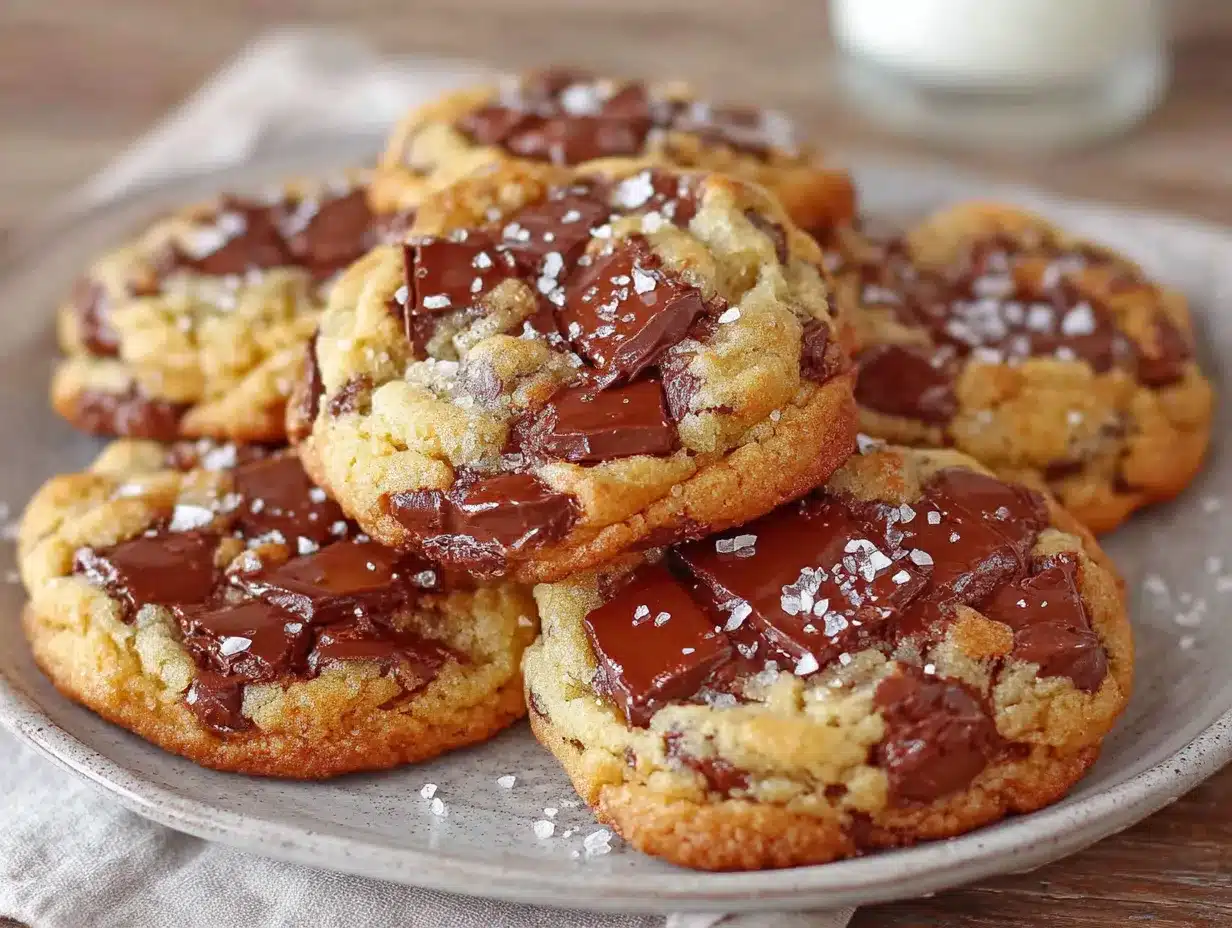
“Oh, just trying a new recipe,” she said, shrugging like she’d boiled an egg. She slid a tray of the most perfect golden cookies onto her stovetop. Six of them. Exactly six. I counted because I couldn’t believe someone would make such a small batch. They were puffed and craggy, with pools of melted chocolate threatening to escape. Kate didn’t even watch me take the first bite, maybe you’ve been there—when someone makes something extraordinary and acts like it’s nothing.
That first bite ruined me. The edges were crisp and lacy, the centers soft and chewy, and there was this deep, almost toasty flavor I couldn’t place. “Brown butter,” she said when I asked, still not looking up from wiping the counter. I mean, I’d heard of brown butter. I’d just never tasted it in a cookie before. The chocolate was dark and slightly bitter, cutting through the sweetness perfectly. I ate two standing at her island, feeling slightly feral.
I’ve been making these small batch brown butter chocolate chip cookies ever since that afternoon. Three years now, and I still get that same feeling—the one where you close your eyes after the first bite. These cookies are the kind of thing you keep in your back pocket for a Tuesday night when you need something good, something that feels special without feeling like a whole production. Honestly, that’s the whole point.
Why You’ll Love This Recipe
Let me tell you why these brown butter chocolate chip cookies have become my go-to. I’ve tested this recipe at least a dozen times, tweaking the flour ratio and chilling time until it was just right. Here’s what makes them stand out:
- Just 6 Cookies – No giant batches that go stale before you finish them. This is the perfect amount for a craving, a small gathering, or a quiet night in.
- Brown Butter Magic – That nutty, caramelized flavor transforms a simple cookie into something next-level. It’s not complicated, but it tastes like you tried really hard.
- Simple Pantry Ingredients – Butter, sugar, flour, eggs, chocolate chips. You probably have everything already, minus maybe the brown butter step.
- No Stand Mixer Needed – A bowl and a whisk are all you need. Less cleanup, more cookies.
- Crispy Edges, Soft Centers – The texture contrast is unreal. The edges get lacy and caramelized while the middle stays tender and chewy.
- Perfect for Portion Control – Six cookies means you can have one (or two) without the temptation of a whole batch staring at you.
What makes this recipe different from every other chocolate chip cookie recipe out there? It’s the brown butter, sure. But it’s also the ratio. I spent a lot of time figuring out how to get that perfect texture with just a small amount of dough. You don’t need to chill it for hours—just long enough to firm up. And the flavor? It’s deep, rich, and a little sophisticated, but still feels like comfort food. It’s the kind of cookie you make when you want something special but don’t want to commit to a full afternoon of baking.
These cookies are for the days when you need a win. When you want to smell something good in your kitchen. When you want to bite into something warm and feel like everything is okay. That sounds dramatic, I know. But honestly, a really good cookie can do that.
What Ingredients You Will Need
This recipe uses simple ingredients, but each one plays a specific role in creating that perfect texture and flavor. The brown butter is the star, but the supporting cast matters too.
- Unsalted Butter – 5 tablespoons (70g). You’ll brown this, so start with a light-colored pan to monitor the color change. I prefer unsalted to control the salt level, but if you only have salted, just skip the flaky salt at the end.
- Brown Sugar – ¼ cup (50g), packed. Light or dark works here. Dark brown sugar gives a deeper molasses flavor that plays beautifully with the brown butter. I use dark when I have it.
- Granulated Sugar – 2 tablespoons (25g). Adds a bit of crispness to the edges. Don’t skip it—the combination of both sugars is key.
- Large Egg Yolk – 1 yolk. Just the yolk, not the whole egg. This gives you richness and tenderness without making the dough too wet. Save the white for scrambled eggs tomorrow.
- Vanilla Extract – ½ teaspoon. Use pure vanilla if you have it. It rounds out the nutty flavor of the brown butter beautifully.
- All-Purpose Flour – ½ cup (60g). Spoon and level it—don’t scoop directly from the bag or you’ll get too much flour and dry cookies. I’ve made that mistake more times than I care to admit.
- Baking Soda – ¼ teaspoon. Helps the cookies spread just enough and gives them that slight lift.
- Salt – ¼ teaspoon. Use fine sea salt for the dough. It balances the sweetness and enhances the brown butter flavor.
- Chocolate Chips or Chunks – ⅓ cup (60g). I use a mix of semi-sweet and dark chocolate chips. Chop a bar of dark chocolate for bigger pools of chocolate—it’s worth the extra effort. Ghirardelli or Guittard are my go-to brands.
- Flaky Sea Salt – Optional, for sprinkling on top. Maldon or any flaky salt adds a wonderful crunch and saltiness that makes the chocolate pop.
Ingredient Tips: For the best brown butter, use a light-colored pan so you can see the color change. If your butter is browning too fast, lower the heat. And please, please let the brown butter cool before adding the sugars—you don’t want scrambled eggs in your cookie dough. I learned that the hard way.
Equipment Needed
You don’t need much for this recipe, which is part of its charm. Here’s what you’ll need:
- Small Saucepan – For browning the butter. A light-colored pan helps you see the color change. I use a small stainless steel saucepan.
- Mixing Bowls – One medium bowl for the wet ingredients, one small bowl for the dry. Nothing fancy.
- Whisk – For mixing the wet ingredients and combining everything. A wooden spoon works too.
- Rubber Spatula – For scraping every last bit of brown butter out of the pan. Don’t waste that liquid gold.
- Baking Sheet – A standard half-sheet pan works perfectly. Line it with parchment paper for easy cleanup.
- Cookie Scoop or Spoon – A 1.5-tablespoon scoop makes uniform cookies. If you don’t have one, just use a spoon and your hands.
- Cooling Rack – Optional but helpful. It lets the cookies cool evenly so the bottoms don’t get soggy.
If you don’t have a cookie scoop, just use two spoons to portion the dough. The cookies will still taste amazing. And if you don’t have a cooling rack, let them cool on the baking sheet for a few minutes, then transfer to a plate. No problem.
Preparation Method
Let’s make these cookies. The process is straightforward, but the brown butter step requires a little attention. Trust me, it’s worth it.
- Brown the Butter – Place 5 tablespoons of unsalted butter in a small saucepan over medium heat. Let it melt, then swirl the pan occasionally. The butter will foam, then the foam will subside, and you’ll see golden specks forming at the bottom. This takes about 4-5 minutes. Watch closely—it can go from brown to burnt in seconds. When it smells nutty and looks amber-colored, remove it from the heat immediately. Pour it into a heatproof bowl (including all those brown bits) and let it cool for 10-15 minutes. It should be warm but not hot.
- Mix the Wet Ingredients – To the cooled brown butter, add ¼ cup packed brown sugar and 2 tablespoons granulated sugar. Whisk until combined—it’ll look like wet sand. Add 1 egg yolk and ½ teaspoon vanilla extract. Whisk vigorously for about 30 seconds until the mixture is smooth and slightly thickened. This step helps create that crackly top.
- Combine the Dry Ingredients – In a separate small bowl, whisk together ½ cup all-purpose flour, ¼ teaspoon baking soda, and ¼ teaspoon salt. Make sure there are no clumps of baking soda—nobody wants a salty bite.
- Form the Dough – Pour the dry ingredients into the wet mixture. Use a rubber spatula to fold until just combined. A few streaks of flour are fine—overmixing will make the cookies tough. Fold in ⅓ cup chocolate chips or chunks until evenly distributed. The dough will be soft and slightly sticky. That’s perfect.
- Chill the Dough – Cover the bowl with plastic wrap and refrigerate for at least 30 minutes. This step is crucial. Chilling solidifies the brown butter, which prevents the cookies from spreading too thin. If you skip this, you’ll get flat, greasy cookies. Trust me, I’ve tried. You can chill for up to 48 hours—the flavor actually gets better.
- Preheat and Prep – About 10 minutes before you’re ready to bake, preheat your oven to 350°F (175°C). Line a baking sheet with parchment paper.
- Portion the Dough – Using a 1.5-tablespoon cookie scoop or a spoon, divide the dough into 6 equal portions. Roll each into a ball and place them on the prepared baking sheet, spaced about 2 inches apart. If you want those bakery-style domed cookies, press a few extra chocolate chips onto the tops of the dough balls.
- Bake – Bake for 10-12 minutes, rotating the pan halfway through. The edges should be golden brown and set, but the centers will still look soft and slightly underdone. That’s exactly what you want—they’ll continue baking on the hot pan. For softer cookies, bake for 10 minutes. For crispier edges, go for 12.
- Cool and Sprinkle – Remove the baking sheet from the oven. Let the cookies cool on the pan for 5 minutes—this is when they set up. If you’re using flaky sea salt, sprinkle a pinch over each cookie while they’re still warm. Transfer to a cooling rack to cool completely, or eat one warm. I won’t judge.
Sensory Cues: When the butter is browning, you’ll hear it crackle and pop—that’s the water evaporating. It’ll go quiet when it’s ready. The dough should smell nutty and sweet, like toffee. When the cookies are done, the edges will be deep golden and the kitchen will smell like a bakery.
Cooking Tips & Techniques
I’ve made these brown butter chocolate chip cookies more times than I can count, and I’ve made every mistake possible. Here’s what I’ve learned:
Don’t Rush the Brown Butter. This is the most important step. Use medium heat and swirl the pan constantly toward the end. The butter will go from golden to burnt very quickly. I once looked away for ten seconds and ended up with black butter. It smelled terrible, and I had to start over. Keep your eyes on it, and trust the nutty smell—that’s your cue.
Let the Brown Butter Cool. If you add the sugar and egg yolk to hot butter, you’ll end up with scrambled eggs in your cookie dough. I know this because I did it. Let the butter cool for at least 10 minutes until it’s warm but not hot. Touch the bottom of the bowl—if it’s too hot to hold, it’s too hot.
Weigh Your Flour if You Can. I know, I sound like a snob. But flour is so easy to overmeasure. Spoon it into your measuring cup and level it off with a knife. Too much flour makes dry, cakey cookies. Too little makes flat, greasy ones. A kitchen scale is a game-changer for baking.
Chill the Dough, Seriously. I know you want cookies now. I get it. But that 30-minute chill makes a huge difference. It lets the brown butter solidify slightly, which means the cookies spread slowly and stay thick. If you bake them right away, they’ll spread into thin, crispy discs. Still tasty, but not the same.
Use a Mix of Chocolate. I like using a chopped dark chocolate bar (70% cocoa) plus some semi-sweet chips. The bar melts into pools of chocolate, while the chips hold their shape. It creates this beautiful texture and flavor contrast. You can also use milk chocolate if you prefer sweeter cookies.
Bake One Test Cookie. If you’re unsure about your oven or your dough, bake just one cookie first. See how it spreads and how long it takes. Then adjust the rest of the batch. This saves you from ruining all six cookies at once.
Variations & Adaptations
These cookies are versatile. Here are some of my favorite variations:
- Gluten-Free Version – Substitute the all-purpose flour with a 1:1 gluten-free baking flour blend. I’ve used Bob’s Red Mill with great results. The texture will be slightly more tender, but still delicious. Add an extra tablespoon of flour if the dough seems too sticky.
- Vegan Option – Use vegan butter (I like Miyoko’s) and a flax egg (1 tablespoon ground flaxseed mixed with 2.5 tablespoons water, let sit for 5 minutes). The brown butter flavor won’t be as pronounced, but it’s still good. Chill the dough for at least an hour to firm it up.
- Add-In Variations – Swap the chocolate chips for white chocolate and dried cranberries. Or add ¼ cup chopped toasted pecans or walnuts. I once added a tablespoon of espresso powder to the dry ingredients, and it deepened the chocolate flavor beautifully. You can also use peanut butter chips or butterscotch chips.
- Double Chocolate Version – Replace 1 tablespoon of flour with 1 tablespoon of unsweetened cocoa powder. Use dark chocolate chips. The brown butter and chocolate combination is incredible—like a grown-up brownie cookie.
- Sea Salt and Caramel – After baking, press a small piece of soft caramel into the center of each warm cookie and sprinkle with flaky salt. It’s decadent and perfect for a special treat.
I personally love the pecan variation. Toasting the pecans before adding them brings out their oils and makes them extra crunchy. It adds a nice texture contrast to the soft cookie and melty chocolate.
Serving & Storage Suggestions
These cookies are best served warm, about 5-10 minutes after they come out of the oven. The edges are crisp, the center is soft, and the chocolate is still slightly melted. If you can resist eating them all right away, here’s how to store them:
At Room Temperature: Store in an airtight container for up to 3 days. Place a slice of bread in the container to keep them soft—the cookies will absorb the moisture. Weird trick, but it works.
In the Freezer: These cookies freeze beautifully. Let them cool completely, then place them in a single layer in a freezer-safe bag or container. Freeze for up to 3 months. To reheat, pop a frozen cookie in a 300°F oven for 5-7 minutes, or microwave for 15 seconds. They’ll taste almost fresh-baked.
Freeze the Dough: You can also freeze the dough balls. Portion them out, place them on a baking sheet, and freeze until solid. Transfer to a freezer bag. When you want cookies, bake from frozen at 350°F for 12-14 minutes. Add a minute or two to the baking time.
Serving Ideas: These cookies are perfect on their own, but they’re also amazing with a glass of cold milk or a scoop of vanilla ice cream. For a dessert board, arrange them with fresh berries, dark chocolate pieces, and a drizzle of caramel sauce. They’re also great crumbled over ice cream sundaes.
The flavor actually develops over time. Day-old cookies have a deeper, more caramelized taste. Not that they usually last that long in my house.
Nutritional Information & Benefits
Here’s the approximate nutritional breakdown for one cookie (based on 6 cookies total):
- Calories: ~220
- Fat: 13g
- Saturated Fat: 8g
- Carbohydrates: 26g
- Sugar: 17g
- Protein: 3g
- Fiber: 1g
These numbers are estimates and will vary based on the exact ingredients you use. Dark chocolate has antioxidants, and the brown butter contains vitamins A and D from the butterfat. The egg yolk provides choline, which is good for brain health.
This recipe is vegetarian and can be made gluten-free or vegan with the substitutions mentioned above. It contains dairy, eggs, and gluten (unless modified). I think of these as a “sometimes food”—perfect when you want something indulgent but don’t want to overdo it. The small batch size helps with portion control, which I appreciate.
If you’re looking for a healthier twist, you can reduce the sugar by 1 tablespoon, but the texture will be slightly less crisp. I’ve tried it, and it’s still good—just different.
Conclusion
These brown butter chocolate chip cookies have become a staple in my kitchen for a reason. They’re simple enough for a Tuesday night but special enough to share with friends. The brown butter adds a depth of flavor that makes you feel like a pastry chef, even though the process is incredibly straightforward.
I love that this recipe makes just six cookies. It’s the perfect amount for a craving without the temptation of a huge batch sitting on the counter. You can enjoy one (or two) warm from the oven, and the rest will be gone before you know it.
I hope you try these cookies and make them your own. Maybe you’ll add a sprinkle of flaky salt, or swap in white chocolate chips, or bake them a little longer for extra-crispy edges. Whatever you do, I’d love to hear about it. Leave a comment below and tell me how they turned out. Did you make any substitutions? Did you eat all six in one sitting? No judgment here.
Happy baking, friend. You deserve a really good cookie.
Frequently Asked Questions
Can I use salted butter instead of unsalted?
Yes, you can. Just skip the added salt in the recipe and the flaky salt on top. The cookies might be slightly saltier, but it’s still delicious. I’ve done it in a pinch.
Why do I need to chill the dough?
Chilling the dough solidifies the brown butter, which prevents the cookies from spreading too thin. It also allows the flavors to meld together. Don’t skip this step—30 minutes makes a big difference in texture.
Can I double this recipe?
Absolutely. Just double all the ingredients. You’ll get 12 cookies. The baking time might need an extra minute or two, so keep an eye on them. You can also bake them in batches.
How do I know when the cookies are done?
The edges should be golden brown and set, but the centers will still look soft and slightly underdone. That’s perfect—they’ll continue baking on the hot pan. If you like crispier cookies, bake for an extra minute.
Can I use whole wheat flour instead of all-purpose?
You can substitute up to half the all-purpose flour with whole wheat flour. Using all whole wheat will make the cookies denser and more cakey. I’ve tried it with half and half, and it adds a nice nutty flavor that complements the brown butter.
Pin This Recipe!
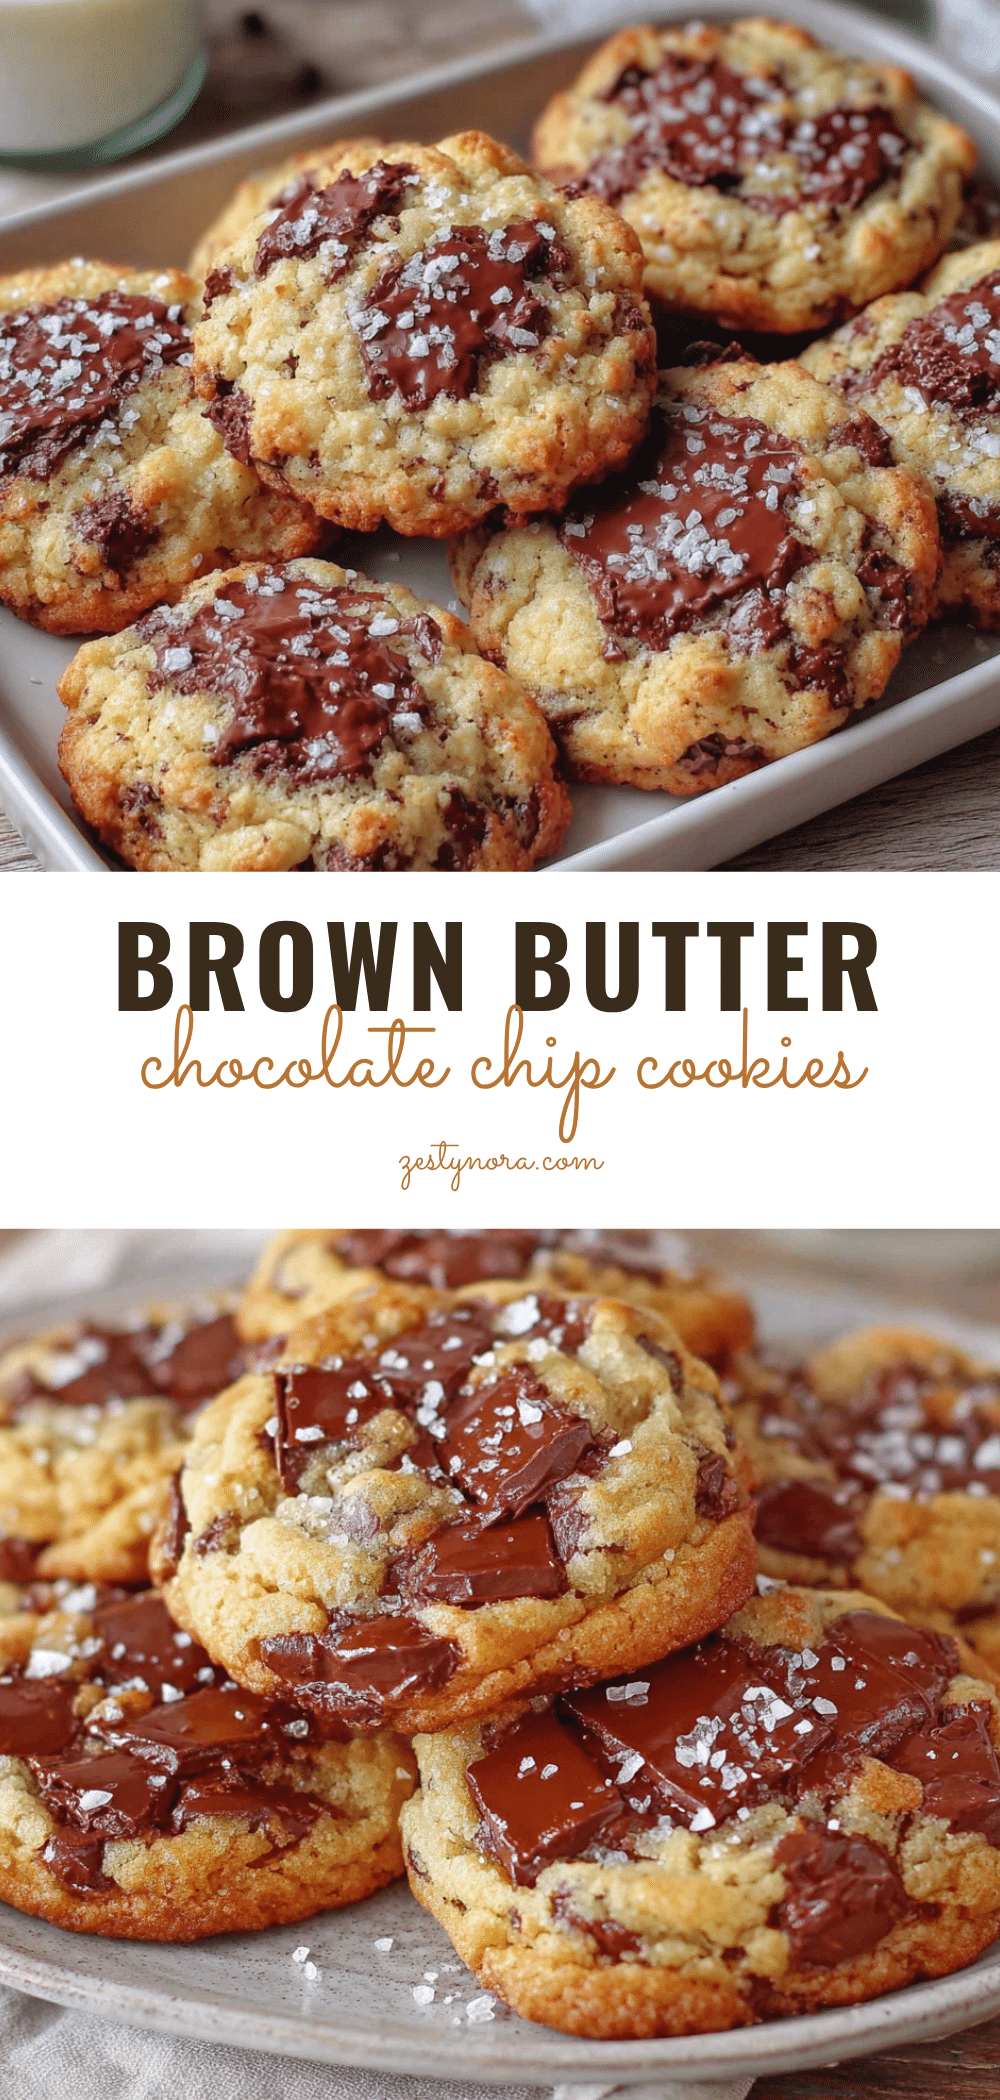
Small Batch Brown Butter Chocolate Chip Cookies – Best Easy Recipe
These small batch brown butter chocolate chip cookies are perfectly crisp on the edges, soft and chewy in the center, with a deep nutty flavor from browned butter. Made with simple pantry ingredients and no stand mixer needed, this recipe yields just six cookies—ideal for a quiet night in or a small gathering.
- Prep Time: 15 minutes
- Cook Time: 12 minutes
- Total Time: 57 minutes (includes 30 minutes chilling)
- Yield: 6 cookies 1x
- Category: Dessert
- Cuisine: American
Ingredients
- 5 tablespoons (70g) unsalted butter
- ¼ cup (50g) packed brown sugar (light or dark)
- 2 tablespoons (25g) granulated sugar
- 1 large egg yolk
- ½ teaspoon vanilla extract
- ½ cup (60g) all-purpose flour, spooned and leveled
- ¼ teaspoon baking soda
- ¼ teaspoon fine sea salt
- ⅓ cup (60g) chocolate chips or chunks (semi-sweet and/or dark)
- Flaky sea salt (optional, for sprinkling)
Instructions
- Brown the Butter: Place 5 tablespoons unsalted butter in a small saucepan over medium heat. Melt, swirling occasionally, until it foams, then the foam subsides and golden specks form at the bottom (about 4-5 minutes). When it smells nutty and turns amber, remove from heat immediately. Pour into a heatproof bowl and let cool 10-15 minutes until warm but not hot.
- Mix the Wet Ingredients: To the cooled brown butter, add ¼ cup packed brown sugar and 2 tablespoons granulated sugar. Whisk until combined (like wet sand). Add 1 egg yolk and ½ teaspoon vanilla extract. Whisk vigorously for about 30 seconds until smooth and slightly thickened.
- Combine the Dry Ingredients: In a separate small bowl, whisk together ½ cup all-purpose flour, ¼ teaspoon baking soda, and ¼ teaspoon salt until no clumps remain.
- Form the Dough: Pour dry ingredients into wet mixture. Fold with a rubber spatula until just combined (a few streaks of flour are fine). Fold in ⅓ cup chocolate chips or chunks until evenly distributed. Dough will be soft and slightly sticky.
- Chill the Dough: Cover bowl with plastic wrap and refrigerate for at least 30 minutes (up to 48 hours). This solidifies the brown butter and prevents excessive spreading.
- Preheat and Prep: About 10 minutes before baking, preheat oven to 350°F (175°C). Line a baking sheet with parchment paper.
- Portion the Dough: Using a 1.5-tablespoon cookie scoop or spoon, divide dough into 6 equal portions. Roll into balls and place on prepared baking sheet, spaced about 2 inches apart. Optionally press extra chocolate chips onto tops.
- Bake: Bake for 10-12 minutes, rotating pan halfway through. Edges should be golden brown and set; centers will look soft and slightly underdone. For softer cookies, bake 10 minutes; for crispier edges, bake 12.
- Cool and Sprinkle: Remove from oven. Let cookies cool on pan for 5 minutes (they set up during this time). If using flaky sea salt, sprinkle a pinch over each warm cookie. Transfer to a cooling rack to cool completely, or enjoy warm.
Notes
Don’t rush the brown butter—watch closely as it can burn quickly. Let brown butter cool before adding sugar and egg yolk to avoid scrambling the egg. Chilling the dough is crucial for texture; do not skip. For best results, weigh the flour or spoon and level it. Bake one test cookie if unsure about oven or dough consistency. Store at room temperature in an airtight container for up to 3 days; freeze cookies or dough for longer storage.
Nutrition
- Serving Size: 1 cookie
- Calories: 220
- Sugar: 17
- Sodium: 120
- Fat: 13
- Saturated Fat: 8
- Carbohydrates: 26
- Fiber: 1
- Protein: 3
Keywords: brown butter chocolate chip cookies, small batch cookies, easy cookie recipe, 6 cookies, homemade cookies, chocolate chip cookies