The thump of a single, heavy banana hitting the bottom of the grocery bag. That was it. Not the smell of baking, not a childhood memory of my grandmother’s kitchen, but the specific, slightly disappointing sound of one banana that had gone from yellow-freckled to brown-splotched in a single afternoon. I wasn’t planning to make anything. I was just annoyed at the waste. But there it sat on the counter, practically begging for a purpose, and a whole 9×5 loaf pan felt like overkill for one sad piece of fruit. That’s when the idea for this perfect small-batch banana bread was born—a recipe designed for the singular, lonely banana that you just can’t bring yourself to toss.
This isn’t a compromise. It’s a deliberate choice for those days when you want a single, perfect loaf of banana bread without the temptation of a second one staring at you from the counter. It’s for the couple who doesn’t need a dozen muffins, the empty-nester craving a simple comfort, or anyone who, like me, has stared at a single overripe banana and thought, “There has to be a smarter way.” This recipe delivers all the moist, tender, and deeply flavorful banana bread you could want, scaled down to exactly one loaf. No waste, no fuss, just the perfect amount of pure comfort.
Why You’ll Love This Recipe
After testing this recipe more times than I care to admit (my neighbors have been very patient), I can confidently say this is the best small-batch banana bread you’ll make. It’s not just a scaled-down version of a larger recipe; it’s been carefully developed to ensure the perfect texture and flavor every single time.
- Perfectly Sized: Makes exactly one standard 8×4-inch loaf. No more, no less. It’s ideal for sharing or keeping all to yourself.
- Incredibly Moist: We’re using a combination of oil and butter for the ultimate tender crumb that stays moist for days. I learned the hard way that using only butter can make it dry out faster.
- Simple Pantry Ingredients: You probably have everything you need right now. No trips to a specialty store for weird flours or extracts.
- Deep Banana Flavor: This recipe is designed to maximize that rich, caramelized banana taste. We’re not just throwing in a banana; we’re coaxing out its best qualities.
- Foolproof for Beginners: If you’ve ever ended up with a dry or sunken loaf, this recipe is for you. The instructions are detailed to help you avoid the common pitfalls.
This isn’t just another banana bread recipe. It’s the one that makes you close your eyes after the first warm, buttery bite. It’s the kind of simple pleasure that turns a regular Tuesday afternoon into something a little bit special. Honestly, it’s comfort food in its purest, most manageable form.
What Ingredients You Will Need
This recipe uses simple, wholesome ingredients to deliver big flavor. The key is using the right kind of banana and a few smart tricks to ensure the best texture. Let’s break down what you’ll need.
- 1 ½ cups (190g) all-purpose flour: Spoon and level your flour into the measuring cup. Scooping directly can pack it down, leading to a dry, dense loaf.
- 1 teaspoon baking soda: This is our main leavening agent. Make sure it’s fresh! Old baking soda won’t give your bread the lift it needs.
- ¼ teaspoon salt: A little salt balances the sweetness and enhances the banana flavor. I use fine sea salt.
- 1 large egg, at room temperature: A room-temperature egg emulsifies into the batter much better than a cold one, creating a smoother, more even crumb. Just let it sit on the counter for 15 minutes.
- ⅓ cup (75g) packed light brown sugar: Brown sugar adds moisture and a subtle molasses flavor that pairs beautifully with bananas.
- ¼ cup (50g) granulated sugar: This provides the necessary structure and sweetness.
- ¼ cup (60ml) vegetable oil: Oil is the secret to an incredibly moist bread that stays soft for days. You can use melted coconut oil or a neutral avocado oil instead.
- 2 tablespoons (28g) unsalted butter, melted: Butter adds that irreplaceable flavor. The combination of oil for moisture and butter for taste is my favorite trick.
- 1 ½ teaspoons vanilla extract: Vanilla rounds out all the flavors. Don’t skip it!
- 1 cup (about 2-3 medium) very ripe bananas, mashed: This is non-negotiable. Your bananas should be heavily spotted with brown or even mostly black. The riper they are, the sweeter and more flavorful your bread will be. I like to mash them with a fork, leaving a few small chunks for texture.
- Optional mix-ins: ½ cup chopped walnuts, pecans, or chocolate chips. I’m partial to dark chocolate chips myself.
For a similar vibe with a different fruit, you might enjoy my moist chocolate chip pumpkin bread for another fantastic quick bread option.
Equipment Needed
You don’t need a fully stocked professional kitchen for this one. Here’s what you’ll need to get started.
- One 8×4-inch loaf pan: This is the perfect size for this small-batch recipe. A 9×5-inch pan will work, but your loaf will be shorter and bake faster, so keep an eye on it.
- Large mixing bowl: For combining your wet and dry ingredients.
- Medium mixing bowl: For whisking your dry ingredients.
- Whisk: For aerating the dry ingredients.
- Rubber spatula: The best tool for folding the batter together without overmixing.
- Parchment paper: Lining your pan makes for effortless removal. I love the pre-cut sheets.
- Cooling rack: Essential for letting your bread cool evenly so it doesn’t get a soggy bottom.
If you don’t have an 8×4 pan, you can also bake this batter as muffins. Just use a standard 12-cup muffin tin and bake for 18-22 minutes. Check out my perfect sourdough discard pumpkin muffins for another great single-serving idea that’s easily adaptable.
Preparation Method
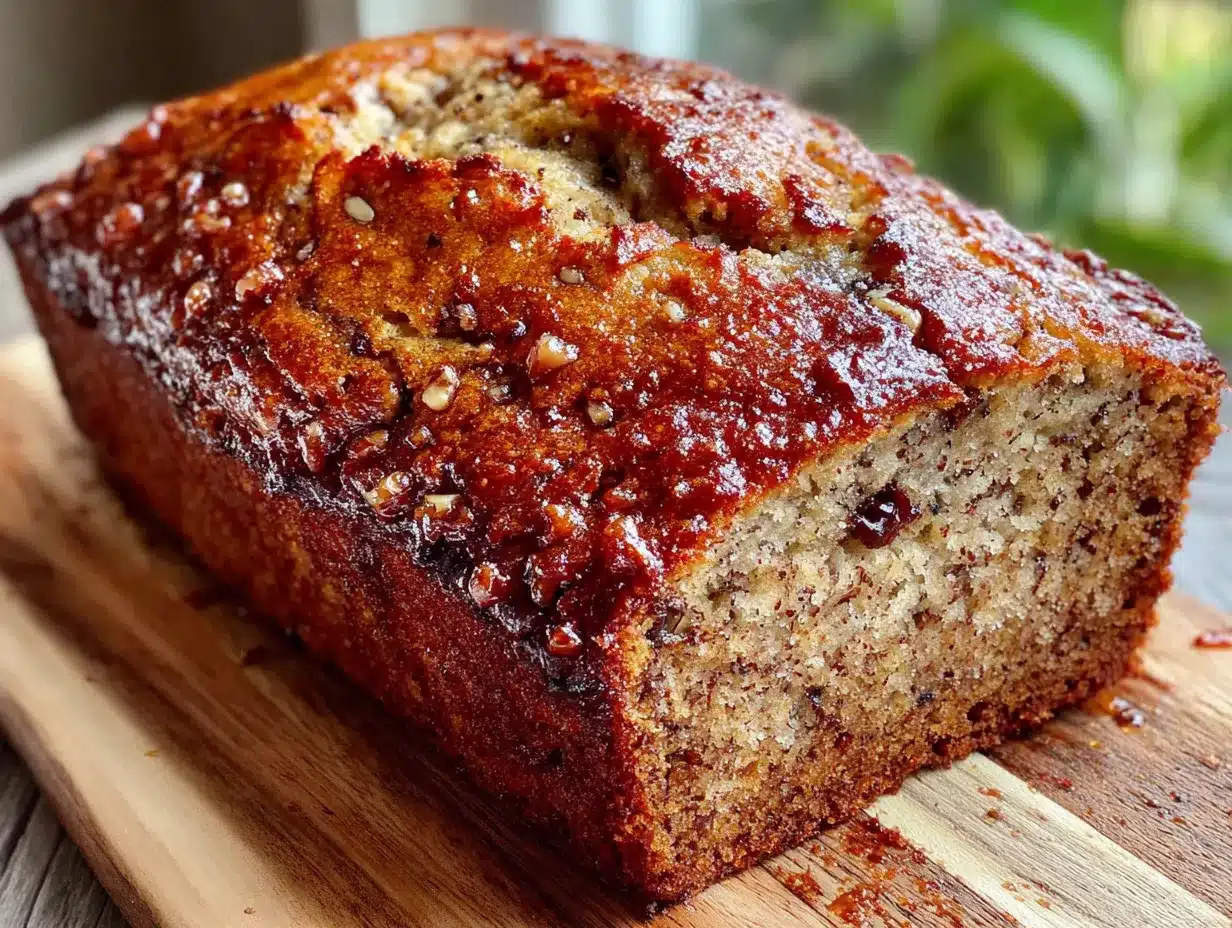
Let’s get baking! Follow these steps for a perfect loaf every time. Remember, the key to great banana bread is not overmixing the batter.
- Preheat and Prep (5 minutes): Preheat your oven to 350°F (175°C). Grease your 8×4-inch loaf pan and line it with a strip of parchment paper, leaving an overhang on the two long sides. This creates little “handles” to lift the bread out later.
- Mash the Bananas (2 minutes): In your large mixing bowl, mash the ripe bananas with a fork until they are mostly smooth. A few small lumps are totally fine and even desirable for texture. You should have about 1 cup of mashed banana.
- Combine Wet Ingredients (3 minutes): To the mashed bananas, add the room-temperature egg, both sugars (brown and granulated), the vegetable oil, melted butter, and vanilla extract. Whisk everything together until it’s completely smooth and well combined. The mixture will look a little thin, and that’s perfect.
- Whisk Dry Ingredients (2 minutes): In your separate medium bowl, whisk together the all-purpose flour, baking soda, and salt. This ensures the baking soda is evenly distributed, which is crucial for an even rise.
- Fold the Batter (2 minutes): Pour the dry ingredients into the bowl with the wet ingredients. Use your rubber spatula to gently fold everything together. The motion is like you’re turning the batter over on itself. Stop mixing as soon as you no longer see streaks of flour. A few small lumps are okay. Overmixing develops gluten, which will make your bread tough and dense.
- Add Mix-ins (1 minute): If you’re using walnuts, chocolate chips, or anything else, gently fold them in at this point. Just a few turns of the spatula.
- Bake (50-60 minutes): Pour the batter into your prepared loaf pan and spread it into an even layer. Bake for 50-60 minutes. The bread is done when a wooden skewer or toothpick inserted into the center comes out clean or with just a few moist crumbs attached. If the top is browning too quickly after 40 minutes, loosely tent it with aluminum foil.
- Cool (30 minutes): Let the bread cool in the pan on a wire rack for about 15 minutes. Then, use the parchment paper handles to lift it out of the pan and transfer it directly to the cooling rack to cool completely. Slicing it while it’s still too warm can make it crumble, so patience is key! I know, it’s hard.
Cooking Tips & Techniques
Over the years, I’ve made a lot of banana bread. I’ve had my share of sunken middles and dry edges. Here are the lessons I’ve learned so you don’t have to repeat my mistakes.
- The Banana Ripeness Test: If your bananas aren’t spotty enough, your bread will lack flavor. If they are completely black and liquidy, your bread might be too dense. The sweet spot is when they are mostly brown with a few black spots and smell intensely sweet. If you only have yellow bananas, you can roast them in their skins at 300°F for 15-20 minutes to speed up the process.
- The Room Temperature Rule: I cannot stress this enough. A cold egg will seize the melted butter and oil, creating a lumpy batter. Just let it sit out for 15-20 minutes. It makes a world of difference in the final texture.
- The “Muffin Method”: The technique we’re using—mixing wet and dry ingredients separately before combining—is called the muffin method. It’s the best way to create a tender, fluffy crumb in quick breads and muffins.
- Don’t Overmix! This is the number one mistake. You want to mix until the flour just disappears. Those little streaks of flour are your friends. They will disappear as you fold. Overmixing develops gluten, the protein that gives bread its chew—which is great for yeast bread, but terrible for a tender banana loaf.
- Check for Doneness Early: All ovens run a little differently. Start checking your loaf at the 50-minute mark. If the skewer comes out with wet batter, give it another 5 minutes. The internal temperature should be around 200-205°F (93-96°C) if you want to use a thermometer.
Variations & Adaptations
This recipe is a fantastic base for your own creations. Here are a few of my favorite ways to change it up.
- Chocolate Chip Banana Bread: My absolute favorite. Fold in ½ cup of semi-sweet or dark chocolate chips. The warm, melted chocolate with the sweet banana is a match made in heaven.
- Nutty Banana Bread: Add ½ cup of toasted walnuts or pecans. Toasting them first (in a dry pan over medium heat for 3-4 minutes) really brings out their flavor.
- Vegan & Dairy-Free: Replace the egg with a flax egg (1 tablespoon ground flaxseed meal + 3 tablespoons water, let sit for 5 minutes). Use a neutral oil like coconut or avocado and a dairy-free butter alternative. It works beautifully.
- Gluten-Free: Substitute the all-purpose flour with a good 1:1 gluten-free baking flour blend that contains xanthan gum. I’ve had great luck with Bob’s Red Mill brand. Don’t overmix the batter, as gluten-free flours can get gummy.
- Spiced Banana Bread: Add 1 teaspoon of cinnamon, ½ teaspoon of nutmeg, and ¼ teaspoon of ground ginger to the dry ingredients for a warm, cozy fall flavor. This pairs wonderfully with my soft pumpkin chocolate chip cookies for a full autumn baking session.
Serving & Storage Suggestions
This banana bread is delicious in so many ways. Here’s how to enjoy it at its best.
- Serving: I love it best when it’s still slightly warm from the oven, with a pat of salted butter melting into the slice. It’s also fantastic toasted the next day, which brings out a lovely crisp edge. For a real treat, serve it alongside a scoop of vanilla ice cream or a drizzle of warm caramel sauce.
- Storage: Once completely cool, wrap the loaf tightly in plastic wrap or store it in an airtight container at room temperature. It will stay moist and delicious for up to 4 days. I find the flavor actually deepens and gets better on the second day.
- Freezing: This loaf freezes beautifully! Wrap the cooled loaf tightly in a layer of plastic wrap, then a layer of aluminum foil. It will keep in the freezer for up to 3 months. To thaw, just leave it on the counter for a few hours or overnight in the fridge. You can also freeze individual slices for a quick treat.
- Reheating: To revive a slice, pop it in the toaster or microwave for 15-20 seconds. The toaster gives it a slightly crisp exterior, which is my preferred method.
Nutritional Information & Benefits
While this is a treat, it does have some redeeming qualities! Please note these are estimates and will vary based on your specific ingredients and any mix-ins.
- Estimated per slice (1/8 of loaf): Calories: 280, Fat: 12g, Carbohydrates: 40g, Fiber: 1g, Sugar: 22g, Protein: 4g.
- Banana Benefits: Bananas are a great source of potassium, which is essential for heart health and muscle function. They also provide vitamin B6 and vitamin C.
- Dietary Considerations: This recipe can easily be made vegan and dairy-free with the substitutions listed above. It is naturally nut-free if you omit the walnuts and use a nut-free flour blend for the gluten-free version. It is not low-carb or keto-friendly.
- Potential Allergens: This recipe contains gluten (from flour), eggs, and dairy (butter).
Conclusion
This perfect small-batch banana bread is more than just a recipe; it’s a solution. It’s a way to turn a single, overlooked banana into a moment of pure, simple joy without the pressure of a giant batch. It’s for the quiet mornings, the afternoon tea breaks, and the small, intentional acts of baking that make a house feel like a home. I honestly believe this is the best one-loaf banana bread you’ll ever make, and I can’t wait for you to try it.
Have you made this recipe? I’d love to hear about your variations! Did you add chocolate chips or walnuts? Share your experience in the comments below—your tips might help another baker perfect their loaf. Don’t forget to pin this recipe for later and share it with a friend who needs a little banana bread in their life. Happy baking, friend!
Frequently Asked Questions
Can I use frozen bananas for this recipe?
Absolutely! Frozen bananas are perfect for banana bread. Thaw them completely in a bowl, as they will release a lot of liquid. Pour off any excess liquid (or use it in a smoothie), then mash them as usual. The flavor is even more concentrated after freezing.
Why did my banana bread sink in the middle?
This is usually caused by one of two things: your bread was underbaked, or your oven temperature was too low. Make sure your oven is fully preheated to 350°F and test the center with a skewer before removing it from the oven. Also, be sure your baking soda is fresh.
Can I make this into muffins instead of a loaf?
Yes! This batter works wonderfully for muffins. Line a 12-cup muffin tin with paper liners and fill them about ¾ full. Bake at 350°F for 18-22 minutes, or until a toothpick inserted into the center of a muffin comes out clean.
How do I know when my bananas are ripe enough?
You want bananas that are mostly brown with black spots. They should feel soft to the touch and smell intensely sweet. If they are still yellow, they haven’t developed enough sugar for the best flavor. You can roast yellow bananas in their skins at 300°F for 15-20 minutes to ripen them quickly.
Can I add sour cream or yogurt to this recipe?
You can! Substituting 2 tablespoons of the oil with 2 tablespoons of sour cream or plain Greek yogurt will add extra moisture and a slight tang. It makes the crumb even more tender. Just fold it in with the wet ingredients.
Pin This Recipe!
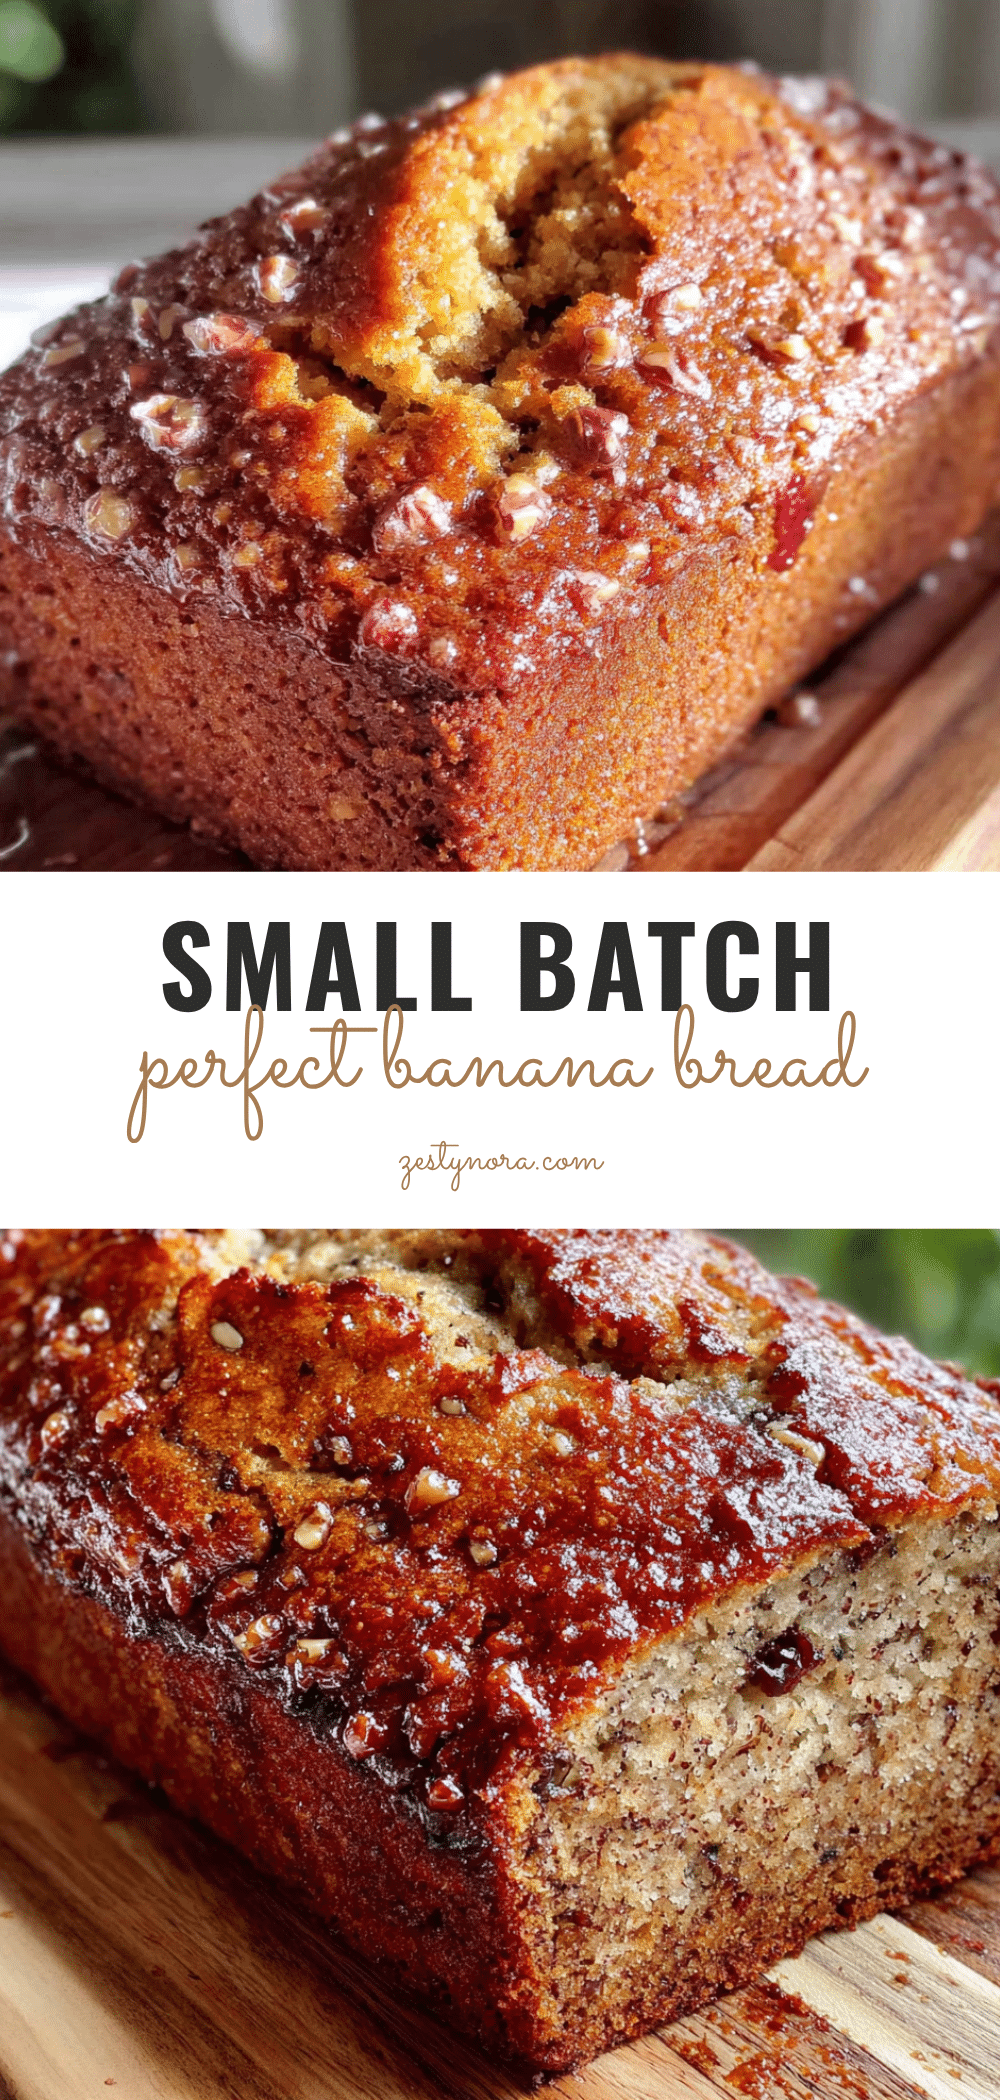
Perfect Small-Batch Banana Bread: Easy One-Loaf Recipe
This small-batch banana bread is designed for a single overripe banana, delivering a moist, tender, and deeply flavorful loaf without waste. It’s the perfect amount of comfort for one or two people.
- Prep Time: 15 minutes
- Cook Time: 55 minutes
- Total Time: 1 hour 10 minutes
- Yield: 8 servings 1x
- Category: Dessert
- Cuisine: American
Ingredients
- 1 ½ cups (190g) all-purpose flour
- 1 teaspoon baking soda
- ¼ teaspoon salt
- 1 large egg, at room temperature
- ⅓ cup (75g) packed light brown sugar
- ¼ cup (50g) granulated sugar
- ¼ cup (60ml) vegetable oil
- 2 tablespoons (28g) unsalted butter, melted
- 1 ½ teaspoons vanilla extract
- 1 cup (about 2–3 medium) very ripe bananas, mashed
- ½ cup chopped walnuts, pecans, or chocolate chips (optional)
Instructions
- Preheat your oven to 350°F (175°C). Grease an 8×4-inch loaf pan and line it with a strip of parchment paper, leaving an overhang on the two long sides.
- In a large mixing bowl, mash the ripe bananas with a fork until mostly smooth (a few small lumps are fine). You should have about 1 cup of mashed banana.
- To the mashed bananas, add the room-temperature egg, both sugars, vegetable oil, melted butter, and vanilla extract. Whisk until smooth and well combined.
- In a separate medium bowl, whisk together the all-purpose flour, baking soda, and salt.
- Pour the dry ingredients into the bowl with the wet ingredients. Use a rubber spatula to gently fold together until just combined (a few small lumps are okay). Do not overmix.
- If using mix-ins (walnuts, chocolate chips, etc.), gently fold them in at this point.
- Pour the batter into the prepared loaf pan and spread into an even layer. Bake for 50-60 minutes, or until a wooden skewer inserted into the center comes out clean or with a few moist crumbs. If the top browns too quickly, tent loosely with foil after 40 minutes.
- Let the bread cool in the pan on a wire rack for 15 minutes. Then use the parchment paper handles to lift it out and transfer to the rack to cool completely before slicing.
Notes
For best flavor, use very ripe bananas (mostly brown with black spots). Room temperature egg is crucial for a smooth batter. Do not overmix to avoid a tough loaf. The bread can be stored at room temperature for up to 4 days or frozen for up to 3 months.
Nutrition
- Serving Size: 1 slice (1/8 of loaf
- Calories: 280
- Sugar: 22
- Sodium: 200
- Fat: 12
- Saturated Fat: 3
- Carbohydrates: 40
- Fiber: 1
- Protein: 4
Keywords: small-batch banana bread, one loaf banana bread, easy banana bread, moist banana bread, single banana recipe


