The fall bake sale was in twelve hours and I’d completely forgotten. My son had reminded me three times that week—Monday at breakfast, Wednesday in the car, and again Thursday night while brushing his teeth. And still, there I was at 9 PM on a Friday, staring into an empty pantry like it had personally betrayed me.
Everyone else would be bringing those elaborate layer cakes with perfect buttercream rosettes. The kind that take two days and a pastry degree. I had a can of pumpkin puree, a box of gingersnaps that were getting soft, and a block of cream cheese that was about to expire. Not exactly award-winning material.
I almost gave up and grabbed a store-bought pie. But then I remembered a trick my neighbor had mentioned last fall—blending cottage cheese into cheesecake filling to cut the fat without losing the creamy texture. It sounded questionable, honestly. But desperate times and all that.
So I crushed those gingersnaps with the bottom of a measuring cup (my food processor was in the back of a cabinet behind the slow cooker I never use), mixed the crust with a little butter, and threw together a filling that was equal parts cream cheese, cottage cheese, pumpkin, and hope. I didn’t even have time to let them chill properly before dropping them off the next morning.
Here’s the part I still can’t quite believe. Not only did they sell out in the first twenty minutes, but three different people asked my son if his mom could share the recipe. One of them was the woman who brought the seven-layer caramel cake. Let me tell you, that felt good.
These lighter pumpkin cheesecake bars with gingersnap crust have become my secret weapon for every fall gathering since. They taste like something that took hours of careful work—but we both know the truth. Sometimes the best recipes come from a moment of panic and a willingness to try something weird.
Why You’ll Love This Recipe
Let me be straight with you—I’ve tested a lot of pumpkin cheesecake recipes over the years. Some were too dense. Others were so light they felt like flavored air. These lighter pumpkin cheesecake bars with gingersnap crust hit that sweet spot between rich and airy, and they do it without a full block of cream cheese weighing them down.
- Quick & Easy : From start to fridge in about 30 minutes of active time. No water bath, no complicated techniques, no stress.
- Simple Ingredients : You probably have most of these in your kitchen right now. The cottage cheese trick sounds fancy, but it’s just a swap.
- Perfect for Fall Gatherings : Thanksgiving, Friendsgiving, office potlucks, or just a Tuesday that needs some pumpkin energy.
- Crowd-Pleaser : I’ve served these to kids, grandparents, and that one friend who “doesn’t like pumpkin.” Every single one asked for seconds.
- Unbelievably Delicious : The gingersnap crust adds this warm, spicy crunch that pairs perfectly with the silky pumpkin filling. It’s comfort food that doesn’t leave you feeling heavy.
What makes these different from every other pumpkin cheesecake bar out there? It’s the cottage cheese. Blended until completely smooth, it adds protein and creaminess while letting you use less cream cheese. The result is a bar that’s lighter in calories but not in flavor. You get that classic tangy cheesecake taste, the warm pumpkin spice, and a texture that melts on your tongue.
This is the kind of dessert that makes people close their eyes after the first bite. It’s fall on a plate—healthier, faster, and somehow even more satisfying than the heavy versions. Perfect for impressing guests without the stress, or turning a regular weekend into something worth remembering.
What Ingredients You Will Need
This recipe uses simple, wholesome ingredients to deliver that dreamy pumpkin cheesecake experience without the fuss. Most of these are pantry staples, especially if you’re already in fall baking mode.
For the Gingersnap Crust
- 2 cups (about 200g) gingersnap cookies, crushed into fine crumbs (I prefer Anna’s or Mi-Del for that perfect spice level)
- 3 tablespoons (42g) unsalted butter, melted
- 1 tablespoon (12g) granulated sugar (optional, only if your gingersnaps aren’t very sweet)
For the Pumpkin Cheesecake Filling
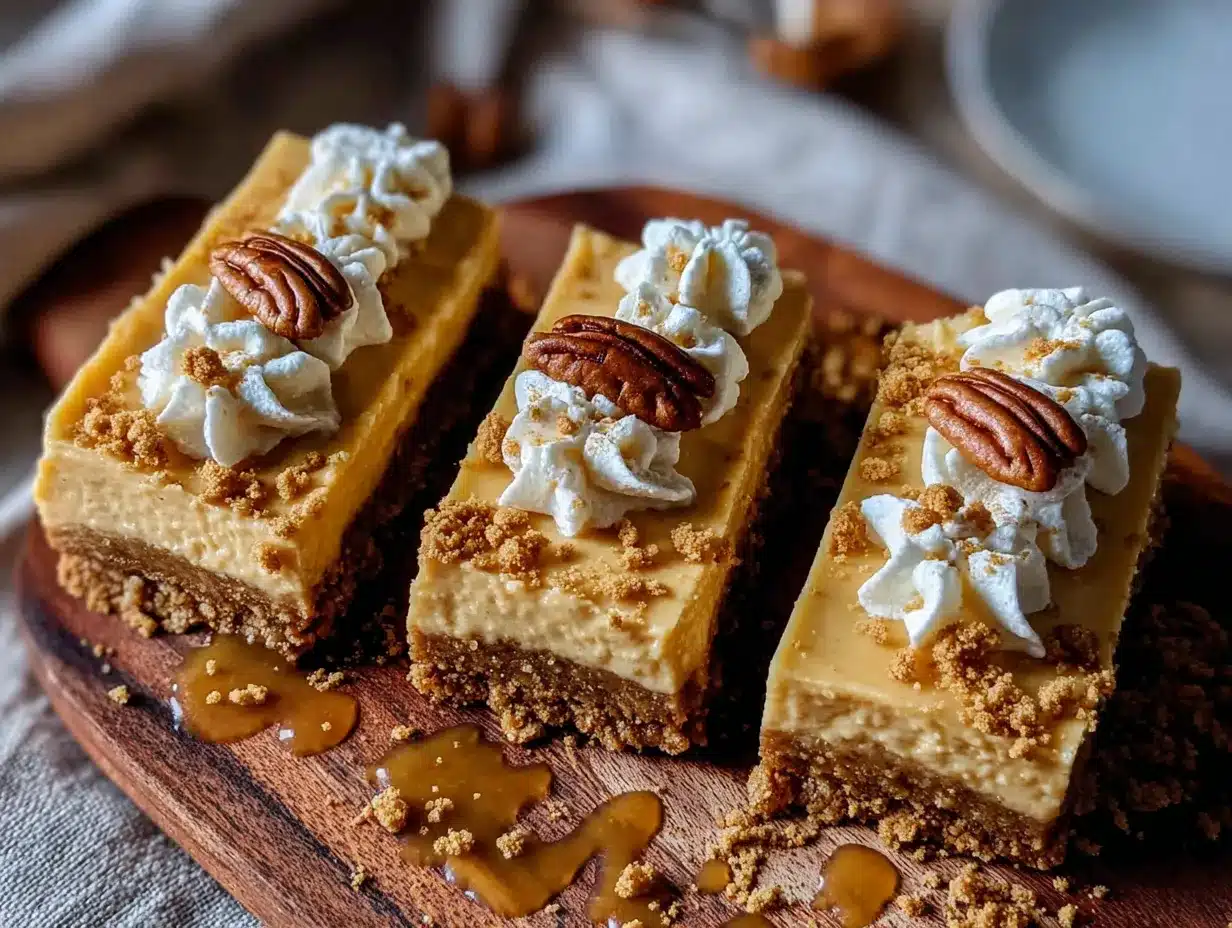
- 8 ounces (226g) cream cheese, softened to room temperature
- 1 cup (225g) full-fat cottage cheese (look for small-curd, like Good Culture or Daisy)
- 1 cup (245g) pumpkin puree (not pumpkin pie filling—make sure it’s 100% pumpkin)
- 1/2 cup (100g) granulated sugar
- 1/4 cup (50g) packed light brown sugar
- 2 large eggs, room temperature
- 1 teaspoon vanilla extract
- 1 1/2 teaspoons pumpkin pie spice (or 1 teaspoon cinnamon + 1/4 teaspoon each nutmeg, ginger, and cloves)
- 1/4 teaspoon salt
Ingredient Selection Tips
For the best texture, use full-fat cottage cheese. The low-fat versions have more water and can make your filling runny. If you only have large-curd cottage cheese, just pulse it a few extra times in the blender. Also, make sure your cream cheese is truly softened—cold cream cheese creates lumps that won’t blend out completely.
Substitution Guidance
Need a dairy-free version? Use dairy-free cream cheese and a thick, unsweetened coconut yogurt in place of the cottage cheese. For a gluten-free crust, look for gluten-free gingersnaps (they exist and they work great). You can also swap the gingersnaps for graham crackers if that’s what you have—just add an extra 1/2 teaspoon of cinnamon and a pinch of ginger to the crust.
Equipment Needed
- 8×8-inch baking pan (metal or glass both work, but metal gives a crisper crust)
- Parchment paper (for easy lifting and cleanup)
- Food processor or blender (for smoothing the cottage cheese)
- Mixing bowls (one medium, one large)
- Electric hand mixer or stand mixer (you can whisk by hand, but your arm will thank you)
- Measuring cups and spoons
- Spatula (preferably silicone for scraping every last bit of filling)
- Ziploc bag and rolling pin (for crushing gingersnaps if you don’t have a food processor)
I’ve made this crust with both a food processor and a Ziploc bag. Honestly, the bag method is oddly satisfying—there’s something therapeutic about smashing cookies when you’re stressed. Just make sure the bag is sealed tight, or you’ll be finding gingersnap dust in unexpected places for days.
Preparation Method
Step 1: Prep Your Pan (5 minutes)
Preheat your oven to 350°F (175°C). Line your 8×8-inch baking pan with parchment paper, leaving some overhang on two opposite sides. This will be your handle for lifting the bars out later. Lightly grease the parchment with butter or non-stick spray.
Step 2: Make the Crust (10 minutes)
Crush your gingersnaps until you have fine, even crumbs. You want them consistent—not powdery, but no large chunks either. In a medium bowl, combine the crumbs with the melted butter. If your gingersnaps aren’t very sweet, add that optional tablespoon of sugar. Mix until the crumbs look like wet sand and hold together when pressed.
Press the mixture firmly into the bottom of your prepared pan. I use the bottom of a flat measuring cup to really pack it down. Bake for 10 minutes, then set aside to cool slightly while you make the filling. Keep the oven on.
Step 3: Blend the Cottage Cheese (5 minutes)
This is the game-changing step. Add the cottage cheese to your food processor or blender and blitz until completely smooth. This might take a full minute—scrape down the sides halfway through. You’re looking for a texture that’s silky, with no visible curds. Set it aside.
Step 4: Make the Filling (10 minutes)
In a large bowl, beat the softened cream cheese with an electric mixer until smooth and fluffy—about 2 minutes. Add both sugars and beat for another minute until well combined. Scrape down the sides and bottom of the bowl.
Add the smooth cottage cheese, pumpkin puree, vanilla, pumpkin pie spice, and salt. Mix on medium speed until everything is combined and silky. Don’t overmix—you don’t want to incorporate too much air.
Add the eggs one at a time, mixing on low speed just until each is incorporated. Overmixing at this stage can cause cracks during baking. The batter should be smooth, thick, and a gorgeous orange color.
Step 5: Assemble and Bake (45-50 minutes)
Pour the filling over the pre-baked crust and spread it evenly with a spatula. Give the pan a gentle tap on the counter to release any air bubbles. Bake at 350°F (175°C) for 40-45 minutes, or until the edges are set and the center jiggles slightly when you shake the pan. It will look a bit puffed and the surface might have a few tiny cracks—that’s totally normal.
Step 6: Cool and Chill (4+ hours)
Let the bars cool completely at room temperature on a wire rack—about 1 hour. Then transfer to the refrigerator and chill for at least 3 hours, preferably overnight. This is the hardest part, I know. But the bars need this time to set properly. Cutting them too early will give you a messy, gooey situation.
Once fully chilled, use the parchment overhang to lift the entire block out of the pan. Place it on a cutting board and slice into 16 even bars. A sharp knife is your friend here—wipe it clean between cuts for the neatest edges.
Cooking Tips & Techniques
Let me save you from my own mistakes. The first time I made these, I was in such a hurry that I skipped blending the cottage cheese. I thought, “It’ll break down in the mixer, right?” Wrong. I ended up with little white curds throughout the filling. They tasted fine, but the texture was… not ideal. Blend it smooth. Trust me.
Another thing I learned the hard way—don’t skip the room temperature step for your cream cheese and eggs. Cold ingredients don’t emulsify properly, and you’ll end up with a lumpy batter that bakes unevenly. If you’re in a rush (and let’s face it, when are we not?), you can soften cream cheese in the microwave at 50% power for 15-second intervals. Just watch it carefully—nobody wants scrambled eggs in their cheesecake.
Here’s a pro tip for the crust: use the bottom of a measuring cup to press it down firmly. Your fingers work, but a flat surface gives you a more even layer. And don’t skip the pre-baking step. That 10-minute head start ensures your crust stays crunchy instead of getting soggy from the filling.
For the cleanest cuts, use a long, sharp knife and run it under hot water before each slice. Wipe it dry, make your cut, then reheat and repeat. It takes an extra minute but gives you those beautiful, bakery-style edges.
One more thing—if your bars develop a few cracks on top, don’t panic. That’s what the gingersnap crumbs on top are for. Or just call it “rustic charm.” Nobody will know the difference after the first bite.
Variations & Adaptations
1. The Vegan Version
Use dairy-free cream cheese and a thick coconut yogurt in place of the cottage cheese. For the eggs, substitute with 2 tablespoons of cornstarch mixed with 1/4 cup of water. The texture will be slightly different—a bit more custard-like—but the flavor is still fantastic.
2. The Extra-Spicy Fall Version
Add 1/4 teaspoon of cardamom and a pinch of black pepper to the filling. It sounds weird, but black pepper actually enhances the pumpkin flavor. My neighbor tried this version and now refuses to make it any other way.
3. The Gluten-Free Option
Use gluten-free gingersnaps for the crust. Most major brands now carry a gluten-free version, and they work exactly the same way. Just make sure to check the label if you’re serving someone with celiac disease.
4. The Chocolate Lover’s Twist
Melt 1/4 cup of dark chocolate chips and drizzle it over the top before chilling. Or swirl 2 tablespoons of melted chocolate into the filling before baking for a marbled effect. I tried this last Thanksgiving and it was the first thing to disappear from the dessert table.
5. The Mini Version
Use a mini muffin tin lined with paper liners. Press a small amount of crust into each cup, then fill with the cheesecake batter. Bake for about 15-18 minutes. Perfect for parties or when you want to pretend you’re only having one.
Serving & Storage Suggestions
These bars are best served cold, straight from the fridge. The texture is firm but creamy, and the gingersnap crust stays perfectly crunchy. If you prefer a slightly softer texture, let them sit at room temperature for 10-15 minutes before serving.
For presentation, I like to dust the tops with a little cinnamon or pumpkin pie spice just before serving. A dollop of whipped cream (or coconut whipped cream for a dairy-free option) adds a nice finishing touch. During the holidays, I sometimes add a few candied pecans or a drizzle of caramel sauce.
These bars pair beautifully with a hot cup of coffee, a chai latte, or even a glass of cold milk. They’re also fantastic alongside a scoop of vanilla ice cream—the temperature contrast is divine.
Storage: Keep the bars in an airtight container in the refrigerator for up to 5 days. They actually get better after a day or two as the flavors meld together. To freeze, wrap individual bars tightly in plastic wrap, then place them in a freezer-safe bag. They’ll keep for up to 3 months. Thaw overnight in the refrigerator before serving.
Reheating: I don’t recommend reheating these—they’re meant to be enjoyed cold. But if you absolutely must, a quick 10-second zap in the microwave will take the chill off without ruining the texture.
Nutritional Information & Benefits
Per bar (based on 16 servings): Approximately 185 calories, 9g fat, 22g carbs, 5g protein, 2g fiber, 14g sugar. These numbers will vary based on your specific ingredients and any substitutions.
The cottage cheese in this recipe is the unsung hero. It adds protein and calcium while reducing the overall fat content compared to a traditional cheesecake. Pumpkin puree is packed with vitamin A, fiber, and antioxidants. And gingersnaps bring a dose of warm spices like ginger and cinnamon, which are known for their anti-inflammatory properties.
This dessert is naturally vegetarian and can easily be made gluten-free or dairy-free. It’s a great option for anyone watching their sugar intake, as it uses less sugar than most cheesecake recipes. Plus, the portion-controlled bars make it easier to enjoy a treat without going overboard.
From my perspective, this recipe proves that “healthy” and “delicious” aren’t opposites. You can have your pumpkin cheesecake and eat it too—without the post-dessert regret.
Frequently Asked Questions
Can I use low-fat cream cheese?
You can, but the texture won’t be as creamy. Full-fat cream cheese gives the best results. If you’re trying to cut calories, stick with the cottage cheese swap and keep the cream cheese full-fat.
Why did my cheesecake bars crack?
A few small cracks are normal and add character. Large cracks usually mean the bars were overbaked or the oven temperature was too high. Make sure you pull them out when the center still has a slight jiggle. Also, avoid opening the oven door during baking.
Can I make these bars in a different size pan?
Absolutely. For a 9×9-inch pan, the bars will be slightly thinner and may bake a few minutes faster. For a 9×13-inch pan, double the recipe and expect a shorter baking time. Just keep an eye on them and use the jiggle test.
Can I use fresh pumpkin instead of canned?
Yes, but you’ll need to roast and puree it first, then drain off any excess liquid. Fresh pumpkin has more water than canned, so your filling might be a bit softer. I’d recommend using canned for the most consistent results.
How do I know when the bars are done?
The edges should be set and slightly puffed, while the center should still jiggle when you gently shake the pan. A toothpick inserted near the center should come out with a few moist crumbs, not wet batter. Remember, they’ll continue to set as they cool.
Conclusion
These lighter pumpkin cheesecake bars with gingersnap crust have become my fall go-to for good reason. They’re everything you want in a seasonal dessert—warm spices, creamy texture, that satisfying crunch—without the heavy feeling that usually follows. And they came from a moment of panic and a half-empty pantry, which is honestly my favorite kind of recipe.
I hope you give these a try, whether you’re bringing them to a bake sale, a holiday dinner, or just treating yourself on a cozy autumn evening. Don’t be afraid to make them your own—swap the spices, try a different crust, add some chocolate. The best recipes are the ones that evolve with you.
If you do make them, I’d love to hear how they turned out. Drop a comment below or tag me in your photos. And if you’re looking for more fall inspiration, you might enjoy my pumpkin oatmeal bake or these baked apple cider donuts. Happy baking, friends!
Pin This Recipe!
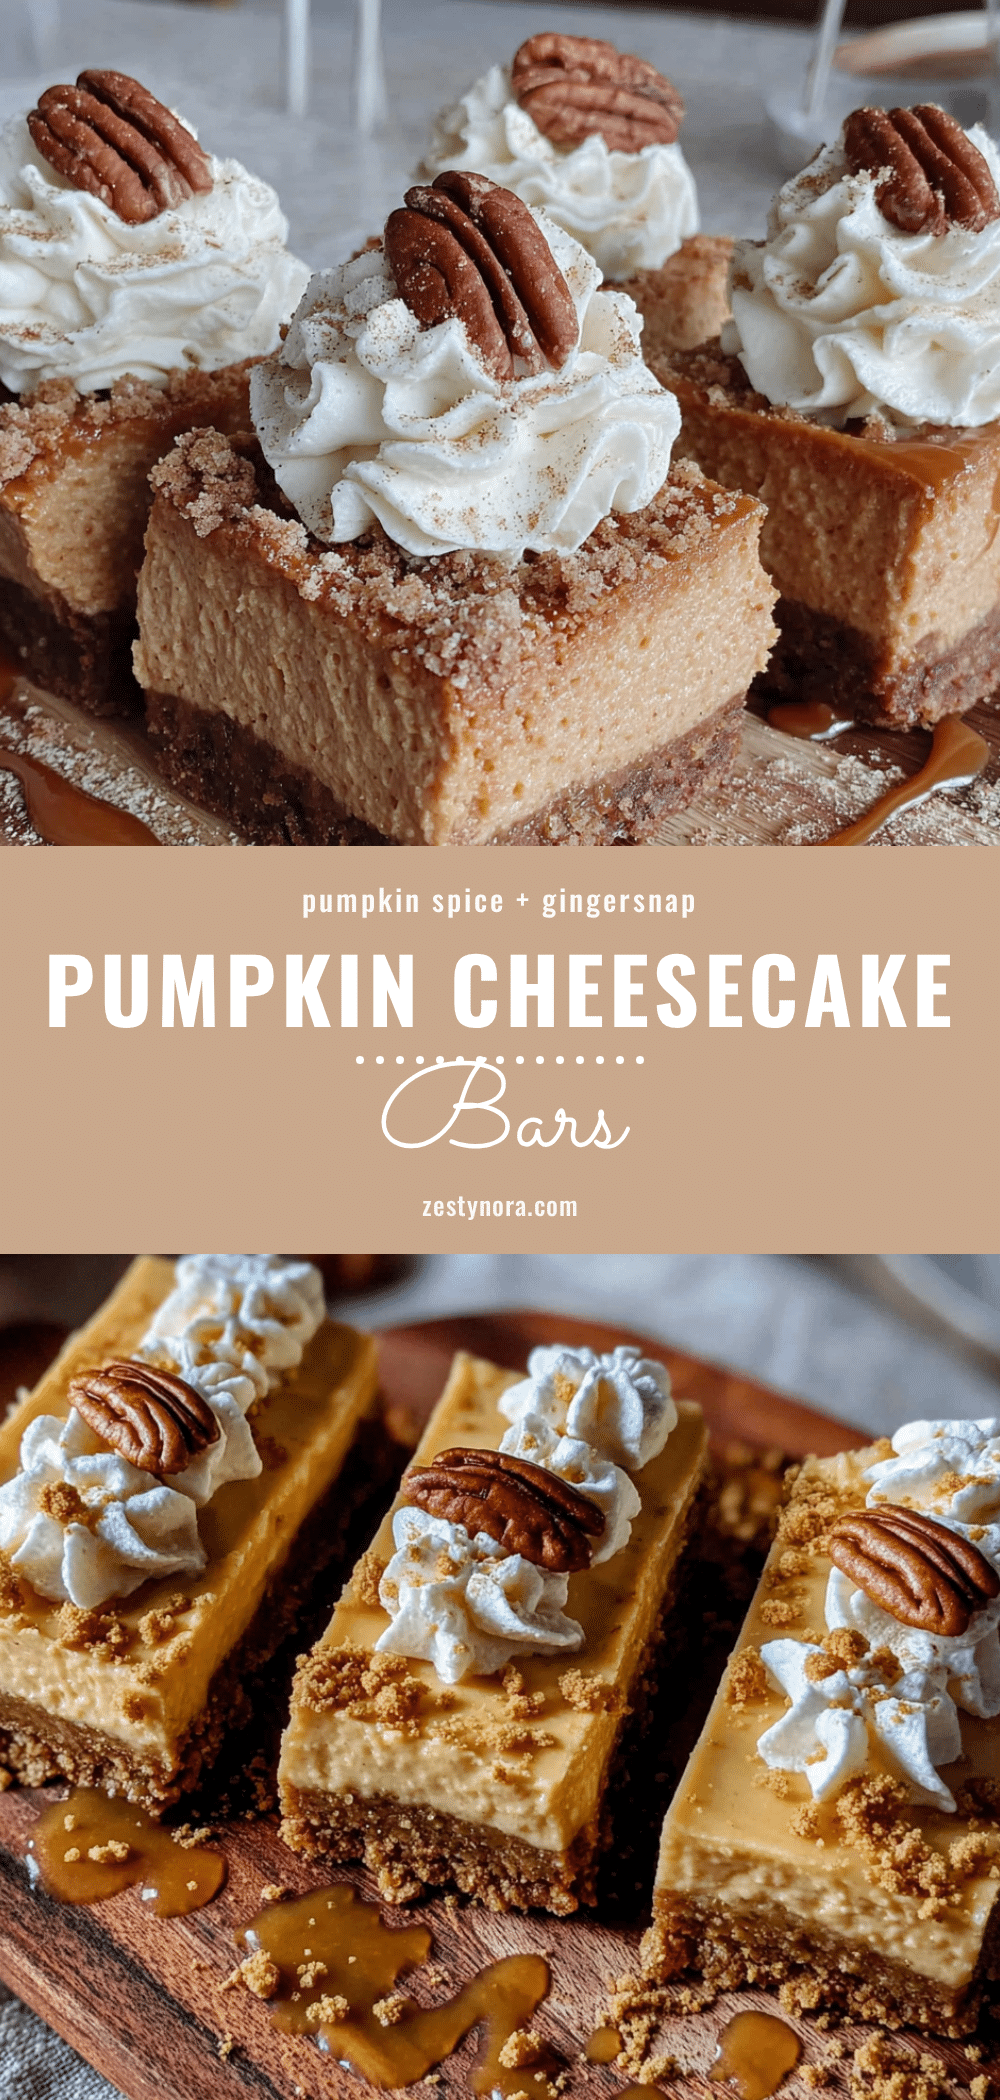
Lighter Pumpkin Cheesecake Bars with Gingersnap Crust
These lighter pumpkin cheesecake bars with gingersnap crust are creamy, spiced, and perfectly portioned. Made with a secret cottage cheese swap for a lighter texture, they’re the ultimate fall dessert that tastes indulgent without the guilt.
- Prep Time: 30 minutes
- Cook Time: 45 minutes
- Total Time: 4 hours 15 minutes (includes chilling)
- Yield: 16 bars 1x
- Category: Dessert
- Cuisine: American
Ingredients
- 2 cups (about 200g) gingersnap cookies, crushed into fine crumbs
- 3 tablespoons (42g) unsalted butter, melted
- 1 tablespoon (12g) granulated sugar (optional)
- 8 ounces (226g) cream cheese, softened to room temperature
- 1 cup (225g) full-fat cottage cheese
- 1 cup (245g) pumpkin puree (not pumpkin pie filling)
- 1/2 cup (100g) granulated sugar
- 1/4 cup (50g) packed light brown sugar
- 2 large eggs, room temperature
- 1 teaspoon vanilla extract
- 1 1/2 teaspoons pumpkin pie spice (or 1 teaspoon cinnamon + 1/4 teaspoon each nutmeg, ginger, and cloves)
- 1/4 teaspoon salt
Instructions
- Preheat oven to 350°F (175°C). Line an 8×8-inch baking pan with parchment paper, leaving overhang on two sides. Lightly grease the parchment.
- Crush gingersnaps into fine crumbs. In a medium bowl, combine crumbs with melted butter and optional sugar. Mix until it resembles wet sand.
- Press the crust mixture firmly into the bottom of the prepared pan. Bake for 10 minutes, then set aside to cool slightly. Keep the oven on.
- Blend the cottage cheese in a food processor or blender until completely smooth, about 1 minute. Scrape down sides halfway through.
- In a large bowl, beat softened cream cheese with an electric mixer until smooth and fluffy, about 2 minutes. Add both sugars and beat for another minute.
- Add the smooth cottage cheese, pumpkin puree, vanilla, pumpkin pie spice, and salt. Mix on medium speed until combined and silky. Do not overmix.
- Add eggs one at a time, mixing on low speed just until incorporated. The batter should be smooth and thick.
- Pour the filling over the pre-baked crust and spread evenly. Tap the pan gently on the counter to release air bubbles.
- Bake for 40-45 minutes, until edges are set and center jiggles slightly when shaken.
- Cool completely at room temperature on a wire rack (about 1 hour), then refrigerate for at least 3 hours, preferably overnight.
- Once fully chilled, use parchment overhang to lift the block out of the pan. Slice into 16 even bars with a sharp knife, wiping clean between cuts.
Notes
For best texture, use full-fat cottage cheese. Make sure cream cheese and eggs are at room temperature for smooth batter. Don’t skip pre-baking the crust to keep it crunchy. For clean cuts, run a sharp knife under hot water before each slice. Bars can be stored in an airtight container in the refrigerator for up to 5 days, or frozen for up to 3 months.
Nutrition
- Serving Size: 1 bar
- Calories: 185
- Sugar: 14
- Sodium: 180
- Fat: 9
- Saturated Fat: 5
- Carbohydrates: 22
- Fiber: 2
- Protein: 5
Keywords: pumpkin cheesecake bars, lighter cheesecake, gingersnap crust, fall dessert, pumpkin dessert, healthy cheesecake, cottage cheese cheesecake


