I want pear jam right now and I have everything except pectin. That’s the thought that got me into this whole situation—standing in my kitchen at 9 p.m. on a Tuesday, staring at a bag of pears that were about two days past their prime. I could make them into a crisp, sure, but I wanted jam. The kind you spread on toast in the morning when you’re pretending you have your life together. The problem was, every recipe I found called for a whole box of pectin and enough sugar to preserve a small village. I don’t have that kind of energy on a Tuesday night.
So I did what any reasonable person would do. I ignored the rules.
I grabbed a small saucepan, chopped up three pears (skin on, because I’m lazy and the color is pretty), and threw in a vanilla bean that had been sitting in my pantry for months. I added just enough sugar to make it taste like jam, not like candy. And then I stood there stirring, watching the fruit break down into something golden and speckled with vanilla seeds. It took maybe 20 minutes. That’s it. No pectin, no water bath canning, no special equipment. Just a small batch of jam that tasted like late September in a jar.
This Easy Small-Batch Pear Vanilla Jam is the kind of recipe that makes you wonder why you ever thought jam was hard. It’s not. It’s just fruit, a little sugar, and patience—and honestly, you don’t even need that much patience. The vanilla adds this warm, floral note that makes the pears taste more like themselves, if that makes sense. It’s cozy without being heavy, sweet without being cloying.
I’ve made this jam four times since that first night. Once for a quick hostess gift (tied with kitchen twine, very impressive), once because I had one too many pears from the farmers’ market, and twice just because I wanted toast to feel special. It works every time. And if you’re new to making jam, this is the recipe that will make you feel like you actually know what you’re doing.
Why You’ll Love This Recipe
This isn’t your grandmother’s jam recipe—though she’d probably approve. This is jam for people who don’t have a pantry full of canning supplies or a basement shelf dedicated to preserves. It’s practical, it’s forgiving, and it’s genuinely delicious.
- Small Batch, Big Flavor : This recipe makes just about one cup of jam. That’s enough to enjoy for a week or two without feeling like you’re committed to a lifetime of pear jam consumption. Perfect for trying something new without the pressure of a massive yield.
- No Pectin Required : Pears have natural pectin, especially when you leave the skin on. This jam sets up beautifully on its own, with no special additives or boxed ingredients. One less thing to buy.
- Ready in Under 30 Minutes : From chopping to jarring, this takes about 25 minutes. That’s faster than ordering takeout and way more satisfying. I’ve made this while waiting for pasta water to boil.
- Simple Ingredients You Probably Have : Pears, sugar, lemon juice, vanilla. That’s it. No trips to specialty stores, no hunting for obscure ingredients. Just real food.
- Perfect for Beginners : If you’ve never made jam before, this is the recipe to start with. It’s nearly impossible to mess up. The worst that happens is you get a slightly thinner jam, which is still incredible on pancakes.
This recipe comes from a place of genuine kitchen experimentation. I tested it with different pear varieties, different sugar amounts, and different cooking times. The version you’re getting is the one that worked best every single time. It’s tested, it’s trusted, and it’s exactly what you need when you’re craving something homemade but don’t want to spend your whole afternoon in the kitchen.
What Ingredients You Will Need
This recipe uses simple, everyday ingredients to create something that tastes surprisingly elegant. Each component plays a specific role, and none of them are fussy or hard to find. Here’s what you’ll need:
- Pears (3 medium, about 450g / 1 lb total) : Choose ripe but firm pears. Bartlett or Anjou work beautifully. Bosc pears are also great if you want a slightly more honeyed flavor. The skin stays on for natural pectin and color, so give them a good wash. If your pears are very soft and ripe, the jam will cook faster but might be slightly thinner. That’s still delicious.
- Granulated Sugar (1/2 cup / 100g) : Regular white sugar works best here. It helps the jam set and preserves the fruit. You can reduce it to 1/3 cup if your pears are very sweet, but don’t go much lower or the jam won’t set as well. I’ve tested this with coconut sugar and it works, but the color turns darker and the flavor is more caramel-like. Good, but different.
- Fresh Lemon Juice (1 tablespoon / 15ml) : This adds acidity to balance the sweetness and helps activate the natural pectin in the pears. Fresh is noticeably better than bottled here. One lemon will give you more than enough.
- Vanilla Bean (1 whole bean) OR Vanilla Extract (1 teaspoon) : A vanilla bean gives you those gorgeous little black specks and a deeper, more complex flavor. But if you don’t have one, pure vanilla extract works perfectly. I’ve used both, and honestly, the extract version is still fantastic. Just don’t use imitation vanilla—it tastes artificial and you deserve better.
- Pinch of Salt (optional, but recommended) : Just a tiny pinch. It doesn’t make the jam salty—it makes everything else taste more vibrant. I add it without thinking now.
That’s the whole list. Five ingredients, most of which you probably already have. The vanilla bean is the only “special” ingredient, and you can easily skip it or swap in extract. I’ve made this jam with vanilla paste too, and it works great—just use about 1 teaspoon.
Equipment Needed
You don’t need a fancy kitchen to make this jam. Here’s what you’ll actually use:
- Medium Saucepan or Small Dutch Oven : A 2-quart saucepan is perfect. You want something with a heavy bottom to prevent scorching. I use a small Le Creuset Dutch oven, but any sturdy saucepan works. Avoid non-stick for this—you want some browning on the bottom for flavor.
- Sharp Knife and Cutting Board : For chopping the pears. A chef’s knife or paring knife works. Nothing fancy.
- Wooden Spoon or Silicone Spatula : For stirring. Wood is traditional and won’t scratch your pot. Silicone works too.
- Measuring Cups and Spoons : For the sugar, lemon juice, and vanilla. Standard kitchen stuff.
- Small Jar with Lid : A 8-ounce or 12-ounce jar is perfect. Wash it with hot soapy water and dry it thoroughly. You don’t need to sterilize for a small batch that will be eaten within a few weeks, but a clean jar is non-negotiable.
- Small Plate (optional, for testing set) : Pop it in the freezer for a few minutes before you start cooking. A drop of jam on a cold plate will tell you if it’s ready.
- Funnel (optional, but helpful) : A small funnel makes transferring the jam to the jar much less messy. I use a canning funnel, but a regular kitchen funnel works too.
That’s it. No canning pot, no jar lifter, no special equipment. If you have a stove and a pot, you can make this jam.
Preparation Method
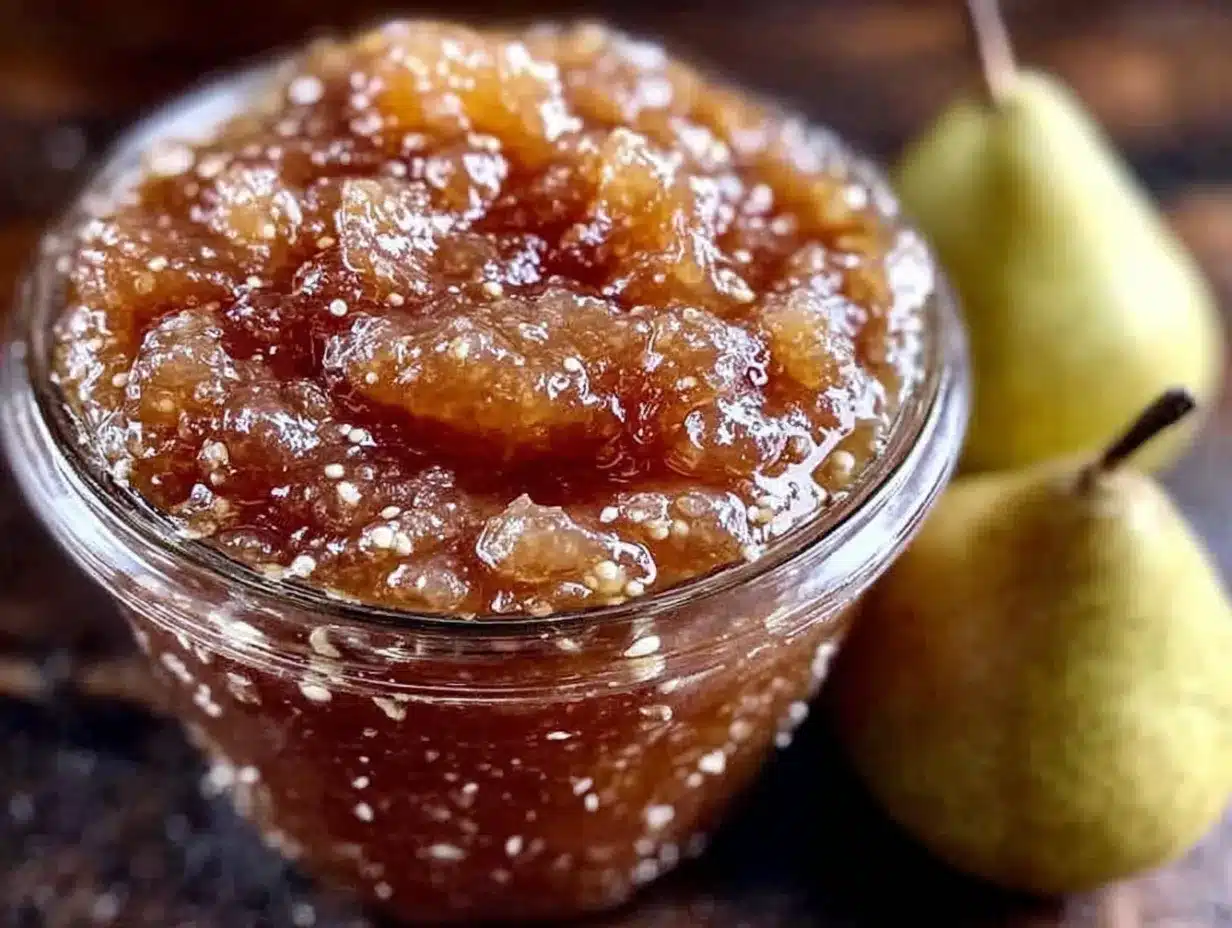
This is the part where the magic happens. Follow these steps, and you’ll have jam before you know it. I’ve included timing estimates and sensory cues so you know exactly what to look for.
- Prep the pears (5 minutes) : Wash your pears well. Cut them into quarters, remove the cores and stems, and chop them into small pieces—about 1/2-inch chunks. Don’t bother peeling them. The skin breaks down during cooking and adds natural pectin and a lovely rosy color. If you have a really tough-skinned pear variety, you can peel it, but I rarely do. You should end up with about 2 cups of chopped pears.
- Combine everything in the pot (2 minutes) : Add the chopped pears, sugar, lemon juice, and salt (if using) to your saucepan. If you’re using a vanilla bean, split it lengthwise with a sharp knife and scrape the seeds into the pot, then toss the pod in too. If you’re using vanilla extract, add it later—we’ll get to that.
- Let it macerate (10 minutes, optional but recommended) : Stir everything together and let it sit for about 10 minutes. The sugar will draw out the pear juices, creating a syrupy base. This step isn’t strictly necessary, but it helps the fruit break down more evenly. Use this time to wash your jar and get it ready.
- Start cooking (15-20 minutes) : Place the saucepan over medium heat. Stir occasionally as the mixture comes to a simmer. Once it’s bubbling, reduce the heat to medium-low so it maintains a gentle simmer—not a violent boil. You want steady bubbles, not a volcanic eruption. Stir every couple of minutes to prevent sticking.
- Watch for the changes (around minute 10-12) : The pears will start to break down and the mixture will thicken. You’ll notice the color deepening to a warm golden-amber. The bubbles will get larger and slower as the jam thickens. This is good. Keep stirring.
- Test for doneness (around minute 15) : Take your cold plate out of the freezer. Drop a small spoonful of jam onto it and let it sit for 30 seconds. Tilt the plate—if the jam runs slowly like honey and doesn’t immediately puddle, it’s ready. If it’s still very liquid, cook for another 2-3 minutes and test again. The jam will continue to thicken as it cools, so don’t over-reduce it.
- Remove the vanilla pod (30 seconds) : Fish out the vanilla bean pod with tongs or a fork. Give it a quick scrape over the pot to get any remaining seeds. Rinse the pod and let it dry—you can stick it in a jar of sugar to make vanilla sugar later. Waste not, want not.
- Add vanilla extract (if using) : If you’re using vanilla extract instead of a bean, stir it in now. The heat will bloom the flavor without cooking it off.
- Cool and jar (10-15 minutes) : Let the jam cool in the pot for about 5 minutes, stirring occasionally. This helps it thicken a bit more. Then carefully transfer it to your clean jar. Leave about 1/2 inch of headspace at the top. Let it cool completely at room temperature before putting the lid on. You’ll see it set up more as it cools.
- Refrigerate and enjoy : Pop the lid on and refrigerate. The jam will keep for about 2-3 weeks in the fridge. If you want it to last longer, you can freeze it for up to 3 months. Just leave a little extra headspace in the jar for expansion.
A few notes from experience: Don’t walk away from the pot while it’s cooking. Jam can go from perfect to scorched in about 30 seconds. Also, if you accidentally cook it too long and it becomes very thick, don’t panic—you can stir in a tablespoon of water or apple juice to loosen it up. Jam is forgiving like that.
Cooking Tips & Techniques
I’ve made this jam probably a dozen times now, and I’ve learned a few things the hard way. Here’s what I wish someone had told me:
Use a heavy-bottomed pot. This is the single most important tip for jam-making. A thin pot will scorch the sugar before the fruit has a chance to break down. I ruined my first batch using a flimsy saucepan. The jam tasted burnt and I had to scrub the pot for 20 minutes. A heavy pot distributes heat evenly and prevents that tragedy.
Don’t stir too much. I know I said to stir occasionally, but there’s a balance. Stirring too often can break down the fruit too much, giving you more of a sauce than a jam. Stir just enough to prevent sticking—every 2-3 minutes is plenty. Let the fruit do its own thing.
Trust the cold plate test. I used to rely on visual cues alone, and I ended up with jam that was either too runny or too thick. The cold plate test is foolproof. Keep a plate in the freezer before you start, and test every 2 minutes once you think it’s close. It takes the guesswork out of the process.
Let it cool before judging the texture. Hot jam looks thinner than it actually is. I’ve had moments of panic where I thought I’d made pear syrup, only to find it perfectly set the next morning. Give it at least 2 hours in the fridge before you decide if it needs more cooking.
Use a damp paper towel to wipe the jar rim. Before you put the lid on, wipe the rim of the jar with a clean, damp paper towel. Any jam residue on the rim can prevent a good seal and attract mold. It’s a small step that makes a big difference.
Multitask wisely. While the jam is simmering, wash your dishes, prep your toast, or clean the cutting board. The jam needs occasional attention, not constant supervision. Use those in-between moments to get ahead on cleanup.
Variations & Adaptations
This recipe is a great base for experimentation. Here are some variations I’ve tried and loved:
- Spiced Pear Jam : Add 1/2 teaspoon of cinnamon and a pinch of nutmeg along with the sugar. The warm spices complement the vanilla beautifully. I made this for Thanksgiving and it was a hit on the cheese board.
- Ginger Pear Jam : Add 1 tablespoon of finely grated fresh ginger when you add the sugar. The spicy kick cuts through the sweetness and adds a lovely warmth. This version is incredible on roasted fig flatbread with gorgonzola and arugula.
- Low-Sugar Version : Reduce the sugar to 1/4 cup (50g) and add 1 tablespoon of chia seeds. The chia seeds will help thicken the jam without the sugar. This version is more like a compote, but it’s still delicious and much lower in sugar. It won’t keep as long—about 1 week in the fridge.
- Mixed Fruit Jam : Replace one of the pears with an apple or a ripe peach. The apple adds extra pectin for a firmer set, while the peach adds a different fruity note. I’ve done pear-apple and pear-peach combinations, and both are excellent.
- Alcohol-Infused Version : Add 1 tablespoon of bourbon, brandy, or rum at the very end of cooking, right before you take the pot off the heat. The alcohol cooks off, leaving behind a warm, complex flavor. This version makes a fantastic gift for adults.
If you’re looking for another beginner-friendly jam recipe, try this easy fresh peach jam that’s also ready in 30 minutes. It uses the same technique but with summer peaches.
Serving & Storage Suggestions
This jam is incredibly versatile. Here’s how to make the most of it:
Serving Temperature : Serve at room temperature for the best flavor and spreadability. If it’s straight from the fridge, let it sit out for 10-15 minutes before using. The vanilla flavor really opens up when it’s not ice cold.
Classic Uses : Spread it on toast, biscuits, scones, or English muffins. It’s also fantastic on pancakes, waffles, or French toast. I’ve been known to eat it straight from the jar with a spoon, but I’m not proud of that.
Cheese Board Companion : This jam is a star on a cheese board. Pair it with sharp cheddar, creamy brie, or tangy goat cheese. The sweetness of the pear and vanilla balances the saltiness of the cheese perfectly. It’s also great with candied jalapeño pepper rings for a sweet-heat combo.
Baking and Cooking : Use it as a filling for thumbprint cookies, swirl it into yogurt or oatmeal, or spoon it over ice cream. It also works as a glaze for roasted pork or chicken—just brush it on during the last 10 minutes of cooking.
Storage : Keep the jam in an airtight container in the refrigerator. It will stay fresh for 2-3 weeks. For longer storage, freeze it in a freezer-safe container for up to 3 months. Thaw in the refrigerator overnight before using. The texture might be slightly softer after freezing, but the flavor remains excellent.
Gift Giving : This jam makes a wonderful homemade gift. Pour it into a pretty jar, tie a ribbon around the neck, and attach a label with the date and flavor. Add a small loaf of brown butter chocolate swirl banana bread for a complete gift package.
Nutritional Information & Benefits
This jam is made with real fruit and minimal sugar, making it a healthier choice than many store-bought jams. Here’s the breakdown:
Per tablespoon (approximately 15g) : Calories: 35 | Total Fat: 0g | Sodium: 0mg | Total Carbohydrates: 9g | Dietary Fiber: 1g | Sugars: 8g | Protein: 0g
Health Benefits : Pears are a good source of dietary fiber, vitamin C, and copper. They also contain antioxidants that support immune health. The vanilla adds a small amount of vanillin, which has been studied for its potential anti-inflammatory properties. The lemon juice provides a boost of vitamin C.
Dietary Considerations : This recipe is naturally gluten-free, dairy-free, vegan, and nut-free. It contains no artificial preservatives, colors, or flavors. The low-sugar variation with chia seeds is suitable for those watching their sugar intake.
Allergen Note : This recipe is free from the top 8 allergens. However, if you’re serving it to someone with severe allergies, make sure all your ingredients are certified allergen-free, as cross-contamination can occur during processing.
Personal Wellness Perspective : I love that this jam lets me control exactly what goes into it. No high-fructose corn syrup, no artificial pectin, no mystery ingredients. It’s just fruit, a little sugar, and vanilla. That simplicity feels good, especially when I’m spreading it on my morning toast.
Conclusion
This Easy Small-Batch Pear Vanilla Jam is proof that you don’t need a pantry full of canning supplies to make something genuinely special. It’s simple, it’s forgiving, and it tastes like you spent way more time on it than you actually did. That’s my favorite kind of recipe.
I love that this jam captures the essence of pears in a way that feels both familiar and elevated. The vanilla doesn’t overpower—it just makes the pears taste more like themselves. And the fact that it comes together in under 30 minutes means I can make it on a whim, even on a busy weeknight.
I hope you give this recipe a try. Play with the variations, find your favorite pear variety, and don’t be afraid to experiment. Jam-making is supposed to be fun, not stressful. And if your first batch is a little runny? That’s not a failure—that’s pear sauce, and it’s delicious on pancakes.
If you make this jam, I’d love to hear about it. Leave a comment below and tell me how it turned out, what variations you tried, or what you served it with. Your feedback helps other readers and inspires me to keep creating. Happy jamming!
Frequently Asked Questions
Can I use canned pears instead of fresh?
Yes, you can, but the texture and flavor won’t be as good. Canned pears are already cooked and packed in syrup, so they’ll break down faster and the jam will be sweeter. If you use canned pears, drain them well and reduce the sugar to 1/4 cup. The jam will be thinner, so you might need to cook it a bit longer to thicken.
Why didn’t my jam set?
There are a few common reasons. Your pears might have been very ripe, which means they have less natural pectin. Or you might not have cooked the jam long enough. Try cooking it for another 5 minutes and testing again. If it’s still runny, you can stir in 1 teaspoon of chia seeds or a small amount of commercial pectin dissolved in water. The jam will still taste great—it just won’t be as thick.
Can I double this recipe?
Absolutely. Double all the ingredients and use a larger pot. The cooking time will increase by about 10-15 minutes since there’s more liquid to reduce. Make sure to use a pot that’s big enough—the jam will bubble up as it cooks, and you don’t want it to overflow. A 4-quart pot works well for a double batch.
How do I know when the pears are ripe enough?
Ripe pears should yield slightly to gentle pressure near the stem, similar to a ripe avocado. They should also smell fragrant and sweet. If your pears are still hard, let them sit at room temperature for a few days until they ripen. If they’re too soft or mushy, they’ll still work for jam, but the texture will be smoother and less chunky.
Can I use this recipe for water bath canning?
This recipe is not designed for water bath canning because it doesn’t have enough sugar or acid to be shelf-stable. For safe water bath canning, you need to follow a tested recipe with specific ratios of fruit, sugar, and acid. This small-batch recipe is meant to be refrigerated or frozen. If you want to can jam, look for a recipe specifically designed for that purpose.
Pin This Recipe!
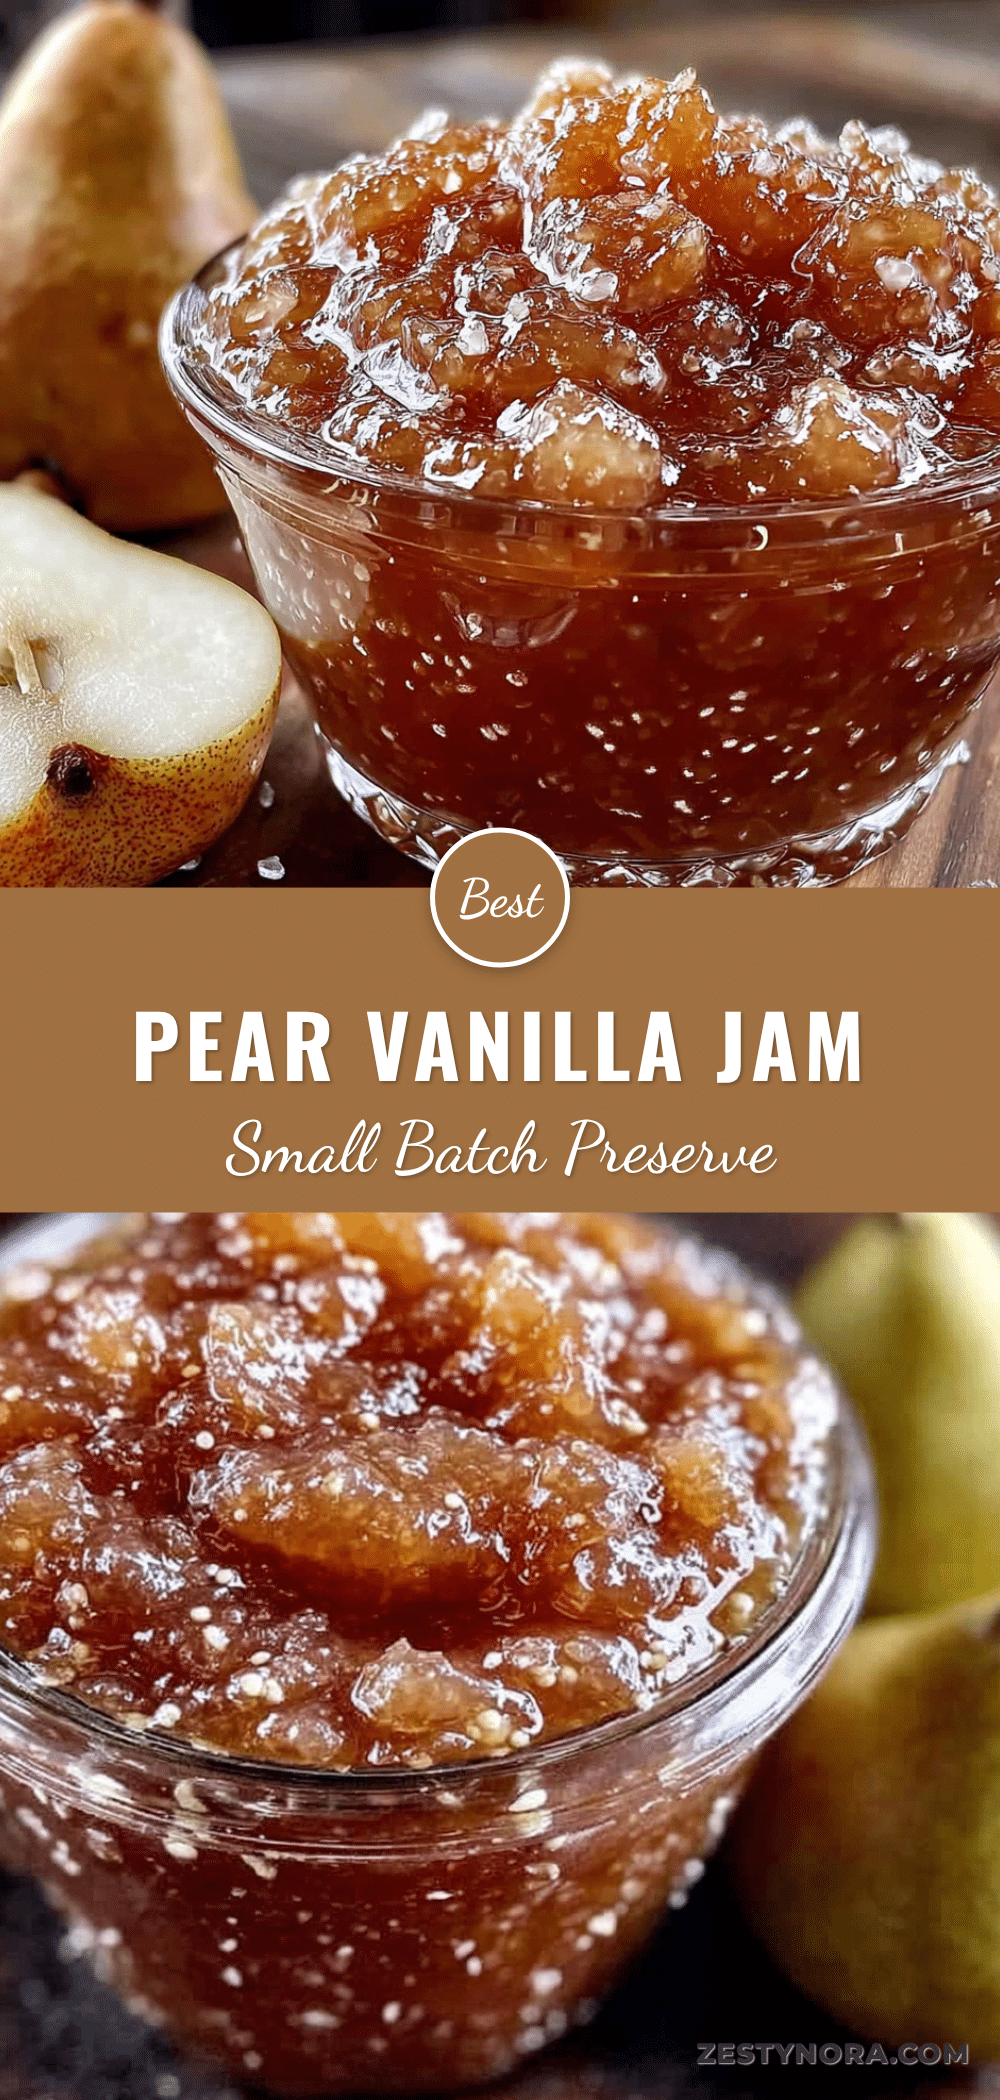
Easy Small-Batch Pear Vanilla Jam (Perfect for Beginners)
This easy small-batch pear vanilla jam is made without pectin and ready in under 30 minutes. It’s perfect for beginners and uses simple ingredients like pears, sugar, lemon juice, and vanilla.
- Prep Time: 15 minutes
- Cook Time: 20 minutes
- Total Time: 35 minutes
- Yield: 1 cup (about 16 servings) 1x
- Category: Condiment
- Cuisine: American
Ingredients
- 3 medium pears (about 450g / 1 lb total), ripe but firm, washed and chopped into 1/2-inch chunks (skin on)
- 1/2 cup (100g) granulated sugar
- 1 tablespoon (15ml) fresh lemon juice
- 1 whole vanilla bean (or 1 teaspoon pure vanilla extract)
- Pinch of salt (optional)
Instructions
- Prep the pears: Wash pears, cut into quarters, remove cores and stems, and chop into small 1/2-inch chunks. Do not peel. You should have about 2 cups of chopped pears.
- Combine everything in the pot: Add chopped pears, sugar, lemon juice, and salt (if using) to a medium saucepan. If using a vanilla bean, split it lengthwise, scrape seeds into the pot, and add the pod. If using vanilla extract, add it later.
- Let it macerate (optional but recommended): Stir and let sit for 10 minutes to draw out juices.
- Start cooking: Place saucepan over medium heat. Stir occasionally until it comes to a simmer, then reduce heat to medium-low to maintain a gentle simmer. Cook for 15-20 minutes, stirring every 2-3 minutes.
- Watch for changes: Around minute 10-12, pears will break down and mixture will thicken. Color deepens to warm golden-amber. Bubbles get larger and slower.
- Test for doneness: Place a small plate in the freezer before starting. Drop a small spoonful of jam onto the cold plate and let sit for 30 seconds. Tilt the plate; if jam runs slowly like honey and doesn’t immediately puddle, it’s ready. If still liquid, cook 2-3 more minutes and test again.
- Remove the vanilla pod: Fish out the vanilla bean pod with tongs, scrape any remaining seeds into the pot. Rinse and dry the pod for vanilla sugar.
- Add vanilla extract (if using): Stir in vanilla extract now if not using a bean.
- Cool and jar: Let jam cool in pot for 5 minutes, stirring occasionally. Transfer to a clean jar, leaving 1/2 inch headspace. Cool completely at room temperature before putting on lid.
- Refrigerate and enjoy: Put lid on and refrigerate. Keeps for 2-3 weeks in the fridge or up to 3 months in the freezer.
Notes
Don’t walk away from the pot while cooking; jam can scorch quickly. If jam becomes too thick, stir in a tablespoon of water or apple juice to loosen. Let jam cool completely before judging texture—it thickens as it cools. Use a damp paper towel to wipe jar rim before sealing to prevent mold.
Nutrition
- Serving Size: 1 tablespoon (about
- Calories: 35
- Sugar: 8
- Carbohydrates: 9
- Fiber: 1
Keywords: pear jam, vanilla jam, small batch jam, no pectin jam, easy jam recipe, beginner jam, homemade jam, pear vanilla jam


