I had a jar of sourdough discard staring at me from the back of the fridge for about a week. It wasn’t the first time. I kept feeding my starter, kept pulling off the discard, and kept shoving it back in there thinking, “I’ll figure it out later.” The problem was most discard recipes felt like a compromise. They were either too dense, too sour, or just dry enough that you needed a glass of milk with every bite. I wanted something that actually tasted good on its own—not just a way to use up leftover starter.
Then it hit me. Fall was creeping in, and I had a can of pumpkin puree sitting next to the flour. Pumpkin adds moisture like nothing else. It’s not watery, it’s thick and rich, and it pairs naturally with warm spices. I started experimenting one afternoon, just mixing things in a single bowl because honestly, I didn’t feel like washing extra dishes. The first loaf came out okay. The second one was better. By the third, I had something I actually wanted to eat without slathering it in butter (though butter never hurts).
This easy one-bowl pumpkin sourdough discard bread is that recipe. It’s the one I make when I have discard to use up and want a loaf that’s tender, lightly spiced, and just sweet enough to feel like a treat without being cake. It’s not a compromise. It’s the reason I stopped feeling guilty about keeping a starter in the first place.
Why You’ll Love This Recipe
This isn’t just another way to use up sourdough discard. It’s the kind of bread that makes you wonder why you haven’t been baking it all along. Here’s what makes it stand out:
- One Bowl, No Fuss : Mix everything in a single bowl. No stand mixer, no separate wet and dry bowls, no complicated steps. Just stir and bake.
- Uses Up Discard Perfectly : This is the best discard recipe I’ve found for using unfed starter straight from the fridge. No need to wait for it to ripen or bubble.
- Incredibly Moist : Pumpkin puree keeps this bread soft for days. It doesn’t dry out by the second morning like some quick breads do.
- Perfectly Spiced : Warm cinnamon, ginger, nutmeg, and cloves complement the subtle tang of the sourdough without overpowering it.
- Not Too Sweet : This leans more toward bread than cake. It’s sweet enough for breakfast but balanced enough to serve alongside soup or chili.
- Beginner-Friendly : If you’ve never baked with sourdough discard before, this is the recipe to start with. It’s forgiving, flexible, and nearly impossible to mess up.
I’ve tested this loaf more times than I care to admit. I’ve tried it with different flours, different amounts of discard, and even forgot the baking soda once (don’t do that). Every version taught me something, and this final version is the one I keep coming back to. It’s the loaf I bring to fall gatherings, the one I slice for breakfast with a smear of cream cheese, and the one that finally made my husband understand why I keep a sourdough starter alive.
What Ingredients You Will Need
This recipe uses simple pantry staples. Nothing fancy, nothing hard to find. Here’s what you’ll need and why each ingredient matters:
For the Bread
- 1 cup (240g) pumpkin puree — Use pure pumpkin puree, not pumpkin pie filling. I prefer Libby’s for consistent texture, but any brand works. Make sure it’s not seasoned or sweetened.
- 1/2 cup (120ml) vegetable oil — Or any neutral oil like canola or avocado. Melted coconut oil works too if you don’t mind a slight coconut flavor.
- 1/2 cup (100g) brown sugar, packed — Light or dark both work. Dark brown sugar adds deeper molasses notes that complement the pumpkin nicely.
- 1/4 cup (50g) granulated sugar — Adds just enough sweetness without making it taste like dessert. You can reduce this to 2 tablespoons if you prefer a less sweet loaf.
- 2 large eggs — Room temperature eggs blend more smoothly into the batter. If you forget to take them out ahead of time, place them in warm water for 5 minutes.
- 1 teaspoon vanilla extract — Pure vanilla adds warmth. Imitation works fine in a pinch.
- 1 cup (240g) sourdough discard — Straight from the fridge, unfed, cold. It doesn’t need to be active or bubbly. This is the beauty of discard baking.
- 1 1/2 cups (190g) all-purpose flour — Spoon and level your flour for accuracy. Scooping directly from the bag packs in too much flour and makes the bread dense.
- 1 teaspoon baking soda — This is crucial. The acid in the sourdough discard reacts with the baking soda to help the bread rise. Don’t skip it.
- 1/2 teaspoon baking powder — Adds a little extra lift for a lighter crumb.
- 1/2 teaspoon salt — Balances the sweetness and enhances the spices.
- 2 teaspoons ground cinnamon — The backbone of the spice blend. I use Saigon cinnamon for its stronger flavor.
- 1/2 teaspoon ground ginger — Adds warmth without heat.
- 1/4 teaspoon ground nutmeg — Freshly grated is best, but pre-ground works.
- 1/4 teaspoon ground cloves — A little goes a long way. Too much can overpower the bread.
Optional Add-Ins
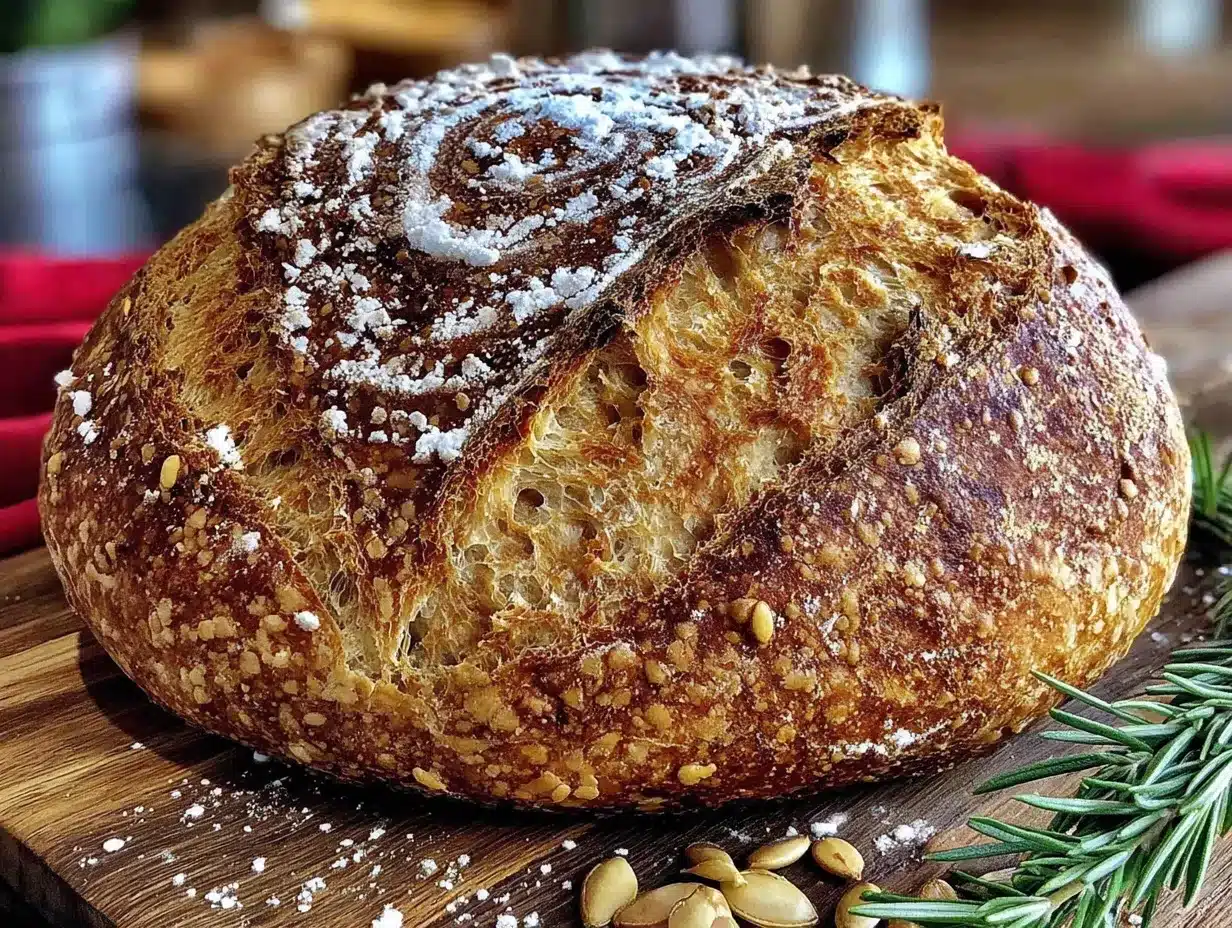
- 1/2 cup chopped pecans or walnuts — Toast them first for extra flavor. Fold them in right before pouring the batter into the pan.
- 1/2 cup chocolate chips — Semi-sweet or dark chocolate pairs beautifully with pumpkin and spice. White chocolate works too if you want something sweeter.
- 1/4 cup dried cranberries or raisins — Adds little bursts of sweetness and chew.
Equipment Needed
You don’t need much for this recipe. That’s kind of the point. Here’s what you’ll need:
- Large mixing bowl — Any bowl big enough to hold all the ingredients without splashing. I use a standard 4-quart bowl.
- Whisk or wooden spoon — A whisk works best for smoothing out the pumpkin and eggs. A wooden spoon is fine if that’s what you have.
- Rubber spatula — For scraping down the sides of the bowl and getting every last bit of batter into the pan.
- 9×5-inch loaf pan — Standard size. If you use an 8×4-inch pan, the bread will be taller and可能需要 bake a few extra minutes.
- Parchment paper — Line the pan for easy removal. You can also grease the pan with butter or nonstick spray if you don’t have parchment.
- Cooling rack — Lets air circulate around the loaf so it cools evenly and doesn’t get soggy on the bottom.
- Toothpick or skewer — For testing doneness. A clean toothpick means the bread is ready.
If you don’t have a loaf pan, you can bake this in an 8×8-inch square pan for about 30-35 minutes. It just won’t be as tall. I’ve also made muffins with this batter—fill the cups about 3/4 full and bake for 18-22 minutes at 350°F.
Preparation Method
This is truly a one-bowl recipe. No need to cream butter and sugar separately or mix dry ingredients in a different bowl. Just combine, pour, and bake.
- Preheat your oven to 350°F (175°C). Position the rack in the center of the oven. Line a 9×5-inch loaf pan with parchment paper, leaving some overhang on the long sides for easy lifting. Set aside.
- Mix the wet ingredients. In a large mixing bowl, combine 1 cup pumpkin puree, 1/2 cup vegetable oil, 1/2 cup packed brown sugar, and 1/4 cup granulated sugar. Whisk until smooth and well combined. The mixture should look thick and glossy.
- Add the eggs and vanilla. Crack 2 large eggs into the bowl and add 1 teaspoon vanilla extract. Whisk vigorously until the eggs are fully incorporated and the batter is smooth. It might look slightly separated at first—keep whisking until it comes together.
- Add the sourdough discard. Stir in 1 cup sourdough discard. Whisk until the discard is fully blended into the wet mixture. The batter will look a little thinner now, which is exactly what you want. Don’t worry if there are a few small lumps.
- Add the dry ingredients. Sprinkle 1 1/2 cups all-purpose flour, 1 teaspoon baking soda, 1/2 teaspoon baking powder, 1/2 teaspoon salt, 2 teaspoons cinnamon, 1/2 teaspoon ginger, 1/4 teaspoon nutmeg, and 1/4 teaspoon cloves directly over the wet mixture. Use a spatula or wooden spoon to fold everything together gently. Stir just until no streaks of flour remain. Overmixing will make the bread tough. A few small lumps are fine.
- Fold in any add-ins. If you’re using nuts, chocolate chips, or dried fruit, gently fold them in now. Reserve a handful to sprinkle on top if you want a prettier finish.
- Pour the batter into the prepared pan. Use the spatula to scrape every bit of batter into the pan. Smooth the top gently. Tap the pan on the counter a few times to release any air bubbles.
- Bake for 50-60 minutes. Start checking at 50 minutes. The bread is done when a toothpick inserted into the center comes out clean or with just a few moist crumbs. If the top is browning too quickly around the 40-minute mark, tent the pan loosely with aluminum foil.
- Cool in the pan for 10 minutes. Place the pan on a cooling rack. Let it sit for 10 minutes before lifting the bread out using the parchment overhang. Transfer to the cooling rack to cool completely before slicing. This step is important—slicing too early will make the bread crumble.
Cooking Tips & Techniques
I’ve made this bread more times than I can count, and I’ve learned a few things along the way. Here are the tips that make the biggest difference:
Use room temperature ingredients. Cold eggs and cold discard can make the batter seize up and create a denser loaf. Let everything sit on the counter for about 20 minutes before you start. If you’re in a hurry, place the eggs in a bowl of warm water for 5 minutes.
Don’t overmix the batter. This is probably the most common mistake with quick breads. Mix just until the flour disappears. Overmixing develops gluten, which makes the bread tough and rubbery instead of tender. A few lumps are your friend.
Measure your flour correctly. Spoon the flour into your measuring cup and level it off with a knife. Scooping directly from the bag can add up to 25% more flour, which will make your bread dry and dense. If you have a kitchen scale, use it. 190 grams is the sweet spot.
Let the bread cool completely. I know it’s tempting to slice into a warm loaf, but patience pays off here. The bread continues to set as it cools. Slicing too early can result in a gummy, crumbly texture. I usually wait at least an hour, sometimes longer.
Check for doneness with a toothpick. If the toothpick comes out with wet batter, it needs more time. If it comes out clean, it’s done. If it comes out with a few moist crumbs, that’s perfect—the bread will continue to cook slightly from residual heat as it cools.
Adjust for altitude. If you’re baking above 3,000 feet, you may need to reduce the baking soda to 3/4 teaspoon and increase the oven temperature by 25°F. The bread might also bake faster, so start checking earlier.
I once forgot the baking soda entirely. The bread came out flat, dense, and almost gummy. It was edible but not good. Don’t skip it—the reaction between the acidic discard and the baking soda is what gives this bread its lift.
Variations & Adaptations
One of the best things about this recipe is how flexible it is. Here are some variations I’ve tried and loved:
Gluten-Free Version : Substitute the all-purpose flour with a 1:1 gluten-free baking flour blend. I’ve had good results with Bob’s Red Mill and King Arthur brands. Add 1 teaspoon of xanthan gum if your blend doesn’t already include it. The texture will be slightly more crumbly but still delicious.
Dairy-Free Version : This recipe is naturally dairy-free since it uses oil instead of butter. Just make sure your chocolate chips are dairy-free if you’re adding them. The bread itself is already dairy-free friendly.
Vegan Version : Replace the 2 eggs with flax eggs (2 tablespoons ground flaxseed mixed with 6 tablespoons water, let sit for 5 minutes). The bread will be slightly denser but still moist and flavorful. I’ve tested this and it works well, though the texture is a bit more rustic.
Less Sweet Version : Reduce the granulated sugar to 2 tablespoons and use only 1/4 cup brown sugar. The bread will be more savory and the pumpkin flavor will shine through more. This version is great for serving with soup or chili.
Extra Spiced Version : Add 1/4 teaspoon cardamom and 1/4 teaspoon allspice to the spice blend. This makes the bread taste even more like fall. I love this version with a drizzle of cream cheese glaze.
Chocolate Pumpkin Version : Replace 1/4 cup of the flour with 1/4 cup unsweetened cocoa powder. Add an extra tablespoon of sugar to balance the bitterness. Fold in 1/2 cup chocolate chips. This is dangerously good.
Nut-Free Version : Simply omit the nuts or replace them with pumpkin seeds or sunflower seeds for crunch without the allergens.
I’ve also made this bread as muffins for school lunches and it works beautifully. Just reduce the baking time to 18-22 minutes. The kids love them, and I love that they’re getting a little pumpkin in their day.
Serving & Storage Suggestions
This bread is versatile enough for breakfast, snack time, or even dessert. Here’s how I like to serve and store it:
Serving Suggestions:
- Slice and serve warm with a pat of salted butter. The butter melts into the bread and it’s pure comfort.
- Spread with cream cheese or a dollop of Greek yogurt for a protein-packed breakfast.
- Toast slices lightly and drizzle with honey or maple syrup for extra sweetness.
- Serve alongside a bowl of creamy roasted butternut squash soup for a cozy fall meal. The slightly sweet bread balances the savory soup perfectly.
- Pair with a cup of coffee or chai tea for an afternoon pick-me-up.
Storage Instructions:
- Room Temperature: Wrap the cooled loaf tightly in plastic wrap or store in an airtight container at room temperature for up to 4 days. The pumpkin keeps it moist longer than regular quick breads.
- Refrigerator: Store in the fridge for up to a week. The cold can dry it out slightly, so I recommend wrapping it well. Toast slices before serving to bring back the soft texture.
- Freezer: This bread freezes beautifully. Wrap the cooled loaf (or individual slices) tightly in plastic wrap, then in aluminum foil. Freeze for up to 3 months. Thaw overnight in the fridge or at room temperature for a few hours. Individual slices can go straight into the toaster from frozen.
The flavors actually develop over time. Day two is even better than day one—the spices meld together and the sourdough tang becomes more pronounced. If you can resist eating it all on day one, you’re in for a treat.
Nutritional Information & Benefits
This bread is more nutritious than your average quick bread thanks to the pumpkin and sourdough. Here’s an approximate breakdown per slice (based on 12 slices):
| Nutrient | Amount Per Slice |
|---|---|
| Calories | 245 |
| Total Fat | 11g |
| Saturated Fat | 2g |
| Cholesterol | 31mg |
| Sodium | 280mg |
| Total Carbohydrates | 34g |
| Dietary Fiber | 2g |
| Sugars | 14g |
| Protein | 4g |
| Vitamin A | 80% DV |
| Vitamin C | 2% DV |
| Calcium | 4% DV |
| Iron | 8% DV |
Pumpkin is packed with vitamin A, which supports eye health and immune function. The sourdough fermentation process can make the bread easier to digest for some people, and it also adds beneficial probiotics. The oil provides healthy fats that help your body absorb the fat-soluble vitamins in the pumpkin. If you use whole wheat flour instead of all-purpose, you’ll add more fiber and nutrients.
This bread is not gluten-free, but it can be made gluten-free with the right flour blend. It’s also naturally dairy-free and can be made vegan with a simple substitution. If you’re watching your sugar intake, the less sweet version is a great option.
Conclusion
This easy one-bowl pumpkin sourdough discard bread is the recipe I keep coming back to, season after season. It solves two problems at once—using up sourdough discard and satisfying a craving for something warm, spiced, and comforting. It’s the kind of bread that makes your kitchen smell like fall, even if the weather outside says otherwise.
What I love most about this recipe is how forgiving it is. You can tweak the spices, swap the add-ins, or adjust the sweetness to match your mood. It works with whatever you have on hand, and it always turns out delicious. That’s the mark of a great recipe in my book.
I’d love to hear how this bread turns out for you. Did you add chocolate chips? Toast it with butter? Serve it alongside a bowl of creamy slow cooker chicken and wild rice soup? Drop a comment below and let me know. And if you have a favorite variation, share that too—I’m always looking for new ideas to try.
Happy baking, friends. May your discard jar never go to waste again.
Frequently Asked Questions
Can I use active sourdough starter instead of discard?
Yes, you can use active starter in this recipe. The texture might be slightly different since active starter has more air bubbles, but it will work just fine. You don’t need to adjust anything else in the recipe.
Why did my bread sink in the middle?
A sunken middle usually means the bread was underbaked or the oven temperature was too low. Make sure your oven is fully preheated to 350°F and bake until a toothpick comes out clean. If the top is browning too fast, tent with foil and continue baking.
Can I make this bread without a loaf pan?
Absolutely. You can bake the batter in an 8×8-inch square pan for about 30-35 minutes, or as muffins for 18-22 minutes. You can also use a 9-inch round cake pan. Just adjust the baking time and start checking for doneness earlier.
How do I know when the bread is fully baked?
Insert a toothpick or skewer into the center of the loaf. If it comes out clean or with just a few moist crumbs, the bread is done. If it comes out with wet batter, bake for another 5-10 minutes and check again.
Can I freeze this bread?
Yes, this bread freezes beautifully. Wrap the cooled loaf tightly in plastic wrap, then in aluminum foil, and freeze for up to 3 months. You can also freeze individual slices for easy grab-and-go breakfasts. Thaw at room temperature or pop slices directly into the toaster.
Pin This Recipe!
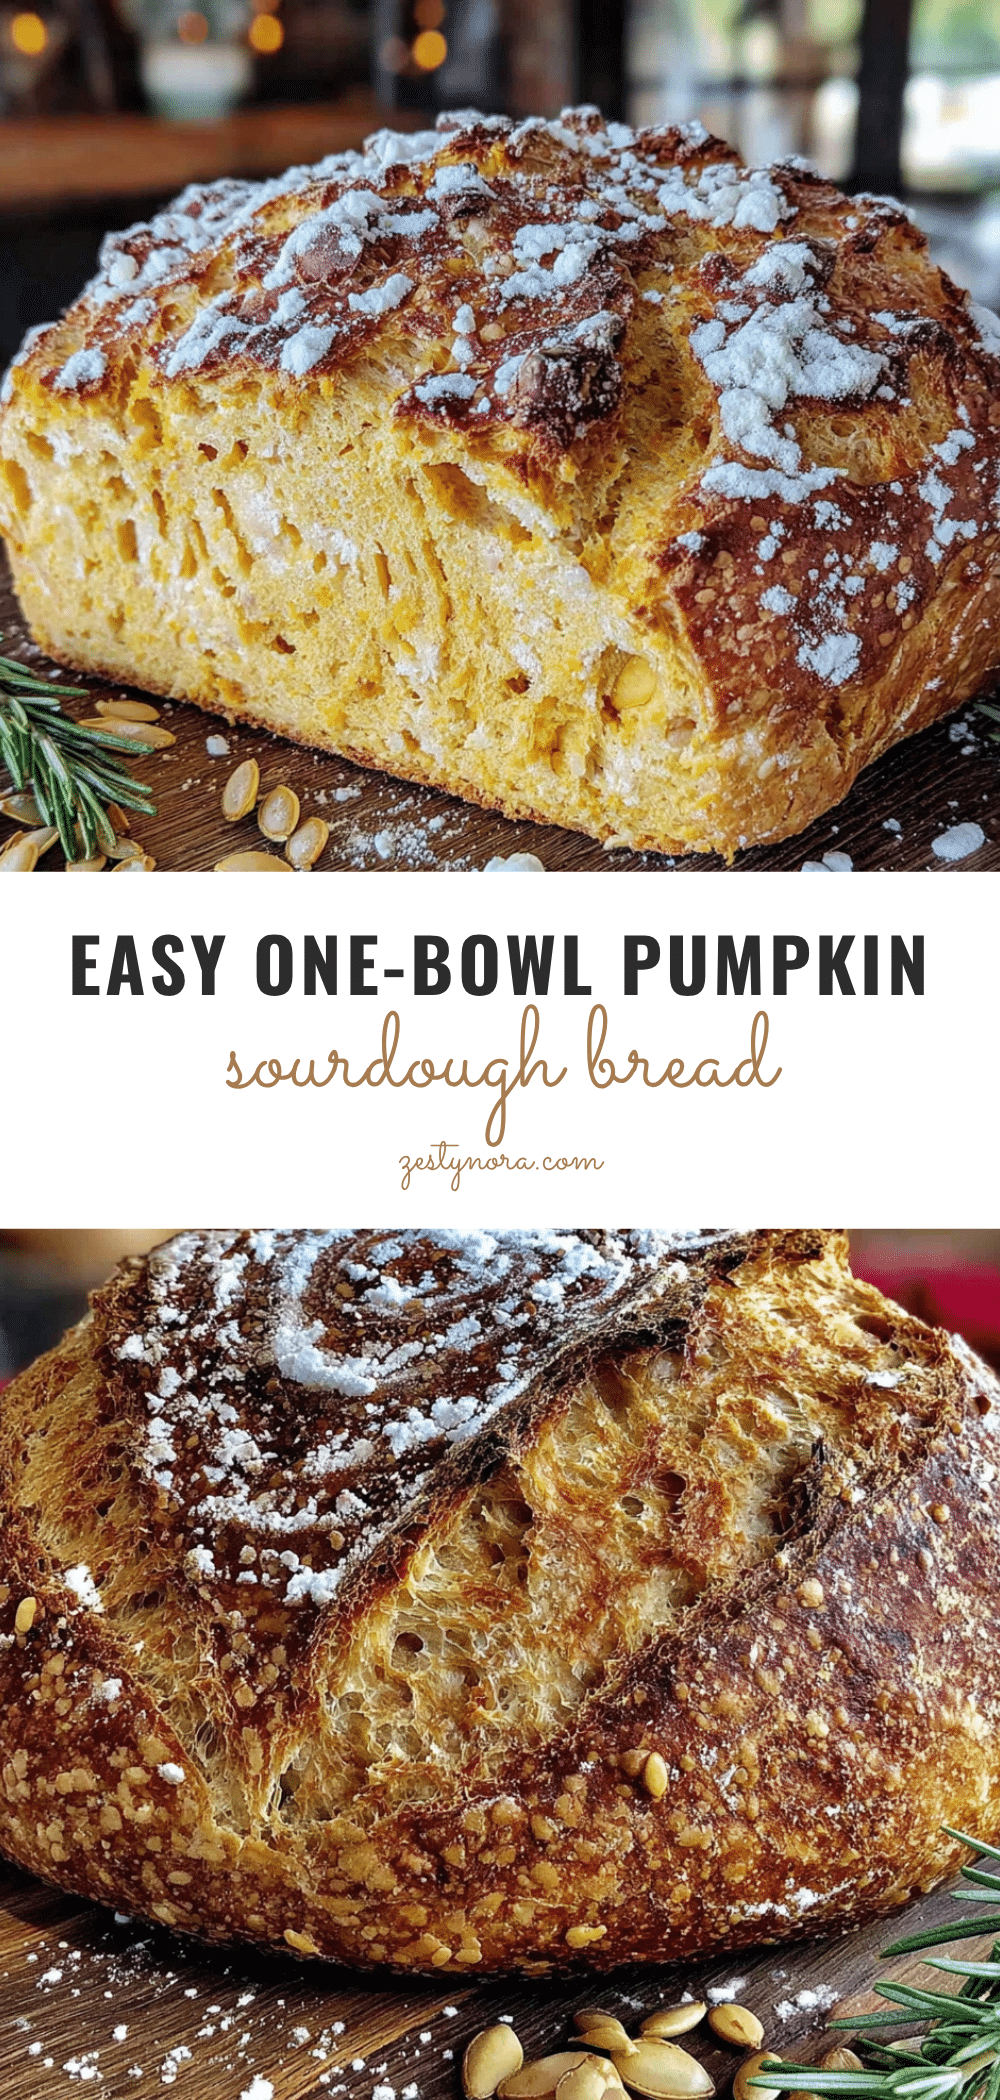
Easy One-Bowl Pumpkin Sourdough Discard Bread (Best Discard Recipe)
This easy one-bowl pumpkin sourdough discard bread is tender, lightly spiced, and just sweet enough to feel like a treat without being cake. It’s the perfect way to use up sourdough discard and enjoy a moist, flavorful loaf that’s beginner-friendly and forgiving.
- Prep Time: 15 minutes
- Cook Time: 55 minutes
- Total Time: 1 hour 10 minutes
- Yield: 12 servings 1x
- Category: Bread
- Cuisine: American
Ingredients
- 1 cup (240g) pumpkin puree
- 1/2 cup (120ml) vegetable oil
- 1/2 cup (100g) brown sugar, packed
- 1/4 cup (50g) granulated sugar
- 2 large eggs
- 1 teaspoon vanilla extract
- 1 cup (240g) sourdough discard
- 1 1/2 cups (190g) all-purpose flour
- 1 teaspoon baking soda
- 1/2 teaspoon baking powder
- 1/2 teaspoon salt
- 2 teaspoons ground cinnamon
- 1/2 teaspoon ground ginger
- 1/4 teaspoon ground nutmeg
- 1/4 teaspoon ground cloves
- 1/2 cup chopped pecans or walnuts (optional)
- 1/2 cup chocolate chips (optional)
- 1/4 cup dried cranberries or raisins (optional)
Instructions
- Preheat your oven to 350°F (175°C). Position the rack in the center of the oven. Line a 9×5-inch loaf pan with parchment paper, leaving some overhang on the long sides for easy lifting. Set aside.
- Mix the wet ingredients. In a large mixing bowl, combine 1 cup pumpkin puree, 1/2 cup vegetable oil, 1/2 cup packed brown sugar, and 1/4 cup granulated sugar. Whisk until smooth and well combined. The mixture should look thick and glossy.
- Add the eggs and vanilla. Crack 2 large eggs into the bowl and add 1 teaspoon vanilla extract. Whisk vigorously until the eggs are fully incorporated and the batter is smooth. It might look slightly separated at first—keep whisking until it comes together.
- Add the sourdough discard. Stir in 1 cup sourdough discard. Whisk until the discard is fully blended into the wet mixture. The batter will look a little thinner now, which is exactly what you want. Don’t worry if there are a few small lumps.
- Add the dry ingredients. Sprinkle 1 1/2 cups all-purpose flour, 1 teaspoon baking soda, 1/2 teaspoon baking powder, 1/2 teaspoon salt, 2 teaspoons cinnamon, 1/2 teaspoon ginger, 1/4 teaspoon nutmeg, and 1/4 teaspoon cloves directly over the wet mixture. Use a spatula or wooden spoon to fold everything together gently. Stir just until no streaks of flour remain. Overmixing will make the bread tough. A few small lumps are fine.
- Fold in any add-ins. If you’re using nuts, chocolate chips, or dried fruit, gently fold them in now. Reserve a handful to sprinkle on top if you want a prettier finish.
- Pour the batter into the prepared pan. Use the spatula to scrape every bit of batter into the pan. Smooth the top gently. Tap the pan on the counter a few times to release any air bubbles.
- Bake for 50-60 minutes. Start checking at 50 minutes. The bread is done when a toothpick inserted into the center comes out clean or with just a few moist crumbs. If the top is browning too quickly around the 40-minute mark, tent the pan loosely with aluminum foil.
- Cool in the pan for 10 minutes. Place the pan on a cooling rack. Let it sit for 10 minutes before lifting the bread out using the parchment overhang. Transfer to the cooling rack to cool completely before slicing. This step is important—slicing too early will make the bread crumble.
Notes
Use room temperature ingredients for best results. Don’t overmix the batter. Measure flour correctly by spooning and leveling. Let the bread cool completely before slicing. For altitude above 3,000 feet, reduce baking soda to 3/4 teaspoon and increase oven temperature by 25°F. The bread can be made gluten-free, dairy-free, vegan, or less sweet with substitutions.
Nutrition
- Serving Size: 1 slice
- Calories: 245
- Sugar: 14
- Sodium: 280
- Fat: 11
- Saturated Fat: 2
- Carbohydrates: 34
- Fiber: 2
- Protein: 4
Keywords: pumpkin sourdough discard bread, easy one-bowl recipe, sourdough discard recipe, pumpkin bread, fall baking, quick bread, discard bread


