Fourth time in two weeks, and I finally stopped adding extra salt to the caramel. That first batch was a disaster—crystals formed on my teeth, and I spent the next morning scraping hardened sugar off my favorite saucepan. But by batch three, something clicked. The cream went in at the right temperature, the butter swirled in without separating, and when I folded that thick, glossy sauce into the whipped cream, I knew I was onto something dangerous.
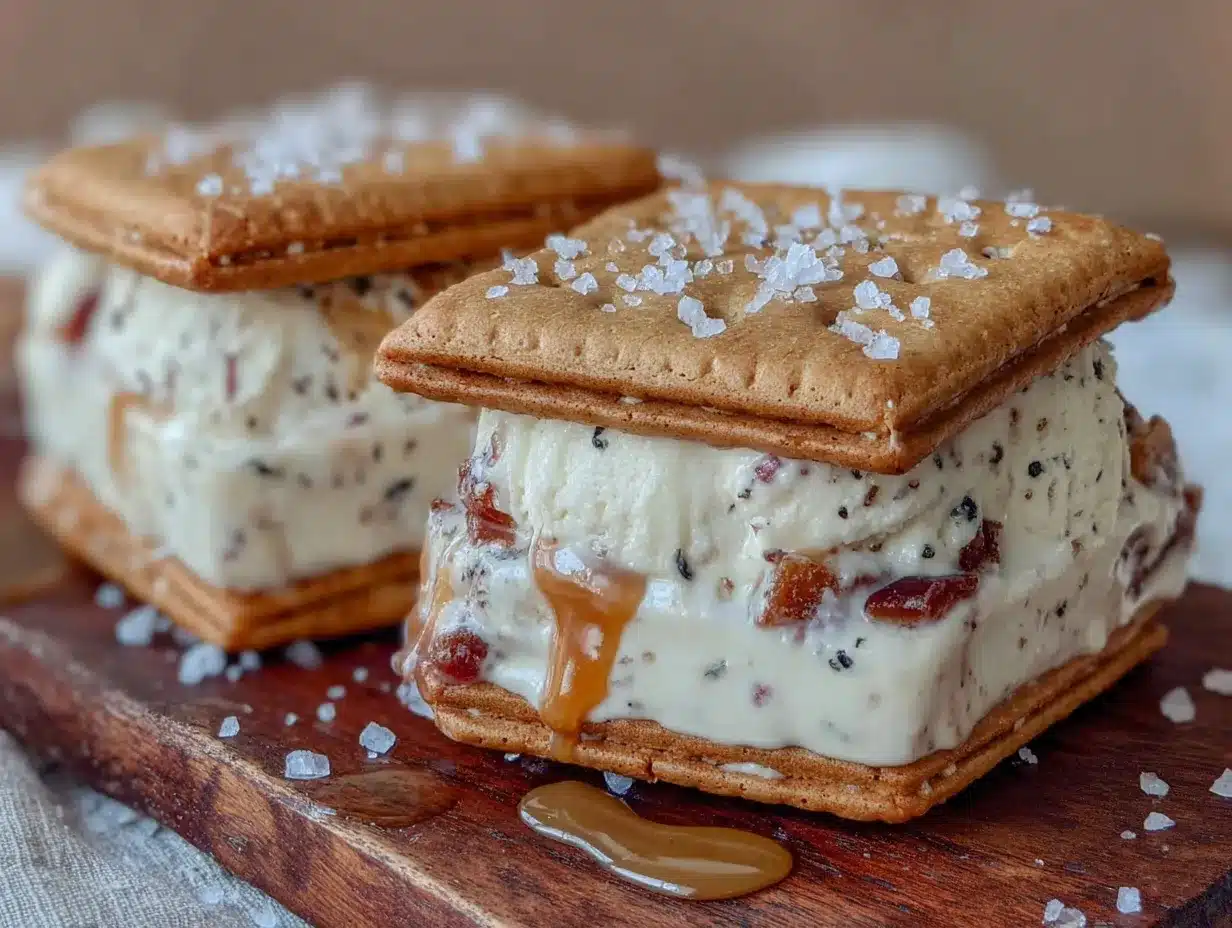
These Easy No-Churn Salted Caramel Ice Cream Sandwiches started as a happy accident. I had leftover caramel from a homemade peach cobbler and a box of cookies staring at me from the pantry. The combination was so ridiculously good that I made it three more times that week, tweaking the texture each round until the ice cream stayed scoopable straight from the freezer—no churn, no special equipment, just pure, salty-sweet magic sandwiched between two chewy cookies.
What gets me every time is the contrast. The cold, creamy filling with those little pockets of soft caramel, the flaky salt that hits your tongue before the sweetness settles in, and the cookies that stay slightly soft even after a night in the freezer. It’s the kind of treat that makes you close your eyes on the first bite. I think that’s why I kept making it—not because it needed perfecting, but because every version taught me something new about how simple ingredients can surprise you.
Why You’ll Love This Recipe
I’ve tested this recipe more times than I care to admit, and here’s what I’ve learned: you don’t need an ice cream maker, a candy thermometer, or a culinary degree to make the best frozen treat of your summer. These sandwiches deliver every single time.
- No Churn, No Fuss – You don’t need any fancy equipment. A mixing bowl, a whisk, and a loaf pan are all it takes. The ice cream sets up perfectly in the freezer without needing to be stirred every hour.
- Simple Pantry Ingredients – Heavy cream, sweetened condensed milk, butter, sugar, and salt. That’s it. No corn syrup, no stabilizers, nothing you have to hunt down at a specialty store.
- Perfect for Hot Days & Backyard Gatherings – These sandwiches hold up beautifully at cookouts, birthday parties, or lazy Sunday afternoons. They’re sturdy enough to pack in a cooler and share with friends.
- Customizable to Your Taste – Use your favorite cookies, adjust the salt level, or swap in a different extract. The base recipe is forgiving and welcomes your personal touch.
- Outrageously Delicious – The combination of rich caramel, flaky sea salt, and cold, creamy ice cream is next-level comfort food. It’s the kind of dessert that gets requested again and again.
What makes this recipe different from other no-churn ice creams is the method. I whip the cream to stiff peaks before folding in the caramel, which creates a lighter, airier texture that doesn’t freeze into a brick. The caramel itself is made on the stovetop in under ten minutes, and the flaky salt isn’t just a garnish—it’s a crucial layer that balances the sweetness and keeps every bite interesting.
This isn’t just another ice cream sandwich. It’s the one that makes people ask for the recipe before they finish their first bite. It’s comfort food reimagined—faster, simpler, but with the same soul-soothing satisfaction as the ice cream truck treats you grew up with.
What Ingredients You Will Need
This recipe uses simple, wholesome ingredients to deliver bold flavor and a satisfyingly creamy texture without the fuss. Most of these are pantry staples, and the ones that aren’t are easy to find at any grocery store.
For the Salted Caramel Sauce
- Granulated sugar, 1 cup (200g) – White sugar is best for a clean caramel flavor. Don’t substitute brown sugar here; it changes the taste and texture.
- Unsalted butter, 6 tablespoons (85g), cut into pieces – Use unsalted so you control the salt level. Let it come to room temperature before adding to the hot sugar.
- Heavy cream, 1/2 cup (120ml), warmed – Warm cream prevents the caramel from seizing when you add it. Microwave it for 30 seconds before using.
- Flaky sea salt, 1 teaspoon (plus more for finishing) – I use Maldon sea salt flakes. They dissolve beautifully into the caramel and leave little bursts of saltiness on your tongue.
For the No-Churn Ice Cream Base
- Heavy whipping cream, 2 cups (480ml), cold – Must be very cold for proper whipping. Leave it in the fridge until the last minute.
- Sweetened condensed milk, 1 can (14 ounces / 397g) – This is the magic ingredient that makes no-churn ice cream possible. It adds sweetness and prevents ice crystals from forming.
- Vanilla extract, 1 teaspoon – Pure vanilla extract adds depth. Avoid imitation vanilla here; it tastes artificial.
- Salted caramel sauce, 1/2 cup (from the batch above), cooled – Reserve the rest for drizzling and layering.
For the Sandwiches
- Cookies, 24 to 30 (about 2 to 2.5 inches wide) – Use your favorite sturdy cookie. Chewy chocolate chip, soft sugar cookies, or even shortbread work beautifully. Avoid thin, crispy cookies; they’ll break under pressure.
- Additional flaky sea salt, for garnish – A pinch on top of each sandwich before freezing makes all the difference.
Ingredient Note: I recommend using a good-quality sweetened condensed milk like Eagle Brand or Carnation. The texture is consistently thick and creamy, which gives your ice cream the best body. For the cookies, I’ve tested this with store-bought Chips Ahoy! Chewy and homemade chocolate chip cookies, and both work great. Just make sure they’re not too thin or fragile.
Substitution Guidance: If you’re dairy-free, you can use full-fat coconut cream instead of heavy cream and a dairy-free sweetened condensed milk. The texture will be slightly different—a bit more dense—but still delicious. For a gluten-free version, use your favorite gluten-free cookies. The caramel itself is naturally gluten-free.
Equipment Needed
You don’t need much for this recipe, which is part of the beauty. Here’s what you’ll want on hand:
- Medium saucepan – For making the caramel. A light-colored pan is best so you can see the color of the sugar as it melts. I use a stainless steel saucepan, but nonstick works too.
- Large mixing bowl – For whipping the cream. Make sure it’s clean and dry; any grease will prevent the cream from whipping properly.
- Electric hand mixer or stand mixer – You can whip cream by hand with a whisk, but it takes about 8 to 10 minutes of vigorous work. A hand mixer cuts that down to 2 minutes. I’ve done both—the hand mixer wins when it’s hot outside.
- Rubber spatula – For folding the caramel into the whipped cream without deflating it.
- 9×5-inch loaf pan – For freezing the ice cream. Line it with parchment paper for easy removal. A metal pan works better than glass; it conducts cold more efficiently.
- Baking sheet – For assembling and freezing the sandwiches. It needs to fit flat in your freezer.
- Parchment paper or wax paper – For lining the pan and wrapping the sandwiches.
- Sharp knife – For slicing the frozen ice cream block into neat slabs.
Budget-Friendly Tip: If you don’t have a loaf pan, use a 8×8-inch baking dish instead. The ice cream will be slightly thinner, which means you can make more sandwiches. Just adjust your freezing time down by about an hour.
Maintenance Note: After making caramel, let your saucepan soak in warm, soapy water for 15 minutes before scrubbing. It loosens the hardened sugar without scratching the pan. I learned this the hard way after ruining a good nonstick pan with aggressive scrubbing.
Preparation Method
Step 1: Make the Salted Caramel Sauce
Place the granulated sugar in a medium saucepan over medium heat. Stir constantly with a rubber spatula or wooden spoon. The sugar will start to clump, then melt into a golden liquid. This takes about 5 to 7 minutes. Don’t walk away—caramel can burn in seconds. When the sugar turns a deep amber color (think the color of a copper penny), remove the pan from the heat immediately.
Carefully add the butter pieces and whisk until melted. The mixture will bubble up vigorously—that’s normal. Slowly pour in the warm cream while whisking continuously. The caramel will steam and bubble again. Whisk until smooth, then stir in the flaky sea salt. Let the caramel cool in the pan for 15 minutes, then transfer to a heatproof jar or bowl. Refrigerate until completely cold, about 1 hour. You’ll have about 1 cup of caramel sauce total.
Step 2: Whip the Cream
Pour the cold heavy cream into a large mixing bowl. Add the vanilla extract. Using an electric hand mixer on medium-high speed, whip the cream until stiff peaks form. This takes about 2 to 3 minutes. You’ll know it’s ready when you lift the beaters and the cream holds its shape without drooping. Be careful not to over-whip; if the cream looks grainy or separates, you’ve gone too far and should start over.
Step 3: Fold in the Condensed Milk and Caramel
Pour the sweetened condensed milk over the whipped cream. Gently fold it in with a rubber spatula using broad, sweeping motions. Cut through the center, scrape the bottom, and fold over. Repeat until just combined—about 10 folds. Don’t stir; you’ll deflate the air you just whipped in.
Drizzle 1/2 cup of the cooled salted caramel sauce over the mixture. Fold 3 to 4 times to create ribbons of caramel throughout the ice cream base. You want streaks, not a uniform color. Over-mixing will incorporate the caramel completely, and you’ll lose those beautiful pockets of flavor.
Step 4: Freeze the Ice Cream
Line a 9×5-inch loaf pan with parchment paper, leaving overhang on the two long sides. Pour the ice cream mixture into the pan and spread it into an even layer. Drizzle the remaining caramel sauce on top (about 2 tablespoons) and swirl it gently with a knife. Sprinkle with a pinch of flaky sea salt. Cover the pan with plastic wrap and freeze for at least 6 hours, or overnight. The ice cream should be firm enough to slice cleanly.
Step 5: Assemble the Sandwiches
When the ice cream is fully frozen, remove it from the pan using the parchment overhang. Place the block on a cutting board. Using a sharp knife, slice the ice cream into 12 even slabs, each about 1/2-inch thick. Work quickly—the ice cream softens fast. If it starts to melt, pop the slabs back in the freezer for 10 minutes.
Place 12 cookies upside-down on a baking sheet lined with parchment paper. Top each with one slab of ice cream. Place another cookie on top, right-side up, and gently press down until the ice cream spreads to the edges. Don’t squish too hard or the cookies will crack. Repeat with the remaining sandwiches.
Step 6: Freeze and Finish
Place the assembled sandwiches on the baking sheet and freeze for at least 2 hours, or until the ice cream is firm again. If you’re serving immediately, let them sit at room temperature for 2 to 3 minutes to soften slightly. For storage, wrap each sandwich individually in parchment paper and place in a freezer-safe bag or container.
Cooking Tips & Techniques
I’ve made every mistake you can make with this recipe, so you don’t have to. Here’s what I’ve learned the hard way.
Don’t rush the caramel. I know it’s tempting to crank up the heat, but medium heat is your friend. Low and slow gives you more control over the color, and you’re less likely to end up with burnt caramel that tastes bitter. If you see smoke, you’ve gone too far—start over. Trust me, I’ve had to toss three batches before I learned patience.
Warm your cream. Cold cream hitting hot caramel will seize it into a hard, lumpy mess. Microwave the cream for 30 seconds before adding it. The caramel will stay smooth and glossy. This single tip saved my caramel game.
Whip cream in a cold bowl. Pop your mixing bowl and beaters in the freezer for 10 minutes before whipping. The cold helps the cream hold more air, giving you a lighter ice cream. On hot summer days, I even chill the cream canister in the fridge overnight.
Work in batches. When assembling the sandwiches, only take out 3 or 4 ice cream slabs at a time. Keep the rest in the freezer. The ice cream melts faster than you think, and warm ice cream makes for messy sandwiches. I learned this during a particularly ambitious photo shoot where I had to refreeze everything twice.
Use a sharp knife. A dull knife will drag through the ice cream and create ragged edges. Run the knife under hot water, dry it quickly, and slice. Repeat between cuts for clean, even slabs. This makes the sandwiches look professional and keeps the cookies from breaking.
Variations & Adaptations
This recipe is incredibly flexible. Here are a few ways I’ve adapted it depending on my mood or what’s in the pantry.
Chocolate-Dipped Salted Caramel Sandwiches – After assembling the sandwiches and freezing them for 2 hours, melt 1 cup of dark chocolate chips with 1 tablespoon of coconut oil. Dip half of each sandwich into the chocolate, let the excess drip off, and place back on the baking sheet. Freeze for another hour. The chocolate shell adds a satisfying crunch that contrasts with the creamy filling.
Peanut Butter Swirl Version – Warm 1/2 cup of creamy peanut butter in the microwave for 20 seconds until runny. Swirl it into the ice cream base along with the caramel. The combination of salty peanut butter and salted caramel is absolutely addictive. I made this for a game day party and it disappeared in minutes.
Vegan & Dairy-Free Adaptation – Substitute the heavy cream with full-fat coconut cream (chilled overnight and scooped from the top of the can). Use dairy-free sweetened condensed milk. The texture will be slightly denser and more coconut-forward, but still incredibly creamy. I’ve tested this with friends who are lactose intolerant, and they couldn’t tell the difference.
Cookie Swap – The type of cookie changes the whole character of the sandwich. Try it with soft pumpkin chocolate chip cookies for a fall twist, or use chewy oatmeal raisin cookies for a more rustic flavor. My personal favorite is using slightly underbaked chocolate chip cookies—they stay soft even after freezing.
Spiced Caramel Variation – Add 1/2 teaspoon of cinnamon and a pinch of cayenne pepper to the caramel sauce while it’s still warm. The warmth of the spices balances the sweetness and adds a subtle kick. It’s perfect for holiday gatherings or when you want something a little unexpected.
Serving & Storage Suggestions
These sandwiches are best served straight from the freezer, but they need about 3 minutes at room temperature to soften enough for that perfect first bite. If you’re serving a crowd, take them out of the freezer and let them sit on the counter while you finish dinner. By the time dessert rolls around, they’ll be perfectly scoopable.
Presentation Tip: Arrange the sandwiches on a wooden board or slate platter. Sprinkle a little extra flaky sea salt over the top and add a few fresh mint leaves for color. It’s a simple touch that makes them look like they came from a fancy ice cream shop.
What to Serve With Them: These sandwiches are rich and indulgent on their own, but they pair beautifully with a creamy honey mascarpone grilled peaches for an over-the-top dessert board. For a lighter option, serve alongside fresh berries or a simple fruit salad. A cold glass of milk or a hot espresso is the perfect beverage companion.
Storage Instructions: Wrap each sandwich individually in parchment paper, then place them in a freezer-safe zip-top bag or airtight container. Press out as much air as possible to prevent freezer burn. They’ll keep for up to 3 weeks, though they rarely last that long in my house. If you’re making them ahead for a party, assemble them up to 2 weeks in advance and keep them frozen.
Flavor Development: The caramel flavor deepens and becomes more complex after a day or two in the freezer. The cookies also soften slightly as they absorb moisture from the ice cream, creating a texture similar to an ice cream cake. I actually prefer them on day two—the flavors have melded together beautifully.
Nutritional Information & Benefits
Let’s be real: these are a treat, not a health food. But knowing what’s in them helps you enjoy them mindfully. Here’s the estimated nutritional breakdown per sandwich (based on 12 sandwiches):
| Nutrient | Amount Per Sandwich |
|---|---|
| Calories | 380 |
| Total Fat | 22g |
| Saturated Fat | 14g |
| Cholesterol | 65mg |
| Sodium | 180mg |
| Total Carbohydrates | 42g |
| Sugars | 35g |
| Protein | 4g |
| Calcium | 8% DV |
Health Highlights: The heavy cream provides a good source of vitamin A and healthy fats that help your body absorb fat-soluble vitamins. The salt in the caramel contains electrolytes, which can be beneficial on hot days when you’re sweating. Of course, this is still a dessert—but knowing you made it from scratch means you control the quality of every ingredient. No preservatives, no artificial flavors, just real food.
Dietary Considerations: This recipe contains dairy and gluten (from the cookies). For a gluten-free version, use certified gluten-free cookies. For a dairy-free version, see the variations section above. The caramel sauce is naturally gluten-free and can be made nut-free by using a nut-free milk alternative.
My Personal Take: I believe in balance. These sandwiches are a celebration, not an everyday snack. I make them for birthdays, summer parties, and those days when you just need something special. Enjoy every bite, and don’t feel guilty about it. Life’s too short for bad desserts.
Conclusion
These Easy No-Churn Salted Caramel Ice Cream Sandwiches are proof that you don’t need fancy equipment or complicated techniques to create something truly spectacular. With just a handful of ingredients and a little patience, you can make a frozen treat that rivals anything from a gourmet ice cream shop—right in your own kitchen.
What I love most about this recipe is how forgiving it is. The caramel might seize on your first try, and that’s okay. The ice cream might be a little too soft or a little too firm, and you’ll adjust the next time. Every batch teaches you something new, and every batch is delicious in its own way. That’s the beauty of cooking—it’s never perfect, but it’s always worth doing.
I’d love to hear how yours turn out. Drop a comment below and tell me what cookies you used, or share a photo of your sandwiches on Pinterest. Did you try the chocolate-dipped version? The peanut butter swirl? I’m always looking for new ideas, and your creativity might inspire someone else. Until next time, keep your freezer stocked and your caramel warm.
Frequently Asked Questions
Can I use store-bought caramel sauce instead of making my own?
Yes, you can, but the flavor won’t be quite the same. Homemade salted caramel has a deeper, more complex taste that really shines in this recipe. If you’re short on time, look for a high-quality jarred caramel sauce without corn syrup or artificial flavors. Warm it slightly before swirling into the ice cream base.
Why did my caramel turn into a hard, crystallized mess?
This happens when sugar crystals form during the melting process. To prevent this, make sure your saucepan and utensils are completely clean and free of any grease. You can also add a teaspoon of lemon juice or corn syrup to the sugar before heating—it helps inhibit crystallization. If your caramel seizes, don’t panic. Add a splash of warm cream and whisk gently over low heat until it smooths out.
How do I keep the cookies from getting soggy?
Use sturdy cookies that are slightly underbaked or on the chewier side. Thin, crispy cookies will absorb moisture and turn soft within a few hours. If you’re making these ahead of time, wrap each sandwich tightly in parchment paper and store them in an airtight container. The cookies will soften slightly over time, but they’ll still have a pleasant texture for up to a week.
Can I make these without an electric mixer?
Absolutely. You can whip the cream by hand using a whisk and a large bowl. It takes about 8 to 10 minutes of steady whisking, and your arm will get a workout, but it’s totally doable. Chill the bowl and cream beforehand to speed up the process. I’ve done it on camping trips where electricity wasn’t available, and the results were just as good.
My ice cream turned out icy and grainy. What went wrong?
Grainy ice cream usually means the cream wasn’t whipped enough, or the mixture wasn’t folded gently enough, deflating the air bubbles. Make sure you whip the cream to stiff peaks—it should hold its shape without drooping. Also, don’t overmix when folding in the condensed milk and caramel. A few gentle folds are all you need. If you’re still having trouble, try chilling the mixture in the fridge for 30 minutes before freezing to help stabilize it.
Pin This Recipe!
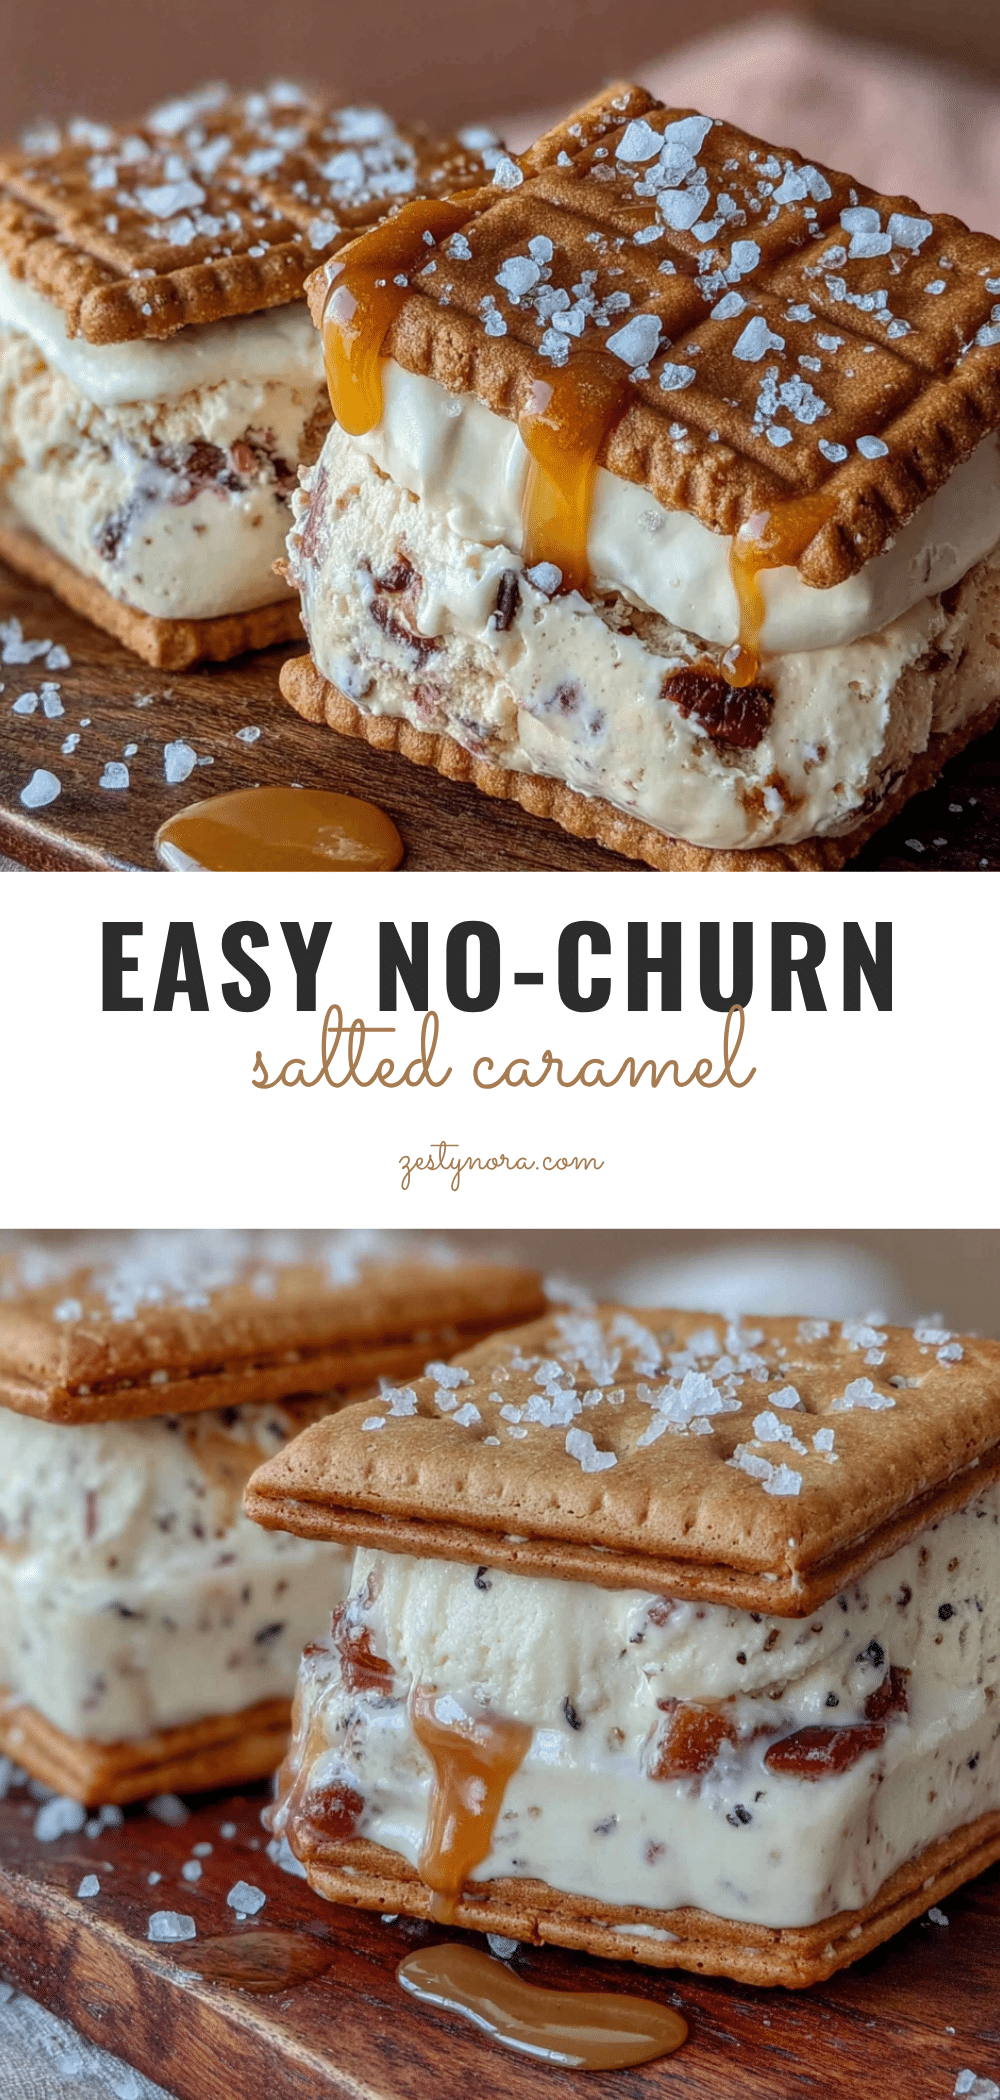
Easy No-Churn Salted Caramel Ice Cream Sandwiches (Best Homemade Treat)

These Easy No-Churn Salted Caramel Ice Cream Sandwiches are a simple, no-fuss treat made with homemade salted caramel, whipped cream, and your favorite cookies. No ice cream maker needed—just pure, salty-sweet magic.
- Prep Time: 20 minutes
- Cook Time: 10 minutes
- Total Time: 6 hours 30 minutes (includes freezing)
- Yield: 12 servings 1x
- Category: Dessert
- Cuisine: American
Ingredients
- For the Salted Caramel Sauce:
- 1 cup (200g) granulated sugar
- 6 tablespoons (85g) unsalted butter, cut into pieces
- 1/2 cup (120ml) heavy cream, warmed
- 1 teaspoon flaky sea salt (plus more for finishing)
- For the No-Churn Ice Cream Base:
- 2 cups (480ml) heavy whipping cream, cold
- 1 can (14 ounces / 397g) sweetened condensed milk
- 1 teaspoon vanilla extract
- 1/2 cup salted caramel sauce (from the batch above), cooled
- For the Sandwiches:
- 24 to 30 cookies (about 2 to 2.5 inches wide)
- Additional flaky sea salt, for garnish
Instructions
- Make the Salted Caramel Sauce: Place the granulated sugar in a medium saucepan over medium heat. Stir constantly with a rubber spatula or wooden spoon. The sugar will clump, then melt into a golden liquid, about 5 to 7 minutes. When the sugar turns a deep amber color (copper penny), remove from heat immediately. Carefully add the butter pieces and whisk until melted. Slowly pour in the warm cream while whisking continuously. Whisk until smooth, then stir in the flaky sea salt. Let cool in the pa…
- Whip the Cream: Pour the cold heavy cream into a large mixing bowl. Add the vanilla extract. Using an electric hand mixer on medium-high speed, whip the cream until stiff peaks form, about 2 to 3 minutes.
- Fold in the Condensed Milk and Caramel: Pour the sweetened condensed milk over the whipped cream. Gently fold it in with a rubber spatula using broad, sweeping motions until just combined (about 10 folds). Drizzle 1/2 cup of the cooled salted caramel sauce over the mixture. Fold 3 to 4 times to create ribbons of caramel throughout the ice cream base.
- Freeze the Ice Cream: Line a 9×5-inch loaf pan with parchment paper, leaving overhang on the two long sides. Pour the ice cream mixture into the pan and spread into an even layer. Drizzle the remaining caramel sauce on top (about 2 tablespoons) and swirl gently with a knife. Sprinkle with a pinch of flaky sea salt. Cover with plastic wrap and freeze for at least 6 hours, or overnight.
- Assemble the Sandwiches: When the ice cream is fully frozen, remove from the pan using the parchment overhang. Place the block on a cutting board. Using a sharp knife, slice the ice cream into 12 even slabs, each about 1/2-inch thick. Place 12 cookies upside-down on a baking sheet lined with parchment paper. Top each with one slab of ice cream. Place another cookie on top, right-side up, and gently press down until the ice cream spreads to the edges. Repeat with the remaining sandwiches.
- Freeze and Finish: Place the assembled sandwiches on the baking sheet and freeze for at least 2 hours, or until the ice cream is firm again. For serving, let sit at room temperature for 2 to 3 minutes to soften slightly. For storage, wrap each sandwich individually in parchment paper and place in a freezer-safe bag or container.
Notes
For best results, use a light-colored saucepan to monitor caramel color. Warm the cream before adding to caramel to prevent seizing. Chill the mixing bowl and beaters for 10 minutes before whipping cream for a lighter texture. Work in batches when assembling sandwiches to prevent ice cream from melting. Use a sharp knife dipped in hot water for clean slices.
Nutrition
- Serving Size: 1 sandwich
- Calories: 380
- Sugar: 35
- Sodium: 180
- Fat: 22
- Saturated Fat: 14
- Carbohydrates: 42
- Protein: 4
Keywords: no-churn ice cream, salted caramel, ice cream sandwiches, homemade ice cream, easy dessert, summer treat


