My eight-year-old nephew asked me last year why I couldn’t just use regular pretzel sticks instead of making the dough from scratch for our Halloween treats. I started to explain why that wouldn’t work — then stopped. Honestly, I had no good reason. I’d been making these spooky witch finger pretzel snacks for years, and I’d never once questioned my own process. The kid had a point.
So I let him run with it. He grabbed a bag of pretzel sticks from the pantry, a jar of almond slivers, and some green candy melts I’d been saving for a different project. I stood there, arms crossed, ready to say “I told you so” when it all fell apart. Except it didn’t. The whole thing came together in about fifteen minutes flat, and the witch fingers looked better than any batch I’d slaved over for hours. I mean, really better. My sister walked in and asked where I’d bought them.
That moment changed how I think about Halloween treats forever. Sometimes the simple route isn’t just easier — it’s actually better. These easy Halloween witch finger pretzels have become our family’s official spooky snack, and they cost next to nothing to make. You know that feeling when you’ve been overcomplicating something for years and a kid shows you the obvious answer? That was this recipe for me.
These witch finger pretzels are perfect for class parties, Halloween movie nights, or just a fun afternoon project with little monsters. They’re salty, sweet, creepy, and completely irresistible. And the best part? You don’t need any special baking skills or fancy equipment. If you can dip a pretzel stick in melted chocolate, you can make these.
Why You’ll Love This Recipe
Let me tell you why this recipe has become our go-to Halloween treat year after year. I’ve tested it with different chocolates, various toppings, and even let my nephew’s friends have a go at decorating. Every single time, these witch finger pretzels deliver.
- Quick & Easy : Comes together in under 20 minutes, perfect for last-minute Halloween parties or when the kids suddenly announce they need treats for school tomorrow. No baking required!
- Simple Ingredients : You likely already have pretzel sticks in your pantry. The other ingredients are basic candy melts and a few decorations — nothing fancy or expensive.
- Perfect for Halloween : These make the creepiest addition to any spooky snack table. Kids absolutely lose their minds over them, and adults can’t resist grabbing a few either.
- Crowd-Pleaser : Always gets rave reviews from kids and adults alike. I’ve brought these to three different Halloween parties, and they’ve vanished every single time.
- Unbelievably Delicious : The combination of salty pretzels, sweet candy coating, and crunchy almond “fingernails” is next-level addictive. You’ve been warned.
What makes this recipe different from the rest? It’s the almond sliver trick. Most witch finger recipes use a whole almond for the nail, which looks fine but makes the fingers bulky and hard to eat. Using a single almond sliver gives you that creepy fingernail shape without overwhelming the pretzel. It’s a small detail, but it makes a huge difference in both appearance and texture.
This recipe isn’t just good — it is the kind that makes you close your eyes after the first bite. It’s Halloween fun reimagined — faster, cheaper, but with the same spooky satisfaction. Perfect for impressing little goblins without stress, or turning a simple snack into something memorable.
What Ingredients You Will Need
This recipe uses simple, budget-friendly ingredients to deliver maximum Halloween fun without the fuss. Most of these are probably already in your kitchen or easy to find at any grocery store.
- Pretzel sticks (1 standard 10-ounce bag) — Look for straight, unbroken sticks. I prefer the thicker style for sturdier fingers, but thin ones work too. (Budget tip: store brands work perfectly fine here)
- Green candy melts (1 cup) — These give the witch fingers that classic green witch skin color. Wilton brand works great, but any brand of green candy melts will do. (Substitution: white chocolate chips with green food coloring also work)
- Almond slivers (about 30 pieces) — These become the fingernails. Look for slivers that are relatively flat and pointed on one end. (Substitution: sliced almonds work in a pinch)
- Red decorating gel (1 small tube) — For adding bloody details around the nail bed. Betty Crocker or Wilton brands are my go-to choices. (Substitution: strawberry jam thinned with a drop of water)
- Edible eyes (optional, about 30 small ones) — These add extra creepiness if you want to get fancy. Found in the baking aisle near the cake decorating supplies.
- Coconut oil (1 teaspoon) — Helps thin the candy melts for smoother dipping. (Substitution: vegetable shortening)
For the optional “dirt” base:
- Chocolate sandwich cookies (about 10 cookies) — Crushed to look like dirt for serving. (Substitution: chocolate graham crackers)
- Pretzel crumbs (from broken pretzels in the bag)
I recommend using real almond slivers rather than the fake almond-flavored ones — the natural almond taste pairs beautifully with the sweet candy coating and salty pretzel. If you’re making these for a nut-free classroom, you can skip the almond fingernails entirely and just pipe a small dot of red gel at the tip for a bloody nail effect. My nephew’s school has a no-nut policy, so we’ve tested that version too, and it works great.
For the green candy melts, I’ve tried several brands over the years. The Wilton ones melt the smoothest and have the most vibrant green color. But honestly, the store brand works fine — just add a tiny bit of coconut oil if they seem too thick when melted.
Equipment Needed
You don’t need much to make these spooky snacks. Here’s what you’ll need:
- Microwave-safe bowl (medium size) — For melting the candy melts. Glass or ceramic works best.
- Parchment paper — Lining your baking sheet prevents sticking and makes cleanup a breeze.
- Baking sheet — Any size works; you just need a flat surface for the pretzels to set.
- Small spoon — For dipping and coating the pretzels.
- Tweezers (optional but helpful) — For placing those tiny almond slivers precisely. I learned this trick after dropping three fingernails in a row.
- Toothpicks — For spreading red gel details and fixing any messy spots.
- Ziploc bag (small) — For crushing cookies if you’re making the dirt base.
If you don’t have a microwave, you can melt the candy melts in a double boiler on the stovetop. Just be careful not to get any water in the chocolate — it will seize up and become unusable. I learned that one the hard way, let me tell you.
Budget-friendly tip: skip the fancy decorating tools. A butter knife works for spreading, and your fingers (clean ones, obviously) can place the almond slivers just fine. We’re making witch fingers here — perfection is overrated.
Preparation Method
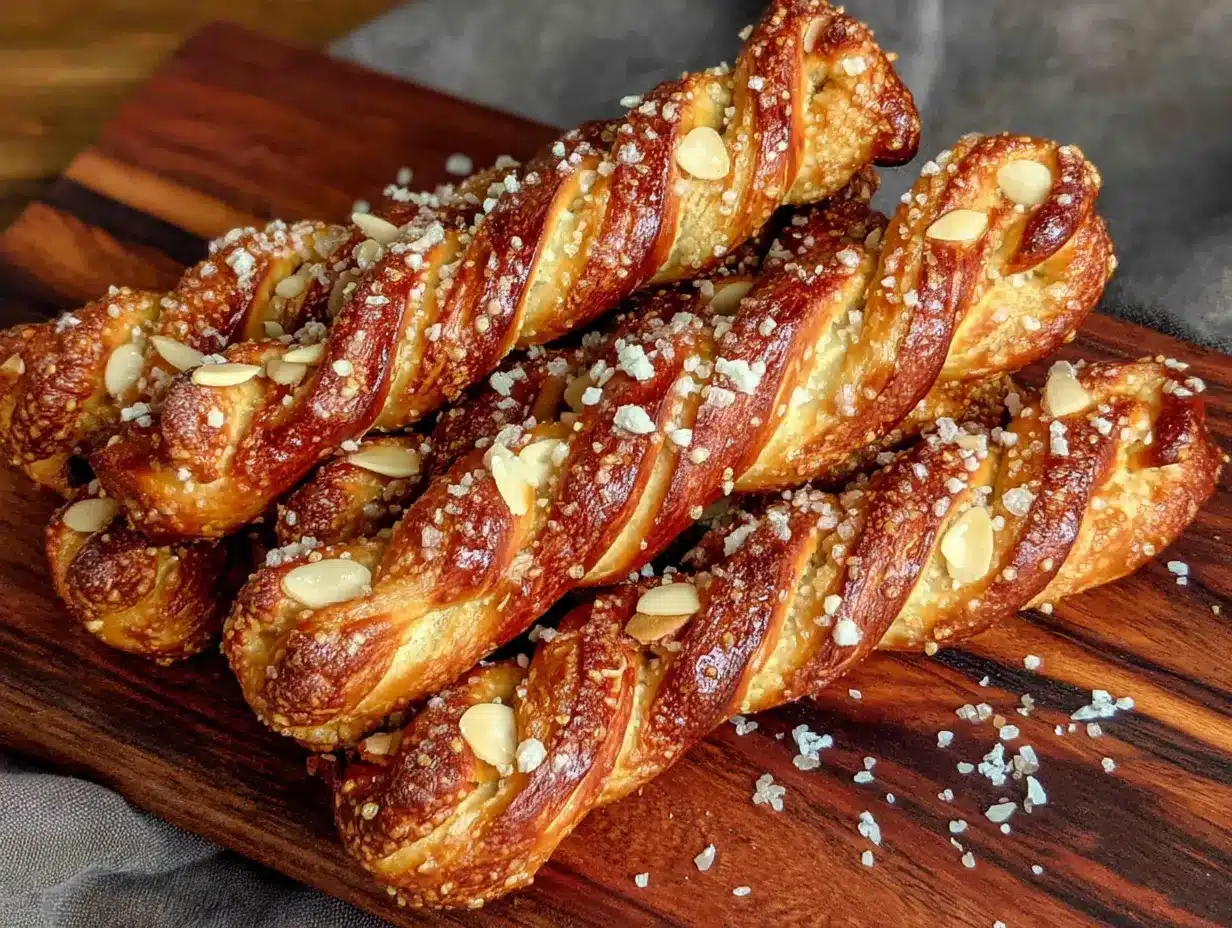
Alright, let’s make some creepy witch fingers! This whole process takes about 15-20 minutes of active work, plus 10 minutes for the chocolate to set.
- Prep your workspace. Line a baking sheet with parchment paper. Make sure it’s completely flat — I once used a warped pan and all my witch fingers slid to one side. Set it aside where it won’t be disturbed.
- Melt the green candy melts. Place 1 cup of green candy melts in a microwave-safe bowl. Microwave in 30-second intervals at 50% power, stirring between each interval. This usually takes about 2 minutes total. Add 1 teaspoon of coconut oil and stir until completely smooth. The mixture should be thin enough to coat a pretzel easily but not runny. (Warning: don’t overheat or the candy will seize up — I’ve ruined two batches this way.)
- Prepare your almond fingernails. Take about 30 almond slivers and sort through them. Pick the ones that are most fingernail-shaped — slightly curved with a pointed tip. Set them on a small plate where you can reach them easily.
- Dip the pretzels. Hold one pretzel stick by the end and dip it into the melted green candy. Use a small spoon to help coat it completely if needed. Let the excess drip off for a few seconds — you want a thin, even coating. (Tip: hold the pretzel over the bowl and tap your wrist gently to shake off extra chocolate.)
- Place on parchment. Lay the coated pretzel on the parchment paper. Leave a little space between each one — about half an inch — so they don’t stick together as they set.
- Add the fingernail. While the coating is still wet, press one almond sliver onto the tip of the pretzel. The pointed end should extend slightly past the tip of the pretzel, like a fingernail growing past the fingertip. Press gently so it stays in place. (Pro tip: use tweezers for this step — your fingers will get sticky otherwise.)
- Create the knuckle wrinkles. Using a toothpick or the tip of a small knife, gently press 2-3 horizontal lines into the coating near the middle of each pretzel. These create the knuckle wrinkles that make witch fingers look so realistic. Don’t press too hard — you just want an indent, not a crack.
- Add bloody details. Take your red decorating gel and squeeze a tiny dot at the base of the almond sliver, where it meets the pretzel. This looks like bloody cuticle area. You can also add a small drip of “blood” running down the side for extra creepiness. (A little goes a long way — you want spooky, not gory.)
- Optional: add edible eyes. If you’re using edible eyes, press one onto the side of each witch finger while the coating is still wet. This makes them look like they’re watching you. My nephew insists this step is mandatory.
- Let them set. Allow the witch fingers to sit at room temperature for about 10 minutes, or until the coating is completely firm. If you’re in a hurry, you can pop the baking sheet in the refrigerator for 5 minutes. (Don’t leave them in longer than that or condensation will form — I learned this after a soggy disaster.)
- Make the dirt base (optional). While the fingers are setting, place 10 chocolate sandwich cookies in a ziploc bag and crush them with a rolling pin until they resemble coarse dirt. Spread the crumbs on a serving platter.
- Arrange and serve. Once the witch fingers are fully set, arrange them on the dirt base like a hand emerging from the ground. Creepy and delicious!
The coating should be smooth and glossy when done. If it looks streaky, you may have dipped too quickly or the candy wasn’t thin enough. Don’t worry — they’ll still taste amazing.
Cooking Tips & Techniques
After making these witch finger pretzels about a dozen times (seriously, my family can’t get enough), I’ve picked up some tricks that make the process smoother and the results better.
Temperature matters. Candy melts are finicky about temperature. If they’re too hot, they’ll be thin and runny, and your coating will be patchy. If they’re too cool, they’ll be thick and gloppy, and you’ll end up with lumpy fingers. The sweet spot is when the melted candy is warm to the touch but not hot — think bath water temperature. I test it by dabbing a tiny bit on my wrist, the same way you’d test baby formula.
Work in small batches. Don’t try to dip all 30 pretzels at once. The candy coating will start to set as you work, and your last few fingers won’t look as good as your first ones. I usually dip 5-6 at a time, add their fingernails and wrinkles, then move to the next batch. It takes a little longer, but the consistency is worth it.
Keep your hands clean. This sounds obvious, but green candy coating is incredibly messy. I keep a damp paper towel nearby to wipe my fingers between batches. Otherwise, you’ll end up with green fingerprints on everything — including your face, somehow. (How does that even happen?)
Don’t skip the coconut oil. That teaspoon of coconut oil makes a huge difference in how smoothly the candy melts coat the pretzels. Without it, the coating tends to be thick and uneven. With it, you get that nice, thin, professional-looking finish. If you don’t have coconut oil, vegetable shortening works just as well.
One mistake I made repeatedly: I used to try to dip the entire pretzel, including the end I was holding. Then I’d have green fingers for days. Now I leave about half an inch at one end uncoated — it gives the witch finger a more realistic look (like a wrist) and keeps my hands clean. Win-win.
Variations & Adaptations
One of the best things about this recipe is how easy it is to customize. Here are some variations I’ve tried and loved:
Witch color variations. Not all witches have green skin! Try using purple candy melts for a magical witch look, or orange for a pumpkin-spice witch. White chocolate with a drop of black food coloring makes a spooky gray witch hand. My niece prefers purple, so we always make a few purple ones just for her.
Nut-free version. For classrooms or parties with nut allergies, skip the almond slivers and use a small dot of red gel at the tip instead. You can also use a tiny piece of dried cranberry or a sunflower seed for the fingernail. The sunflower seed trick actually looks surprisingly realistic — they have that same curved shape.
Extra creepy version. Add a drop of green food coloring to the white chocolate for an even more intense green color. You can also paint a thin line of red gel along the “cuticle” area for a bloodier look. My nephew’s friends voted this the “most disgusting” version, which is apparently a compliment in the third-grade world.
Chocolate witch fingers. Use chocolate candy melts instead of green for a less spooky but equally delicious version. These look more like chocolate-covered pretzels with almond fingernails — still creepy, but more approachable for younger kids who might be scared of the green ones.
Gluten-free adaptation. Simply use gluten-free pretzel sticks. The rest of the ingredients are naturally gluten-free. Just double-check your candy melts — some brands use wheat-based additives.
Sugar-free version. Use sugar-free chocolate chips (melted with a little coconut oil) and skip the red gel. The almond slivers add natural sweetness, so you won’t miss the sugar as much as you’d think.
Serving & Storage Suggestions
These witch finger pretzels are best served at room temperature, which is convenient because that’s exactly how they set. Arrange them on a platter with the “dirt” base for maximum creepiness. I like to position them so they look like hands reaching up from the ground — fingers slightly spread, some pointing in different directions.
What to serve with them:
- Pumpkin dip (cream cheese mixed with pumpkin puree and cinnamon)
- Warm apple cider or hot chocolate
- A bowl of popcorn “eyeballs” (popcorn with candy eyes mixed in)
- Other Halloween treats like mummy hot dogs or spider cookies
Storage instructions: Store the witch fingers in an airtight container at room temperature for up to 5 days. Do not refrigerate them — the candy coating can develop condensation, which makes them sticky and ruins the texture. I keep mine in a single layer in a container lined with parchment paper. If you need to stack them, place a sheet of parchment between each layer.
Freezer instructions: These freeze surprisingly well! Place them in a single layer on a baking sheet and freeze for 1 hour, then transfer to a freezer-safe container. They’ll keep for up to 3 months. Thaw at room temperature for about 15 minutes before serving. The texture is slightly different after freezing — the coating gets a bit more brittle — but the flavor is still great.
Make-ahead tip: You can make these up to 3 days in advance. In fact, the flavors meld together nicely after a day or two. The almond slivers soften slightly and the salt from the pretzel balances beautifully with the sweet coating.
How flavors develop: Freshly made witch fingers have a crisp texture with a distinct separation between the salty pretzel and sweet coating. After a day, the flavors start to blend — the almond sliver absorbs a tiny bit of moisture and becomes chewier, and the pretzel softens just slightly. Both versions are delicious, just different. My family actually prefers them on day two.
Nutritional Information & Benefits
Let’s be real — these are Halloween treats, not health food. But here’s the nutritional breakdown so you know what you’re working with:
| Per serving (2 witch fingers) | Amount |
|---|---|
| Calories | 180 |
| Total Fat | 9g |
| Saturated Fat | 5g |
| Carbohydrates | 23g |
| Sugar | 14g |
| Protein | 3g |
| Sodium | 210mg |
Health highlights: The almond slivers actually provide a small amount of vitamin E and healthy fats. Pretzels are lower in fat than many other snack options. And hey — these are portion-controlled since each one is a single serving size. (Or at least, that’s what I tell myself when I’ve eaten six of them.)
Dietary considerations: This recipe contains dairy (candy melts), gluten (pretzels), and tree nuts (almonds). For a dairy-free version, use dairy-free chocolate chips. For nut-free, skip the almonds. For gluten-free, use gluten-free pretzels.
My personal take: Halloween comes once a year. I’m not going to stress about nutrition on a day when my kid is eating candy corn for breakfast. These witch fingers are made with real ingredients, they’re fun to make together, and they create memories that last way longer than any sugar rush. That counts for something, right?
Conclusion
These spooky witch finger pretzel snacks have become our family’s Halloween tradition, and I honestly can’t imagine October without them. They’re creepy, they’re delicious, and they’re so simple that even my eight-year-old nephew can make them by himself (with a little supervision on the microwave part).
What I love most about this recipe is how it brings people together. Last Halloween, my nephew and his friends spent an entire afternoon making these — dipping, decorating, and laughing at their own creations. They were so proud of the finished product, and every single one of them went home with a container full of witch fingers to show off.
Try this recipe and make it your own. Add extra blood, skip the fingernails, use purple coating — whatever makes your little monsters happy. That’s the beauty of a simple recipe like this. It’s a starting point, not a rulebook.
I’d love to see your witch fingers! Leave a comment below with photos of your creations, or tag me on social media. Tell me what variations your family tried, and don’t forget to share this recipe with other Halloween-loving families. Happy haunting, and happy snacking!
Frequently Asked Questions
Can I use white chocolate instead of candy melts?
Absolutely! White chocolate chips work great. Just add a drop of green food coloring to achieve the witchy green color. Keep in mind that white chocolate is more sensitive to heat than candy melts, so melt it slowly and stir constantly.
How far in advance can I make these?
You can make these witch fingers up to 5 days ahead of time. Store them in an airtight container at room temperature. They actually taste better on day two when the flavors have had time to meld together. Just keep them away from heat and humidity.
My candy melts are too thick. What do I do?
Add more coconut oil or vegetable shortening, one teaspoon at a time, and stir until smooth. Don’t add water — that will ruin the chocolate completely. If the mixture is still too thick, it might be too cool. Microwave for another 10 seconds at 50% power and stir again.
Can I make these without almond slivers?
Yes! Skip the almond fingernails entirely or use a substitute. Dried cranberries, sunflower seeds, or even small pieces of dried apricot work well. For the simplest option, just pipe a small red dot at the tip of each pretzel to look like a bloody nail bed.
How do I prevent the pretzels from getting soggy?
The key is making sure the candy coating completely covers the pretzel. Any exposed areas can absorb moisture from the air, making the pretzel soft. Also, store them in an airtight container with a silica gel packet if you have one. Avoid refrigerating them, as condensation will make them soggy.
Pin This Recipe!
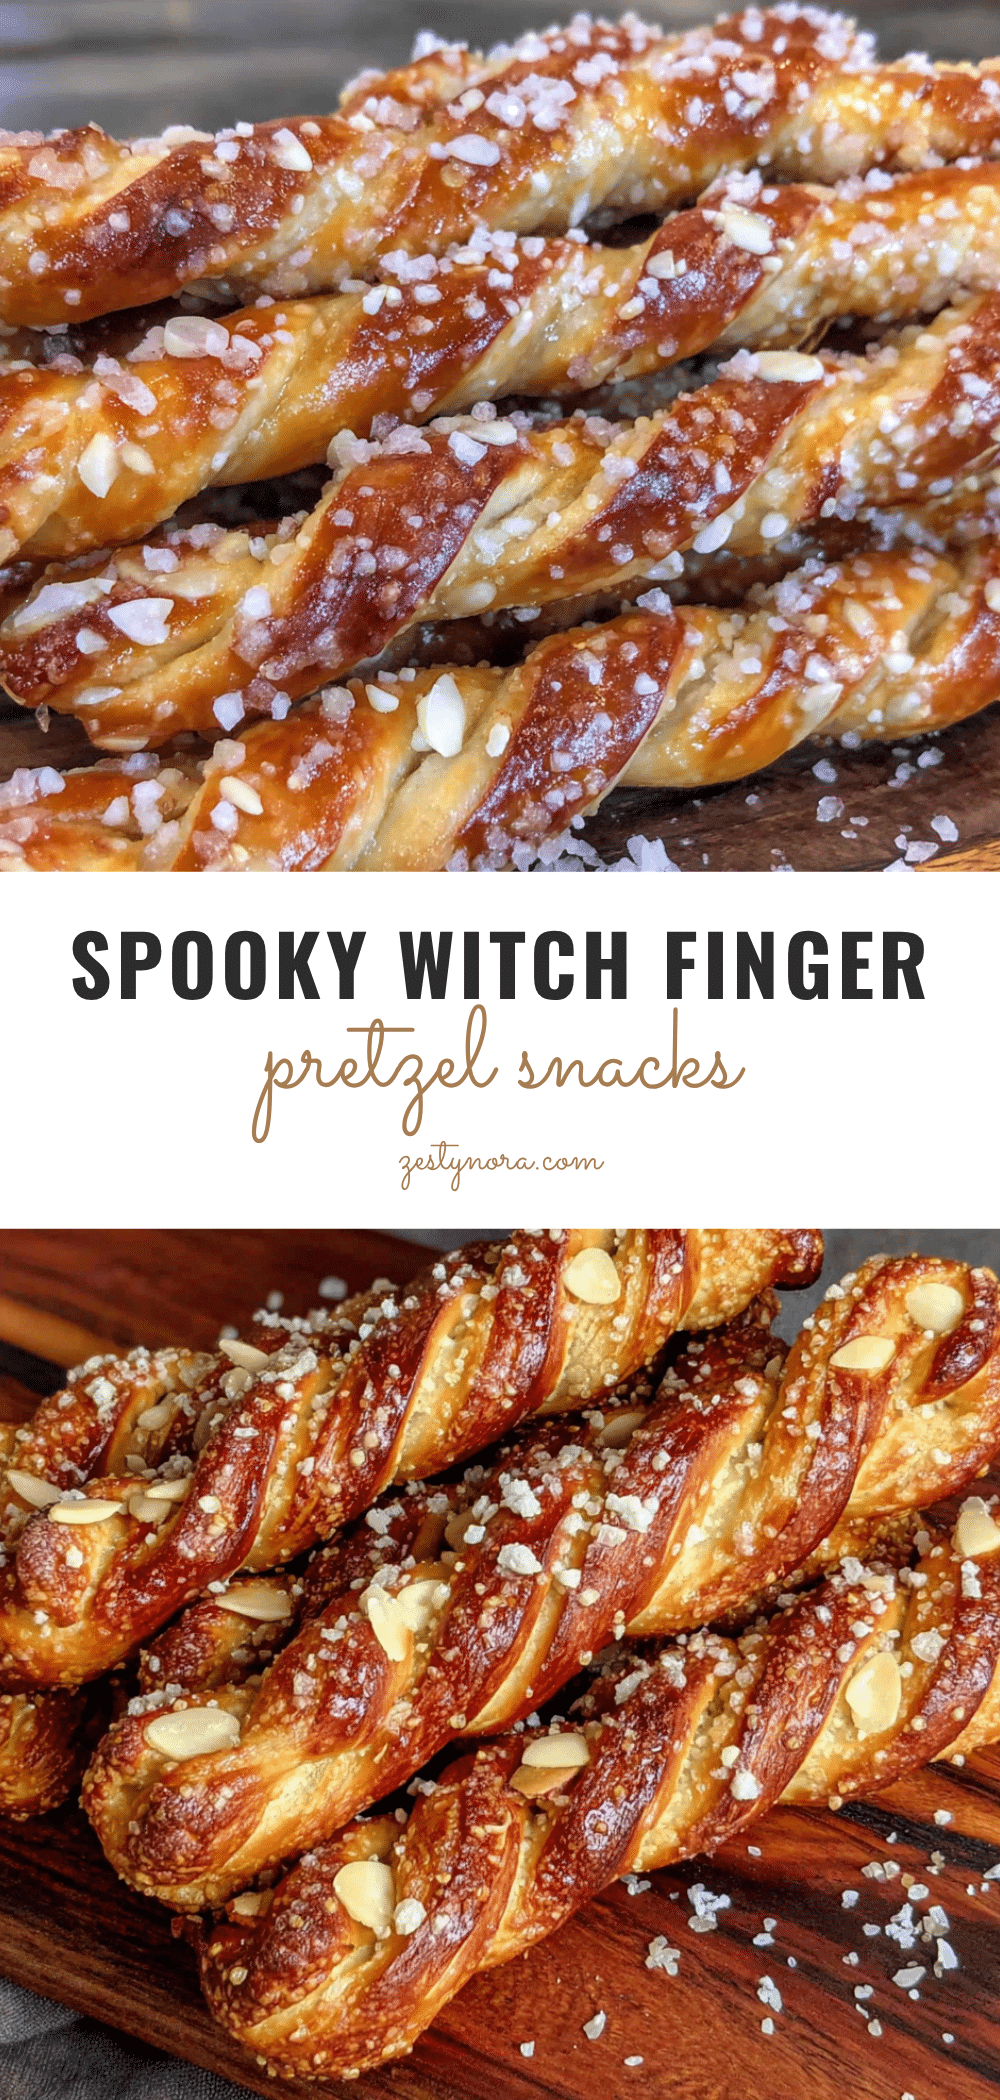
Easy Halloween Witch Finger Pretzels – Kid-Approved Fun

These spooky witch finger pretzels are a quick and easy Halloween treat made with pretzel sticks, green candy melts, and almond sliver fingernails. Perfect for parties, movie nights, or a fun project with kids, they come together in under 20 minutes with no baking required.
- Prep Time: 15 minutes
- Cook Time: 0 minutes
- Total Time: 20 minutes
- Yield: 15 servings 1x
- Category: Dessert
- Cuisine: American
Ingredients
- 1 standard 10-ounce bag pretzel sticks
- 1 cup green candy melts
- About 30 almond slivers
- 1 small tube red decorating gel
- About 30 small edible eyes (optional)
- 1 teaspoon coconut oil
- For the optional dirt base: 10 chocolate sandwich cookies, crushed
- For the optional dirt base: pretzel crumbs from broken pretzels
Instructions
- Prep your workspace. Line a baking sheet with parchment paper. Make sure it’s completely flat. Set it aside where it won’t be disturbed.
- Melt the green candy melts. Place 1 cup of green candy melts in a microwave-safe bowl. Microwave in 30-second intervals at 50% power, stirring between each interval. This usually takes about 2 minutes total. Add 1 teaspoon of coconut oil and stir until completely smooth. The mixture should be thin enough to coat a pretzel easily but not runny.
- Prepare your almond fingernails. Take about 30 almond slivers and sort through them. Pick the ones that are most fingernail-shaped — slightly curved with a pointed tip. Set them on a small plate where you can reach them easily.
- Dip the pretzels. Hold one pretzel stick by the end and dip it into the melted green candy. Use a small spoon to help coat it completely if needed. Let the excess drip off for a few seconds — you want a thin, even coating. (Tip: hold the pretzel over the bowl and tap your wrist gently to shake off extra chocolate.)
- Place on parchment. Lay the coated pretzel on the parchment paper. Leave a little space between each one — about half an inch — so they don’t stick together as they set.
- Add the fingernail. While the coating is still wet, press one almond sliver onto the tip of the pretzel. The pointed end should extend slightly past the tip of the pretzel, like a fingernail growing past the fingertip. Press gently so it stays in place. (Pro tip: use tweezers for this step — your fingers will get sticky otherwise.)
- Create the knuckle wrinkles. Using a toothpick or the tip of a small knife, gently press 2-3 horizontal lines into the coating near the middle of each pretzel. These create the knuckle wrinkles that make witch fingers look so realistic. Don’t press too hard — you just want an indent, not a crack.
- Add bloody details. Take your red decorating gel and squeeze a tiny dot at the base of the almond sliver, where it meets the pretzel. This looks like bloody cuticle area. You can also add a small drip of ‘blood’ running down the side for extra creepiness. (A little goes a long way — you want spooky, not gory.)
- Optional: add edible eyes. If you’re using edible eyes, press one onto the side of each witch finger while the coating is still wet. This makes them look like they’re watching you.
- Let them set. Allow the witch fingers to sit at room temperature for about 10 minutes, or until the coating is completely firm. If you’re in a hurry, you can pop the baking sheet in the refrigerator for 5 minutes. (Don’t leave them in longer than that or condensation will form.)
- Make the dirt base (optional). While the fingers are setting, place 10 chocolate sandwich cookies in a ziploc bag and crush them with a rolling pin until they resemble coarse dirt. Spread the crumbs on a serving platter.
- Arrange and serve. Once the witch fingers are fully set, arrange them on the dirt base like a hand emerging from the ground. Creepy and delicious!
Notes
For a nut-free version, skip the almond slivers and use a small dot of red gel at the tip instead. You can also use a tiny piece of dried cranberry or a sunflower seed for the fingernail. For a dairy-free version, use dairy-free chocolate chips. For gluten-free, use gluten-free pretzels. Store in an airtight container at room temperature for up to 5 days. Do not refrigerate.
Nutrition
- Serving Size: 2 witch fingers
- Calories: 180
- Sugar: 14
- Sodium: 210
- Fat: 9
- Saturated Fat: 5
- Carbohydrates: 23
- Fiber: 1
- Protein: 3
Keywords: Halloween treats, witch fingers, pretzel snacks, easy Halloween recipe, kid-friendly, spooky snacks, no-bake


