My son did not trust fruit in his lunchbox. He made that very clear last September when I packed him a beautiful bento box with sliced apples, and he came home with every single slice untouched, brown and sad in their little container. “They get weird, Mom,” he said, like I should have known better. And honestly, he had a point. Sliced fruit turns into a mushy, brown mess by lunchtime, and no kid wants that. So when I started seeing those cute bento boxes online with fruit skewers, I thought it was a gimmick. Fruit on a stick? That’s not going to solve the sogginess problem. But I was wrong—and I’m not usually one to admit that easily.
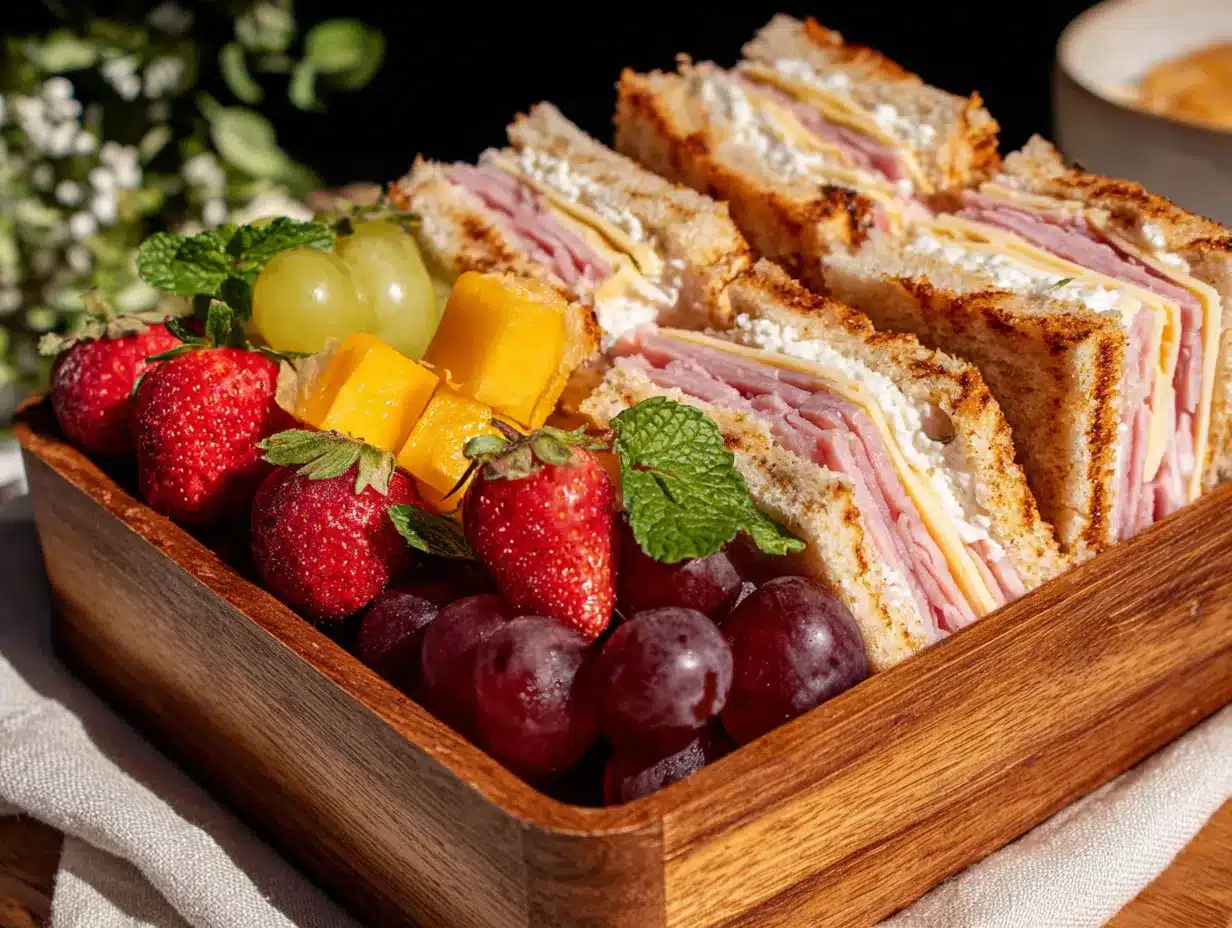
The first time I made this Easy Bento Ham and Cheese Lunchbox with Fruit Skewers, I was just desperate. I had leftover ham from Sunday dinner, some cheese cubes, and a handful of grapes that were about to go bad. I grabbed some short skewers I had bought for a party appetizer that never happened, and I just started threading. Grapes, ham roll-ups, cheese cubes, repeat. I tossed it all into a bento box with some crackers and a little container of ranch dip, and I braced myself for the leftovers to come home. Instead, he ate everything. Everything. Even the grapes, which he usually picks around.
What I learned that day changed how I pack lunch forever. The skewers keep everything separate but together—if that makes sense. The fruit doesn’t sit in its own juice because it’s elevated on the stick, and the ham and cheese stay fresh because they’re not touching anything wet. It’s a simple trick, but it works. This bento box has become our go-to for school days, road trips, and even quick picnics at the park. It’s the kind of lunch that makes you feel like you’ve got it together, even when you’re running on three hours of sleep and cold coffee.
Why You’ll Love This Recipe
Let me tell you why this lunchbox idea stuck around in our rotation long after the back-to-school novelty wore off. First off, it’s quick. Like, ten minutes quick. I’ve tested this on mornings where the bus comes at 7:45 and I haven’t even brushed my teeth yet, and it still works. You just roll, skewer, and pack. No cooking, no heating, no stress.
- Quick & Easy: Comes together in under 10 minutes, perfect for chaotic mornings or last-minute lunch packing.
- Simple Ingredients: You probably already have ham, cheese, and some kind of fruit in your fridge right now. No fancy grocery trips required.
- Perfect for School & Beyond: Great for lunchboxes, road trips, picnics, or even a light work lunch that feels special.
- Crowd-Pleaser: My picky eater approved this, and so did his friend who “only eats pizza.” That’s a win in my book.
- Unbelievably Delicious: The combination of salty ham, creamy cheese, and sweet fruit is honestly addictive. I’ve caught myself stealing grapes off the skewers while packing.
What makes this different from every other ham and cheese lunch? It’s the skewer trick. By threading everything onto sticks, you create little flavor bombs that kids actually want to eat. It’s interactive without being messy, and it solves the dreaded soggy fruit problem. Plus, you can switch up the fruit with whatever’s in season—grapes in fall, strawberries in spring, melon cubes in summer. This isn’t just another lunch; it’s the lunch that makes your kid feel like they got the “good” lunchbox.
What Ingredients You Will Need
This recipe uses simple, everyday ingredients to deliver a lunch that feels fun without requiring a special trip to the store. The beauty is in the combination—salty, creamy, sweet, and crunchy all in one box.
For the Ham and Cheese Skewers
- Ham slices: 4-6 slices of deli ham (I prefer honey ham or black forest ham for extra flavor; Applegate or Boar’s Head are my go-to brands)
- Cheese cubes: ½ cup of cheddar, Swiss, or Colby Jack cheese, cut into ½-inch cubes (about 8-10 cubes per serving)
- Seedless grapes: ½ cup, washed and dried (red or green both work; red are sweeter, green are tangier)
- Short wooden or reusable skewers: 4-6 skewers, about 4 inches long (I use bamboo ones I found at the dollar store, or you can use reusable plastic ones)
For the Lunchbox Add-Ons
- Whole wheat crackers: 10-12 crackers (I like Annie’s or Simple Mills for a cleaner ingredient list)
- Ranch dip or honey mustard: 2 tablespoons in a small container (optional but highly recommended)
- Fresh fruit skewers: ½ cup of additional fruit like strawberries, blueberries, or melon cubes (use whatever is in season or on sale)
- Cherry tomatoes or cucumber slices: ¼ cup for extra crunch (adds color and nutrition)
Substitution Guidance
If you’re avoiding pork, swap the ham for turkey slices or roast beef. For a vegetarian version, use rolled-up provolone or mozzarella sticks instead of meat. Dairy-free? Use vegan cheese cubes or skip the cheese altogether and add extra fruit. The skewer method works with pretty much any combo you can dream up. I’ve even used leftover grilled chicken strips in a pinch, and it was fantastic.
Equipment Needed
You don’t need much for this lunchbox, which is part of why I love it. Here’s what you’ll want to have on hand:
- Bento box or lunch container with compartments: I use a three-compartment bento box from Amazon (the Yumbox brand is pricey but worth it; the cheaper ones from Target work fine too)
- Short skewers: 4-inch wooden or reusable plastic skewers (if you only have long ones, just snap them in half)
- Small dip container: A 2-ounce container with a tight lid for ranch or mustard
- Cheese knife and cutting board: For cubing the cheese and slicing any larger fruit
- Kitchen scissors: Honestly, I use these to cut the ham slices into strips faster than a knife ever could
If you don’t have a bento box, a regular lunch container with silicone muffin cups works perfectly to keep things separated. I’ve used those little paper cupcake liners in a pinch, and they do the job. The key is keeping the skewers from rolling around and getting squished.
Preparation Method
This comes together fast, but there’s a little technique to making sure everything stays fresh and looks cute. Here’s exactly how I do it:
- Prep your ingredients first (2 minutes): Take your ham slices and cut them into strips about 1 inch wide. If you’re using kitchen scissors, just snip them right over the cutting board. Cube your cheese into ½-inch pieces—big enough to stay on the skewer but small enough for little hands. Wash and dry your grapes thoroughly. Wet grapes make the skewers slippery and can lead to lunchbox sogginess.
- Assemble the ham and cheese skewers (3 minutes): Take a short skewer and thread on a grape, then a folded ham strip (fold it like a little ribbon), then a cheese cube. Repeat until the skewer is full, leaving about ½ inch at the bottom as a handle. I usually do 4-5 pieces per skewer. For my son, I do two skewers per lunchbox. The key is to not overcrowd the skewer—leave a tiny gap between each piece so they don’t get squished.
- Make the fruit skewers (2 minutes): If you’re adding extra fruit like strawberries or melon, cut them into similar-sized pieces and thread them onto separate skewers. Keep fruit skewers separate from the ham and cheese ones to prevent any flavor mixing. Blueberries are tricky to skewer—I just toss them loose in the container.
- Pack the bento box (3 minutes): Place the ham and cheese skewers in one compartment, the fruit skewers in another, and the crackers in the third. If you’re including a dip, put it in the smallest compartment or use a separate mini container. Add any loose items like cherry tomatoes or cucumber slices in the gaps. Close the lid gently so nothing shifts around.
- Add an ice pack (30 seconds): Because of the cheese and ham, this lunch needs to stay cold. I use a thin reusable ice pack that fits right on top of the bento box. If you’re packing this for a road trip, pop the whole container in the fridge overnight and grab it in the morning.
Pro tip from my early failures: Don’t pre-skewer everything the night before. The ham can dry out, and the grapes can make the cheese slippery. Instead, prep your ingredients (cut the ham, cube the cheese, wash the fruit) and store them in separate containers in the fridge. Then just assemble in the morning. It takes two extra minutes but makes a huge difference in freshness.
Cooking Tips & Techniques
I’ve made this lunchbox probably fifty times by now, and I’ve learned a few things the hard way. Let me save you some trouble.
Keep the skewers short. I learned this after my son came home with a skewer that was poking out of his lunchbox like a tiny sword. Four inches is the sweet spot—long enough to hold everything but short enough to fit in standard containers. If you only have long skewers, just break them in half. They’ll have rough edges, so give them a quick sand with a nail file or just snap them carefully.
Dry your fruit thoroughly. This is non-negotiable. Wet grapes make everything slide around, and moisture is the enemy of a good bento box. After washing, lay your grapes on a paper towel and pat them dry. For berries, give them a gentle spin in a salad spinner if you have one. The drier the fruit, the longer everything stays fresh.
Roll the ham, don’t fold it. At first, I was just folding the ham strips in half, but they’d slide off the skewer. Now I roll each strip into a little spiral before threading it on. It stays put better and looks way more appetizing. Plus, the rolled ham creates little pockets that catch the dip perfectly.
Don’t skip the dip. I know it’s one more thing to pack, but a small container of ranch, honey mustard, or even yogurt makes this lunch go from “eh” to “yes please.” My son calls it “the dipping lunch” and asks for it specifically. The dip also helps kids who are hesitant about trying new textures—they can control how much they eat.
Multitask like a pro. While you’re cutting the cheese, have the grapes washing in a colander. While you’re rolling the ham, let the fruit dry on a towel. This lunch comes together in under ten minutes if you batch your tasks. I make three at a time on Sunday nights—one for the next day and two to freeze (minus the fruit, which I add fresh).
Variations & Adaptations
This bento box is endlessly adaptable, which is why it’s survived our lunch rotation for months. Here are some of my favorite twists:
Turkey and Swiss Roll-Ups: Swap the ham for oven-roasted turkey and the cheddar for Swiss cheese. Add a smear of Dijon mustard on the turkey before rolling for extra flavor. This is my husband’s favorite version for his work lunch.
Caprese Skewers: Use fresh mozzarella balls, cherry tomatoes, and basil leaves on the skewers. Pack them with balsamic glaze for dipping and some crusty bread on the side. This one feels fancy but takes the same five minutes to assemble.
Allergy-Friendly Version: For nut-free schools, skip any nut-containing crackers and use sunflower seed butter cups for dipping. If dairy is a concern, use dairy-free cheese cubes or skip the cheese entirely and double up on the ham and fruit. I’ve also made this with rolled-up salami and no cheese, and it was a hit.
Seasonal Fruit Swaps: In the fall, use apple cubes tossed in lemon juice (to prevent browning) and sharp cheddar. In summer, thread watermelon cubes and feta cheese on separate skewers. In winter, use clementine segments and dried apricots. The skewer method works with any fruit that’s firm enough to hold its shape.
Breakfast Bento: Use the same concept but swap ham for cooked sausage links, cheese for scrambled egg cubes, and fruit for apple slices. My son calls this “breakfast for lunch” and it’s his second favorite version after the original.
Serving & Storage Suggestions
This lunchbox is best served cold, straight from the fridge. I don’t recommend letting it sit at room temperature for more than two hours because of the cheese and ham. If you’re packing this for a school day, an ice pack is essential—especially during warmer months.
Storage: If you’re prepping the components ahead of time, store the ham strips and cheese cubes in separate airtight containers in the fridge for up to three days. Wash and dry the fruit but don’t cut it until the morning you pack it. Cut fruit loses its freshness fast, and nobody wants sad, dried-out strawberries by lunchtime.
Freezer option: You can freeze the ham and cheese skewers (without the fruit) for up to a month. Just assemble the skewers, place them on a parchment-lined baking sheet, and freeze until solid. Then transfer to a freezer bag. In the morning, grab a frozen skewer and add fresh fruit. The ham and cheese will thaw by lunchtime and still taste great.
Reheating: This is a cold lunch, so no reheating needed. But if you’re using this for a home lunch or picnic and want the cheese to be a little melty, you can microwave the ham and cheese skewers for 15 seconds—just remove the fruit first.
Flavor development: Honestly, this lunch tastes best fresh. The ham and cheese are at their peak within a few hours of assembly. If you’re packing it the night before, the flavors will still be good, but the texture of the ham might be slightly drier. I always assemble in the morning for the best results.
Nutritional Information & Benefits
This bento box is surprisingly balanced for something that feels so fun. Here’s a rough estimate per serving (one bento box with two skewers, crackers, and dip):
| Nutrient | Amount |
|---|---|
| Calories | 380-420 |
| Protein | 22-25g |
| Carbohydrates | 30-35g |
| Fiber | 4-5g |
| Fat | 18-22g |
| Sugar | 12-15g (natural from fruit) |
| Sodium | 600-700mg |
The ham provides lean protein that keeps kids full through the afternoon, while the cheese adds calcium and healthy fats for brain function. Grapes are packed with antioxidants and vitamin C, and the whole wheat crackers offer complex carbohydrates for sustained energy. If you’re watching sodium, look for low-sodium ham or use turkey instead. For a lower-carb version, skip the crackers and add extra cucumber slices or bell pepper strips.
This lunch is naturally nut-free if you choose your crackers carefully, making it a great option for nut-free classrooms. It’s also easy to make gluten-free by using gluten-free crackers or rice cakes. I love that I can send this to school without worrying about allergens or meltdowns.
Conclusion
This Easy Bento Ham and Cheese Lunchbox with Fruit Skewers has genuinely changed how I think about packed lunches. It’s not fancy, and it’s not complicated, but it works. It works for picky eaters, busy mornings, and those days when you just need one thing to go right. The skewers make everything feel like a treat—even the healthy stuff.
I love that this recipe lets me use up whatever I have in the fridge. Leftover ham from Sunday dinner? Perfect. A block of cheese that’s about to expire? Cube it up. Grapes that are starting to wrinkle? They’re still great on a skewer. It’s the kind of lunch that makes you feel resourceful and creative, even when you’re just trying to get out the door on time.
If you make this, I’d love to hear how it goes. Did your kids eat the fruit? Did you try a different cheese? Did you discover a new favorite combination? Drop a comment below and let me know. And if you’re looking for more lunchbox ideas, check out our Easy Turkey Pinwheel Lunchbox or our Creamy Thermos Mac and Cheese for more inspiration. Happy packing, friends!
Frequently Asked Questions
Can I make this lunchbox the night before?
You can prep the ingredients the night before—cut the ham, cube the cheese, wash and dry the grapes—but I recommend assembling the skewers in the morning for the freshest texture. If you assemble everything the night before, the ham can dry out and the grapes can make the cheese slippery.
What if my child doesn’t like grapes?
No problem! Swap the grapes for any firm fruit your child enjoys. Apple cubes (tossed in a little lemon juice to prevent browning), strawberries, melon balls, or even pineapple chunks all work beautifully on skewers. You can also use cucumber slices or bell pepper strips for a savory option.
How do I keep the skewers from poking through the lunchbox?
Use short skewers—about 4 inches long—and leave a ½-inch handle at the bottom that’s bare. This gives little fingers something to hold onto and prevents the skewer from poking through the container. If your skewers are too long, just snap them in half and sand the rough edges.
Is this lunchbox safe for nut-free classrooms?
Yes, as long as you choose nut-free crackers and dip. Most ham, cheese, and fresh fruit are naturally nut-free. Just double-check the labels on your crackers and any pre-made dips. I recommend Annie’s or Simple Mills crackers, which are made in nut-free facilities.
Can I use this recipe for adult lunches too?
Absolutely! I pack this for my own work lunch all the time. Just use larger skewers and add more grown-up flavors like spicy mustard, aged gouda, or prosciutto instead of ham. Pair it with a side salad or some olives for a satisfying adult bento box.
Pin This Recipe!
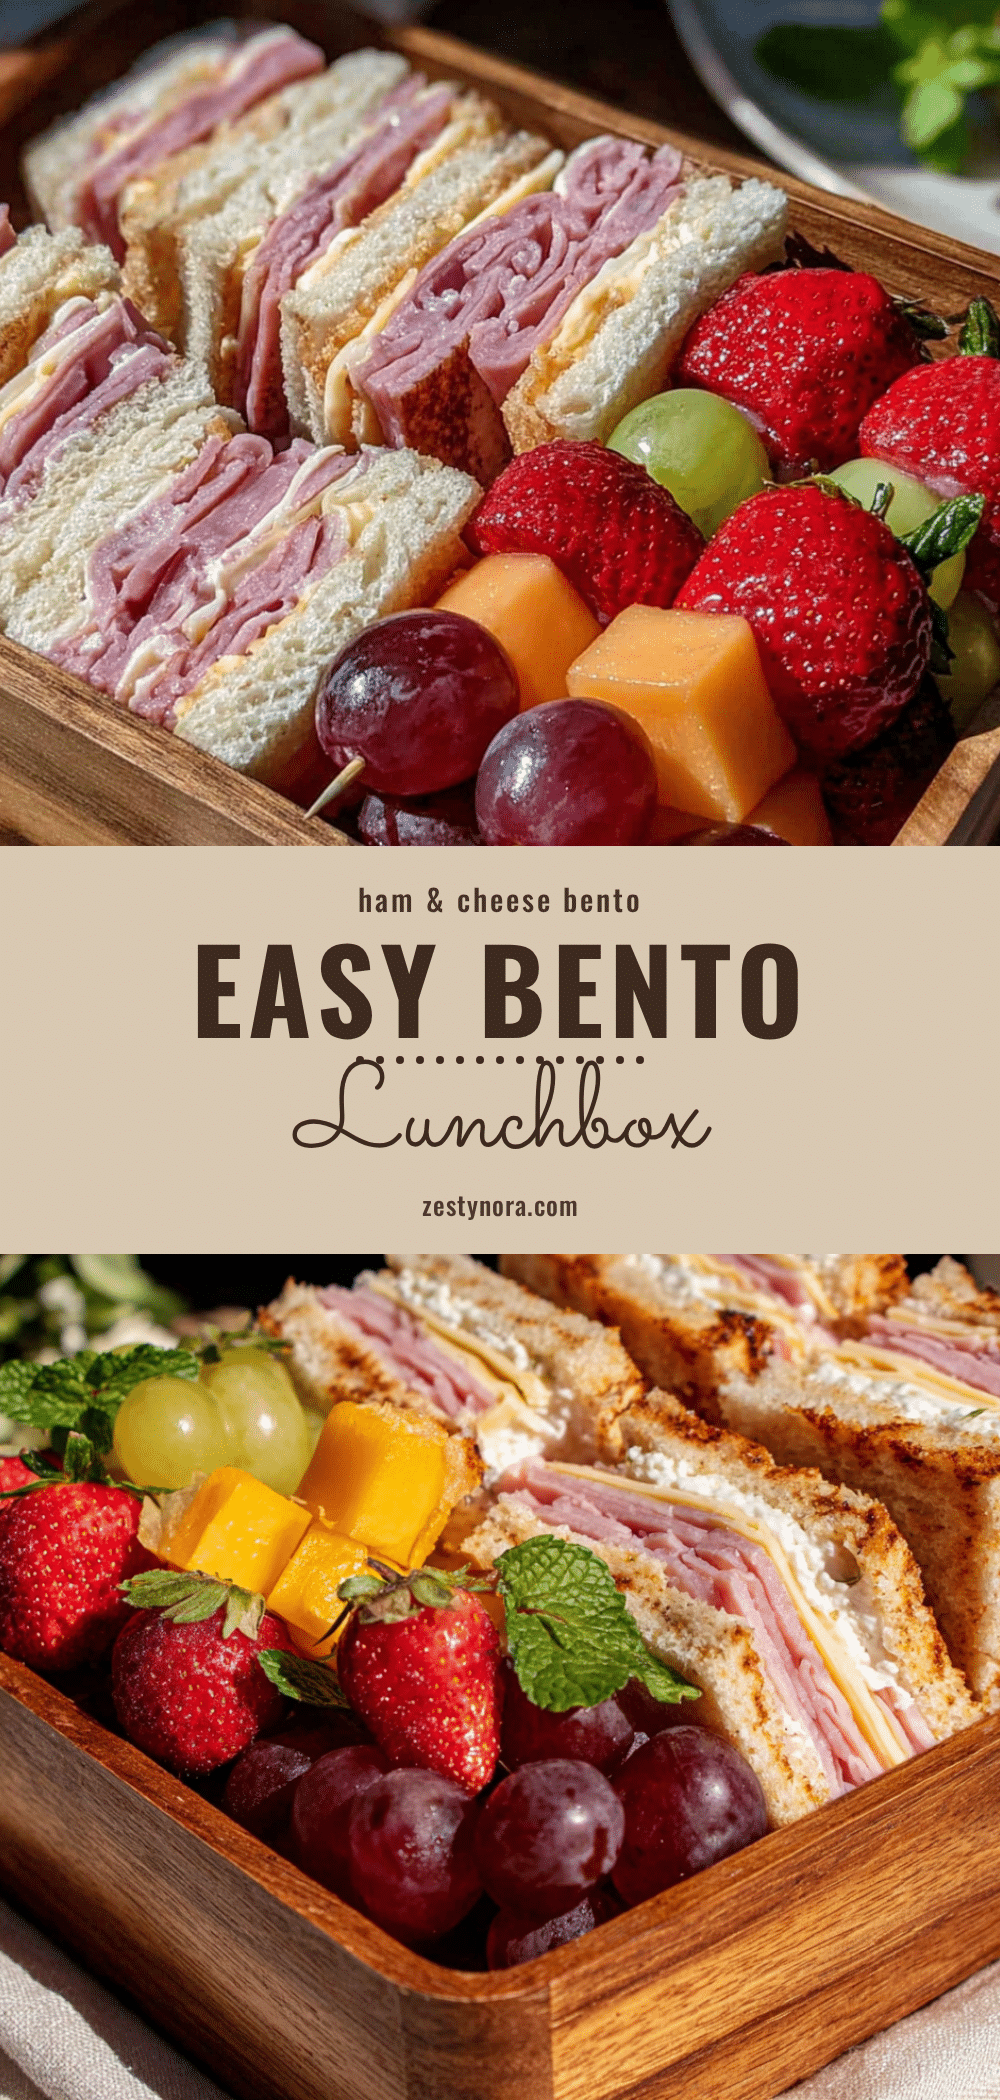
Easy Bento Ham and Cheese Lunchbox with Fruit Skewers

A quick and easy bento box lunch featuring ham and cheese skewers with fresh fruit, perfect for school days, road trips, or picnics. The skewer trick keeps everything fresh and fun for picky eaters.
- Prep Time: 10 minutes
- Cook Time: 0 minutes
- Total Time: 10 minutes
- Yield: 1 serving 1x
- Category: Lunch
- Cuisine: American
Ingredients
- 4–6 slices deli ham (honey ham or black forest ham)
- 1/2 cup cheddar, Swiss, or Colby Jack cheese, cut into 1/2-inch cubes
- 1/2 cup seedless grapes (red or green), washed and dried
- 4–6 short wooden or reusable skewers (about 4 inches long)
- 10–12 whole wheat crackers
- 2 tablespoons ranch dip or honey mustard (optional)
- 1/2 cup additional fresh fruit (strawberries, blueberries, or melon cubes)
- 1/4 cup cherry tomatoes or cucumber slices (optional)
Instructions
- Prep your ingredients: Cut ham slices into 1-inch wide strips. Cube cheese into 1/2-inch pieces. Wash and dry grapes thoroughly.
- Assemble ham and cheese skewers: Thread a grape, a folded ham strip, and a cheese cube onto a short skewer. Repeat until the skewer is full, leaving about 1/2 inch at the bottom as a handle. Make 2 skewers per serving.
- Make fruit skewers: Cut additional fruit into similar-sized pieces and thread onto separate skewers. Keep fruit skewers separate from ham and cheese ones.
- Pack the bento box: Place ham and cheese skewers in one compartment, fruit skewers in another, and crackers in the third. Add dip in a small container if using. Fill gaps with cherry tomatoes or cucumber slices.
- Add an ice pack to keep the lunch cold. For best freshness, assemble skewers in the morning rather than the night before.
Notes
For best results, assemble skewers in the morning rather than the night before to prevent ham from drying out and grapes from making cheese slippery. Dry fruit thoroughly to avoid sogginess. Roll ham strips into spirals for better hold on skewers. Use an ice pack to keep the lunch cold.
Nutrition
- Serving Size: 1 bento box (2 skewe
- Calories: 380420
- Sugar: 1215
- Sodium: 600700
- Fat: 1822
- Saturated Fat: 810
- Carbohydrates: 3035
- Fiber: 45
- Protein: 2225
Keywords: bento box, ham and cheese, lunchbox, fruit skewers, kid-friendly lunch, easy lunch, school lunch, picnic lunch