My neighbor, Mrs. Gable, watched me scraping the fresh powder off my car hood last winter and didn’t say anything at first. Then she just laughed and shook her head. “You know,” she said, her voice carrying that warm Southern drawl she’d never lost, even after forty years up North, “you’re working way too hard for a bowl of ice cream.” I thought she was joking. I mean, who makes ice cream out of snow? But she disappeared into her house and came back with a can of sweetened condensed milk and a little bottle of vanilla extract, holding them up like she was presenting a magic trick. That afternoon, standing in her cozy kitchen with snow melting on my boots, she showed me how to turn a winter inconvenience into something genuinely wonderful. The whole thing took maybe five minutes, and honestly, I was skeptical right up until that first cold, creamy spoonful hit my tongue.
Let me tell you, I have made a lot of complicated desserts in my time. I’ve spent hours tempering chocolate and fussing over custards that refused to set. But this easy snow ice cream with sweetened condensed milk? It completely rewired my brain about what “making dessert” even means. There is something almost magical about taking the stuff you usually complain about shoveling and turning it into a treat that makes your kids actually cheer for a snow day. Mrs. Gable didn’t lecture me about tradition or heritage. She just handed me a bowl and said, “This is how we did it when I was a girl, and it’s still the best way.” She was right. Maybe you’ve been there, staring out at a winter wonderland and wondering if there’s a way to make the best of it. Well, this is it.
Why You’ll Love This Recipe
This isn’t just another novelty recipe you try once and forget about. This easy snow ice cream with sweetened condensed milk has earned a permanent spot in our winter rotation, and here is why it will do the same in yours.
- Quick & Easy: From snow collection to bowl in hand, you are looking at about five minutes of actual work. No cooking, no chilling, no complicated machines. Perfect for when the kids are bouncing off the walls and you need a win, fast.
- Simple Ingredients: You only need three things. Snow (obviously), sweetened condensed milk, and vanilla extract. That is it. No grocery store run required, which is a blessing when the roads are icy.
- Perfect for Snow Days: This is the ultimate winter activity. It turns a weather event into a family memory. The kids get to help collect the snow, and you get to watch their faces light up when they realize what you are making.
- Crowd-Pleaser: I have served this to picky eaters, skeptical adults, and even my mother-in-law who “doesn’t do gimmicky food.” Every single one of them asked for seconds. It is creamy, sweet, and tastes exactly like old-fashioned vanilla soft serve.
- Unbelievably Delicious: The texture is the real star here. Because you are using fresh, fluffy snow, the ice cream has this light, airy quality that you just cannot get from churned ice cream. It melts on your tongue like a snow cloud.
What makes this recipe different from all the other snow ice cream recipes out there? It is the sweetened condensed milk. Most recipes use regular milk and sugar, which can leave you with a watery, icy mess. The condensed milk gives you a thick, creamy base that freezes beautifully and doesn’t turn into a block of ice. It is the secret to getting that perfect scoopable texture every single time. Honestly, this recipe is comfort food at its most resourceful. It is fast, cheap, and it makes you feel like you have pulled off something clever, even though it is almost embarrassingly simple.
What Ingredients You Will Need
This recipe uses the simplest ingredients to deliver a creamy, delicious treat without any fuss. You likely have everything you need already, minus the snow, of course. Here is what you will need to grab.
- 8 cups of clean, fresh snow (packed loosely into a measuring cup). This is the most important ingredient, and it needs to be right. You want snow that has fallen recently, not the old, crusty stuff from the bottom of the pile. Look for the light, fluffy powder. Avoid snow that has been plowed or has dirt, salt, or debris in it. I like to put a large bowl out on the deck right when the snow starts falling to catch the freshest flakes.
- 1 can (14 ounces) of sweetened condensed milk. This is your non-negotiable ingredient. Do not use evaporated milk, and do not try to substitute with regular milk and sugar. The sweetened condensed milk is what gives this snow ice cream its signature creamy texture and rich sweetness. I personally prefer the Eagle Brand or Nestlé brands for their consistent thickness and flavor. The whole can goes in, so don’t be shy.
- 1 teaspoon of pure vanilla extract. This adds that classic ice cream flavor. You can use imitation vanilla in a pinch, but pure vanilla extract really makes a difference. It adds a warmth and depth that cuts through the sweetness of the condensed milk beautifully. I like McCormick or Nielsen-Massey for a reliable, clean flavor.
Optional additions:
- A pinch of salt (flaky sea salt is great). This balances the sweetness and enhances all the flavors. Just a tiny pinch will do.
- Mix-ins like chocolate chips, sprinkles, or crushed cookies. Stir these in right at the end before serving.
That is truly all you need. The beauty of this recipe is its minimalism. No heavy cream, no eggs, no sugar granules that never quite dissolve. The sweetened condensed milk does all the heavy lifting, and the snow provides the perfect light and fluffy base.
Equipment Needed
You really do not need any fancy kitchen gadgets for this one. It is part of the charm. Here is what you will want to have on hand.
- A large mixing bowl. You need something big enough to hold all that snow and give you room to stir. A metal or glass bowl works best because it stays cold.
- A sturdy spoon or spatula. A rubber spatula is my favorite for this job because it folds the condensed milk into the snow without packing it down too much. A wooden spoon works fine too.
- A measuring cup. You need this to measure your snow and to portion out the condensed milk, though honestly, I just dump the whole can in now.
- A cookie sheet or large platter. This is optional, but if you want to freeze individual scoops for later, a cookie sheet lined with parchment paper is perfect. You can scoop the ice cream onto it, freeze it solid, and then transfer the scoops to a freezer bag.
- Serving bowls and spoons. The sooner you eat this, the better, so have your bowls ready to go.
I have made this with nothing but a cereal bowl and a fork before, and it still worked. Do not let a lack of equipment stop you. The only thing I would caution against is using a hand mixer or an electric beater. You want to keep the snow as light and airy as possible, and a machine will overwork it, turning it into a slushy, watery mess.
Preparation Method
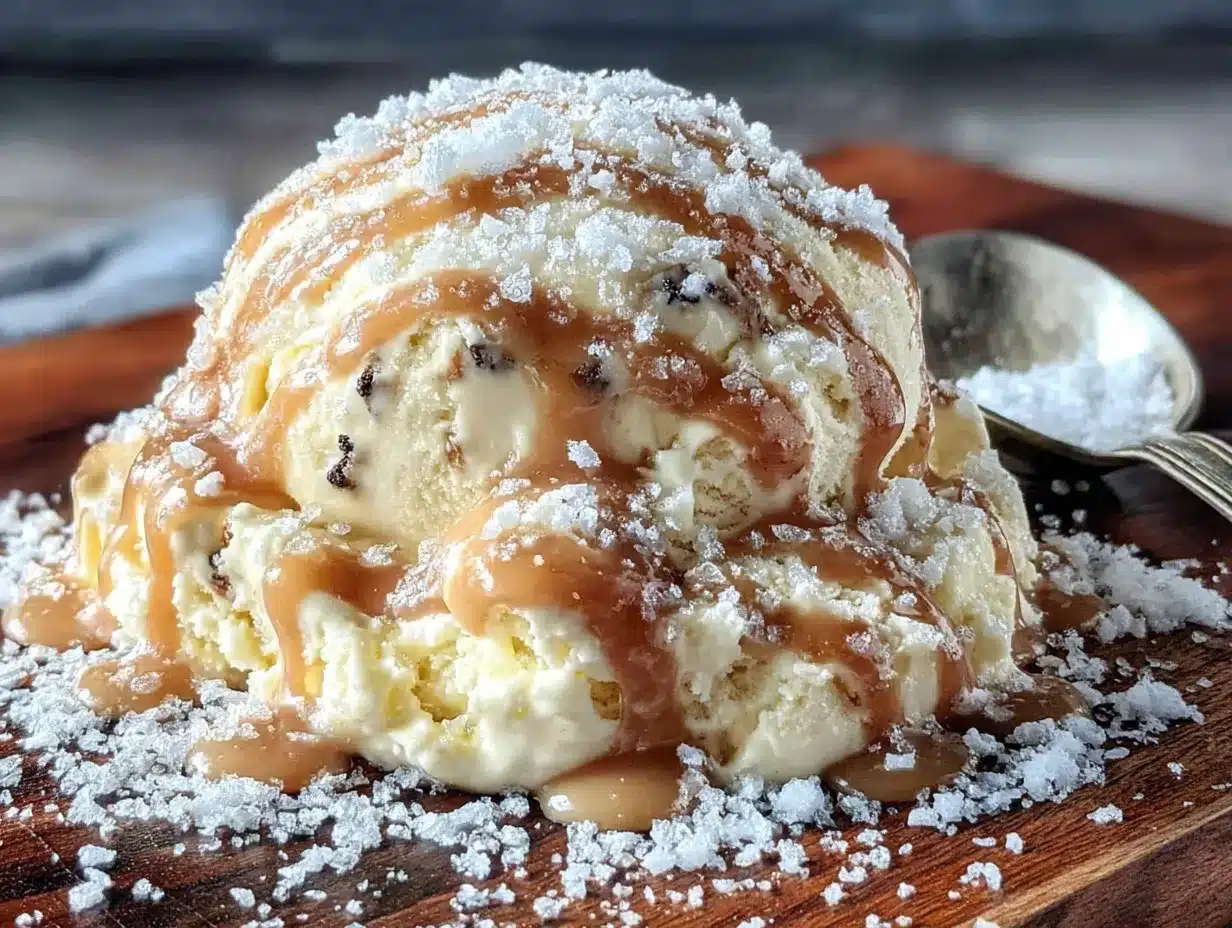
Making this easy snow ice cream with sweetened condensed milk is so simple, you will barely believe it works. But trust the process. Here is exactly how to do it.
- Go collect your snow. This is the most important step. Head outside with your large mixing bowl or a clean bucket. Look for the freshest, fluffiest snow you can find. Avoid any snow that is discolored, icy, or close to the ground. Gently scoop the top layer of snow into your bowl. Do not pack it down. You want it light and airy. Aim for about 8 cups, loosely packed. If you are using a bucket, just fill it up and then transfer the snow to your mixing bowl.
- Bring it inside immediately. Snow melts fast, so do not leave it sitting on the counter while you hunt for ingredients. Have everything else ready to go before you go outside. Your bowl of snow should go straight from the outdoors to your workspace.
- Add the sweetened condensed milk. Open your can of sweetened condensed milk and pour the entire thing over the top of the snow. Do not be tempted to use less. The 14-ounce can is the perfect amount for 8 cups of snow. It might look like a lot of liquid, but it will coat every flake beautifully.
- Add the vanilla. Drizzle your teaspoon of vanilla extract over the condensed milk. If you are using a pinch of salt, add it now. This is your chance to get the flavor base right before you start mixing.
- Fold gently. This is where the magic happens. Using your rubber spatula or a large spoon, gently fold the condensed milk and vanilla into the snow. You want to use a cutting and folding motion, turning the bowl as you go. Do not stir vigorously or mash the snow. The goal is to coat the snowflakes in the creamy mixture without deflating them. It will feel a bit strange at first, like you are making a very cold, very fluffy batter.
- Check the consistency. After about a minute of gentle folding, take a look. The mixture should look like soft-serve ice cream. It should be thick, creamy, and hold its shape when you scoop it. If it looks too soupy, you may have used snow that was too wet or you over-mixed it. If it looks too dry, you can fold in a tiny splash of milk or a little more condensed milk if you have it.
- Serve immediately. This is not a recipe that sits around. The magic of this snow ice cream is its light, fluffy texture, and that texture starts to degrade the moment it is made. Scoop it into bowls and serve it right away. If you wait too long, it will start to melt into a slushy puddle.
That is it. Seven simple steps from snow to spoon. The whole process, from the moment you walk in the door to the moment you are eating it, should take less than five minutes. It is the perfect last-minute dessert for a snow day.
Cooking Tips & Techniques
I have made this easy snow ice cream with sweetened condensed milk more times than I can count, and I have definitely made my share of mistakes. Here is what I have learned so you do not have to learn the hard way.
The biggest mistake is using the wrong snow. I once sent my kids out to collect snow while I got the ingredients ready. They came back with a bowl full of heavy, wet, almost icy snow from the bottom of a drift. I tried to make it work, but the ice cream came out watery and sad. You want the light, fluffy powder that falls in the middle of a storm. If the snow is heavy enough to make a snowball that holds its shape perfectly, it is probably too wet for ice cream. You want snow that is dry and powdery, the kind that barely sticks together.
Do not overmix. This is a gentle folding situation, not a stirring competition. The more you mix, the more the snow melts from the warmth of your hands and the friction of the spoon. You want to incorporate the condensed milk just until everything is combined. A few streaks of white are totally fine. Overmixing will give you a slushy, watery final product instead of a creamy, scoopable one.
Work fast. Have your bowls and spoons ready before you even go outside. The entire process from snow collection to serving should be as quick as possible. Every minute the snow sits in a warm kitchen, it is melting. I like to chill my mixing bowl in the freezer for a few minutes before I start, just to give the snow a fighting chance.
Serve it in cold bowls. If you really want to impress, pop your serving bowls in the freezer for ten minutes before you scoop the ice cream. It keeps the ice cream from melting at the edges while you are eating it. It is a small step, but it makes a noticeable difference.
A word on consistency. If your finished ice cream looks a little too soft, you can pop the whole bowl in the freezer for 10-15 minutes to firm it up. But do not leave it in there for hours. Remember, this is not traditional ice cream. It is a snow-based treat, and it is best enjoyed fresh.
Variations & Adaptations
Once you have mastered the basic easy snow ice cream with sweetened condensed milk, the possibilities are endless. Here are some of my favorite ways to switch it up.
Chocolate Snow Ice Cream: This is my kids’ absolute favorite. Before you add the snow, whisk 2-3 tablespoons of unsweetened cocoa powder into the sweetened condensed milk until it is smooth and fully incorporated. Then proceed with the recipe as usual. You will end up with a rich, chocolatey snow ice cream that tastes just like a frosty chocolate milkshake. Add a handful of mini chocolate chips at the end for extra texture.
Strawberry Snow Ice Cream: For a fruity twist, mash up about half a cup of fresh or frozen strawberries (thawed) and stir them into the sweetened condensed milk along with the vanilla. The pink color is beautiful, and the tartness of the berries cuts through the sweetness perfectly. You can also use strawberry syrup, but the real fruit gives it a much better flavor and texture.
Mint Chocolate Chip Snow Ice Cream: This one is dangerously good. Add 1/2 to 3/4 teaspoon of peppermint extract to the condensed milk along with the vanilla. Be careful with the peppermint extract, a little goes a long way. Then fold in a handful of mini chocolate chips at the end. It tastes exactly like the classic ice cream shop flavor, but it is made from snow. It is especially fun to make around the holidays.
Dairy-Free Adaptation: You can make this recipe dairy-free by using a can of sweetened condensed coconut milk. It works exactly the same way and gives the ice cream a subtle coconut flavor that is absolutely delicious. It is a great option for anyone who is lactose intolerant or following a dairy-free diet.
Do not be afraid to experiment. The basic ratio of 8 cups of snow to one can of condensed milk is very forgiving. You can add extracts, spices (cinnamon is wonderful), or fold in crushed cookies or candy pieces. Just remember to keep the additions small and to fold them in gently.
Serving & Storage Suggestions
This easy snow ice cream with sweetened condensed milk is best enjoyed immediately, but I have a few tricks for making the most of it.
Serving: Serve the ice cream in chilled bowls for the best experience. It is perfect on its own, but you can also dress it up. A drizzle of chocolate syrup, a sprinkle of rainbow sprinkles, or a dollop of whipped cream all work beautifully. For a grown-up twist, a tiny pinch of flaky sea salt on top is incredible. It brings out the sweetness and adds a sophisticated touch.
Storage: Here is the honest truth: this ice cream does not freeze well for long periods. If you have leftovers (which is rare in my house), you can transfer the ice cream to an airtight container and put it in the freezer. However, it will lose its light, fluffy texture. After a few hours in the freezer, it will turn into a dense, icy block. It will still taste good, but it will be more like a snow-cone slushie than the creamy ice cream you started with.
Reheating (sort of): If you do freeze the leftovers and want to bring them back to life, let the container sit on the counter for 10-15 minutes to soften. Then give it a good stir. It will not be the same as fresh, but it will be edible and still tasty.
My best advice? Only make as much as you are going to eat in one sitting. This is a treat that is meant to be enjoyed in the moment. It is part of the magic. You make it, you eat it, and then you wait for the next snowstorm to do it all over again.
Nutritional Information & Benefits
Let’s be real here. This is a treat, and it is not exactly a health food. But knowing what is in it is still helpful, especially if you are keeping an eye on your family’s sugar intake.
One serving of this snow ice cream (about 1 cup) made with the full can of sweetened condensed milk contains approximately:
- Calories: 320-350
- Fat: 8-10 grams
- Carbohydrates: 55-60 grams
- Sugar: 50-55 grams
- Protein: 8-10 grams
- Calcium: 25-30% of the daily value
The sweetened condensed milk is the main source of calories and sugar, but it also provides a good amount of calcium, which is great for bone health. The snow itself, of course, is just water, so it is hydrating in its own way.
If you are looking to lighten it up, you can use a “lite” version of sweetened condensed milk, which cuts the calories and sugar by about a third. You can also reduce the amount of condensed milk you use, but be aware that this will change the texture and sweetness. For a lower-sugar option, you can use a sugar-free sweetened condensed milk alternative.
This recipe is naturally gluten-free and vegetarian. It is not suitable for vegans unless you use the sweetened condensed coconut milk option. It does contain dairy, so it is not lactose-free.
My personal perspective? This is a snow day treat. It is not something you eat every day. It is a special, fun, memory-making dessert. I do not worry about the nutritional profile when I am making it. I focus on the joy it brings to my family. And honestly, a little bit of sweetness on a cold winter day is good for the soul.
Conclusion
This easy snow ice cream with sweetened condensed milk is more than just a recipe. It is a winter tradition waiting to happen. It is the kind of simple, resourceful cooking that makes you feel like you have discovered a secret. It turns a cold, inconvenient day into something warm and sweet and full of laughter.
I love this recipe because it reminds me that the best things in life are often the simplest. You do not need a fancy ice cream maker or a list of exotic ingredients. You just need snow, a can of condensed milk, and a willingness to try something a little bit silly. And honestly, that first creamy, cold spoonful is pure magic.
I want to hear about your snow day creations! Did you try the chocolate version? Did your kids go crazy for it? Did you invent a new flavor combination? Leave a comment below and tell me all about it. Share this recipe with a friend who is stuck inside during a snowstorm. And most importantly, go outside, catch some snowflakes, and make yourself a bowl of this wonderful treat. You deserve it. Happy snow day, friends!
Frequently Asked Questions
Can I use any type of snow?
No. You want the freshest, cleanest, fluffiest snow you can find. Avoid snow that has been on the ground for a while, snow that is near roads or driveways, or snow that has any discoloration. The best snow is the light, powdery stuff that falls during the middle of a storm.
Can I use regular milk instead of sweetened condensed milk?
You can, but you will not get the same result. Regular milk will make the ice cream watery and icy. The sweetened condensed milk is thick and syrupy, which gives the snow ice cream its creamy texture. It also provides all the sweetness you need. Stick with the condensed milk for the best results.
How long does this snow ice cream last in the freezer?
Honestly, not very long. It is best eaten immediately. If you freeze it, it will turn into a hard, icy block within a few hours. You can let it thaw for 10-15 minutes and stir it to soften it, but it will never be as good as it was fresh. My advice is to only make what you will eat right away.
Can I make this if there is no snow?
Technically, no. The whole point is the snow. But if you are desperate for a similar treat, you can try using shaved ice from a snow cone machine. It will not have the same light, fluffy texture, but it will be close. You can also try this with crushed ice from your freezer, but the texture will be much more like a slushie than ice cream.
Is this safe for kids to eat?
Yes, absolutely. As long as you are using clean, fresh snow from a safe source, it is perfectly safe. Just make sure you are not collecting snow that has been treated with de-icing chemicals or snow from areas where animals might have been. Use common sense, and your kids will love it.
Pin This Recipe!
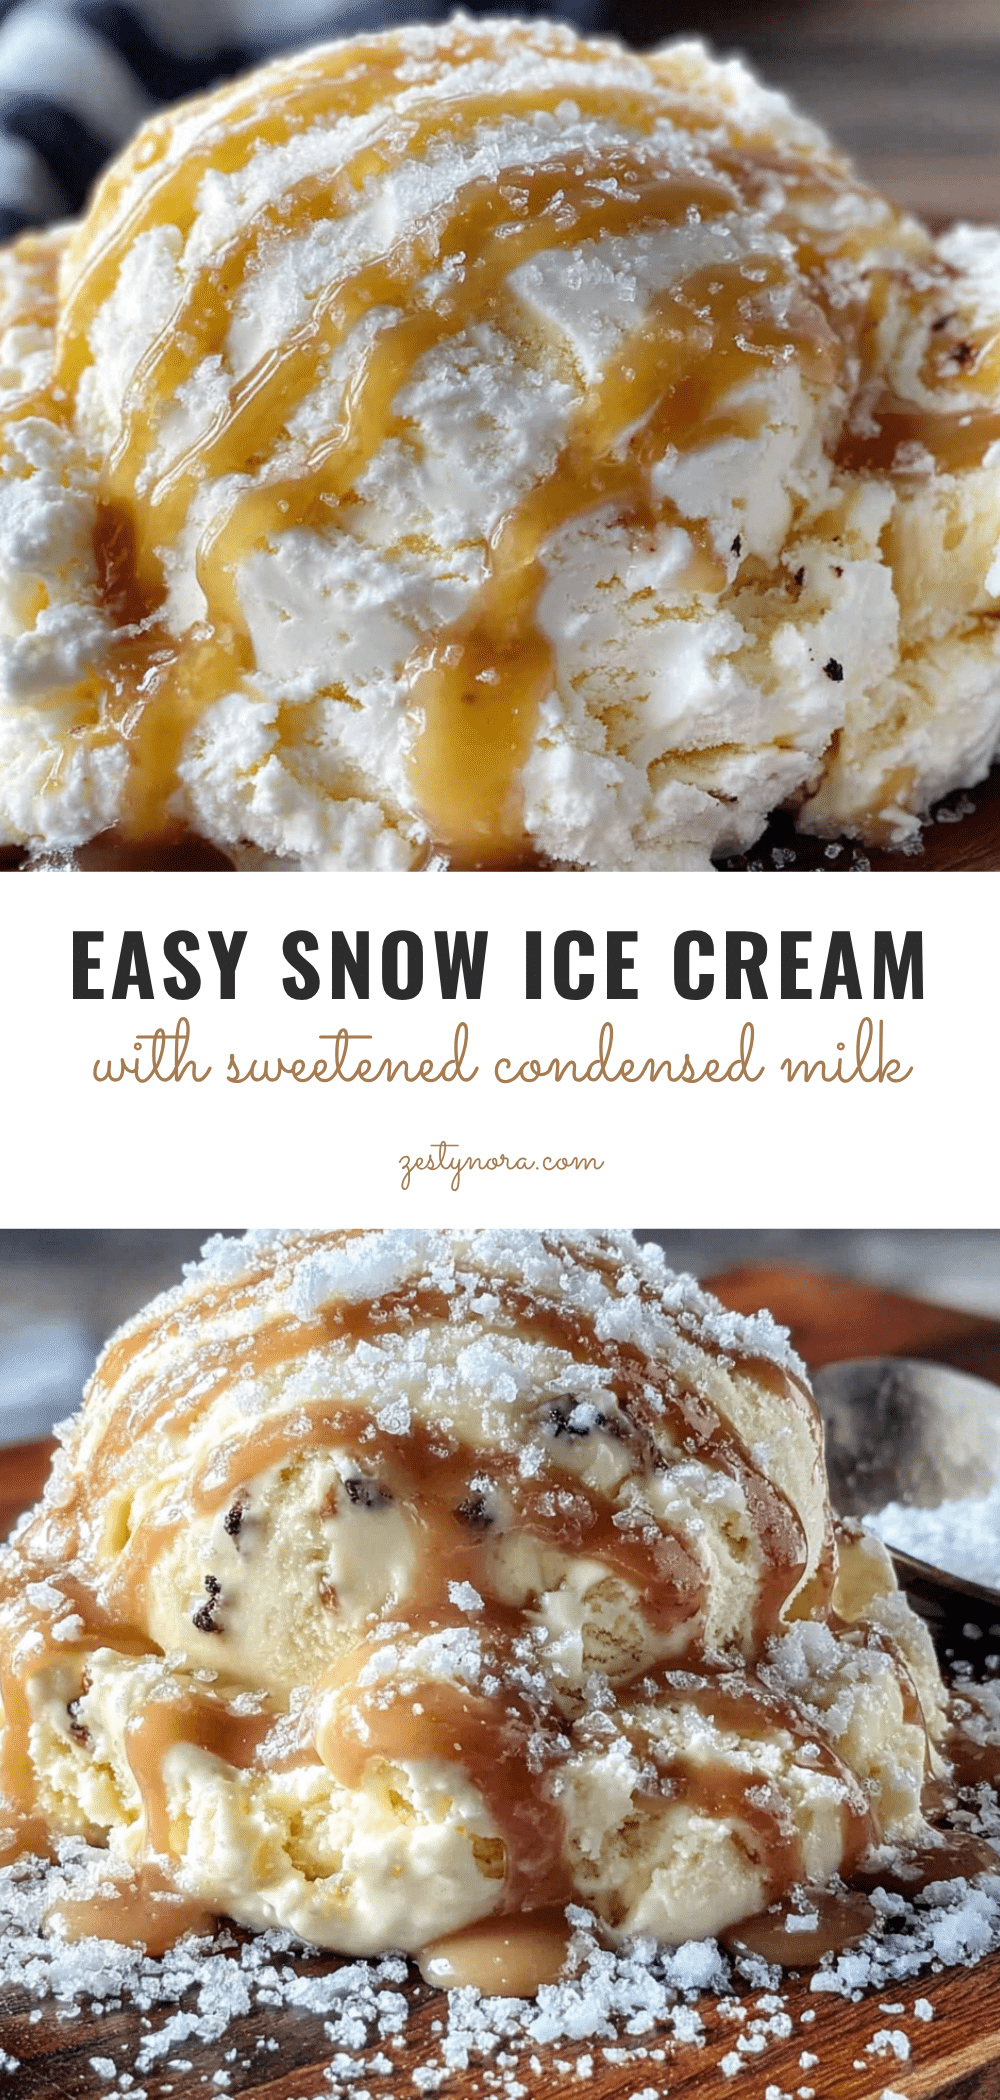
Easy 3-Ingredient Snow Ice Cream with Sweetened Condensed Milk

Turn fresh snow into a creamy, dreamy ice cream in just five minutes using only three simple ingredients. This easy snow ice cream with sweetened condensed milk is the perfect snow day treat that will delight kids and adults alike.
- Prep Time: 5 minutes
- Cook Time: 0 minutes
- Total Time: 5 minutes
- Yield: 4 servings 1x
- Category: Dessert
- Cuisine: American
Ingredients
- 8 cups clean, fresh snow (loosely packed)
- 1 can (14 ounces) sweetened condensed milk
- 1 teaspoon pure vanilla extract
- Pinch of salt (optional)
- Mix-ins like chocolate chips, sprinkles, or crushed cookies (optional)
Instructions
- Go collect your snow. Head outside with your large mixing bowl or a clean bucket. Look for the freshest, fluffiest snow you can find. Avoid any snow that is discolored, icy, or close to the ground. Gently scoop the top layer of snow into your bowl. Do not pack it down. Aim for about 8 cups, loosely packed.
- Bring it inside immediately. Have everything else ready to go before you go outside. Your bowl of snow should go straight from the outdoors to your workspace.
- Add the sweetened condensed milk. Open your can of sweetened condensed milk and pour the entire thing over the top of the snow.
- Add the vanilla. Drizzle your teaspoon of vanilla extract over the condensed milk. If you are using a pinch of salt, add it now.
- Fold gently. Using your rubber spatula or a large spoon, gently fold the condensed milk and vanilla into the snow. Use a cutting and folding motion, turning the bowl as you go. Do not stir vigorously or mash the snow.
- Check the consistency. After about a minute of gentle folding, the mixture should look like soft-serve ice cream. It should be thick, creamy, and hold its shape when you scoop it.
- Serve immediately. Scoop it into bowls and serve it right away.
Notes
Use the freshest, fluffiest snow possible. Avoid snow that has been on the ground for a while or near roads. Do not overmix or the snow will melt. Serve immediately for the best texture. Leftovers can be frozen but will become icy.
Nutrition
- Serving Size: 1 cup
- Calories: 335
- Sugar: 53
- Sodium: 130
- Fat: 9
- Saturated Fat: 5.5
- Carbohydrates: 58
- Protein: 9
Keywords: snow ice cream, easy snow ice cream, 3-ingredient snow ice cream, sweetened condensed milk snow ice cream, snow day treat, winter dessert, homemade ice cream