My friend Jenna swore she could make ice cream without a machine. I laughed. I mean, honestly, I thought she was crazy. We were standing in her kitchen last July, the kind of sticky afternoon where the air conditioner can’t keep up, and she was pouring heavy cream into a bowl with a bag of vanilla sugar she’d brought back from some farmers’ market. I told her it would turn into a block of icy crystals. She just shrugged and handed me a whisk. “Just trust me,” she said. So I didn’t. Not really.
But I kept whisking anyway, because that’s what you do when a friend is being stubborn about something. The mixture got thick, and she folded it into a loaf pan, covered it with plastic wrap, and shoved it in the freezer. We forgot about it for a few hours while we made dinner. And then, around ten o’clock, she pulled it out and scooped us each a bowl. I took a bite of that creamy no-churn vanilla bean ice cream, and I had to sit down. It was rich. It was silky. It had those tiny black specks that made it look like something from a fancy scoop shop. I ate the whole bowl in silence, and I think she knew she’d won.
That was the moment I realized you don’t need a $300 machine to make ice cream that actually tastes like the real thing. You just need three ingredients, a little patience, and the willingness to be wrong about something. This recipe has become my go-to for summer parties, lazy Sundays, and those nights when you just need a bowl of something cold and sweet. It’s the kind of thing that makes people think you worked way harder than you actually did.
Why You’ll Love This Recipe
This is not your average vanilla ice cream. It is the kind of ice cream that makes people close their eyes after the first bite. I have tested this recipe more times than I can count, tweaking the ratio of cream to sweetened condensed milk until it hit that perfect balance of creamy and scoopable. No ice crystals. No weird icy edges. Just pure, velvety vanilla goodness.
- Quick & Easy: You are looking at about 10 minutes of active work. That is it. No custard bases, no tempering eggs, no churning every 30 minutes. Just whisk, fold, and freeze.
- Simple Ingredients: Three ingredients. That’s the whole list. Heavy cream, sweetened condensed milk, and vanilla bean paste (or an actual vanilla bean if you are feeling fancy). You probably already have two of these in your kitchen right now.
- Perfect for Summer: This is the dessert that saves you on hot days when you cannot fathom turning on the oven. It is also a lifesaver for last-minute dinner parties or backyard barbecues.
- Crowd-Pleaser: Kids adore it. Adults ask for seconds. It is the kind of dessert that disappears before you even get a chance to sit down.
- Unbelievably Delicious: The texture is the real star here. It is dense and creamy, not airy like the stuff from the store. It melts slowly on your tongue, and the vanilla flavor is front and center, not hidden behind a wall of sugar.
What makes this recipe different from every other vanilla ice cream out there is the technique. Most no-churn recipes just whip the cream and fold it in, but I have found that letting the mixture sit for a few minutes after whisking helps the flavors meld. It sounds silly, but it makes a difference. It is the difference between good ice cream and ice cream that makes you want to hide the container so you don’t have to share.
What Ingredients You Will Need
This recipe uses simple, everyday ingredients to deliver a surprisingly luxurious result. The magic is in the ratios and the quality of what you choose, not in a long list of obscure items. Here is what you need to make this creamy no-churn vanilla bean ice cream happen.
- 2 cups heavy cream (or heavy whipping cream, 36-40% milk fat – do not use light cream or half-and-half, it will not set properly)
- 1 can (14 ounces) sweetened condensed milk (full fat is best for texture, but I have tested this with the low-fat version and it works fine, just slightly less creamy)
- 2 teaspoons vanilla bean paste (I prefer Nielsen-Massey for the intense flavor and those beautiful specks, but you can also use one whole vanilla bean, split and scraped, or 2 teaspoons of pure vanilla extract if that is what you have)
A quick note on the vanilla: vanilla bean paste is the sweet spot between convenience and visual appeal. It gives you those gorgeous black specks without the hassle of scraping a bean. If you use extract, the flavor will still be good, but you will miss out on the visual touch. If you use a real vanilla bean, split it lengthwise and scrape the seeds directly into the cream mixture. Do not throw the pod away – stick it in a jar of sugar to make vanilla sugar later.
For the sweetened condensed milk, I have found that the store brand works perfectly fine. You do not need to splurge on a fancy imported can. Just make sure it is sweetened condensed milk, not evaporated milk. They look similar, but they are not the same thing, and your ice cream will not set if you grab the wrong can. Trust me on this one – I made that mistake once, and it was a sad, soupy mess.
Equipment Needed
You really do not need much for this recipe, which is part of its charm. Here is what you will need to pull it off.
- Large mixing bowl (metal or glass works best, as it stays cold longer)
- Electric hand mixer or stand mixer (you can whisk by hand, but it will take about 8-10 minutes of serious arm work – I have done it, and it is a great arm workout, but not always what you want on a hot day)
- Rubber spatula (for folding the mixture gently)
- 9×5-inch loaf pan (or any freezer-safe container – a metal loaf pan works best because it conducts cold faster, helping the ice cream freeze more evenly)
- Plastic wrap or parchment paper (to cover the surface directly and prevent ice crystals from forming)
If you do not have a loaf pan, you can use a wide, shallow dish like a small baking dish. The wider the surface area, the faster it will freeze. I have also used a round cake pan in a pinch, and it worked fine. Just make sure whatever you use is freezer-safe and has a lid or can be covered tightly with plastic wrap.
Preparation Method
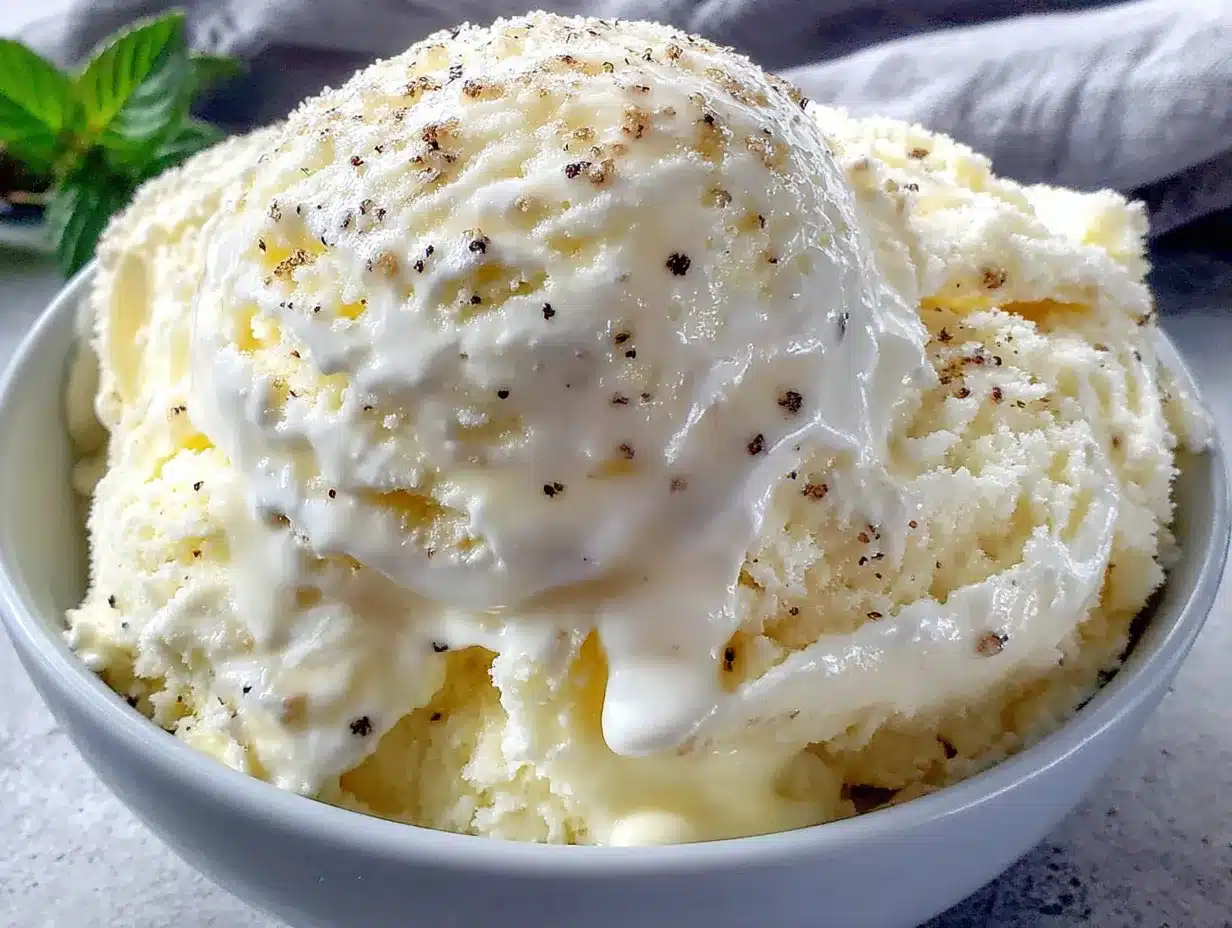
This is where the magic happens. Follow these steps carefully, and you will end up with ice cream that rivals anything you can buy at the store.
- Chill your bowl and beaters. Pop your mixing bowl and the beaters from your hand mixer into the freezer for about 10-15 minutes. This is not strictly necessary, but it helps the cream whip up faster and hold its shape better. I learned this trick after a few batches that took forever to whip on a warm day.
- Whip the cream. Pour the cold heavy cream into your chilled bowl. Using an electric hand mixer on medium-high speed, whip the cream until stiff peaks form. This usually takes about 3-4 minutes. You are looking for peaks that stand straight up when you lift the beaters, not flop over. Be careful not to overwhip, or you will end up with butter. I have done this, and it is not a fun cleanup.
- Mix the base. In a separate small bowl, stir together the sweetened condensed milk and the vanilla bean paste until well combined. The paste might clump a little, but just keep stirring until it is smooth. If you are using a vanilla bean, stir the seeds into the condensed milk and let it sit for a few minutes to infuse.
- Fold it together. Pour the condensed milk mixture into the whipped cream. Use your rubber spatula to gently fold everything together. Start from the bottom and bring the mixture up and over, turning the bowl as you go. Do not stir vigorously – you want to keep as much air in the whipped cream as possible. Fold until you no longer see streaks of white or beige. The mixture should look uniform and thick, like a soft mousse.
- Transfer to the pan. Scrape the mixture into your loaf pan. Use the spatula to spread it into an even layer. Give the pan a few gentle taps on the counter to release any air bubbles.
- Cover and freeze. Press a piece of plastic wrap directly onto the surface of the ice cream mixture. This is the most important step – if you leave any air gap, ice crystals will form on top. Then cover the pan with another layer of plastic wrap or a lid. Freeze for at least 6 hours, but preferably overnight. The longer it freezes, the firmer and more scoopable it gets.
- Let it soften before scooping. When you are ready to serve, take the ice cream out of the freezer and let it sit at room temperature for about 5-10 minutes. This makes scooping much easier. If you try to scoop it straight from the freezer, you will end up with a bent spoon and a lot of frustration.
Cooking Tips & Techniques
I have made this recipe more times than I care to count, and I have definitely made my share of mistakes. Here is what I have learned along the way so you can skip the trial and error.
Do not overwhip the cream. This is the number one mistake people make. You want stiff peaks, but if you go too far, the cream will start to separate and turn grainy. The moment you see the peaks holding their shape firmly, stop. It is better to underwhip slightly than to overwhip.
Keep everything cold. Warm cream will not whip properly. If your kitchen is hot, consider chilling the bowl and beaters in the freezer for 15 minutes before starting. I have also been known to put the mixing bowl in the fridge while I gather the other ingredients.
Fold, do not stir. Stirring deflates the air you just whipped into the cream. Use a gentle folding motion, and stop as soon as the mixture looks uniform. A few streaks of white are fine – they will disappear as the mixture freezes.
Press the plastic wrap directly onto the surface. This is non-negotiable if you want a smooth, creamy texture. Air exposure is what causes ice crystals to form on top. I have forgotten to do this before, and the top layer was always icy and unpleasant.
Let it freeze completely. Six hours is the minimum, but overnight is better. If you are impatient and try to scoop it after four hours, it will be more like soft serve. Which is not necessarily a bad thing, but it is not what we are going for here.
Variations & Adaptations
Once you have mastered the basic recipe, the possibilities are endless. Here are a few variations I have tried and loved.
- Chocolate Chip: Fold in 1/2 cup of mini chocolate chips after you have mixed the cream and condensed milk. The mini chips distribute better and do not sink to the bottom. I have also used chopped dark chocolate bars, and it is divine.
- Strawberry Swirl: Puree 1 cup of fresh or frozen strawberries with 2 tablespoons of sugar. Swirl it into the ice cream mixture before freezing. Do not overmix – you want ribbons of strawberry, not pink ice cream. This pairs beautifully with a scoop of no-bake peach icebox cake for a double fruit dessert situation.
- Mint Chocolate Chip: Add 1 teaspoon of peppermint extract along with the vanilla. Fold in 1/2 cup of mini chocolate chips. It tastes just like the stuff from the ice cream shop, but better because you made it yourself.
- Vegan Version: Use full-fat coconut cream instead of heavy cream, and use a vegan sweetened condensed milk (there are several brands available now, or you can make your own by simmering coconut milk and sugar). The texture will be slightly different – a bit more icy – but the flavor is still fantastic.
- Cookie Crumble: Fold in 1 cup of crushed cookies just before freezing. I have used chocolate sandwich cookies, shortbread, and even crushed up some of my soft pumpkin chocolate chip cookies for a fall twist. It adds a wonderful crunch.
Serving & Storage Suggestions
This ice cream is best served slightly softened, about 5-10 minutes out of the freezer. Scoop it into bowls or cones, and if you want to get fancy, drizzle it with a little chocolate sauce or sprinkle some flaky sea salt on top. The salt really makes the vanilla flavor pop.
For storage, keep the ice cream in the loaf pan with the plastic wrap pressed directly onto the surface. Cover with a lid or another layer of plastic wrap. It will keep in the freezer for up to two weeks. After that, it might start to develop ice crystals, but it will still be perfectly edible.
If you have leftover ice cream that has gotten a bit icy, let it sit at room temperature for 10-15 minutes and then stir it vigorously with a fork. This will break up the ice crystals and restore some of the creamy texture. It is not a perfect fix, but it works in a pinch.
I love serving this alongside a warm dessert, like a slice of moist chocolate chip pumpkin bread or a bowl of homemade peach cobbler with buttermilk biscuit topping. The cold and warm contrast is absolutely perfect.
Nutritional Information & Benefits
Let’s be real – this is a treat. It is not health food, and that is okay. But here is the estimated nutritional breakdown for a 1/2 cup serving, assuming you get about 8 servings from the recipe.
- Calories: Approximately 320
- Fat: 22g
- Carbohydrates: 28g
- Protein: 4g
- Sugar: 26g
The heavy cream provides a good amount of fat-soluble vitamins like A and D, and the vanilla bean paste contains small amounts of antioxidants. The sweetened condensed milk is obviously high in sugar, which is why this is a sometimes food, not an everyday food.
If you are watching your sugar intake, you can use a sugar-free sweetened condensed milk, but the texture will be slightly different. I have tried it, and it works, but it is not as creamy. For a lower-fat option, you can use half heavy cream and half whole milk, but again, the texture will be less rich. This is one of those recipes where the full-fat version really is the best.
Conclusion
This creamy no-churn vanilla bean ice cream has become a staple in my kitchen for a reason. It is simple, it is reliable, and it tastes like something you would pay a lot of money for at a fancy ice cream parlor. I love that I can make it on a whim, without any special equipment or a trip to the store for obscure ingredients. It is the kind of recipe that makes you feel like a kitchen wizard, even though you barely did any work.
I encourage you to make this your own. Add your favorite mix-ins, experiment with different extracts, or just keep it pure and simple. However you make it, I promise you will be happy with the results. And if you have a friend who swears you need an ice cream machine, make them a batch of this. Watch their face when they take the first bite. It is a beautiful thing.
I would love to hear how yours turns out. Leave a comment below and let me know what variations you tried, or tag me in your photos if you share them online. Happy scooping, friends.
Frequently Asked Questions
Can I use half-and-half instead of heavy cream?
No, I would not recommend it. Half-and-half has too much water and not enough fat, so it will not whip into stiff peaks. The result will be a thin, icy mixture that does not set properly. Stick with heavy cream for the best texture.
How long does this ice cream need to freeze?
At least 6 hours, but overnight is ideal. The longer it freezes, the firmer and more scoopable it becomes. If you try to scoop it after 4 hours, it will be more like soft serve, which is still delicious but not the same texture.
Can I use vanilla extract instead of vanilla bean paste?
Absolutely. Use 2 teaspoons of pure vanilla extract instead of the paste. You will lose the little black specks, but the flavor will still be excellent. Just make sure you are using pure vanilla extract, not imitation vanilla flavoring.
Why did my ice cream turn out icy?
This usually happens for one of two reasons. Either you did not press the plastic wrap directly onto the surface of the mixture before freezing, which allowed air to create ice crystals, or you overwhipped the cream, which caused it to separate. Make sure to cover the surface directly and stop whipping as soon as you reach stiff peaks.
Can I double this recipe?
Yes, you can easily double it. Just use a larger container for freezing, like a 9×13-inch baking dish. The freezing time might be slightly longer because the mixture is thicker, so give it a full 8 hours or overnight to be safe.
Pin This Recipe!
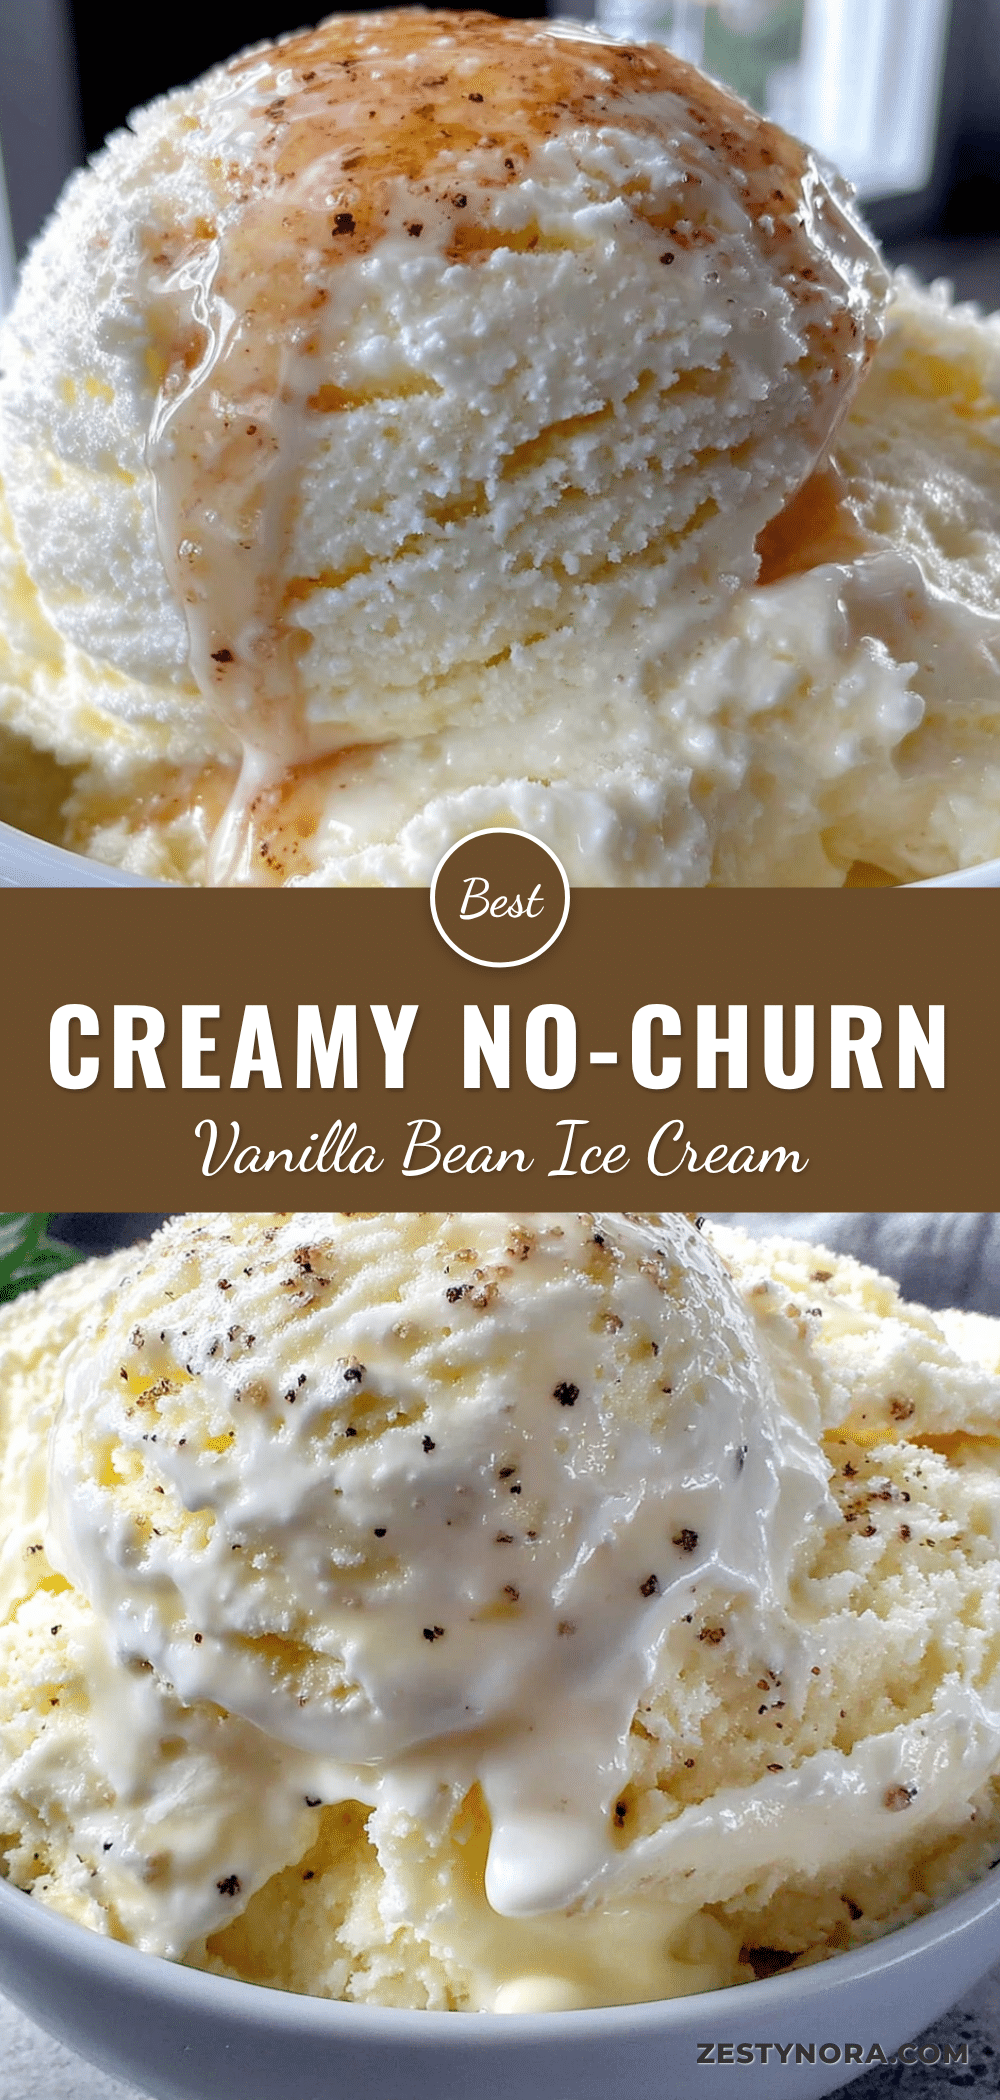
Easy 3-Ingredient No-Churn Vanilla Bean Ice Cream
This creamy no-churn vanilla bean ice cream requires just three ingredients and no ice cream machine. It’s rich, silky, and studded with vanilla bean specks for a gourmet treat that’s surprisingly simple to make at home.
- Prep Time: 10 minutes
- Cook Time: 0 minutes
- Total Time: 6 hours 10 minutes (includes freezing time)
- Yield: 8 servings 1x
- Category: Dessert
- Cuisine: American
Ingredients
- 2 cups heavy cream (or heavy whipping cream, 36-40% milk fat)
- 1 can (14 ounces) sweetened condensed milk (full fat preferred)
- 2 teaspoons vanilla bean paste (or 1 whole vanilla bean, split and scraped, or 2 teaspoons pure vanilla extract)
Instructions
- Chill your mixing bowl and beaters in the freezer for 10-15 minutes.
- Pour the cold heavy cream into the chilled bowl. Using an electric hand mixer on medium-high speed, whip the cream until stiff peaks form, about 3-4 minutes.
- In a separate small bowl, stir together the sweetened condensed milk and vanilla bean paste until well combined.
- Pour the condensed milk mixture into the whipped cream. Gently fold together with a rubber spatula until no streaks remain and the mixture is uniform and thick like a soft mousse.
- Scrape the mixture into a 9×5-inch loaf pan (or freezer-safe container). Spread into an even layer and tap gently to release air bubbles.
- Press a piece of plastic wrap directly onto the surface of the ice cream mixture to prevent ice crystals. Cover the pan with another layer of plastic wrap or a lid.
- Freeze for at least 6 hours, preferably overnight, until firm and scoopable.
- Before serving, let the ice cream sit at room temperature for 5-10 minutes to soften slightly for easier scooping.
Notes
Do not overwhip the cream; stop at stiff peaks to avoid turning it into butter. Press plastic wrap directly onto the surface to prevent ice crystals. For best texture, freeze overnight. Let soften 5-10 minutes before scooping. Variations include adding chocolate chips, strawberry swirl, mint chocolate chip, or crushed cookies.
Nutrition
- Serving Size: 1/2 cup
- Calories: 320
- Sugar: 26
- Sodium: 80
- Fat: 22
- Saturated Fat: 14
- Carbohydrates: 28
- Protein: 4
Keywords: no-churn ice cream, vanilla bean ice cream, 3-ingredient ice cream, easy ice cream, homemade ice cream, no machine ice cream


