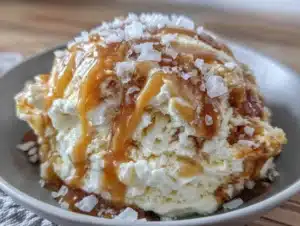
There used to be a tiny ice cream shop tucked behind the old laundromat on Maple Street that made a salted caramel flavor I still dream about. When they closed their doors two summers ago, I actually stood there reading the “For Lease” sign with a scoop in my hand, feeling genuinely heartbroken. After twelve tries—twelve pints of too-hard, too-sweet, or just plain wrong ice cream—I finally cracked the code on this creamy no-churn salted caramel version. And let me tell you, my kids now refuse to eat the store-bought stuff.
The first batch I made was a disaster. I mean, a real soupy, crystallized mess that ended up as caramel milkshakes instead. But that failure taught me something important: patience with the caramel makes all the difference. You cannot rush that golden, amber moment when sugar transforms into liquid gold. Once I figured that out, everything clicked into place. Now this homemade no-churn salted caramel ice cream has become our family’s summer tradition.
Honestly, I never thought I’d be able to recreate that shop’s magic at home. But here we are, scooping creamy, swirly, perfectly salted caramel ice cream straight from our freezer. Maybe you’ve been there—chasing a flavor from your past that just disappeared. Well, this recipe is your ticket back. No fancy machine required, just a few simple ingredients and a little bit of patience. Let me show you how it’s done.
Why You’ll Love This Recipe
This isn’t just another ice cream recipe you’ll find online. After testing this no-churn salted caramel version with my family, I can honestly say it checks every box for busy parents and picky eaters alike.
- No Ice Cream Machine Needed – Seriously, you don’t need any fancy equipment. Just a mixer, a bowl, and a freezer. That’s it.
- Simple Pantry Ingredients – Heavy cream, sweetened condensed milk, sugar, butter, salt. You probably have most of these already sitting in your kitchen right now.
- Kid-Approved and Parent-Approved – My three kids fought over the last scoop last week. And honestly, I was right there with them.
- Budget-Friendly – Homemade ice cream costs a fraction of what you’d pay at the store, especially when you’re feeding a crowd. This recipe makes about a quart and a half for under ten bucks.
- Perfectly Creamy Texture – No ice crystals, no rock-hard blocks. Just scoopable, velvety ice cream every single time.
What makes this recipe different from all the others? It’s the way the caramel gets folded in at just the right moment. Most recipes dump everything together and hope for the best. I spent weeks figuring out the temperature and timing so the caramel stays soft and swirly instead of turning into hard candy chunks. Plus, the salt level is carefully balanced—enough to make the caramel pop but not so much that your kids complain it’s “too salty.”
There’s something special about making ice cream from scratch with your kids. The first time I let my youngest help pour in the cream, she got it all over the counter. We laughed, cleaned it up, and started again. That messy moment is now one of my favorite kitchen memories. This recipe isn’t just about the dessert—it’s about the time spent together, creating something delicious from nothing.
What Ingredients You Will Need
This creamy no-churn salted caramel ice cream relies on simple ingredients working together perfectly. Each one plays an important role in creating that smooth, scoopable texture and rich caramel flavor.
For the Salted Caramel Sauce
- 1 cup (200g) granulated sugar – White sugar works best here. Do not substitute brown sugar; it changes the caramel chemistry and can lead to crystallization.
- 6 tablespoons (85g) unsalted butter, cut into small pieces – I recommend using a good-quality butter like Kerrygold for the richest flavor. Salted butter will make the final sauce too salty.
- 1/2 cup (120ml) heavy cream, room temperature – Cold cream will cause the caramel to seize up. Let it sit out for 15 minutes before using.
- 1 teaspoon flaky sea salt – Maldon salt is my go-to here. Regular table salt will work in a pinch, but reduce the amount to 1/2 teaspoon.
- 1 teaspoon vanilla extract – Pure vanilla extract, not imitation. It makes a noticeable difference in the final flavor.
For the Ice Cream Base
- 2 cups (480ml) heavy cream – Cold from the fridge. Look for heavy cream with at least 36% milk fat for the best texture. Whipping cream will work but produces a slightly less rich result.
- 1 can (14 ounces/397g) sweetened condensed milk – This is the magic ingredient that makes no-churn ice cream possible. Do not use evaporated milk; they are not the same thing.
- 1 teaspoon vanilla extract – Again, go with pure vanilla extract for the best flavor.
- Pinch of salt – Just a tiny pinch to balance the sweetness.
Ingredient Tips from My Kitchen
I learned the hard way that ingredient temperature matters a lot here. The first time I made this, I used cold cream in the caramel and ended up with a lumpy mess that took forever to smooth out. Now I always let my cream come to room temperature before starting the caramel. Also, make sure your heavy cream is very cold when you whip it—pop it in the freezer for 10 minutes before you start mixing. That little trick helps it whip up faster and hold its shape better.
For the sweetened condensed milk, I’ve tried both store brands and name brands like Eagle Brand. Honestly, they all work fine for this recipe. Just make sure you’re getting full-fat sweetened condensed milk, not the low-fat version. The fat content is crucial for that creamy texture we’re after.
Equipment Needed
You do not need an ice cream maker for this recipe. That’s the whole point of no-churn! Here’s what you will need:
- Large mixing bowl – A stainless steel or glass bowl works best. Plastic bowls can retain odors and may not chill as well.
- Electric hand mixer or stand mixer – Whipping cream by hand is possible but will take forever. A mixer saves your arm and gets better results.
- Medium saucepan – For making the caramel. A light-colored pan is ideal so you can see the sugar changing color.
- 8×4-inch loaf pan or 9-inch square baking dish – For freezing the ice cream. A metal pan freezes faster than glass.
- Spatula – A rubber spatula for folding everything together gently.
- Parchment paper or plastic wrap – To cover the surface of the ice cream and prevent freezer burn.
- Candy thermometer (optional but helpful) – For those who want precision when making caramel. I don’t always use mine, but it’s nice to have.
If you don’t have a loaf pan, any freezer-safe container will work. I’ve used plastic deli containers and even cleaned-out yogurt tubs in a pinch. Just make sure whatever you use has a tight-fitting lid. And here’s a tip I wish someone had told me earlier: chill your loaf pan in the freezer for 15 minutes before pouring in the ice cream mixture. It helps everything freeze faster and more evenly.
Preparation Method
Step 1: Make the Salted Caramel Sauce
Place your medium saucepan over medium heat and add the granulated sugar. Stir constantly with a wooden spoon or heat-resistant spatula. The sugar will start to clump and then melt into a liquid. This takes about 5 to 7 minutes. Do not walk away—caramel can burn in seconds. You are looking for a deep amber color, like the color of a new penny. Once it reaches that shade, immediately remove the pan from heat.
Carefully add the butter pieces one at a time, stirring vigorously. The mixture will bubble up dramatically—this is normal and expected. Keep stirring until the butter is fully melted and incorporated. Slowly pour in the room-temperature heavy cream while stirring. Again, it will bubble up. Keep stirring until smooth. Stir in the flaky sea salt and vanilla extract. Let the caramel cool for 15 to 20 minutes at room temperature, then transfer to a jar and refrigerate until completely cold, about 2 hours.
Step 2: Whip the Cream
Pour the cold heavy cream into your large mixing bowl. Using an electric hand mixer or stand mixer fitted with the whisk attachment, beat the cream on medium-high speed until stiff peaks form. This takes about 3 to 5 minutes. You will know it’s ready when you lift the beaters and the cream holds its shape without drooping. Be careful not to overwhip, or you will end up with butter. I’ve done that before—it is not a fun clean-up.
Step 3: Combine the Base
In a separate bowl, whisk together the sweetened condensed milk, vanilla extract, and pinch of salt until smooth. Gently fold this mixture into the whipped cream using a rubber spatula. Use a gentle folding motion—do not stir vigorously. You want to keep as much air in the mixture as possible. Fold until just combined, with no white streaks remaining. This should take about 2 minutes of gentle folding.
Step 4: Add the Caramel Swirl
Remove your chilled caramel sauce from the refrigerator. It should be thick but still pourable. If it is too thick to drizzle, microwave it for 10 seconds to loosen it up. Pour about one-third of the ice cream base into your chilled loaf pan. Drizzle about one-third of the caramel sauce over the top. Use a butter knife or skewer to gently swirl the caramel into the base. Repeat with the remaining layers. Do not overswirl—you want distinct ribbons of caramel throughout the ice cream.
Step 5: Freeze
Press a piece of parchment paper or plastic wrap directly onto the surface of the ice cream. This prevents ice crystals from forming. Cover the pan with its lid or aluminum foil. Place in the freezer for at least 6 hours, but preferably overnight. The ice cream needs to freeze completely solid before you can scoop it properly.
Cooking Tips & Techniques
Let me save you from the mistakes I made along the way. The first time I attempted this no-churn salted caramel ice cream, I was impatient with the caramel and ended up with a gritty, crystallized mess. Here are the lessons I learned the hard way.
Do not stir the caramel too much. Once the sugar starts melting, you only need to stir occasionally. Constant stirring can cause the sugar to crystallize and turn grainy. If you see crystals forming on the sides of the pan, brush them down with a wet pastry brush. That trick saved many of my caramel batches.
Temperature matters for the cream. When you add the cream to the hot caramel, it needs to be at room temperature. Cold cream will cause the caramel to seize into a hard, lumpy mess. I learned this the hard way and had to start over from scratch. Now I set my cream out on the counter before I even start the caramel.
Do not overwhip the cream. Stiff peaks are perfect. If you keep going past that point, the cream will separate and turn into butter. The texture will be greasy instead of light and airy. Watch closely during the last minute of whipping.
Freeze in a metal pan. Metal conducts cold much better than glass or ceramic. Your ice cream will freeze faster and have smaller ice crystals. I keep a metal loaf pan specifically for this recipe now.
Let it soften before scooping. This ice cream freezes firmly. Let it sit at room temperature for 10 to 15 minutes before scooping. This makes a huge difference in texture and ease of serving.
Variations & Adaptations
One of the best things about this creamy no-churn salted caramel ice cream is how easy it is to customize. Here are some variations I’ve tried and loved.
Chocolate Salted Caramel – Add 1/4 cup of unsweetened cocoa powder to the sweetened condensed milk before mixing. The chocolate and caramel combination is absolutely divine. My oldest daughter’s favorite version.
Vegan Version – Substitute the heavy cream with full-fat coconut cream (chilled overnight) and use a dairy-free sweetened condensed coconut milk. The coconut flavor pairs surprisingly well with the caramel. My sister-in-law, who is dairy-free, requests this every family gathering.
Nutty Caramel Crunch – Toast 1/2 cup of chopped pecans or walnuts and fold them in along with the caramel swirl. The crunch adds a wonderful texture contrast. I made this for Thanksgiving last year and it disappeared before the pie.
Coffee Caramel – Dissolve 2 teaspoons of instant espresso powder in the vanilla extract before adding it to the condensed milk. The coffee flavor enhances the caramel beautifully without overpowering it. Perfect for grown-up gatherings.
Kid-Friendly Twist – Add 1/2 cup of crushed pretzels along with the caramel swirl. The salty crunch is a huge hit with kids. My youngest calls it “pretzel ice cream” and asks for it every week.
Serving & Storage Suggestions
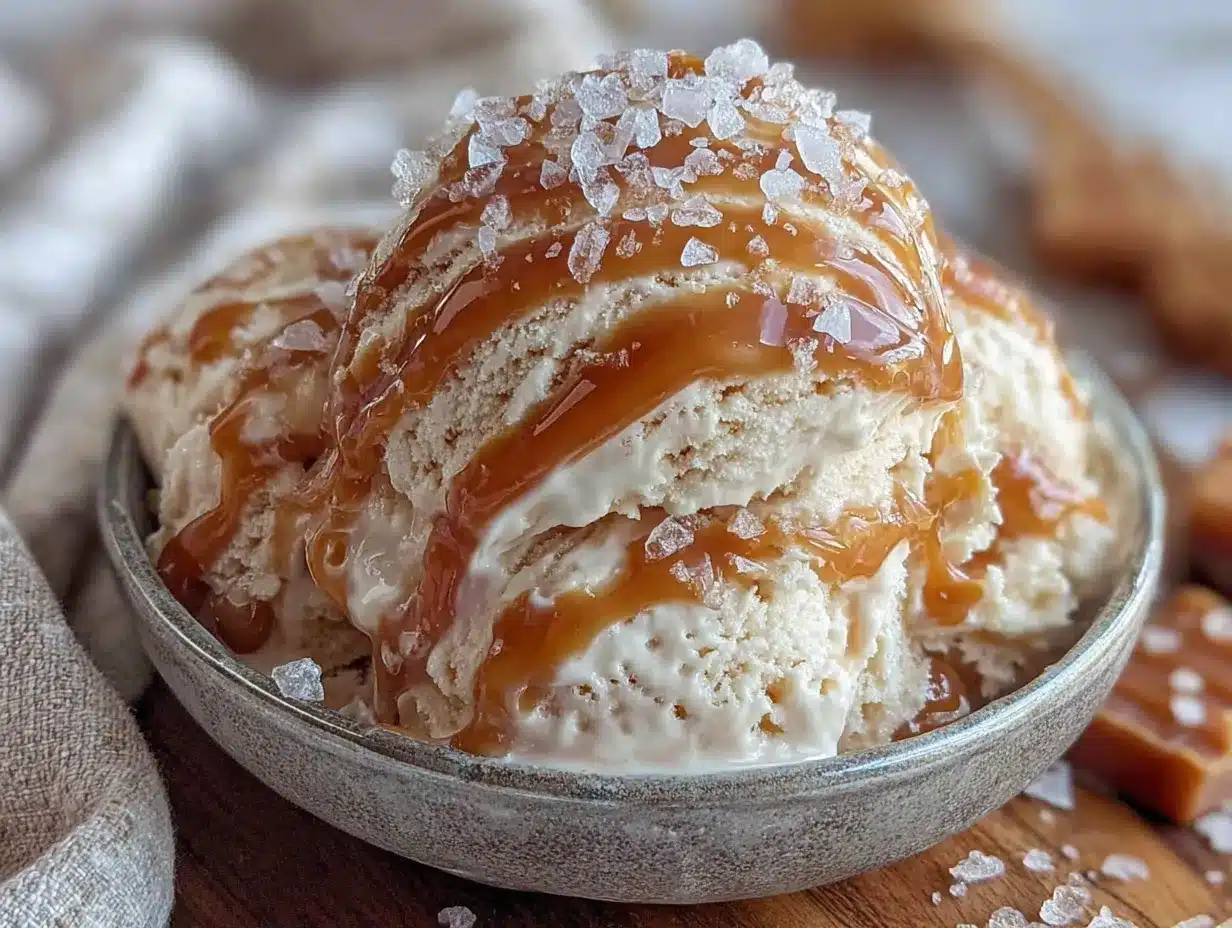
This no-churn salted caramel ice cream is best served slightly softened. Remove it from the freezer about 10 to 15 minutes before scooping. Use a sturdy ice cream scoop dipped in hot water for clean, beautiful scoops.
Presentation Ideas – Serve in chilled bowls or glasses. Drizzle extra caramel sauce on top and sprinkle with a little flaky sea salt. A dollop of whipped cream never hurts either. For a fun family dessert night, set up a sundae bar with toppings like chocolate sauce, sprinkles, chopped nuts, and cherries.
Storage – Keep the ice cream in an airtight container with a piece of parchment paper pressed directly onto the surface. This prevents freezer burn and ice crystals. Properly stored, this ice cream stays fresh for up to two weeks. But honestly, it never lasts that long in my house.
Reheating the Caramel – If you made extra caramel sauce, store it in a jar in the refrigerator for up to two weeks. To reheat, microwave in 10-second intervals, stirring between each, until pourable. Do not boil it again or it will harden.
Flavor Development – The flavors actually deepen and meld together after about 24 hours in the freezer. The first day is good, but the second day is even better. If you can, make this a day ahead of when you plan to serve it.
Nutritional Information & Benefits
While this is definitely a treat, there are a few silver linings worth mentioning. Each serving (about 1/2 cup) contains approximately 350 calories, 22 grams of fat, 38 grams of carbohydrates, and 4 grams of protein. These values will vary depending on the specific brands you use and any additions you make.
The heavy cream provides some calcium and vitamin A, while the butter in the caramel adds a small amount of vitamin A as well. If you use a high-quality sea salt like Maldon, you are getting trace minerals along with that wonderful flavor. The sweetened condensed milk is high in sugar, so this is definitely an occasional treat rather than an everyday indulgence.
For those watching their sugar intake, you can reduce the caramel sauce by half or skip the swirl altogether. The base ice cream is still delicious on its own. And if you have dairy sensitivities, the vegan version I mentioned earlier works beautifully. This recipe contains dairy and gluten (if you add pretzels), so keep that in mind for any allergies in your household.
I believe in balance. We eat healthy meals all week, and then on Friday nights, we scoop out bowls of this homemade ice cream and enjoy every single bite. Food is about joy, and this recipe brings plenty of it.
Conclusion
This creamy no-churn salted caramel ice cream is the recipe that brought that long-lost Maple Street shop back into my life. After twelve attempts, countless caramel disasters, and more taste tests than I care to admit, I finally nailed it. And the best part? My kids agree. They don’t miss the store-bought stuff at all.
Making ice cream at home feels like a small victory every time. You control the ingredients, the sweetness, the salt level. You get to watch your family’s faces light up with that first bite. And you get to say, “I made this.” There is something deeply satisfying about that.
I would love to hear how this recipe turns out for you. Did your kids love it? Did you try one of the variations? Drop a comment below and let me know. Share your photos, your tweaks, your happy ice cream moments. That is what makes this community so special. Now go grab that heavy cream and get started—your freezer is waiting for something delicious.
Frequently Asked Questions
Can I use salted butter instead of unsalted for the caramel?
I do not recommend it. Salted butter will make the final caramel too salty, especially since we are adding flaky sea salt separately. Stick with unsalted butter so you control the salt level yourself.
Why did my caramel turn out grainy?
Grainy caramel usually means the sugar crystallized during cooking. This happens when you stir too much or when sugar crystals get on the sides of the pan. To prevent this, use a wet pastry brush to wash down any crystals that form on the pan walls. Also, make sure your cream is at room temperature before adding it.
How long does this ice cream need to freeze?
At least 6 hours, but overnight is best. The ice cream needs to freeze completely solid for the best texture. If you try to scoop it too early, it will be soft and soupy. Patience pays off here.
Can I double this recipe?
Absolutely. This recipe doubles beautifully. Just make sure you have a large enough container for freezing, and give it extra time to freeze solid. A 9×13-inch baking dish works great for double batches.
Why is my ice cream rock hard after freezing?
No-churn ice cream does freeze more firmly than store-bought because it has a lower fat content and no commercial stabilizers. Let it sit at room temperature for 10 to 15 minutes before scooping. You can also add 1 tablespoon of vodka or corn syrup to the base to keep it softer, but I prefer the texture without those additions.
Pin This Recipe!
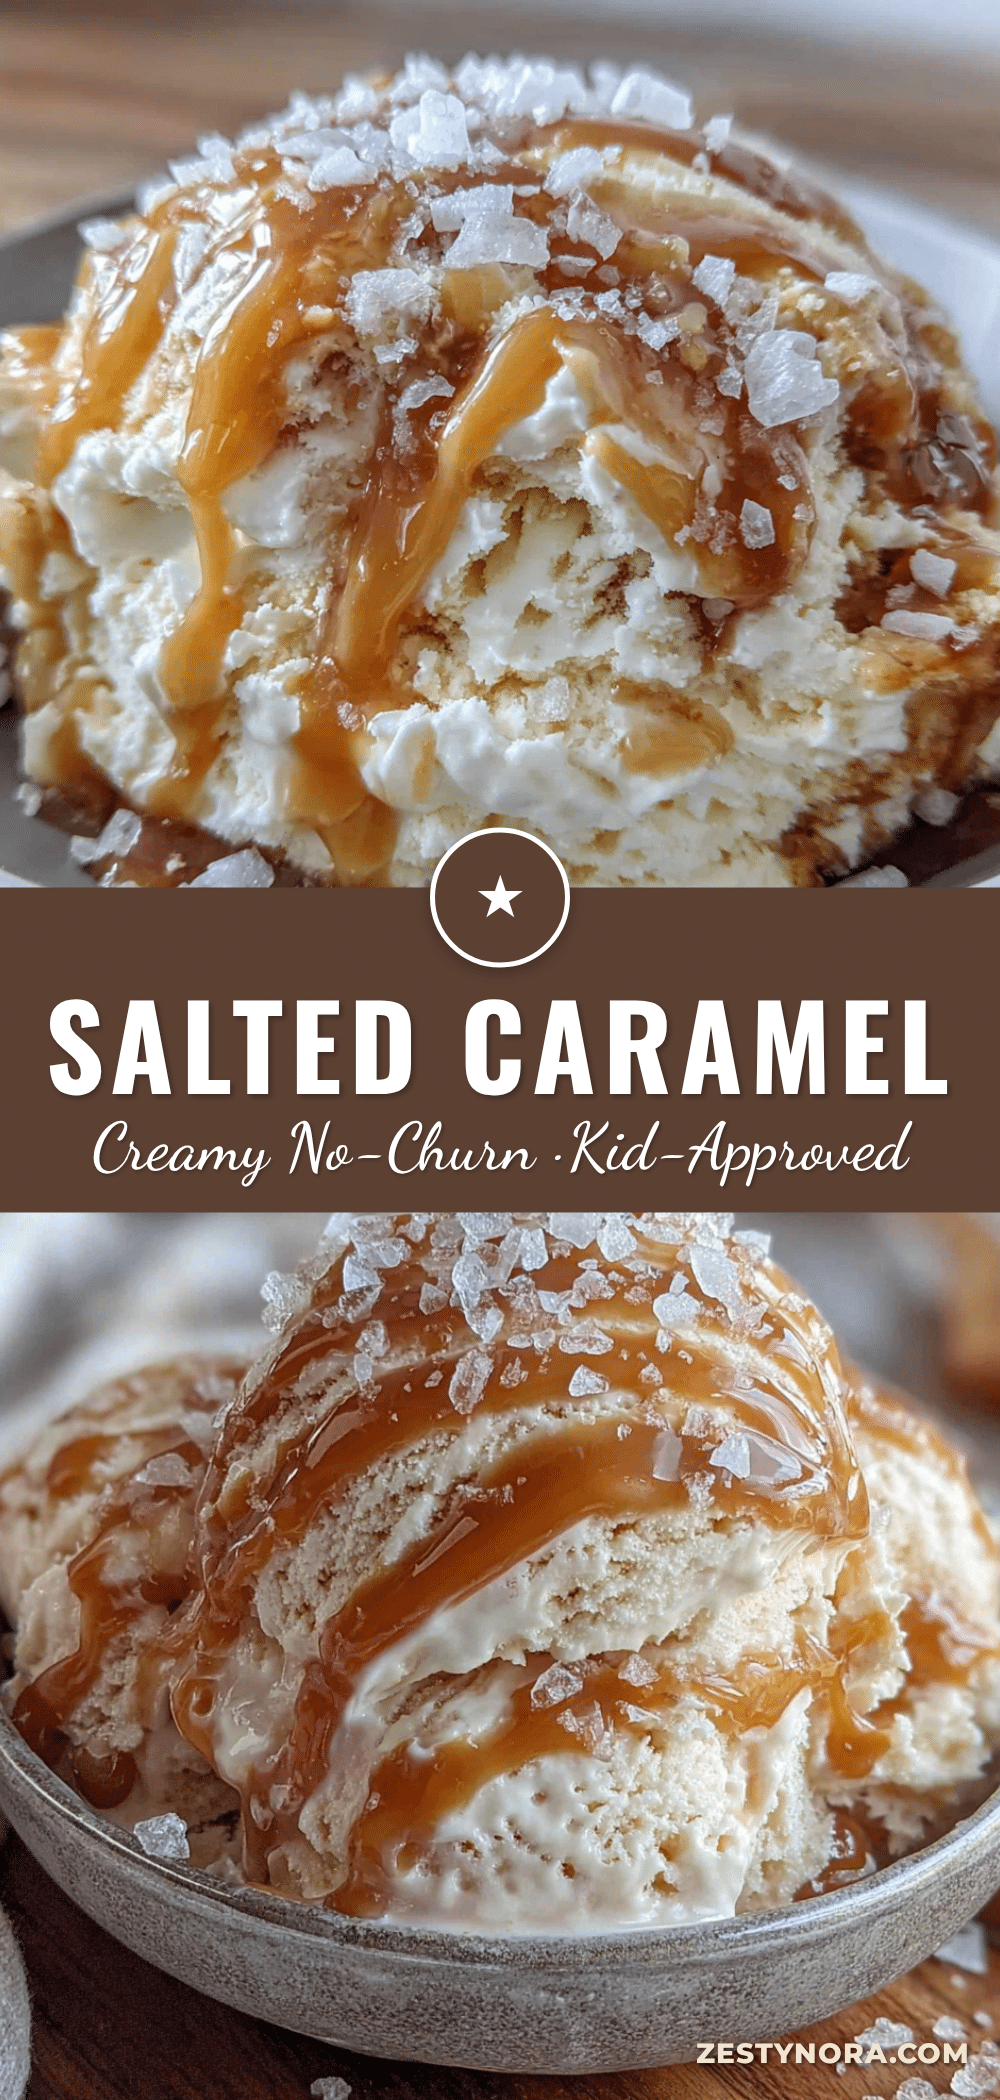
Best Homemade No-Churn Salted Caramel Ice Cream Recipe
This creamy no-churn salted caramel ice cream requires no ice cream machine and uses simple pantry ingredients. With a perfectly balanced caramel swirl and flaky sea salt, it’s a kid-approved, budget-friendly treat that brings back the magic of a beloved ice cream shop.
- Prep Time: 20 minutes
- Cook Time: 10 minutes
- Total Time: 6 hours 30 minutes (includes freezing)
- Yield: 8 servings 1x
- Category: Dessert
- Cuisine: American
Ingredients
- 1 cup (200g) granulated sugar
- 6 tablespoons (85g) unsalted butter, cut into small pieces
- 1/2 cup (120ml) heavy cream, room temperature
- 1 teaspoon flaky sea salt
- 1 teaspoon vanilla extract
- 2 cups (480ml) heavy cream, cold
- 1 can (14 ounces/397g) sweetened condensed milk
- 1 teaspoon vanilla extract
- Pinch of salt
Instructions
- Make the Salted Caramel Sauce: Place a medium saucepan over medium heat and add the granulated sugar. Stir constantly with a wooden spoon or heat-resistant spatula until the sugar melts into a deep amber color (about 5-7 minutes). Immediately remove from heat.
- Carefully add the butter pieces one at a time, stirring vigorously until melted and incorporated. Slowly pour in the room-temperature heavy cream while stirring. Stir in the flaky sea salt and vanilla extract. Let cool for 15-20 minutes at room temperature, then refrigerate until completely cold (about 2 hours).
- Whip the Cream: In a large mixing bowl, beat the cold heavy cream with an electric hand mixer or stand mixer on medium-high speed until stiff peaks form (about 3-5 minutes).
- Combine the Base: In a separate bowl, whisk together the sweetened condensed milk, vanilla extract, and pinch of salt until smooth. Gently fold this mixture into the whipped cream using a rubber spatula until just combined.
- Add the Caramel Swirl: Pour one-third of the ice cream base into a chilled loaf pan. Drizzle one-third of the caramel sauce over the top. Gently swirl with a butter knife or skewer. Repeat with the remaining layers. Do not overswirl.
- Freeze: Press parchment paper or plastic wrap directly onto the surface of the ice cream. Cover the pan with its lid or aluminum foil. Freeze for at least 6 hours, preferably overnight.
Notes
Do not stir the caramel too much once the sugar starts melting to prevent crystallization. Let the ice cream sit at room temperature for 10-15 minutes before scooping for best texture. The flavors deepen after 24 hours in the freezer.
Nutrition
- Serving Size: 1/2 cup
- Calories: 350
- Sugar: 34
- Sodium: 250
- Fat: 22
- Saturated Fat: 14
- Carbohydrates: 38
- Protein: 4
Keywords: no-churn ice cream, salted caramel, homemade ice cream, easy ice cream, no machine ice cream