The Friendsgiving was in 48 hours and I’d completely forgotten I was supposed to bring the stuffing. Everyone else had been texting photos of their elaborate sides for weeks—hand-rolled dinner rolls, a three-layer pumpkin cheesecake, some kind of Brussels sprout situation that looked like it belonged in a magazine. I had a loaf of stale gluten-free bread in my pantry, a bag of celery that was starting to look sad, and honestly, a growing sense of panic. I mean, there’s nothing like an impending potluck to make you question every life choice that led you to this moment.
I remember standing there, staring into my fridge like it might magically produce a solution. My neighbor had called earlier that day to ask if I needed anything from the store, and I’d said no—because I genuinely thought I had it together. Spoiler alert: I did not. The gluten-free bread was rock hard, the butter was almost gone, and I was pretty sure the herbs in my spice drawer had been there since before I moved in. But here’s the thing about cooking under pressure—sometimes you stumble into something incredible. I grabbed what I had, threw it together with zero confidence, and showed up to that dinner feeling like I was bringing a half-baked apology.
You know that moment when everyone goes quiet after the first bite? That happened. And then someone asked for the recipe, and I had to admit I’d winged it while panicking about being the one person who brought a dud dish to the party. Honestly, that stuffing—crispy on top, soft in the middle, packed with herbs and that buttery, savory flavor you crave—stole the whole table. I’ve been making it ever since, and it’s become my go-to for every gathering. Maybe you’ve been there too, scrambling at the last minute, wondering if you can pull it off. Trust me, this recipe has your back.
Why You’ll Love This Recipe
Let me tell you why this gluten-free herb stuffing has become my secret weapon for every holiday and potluck. First off, it’s ridiculously easy. I’m talking about a recipe that comes together in under an hour, with most of that time being hands-off baking. You don’t need to be a professional chef or have a fancy kitchen to nail this.
- Quick & Easy: From start to table in about 45 minutes, with only 15 minutes of active prep. Perfect for those moments when you realize dinner is tomorrow and you haven’t started anything.
- Simple Ingredients: No weird specialty items. You likely have most of these in your kitchen right now—gluten-free bread, celery, onion, butter, and dried herbs.
- Perfect for Gatherings: This stuffing is designed to feed a crowd. It scales beautifully, whether you’re making it for a small Thanksgiving or a giant potluck.
- Crowd-Pleaser: I’ve served this to gluten-free friends and gluten-loving relatives alike, and nobody can tell the difference. It’s that good.
- Unbelievably Delicious: The texture is spot-on—crispy golden edges with a soft, moist center. The herb blend is perfectly balanced, not too overpowering.
What makes this recipe different from every other gluten-free stuffing out there? It’s the technique. Most gluten-free stuffings turn into a soggy, dense mess because gluten-free bread absorbs liquid differently. I figured out the trick—toasting the bread cubes first and using just the right amount of broth. It took me three failed attempts (and one very sad Thanksgiving) to get it right, but now it’s foolproof. This isn’t just another version; it’s the best version, tested and perfected in my own kitchen.
This stuffing is the kind that makes you close your eyes after the first bite. It’s comfort food reimagined—healthier, faster, but with the same soul-soothing satisfaction. Perfect for impressing guests without stress, or turning a simple meal into something memorable. Honestly, it’s the dish that made me believe gluten-free cooking could be just as good as the real thing.
What Ingredients You Will Need
This recipe uses simple, wholesome ingredients to deliver bold flavor and satisfying texture without the fuss. Most of these are pantry staples, which makes this perfect for last-minute gatherings.
For the Stuffing Base
- 1 loaf gluten-free bread (about 12-14 ounces), cut into ½-inch cubes (I prefer Canyon Bakehouse or Schar for best texture; avoid soft, squishy bread)
- 4 tablespoons unsalted butter (adds richness; use dairy-free butter if needed)
- 1 large yellow onion, diced (about 1½ cups)
- 3 celery stalks, diced (about 1 cup)
- 3 cloves garlic, minced
- 1½ cups low-sodium vegetable or chicken broth (use gluten-free certified broth)
- 2 large eggs, lightly beaten (helps bind the stuffing together)
For the Herb Blend
- 2 teaspoons dried sage (the star of stuffing—don’t skip this)
- 1½ teaspoons dried thyme
- 1 teaspoon dried rosemary, crushed
- ½ teaspoon dried marjoram (optional but adds a lovely floral note)
- ½ teaspoon salt (plus more to taste)
- ¼ teaspoon black pepper
- ¼ cup fresh parsley, chopped (for brightness at the end)
A few ingredient tips I’ve learned the hard way. For the bread, look for a sturdy gluten-free loaf—something that feels dense and holds its shape. Avoid the super soft, airy gluten-free breads because they’ll turn to mush. I’ve had great luck with Udi’s Whole Grain or Trader Joe’s gluten-free bread. If you’re feeling ambitious, day-old bread works even better because it’s already slightly stale. In summer, I sometimes swap in fresh herbs instead of dried—just triple the amount since fresh herbs are less concentrated. For a dairy-free version, use vegan butter or olive oil. And if you’re watching your sodium, use no-salt-added broth and adjust the salt at the end.
Equipment Needed
You don’t need a lot of fancy equipment for this recipe, which is part of why I love it. Here’s what you’ll need:
- Large baking sheet for toasting the bread cubes (a rimmed sheet works best to prevent spills)
- Large skillet or sauté pan for cooking the vegetables
- 9×13-inch baking dish (or similar 3-quart casserole dish)
- Large mixing bowl for combining everything
- Chef’s knife and cutting board
- Measuring cups and spoons
- Aluminum foil for covering during baking
If you don’t have a 9×13 dish, you can use a 10-inch cast-iron skillet or even a 9-inch square pan—just adjust the baking time slightly. I’ve made this in a disposable aluminum pan for potlucks, and it works perfectly. One thing I learned: don’t skip the rimmed baking sheet for toasting the bread. I once used a flat cookie sheet and ended up with bread cubes all over my oven floor. Not my finest moment.
Preparation Method
Alright, let’s get cooking. This recipe is straightforward, but I’ll walk you through every step with the little tricks I’ve picked up along the way.
Step 1: Toast the Bread Cubes
Preheat your oven to 350°F (175°C). Spread the gluten-free bread cubes in a single layer on a large rimmed baking sheet. Bake for 10-12 minutes, stirring halfway through, until they’re dry and lightly golden. They should feel crispy on the outside but still slightly soft in the center. This step is crucial—it prevents the stuffing from turning into a soggy mess. I once skipped this step when I was in a rush, and the result was a dense, wet brick that nobody touched. Learn from my mistake.
Step 2: Sauté the Vegetables
While the bread toasts, melt the butter in a large skillet over medium heat. Add the diced onion and celery, and cook for 6-8 minutes until softened and translucent. The onions should smell sweet, not burnt. Add the minced garlic and cook for another minute until fragrant. You’ll know it’s ready when your kitchen smells like a cozy autumn day. Remove from heat and set aside.
Step 3: Mix the Herb Broth
In a small bowl or measuring cup, whisk together the broth, eggs, dried sage, thyme, rosemary, marjoram, salt, and pepper. Give it a good stir to make sure the herbs are evenly distributed. The mixture should look like a pale, herby liquid—almost like a savory custard base. Don’t worry if it seems thin; that’s exactly what you want.
Step 4: Combine Everything
In a large mixing bowl, combine the toasted bread cubes and the sautéed vegetables. Pour the herb broth mixture over the top and gently fold everything together with a spatula. Be careful not to overmix—you want the bread to absorb the liquid without breaking apart. Let the mixture sit for 5-10 minutes so the bread can soak up all that flavor. The cubes should be moist but not swimming in liquid. If it looks too dry, add a splash more broth. Too wet? Add a few more bread cubes.
Step 5: Bake the Stuffing
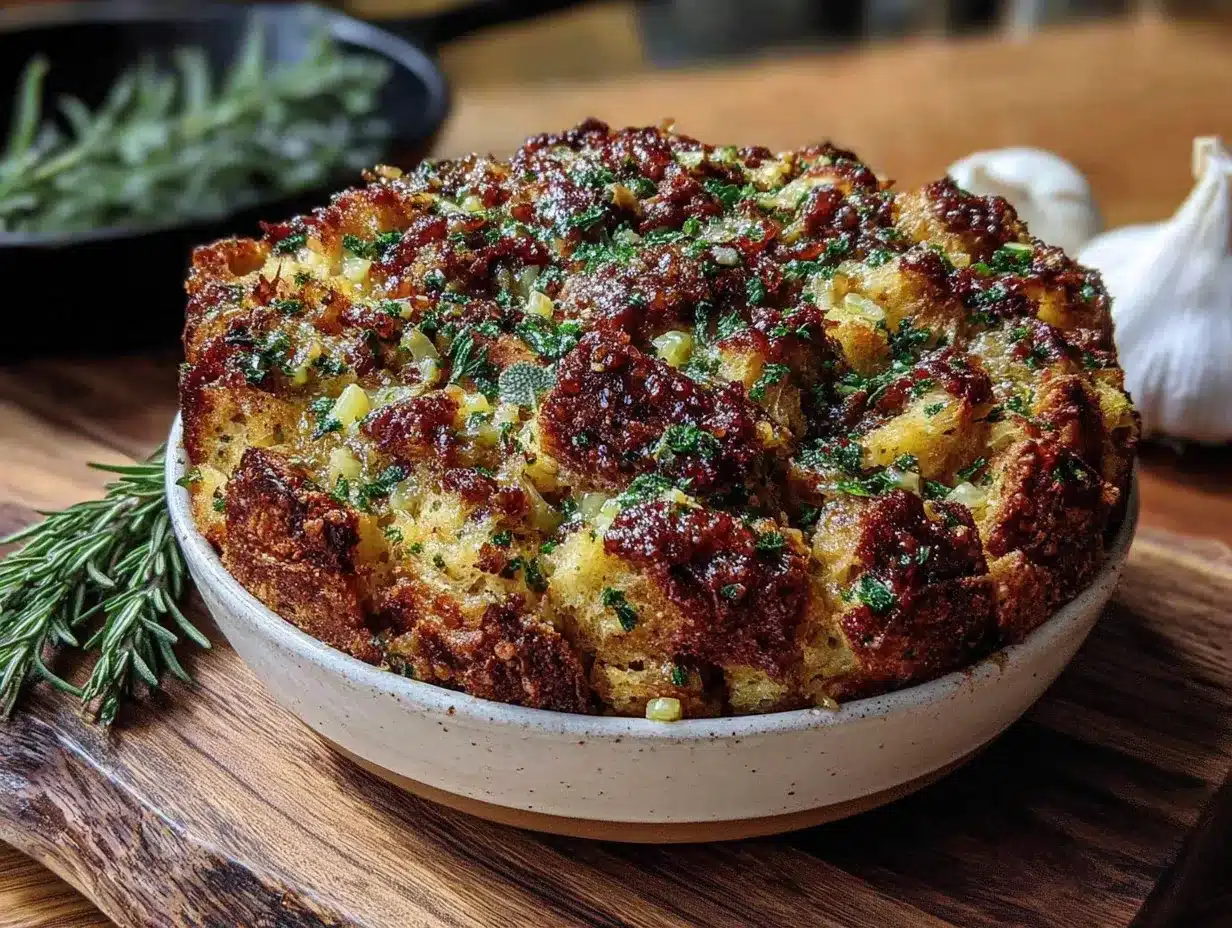
Transfer the mixture to a greased 9×13-inch baking dish and spread it into an even layer. Cover with aluminum foil and bake at 350°F (175°C) for 25 minutes. Then, remove the foil and bake for another 15-20 minutes until the top is golden brown and crispy. The edges should be slightly crunchy while the center stays soft and tender. Let it rest for 5 minutes before serving—this helps it set and makes it easier to scoop.
Cooking Tips & Techniques
I’ve made this stuffing at least two dozen times, and I’ve learned a few things along the way. Here are my best tips to ensure yours turns out perfect every time.
Don’t skip the toasting step. I know it adds an extra 10 minutes, but it’s non-negotiable. Gluten-free bread is more porous than regular bread, so it absorbs liquid faster. Toasting creates a barrier that helps the cubes hold their shape. The first time I made this, I skipped toasting because I was in a hurry, and the result was a sad, mushy mess that fell apart. Never again.
Use low-sodium broth. You can always add more salt later, but you can’t take it out. I’ve made the mistake of using regular broth, and the stuffing came out way too salty. Stick with low-sodium and adjust at the end.
Let the mixture rest before baking. That 5-10 minute rest is when the magic happens. The bread absorbs the liquid and becomes soft and flavorful without getting soggy. If you bake it immediately, the liquid might pool at the bottom.
Watch the top. Every oven is different. If the top is browning too quickly, tent it with foil for the last 10 minutes. You want golden brown, not burnt. I learned this the hard way when I walked away to answer the phone and came back to a smoking kitchen.
Make it ahead. This stuffing actually gets better after a day in the fridge. The flavors meld together, and the texture improves. Assemble it the night before, cover it, and refrigerate. Then add 10 minutes to the covered baking time since you’re starting from cold.
Variations & Adaptations
One of the best things about this recipe is how adaptable it is. Here are some of my favorite variations.
Classic Sausage Stuffing
Brown ½ pound of gluten-free sausage (casings removed) in the skillet before cooking the vegetables. Crumble it up and mix it into the bread cubes. The rendered fat adds incredible flavor, and the sausage makes it hearty enough to be a main dish. I do this for Christmas dinner every year.
Mushroom & Leek Stuffing
Swap the celery for 2 cups of sliced mushrooms and 1 cup of chopped leeks. Sauté them in the butter until golden and caramelized. The earthy mushrooms add a deep, savory flavor that pairs beautifully with the herbs. This is my go-to for vegetarian guests.
Apple & Cranberry Stuffing
Add 1 diced apple (I prefer Honeycrisp or Granny Smith) and ½ cup dried cranberries to the vegetable mixture. The sweetness balances the savory herbs, and the cranberries add little pops of tartness. This version is always a hit at Thanksgiving.
For a vegan version, use vegan butter and a flax egg (1 tablespoon ground flaxseed mixed with 3 tablespoons water). The texture will be slightly less firm, but it’s still delicious. If you’re avoiding onions, use fennel or extra celery instead. And for a low-carb option, substitute the bread with cauliflower florets—though honestly, that’s a completely different dish.
Serving & Storage Suggestions
This stuffing is best served warm, straight from the oven. The contrast between the crispy top and the soft interior is what makes it so irresistible. I like to garnish it with a sprinkle of fresh parsley and a few cracks of black pepper right before serving. It adds a pop of color and freshness.
For a full holiday spread, serve it alongside roasted turkey or chicken, mashed potatoes, and green bean casserole. It also pairs beautifully with a simple arugula salad dressed with lemon vinaigrette to cut through the richness. If you’re serving it at a potluck, keep it covered with foil until you’re ready to eat—it stays warm for about 30 minutes.
For storage, let the stuffing cool completely, then transfer it to an airtight container. It will keep in the refrigerator for up to 4 days. The flavors actually deepen overnight, so leftovers are often better than the first batch. To reheat, place it in a 350°F oven for 10-15 minutes, or microwave individual portions for 1-2 minutes. If it seems dry, add a splash of broth before reheating.
This stuffing freezes beautifully. Portion it into freezer-safe containers or zip-top bags, and it will keep for up to 3 months. Thaw overnight in the refrigerator and reheat as directed. I always make a double batch and freeze one for busy weeknights.
Nutritional Information & Benefits
Per serving (about 1 cup), this gluten-free herb stuffing contains approximately:
- Calories: 220
- Fat: 8g
- Carbohydrates: 32g
- Fiber: 3g
- Protein: 6g
- Sodium: 450mg
This stuffing is naturally gluten-free, making it safe for those with celiac disease or gluten sensitivity. The celery and onion provide fiber and antioxidants, while the herbs offer anti-inflammatory properties. Sage is particularly known for its cognitive benefits, and thyme is rich in vitamin C. I love that I can serve this to my gluten-free friends without them feeling left out during the holidays.
If you’re watching your calories, you can reduce the butter to 2 tablespoons and use extra broth for moisture. For a lower-sodium version, use no-salt-added broth and skip the added salt—the herbs provide plenty of flavor on their own.
Conclusion
This gluten-free herb stuffing has become my signature dish, and I’m honestly a little proud of that. It started as a panic-induced experiment and turned into the recipe everyone requests for every gathering. The best part? It’s so simple that you can make it without stress, even when you’ve forgotten about the potluck until the last minute. Trust me, I’ve been there.
I hope you give this recipe a try and make it your own. Add your favorite mix-ins, tweak the herbs to your taste, and don’t be afraid to experiment. That’s the beauty of cooking—every batch is a little different, and that’s what makes it special. If you make this stuffing, I’d love to hear how it turned out. Drop a comment below, tag me in your photos, or share your own twist on the recipe. Happy cooking, and here’s to many more stress-free, delicious gatherings!
Frequently Asked Questions
Can I make this stuffing ahead of time?
Absolutely! Assemble the stuffing completely, cover it, and refrigerate for up to 24 hours. When you’re ready to bake, add about 10 minutes to the covered baking time since you’re starting from cold. It actually tastes better the next day because the flavors have time to meld.
What’s the best gluten-free bread for stuffing?
Look for a sturdy, dense loaf—not the soft, airy kind. I’ve had great results with Canyon Bakehouse, Schar, and Udi’s Whole Grain. Day-old bread works even better because it’s already slightly stale and absorbs liquid more evenly.
Can I freeze this stuffing?
Yes! Let the stuffing cool completely, then portion it into freezer-safe containers or zip-top bags. It will keep for up to 3 months. Thaw overnight in the refrigerator and reheat in a 350°F oven until warmed through.
How do I prevent the stuffing from getting soggy?
The key is toasting the bread cubes first. This creates a barrier that helps them hold their shape and absorb liquid without turning into mush. Also, let the mixture rest for 5-10 minutes before baking so the bread absorbs the liquid evenly.
Can I make this dairy-free or vegan?
Definitely! For a dairy-free version, use vegan butter or olive oil instead of regular butter. For a vegan version, use a flax egg (1 tablespoon ground flaxseed mixed with 3 tablespoons water) instead of regular eggs. The texture will be slightly less firm, but it’s still delicious.
Pin This Recipe!
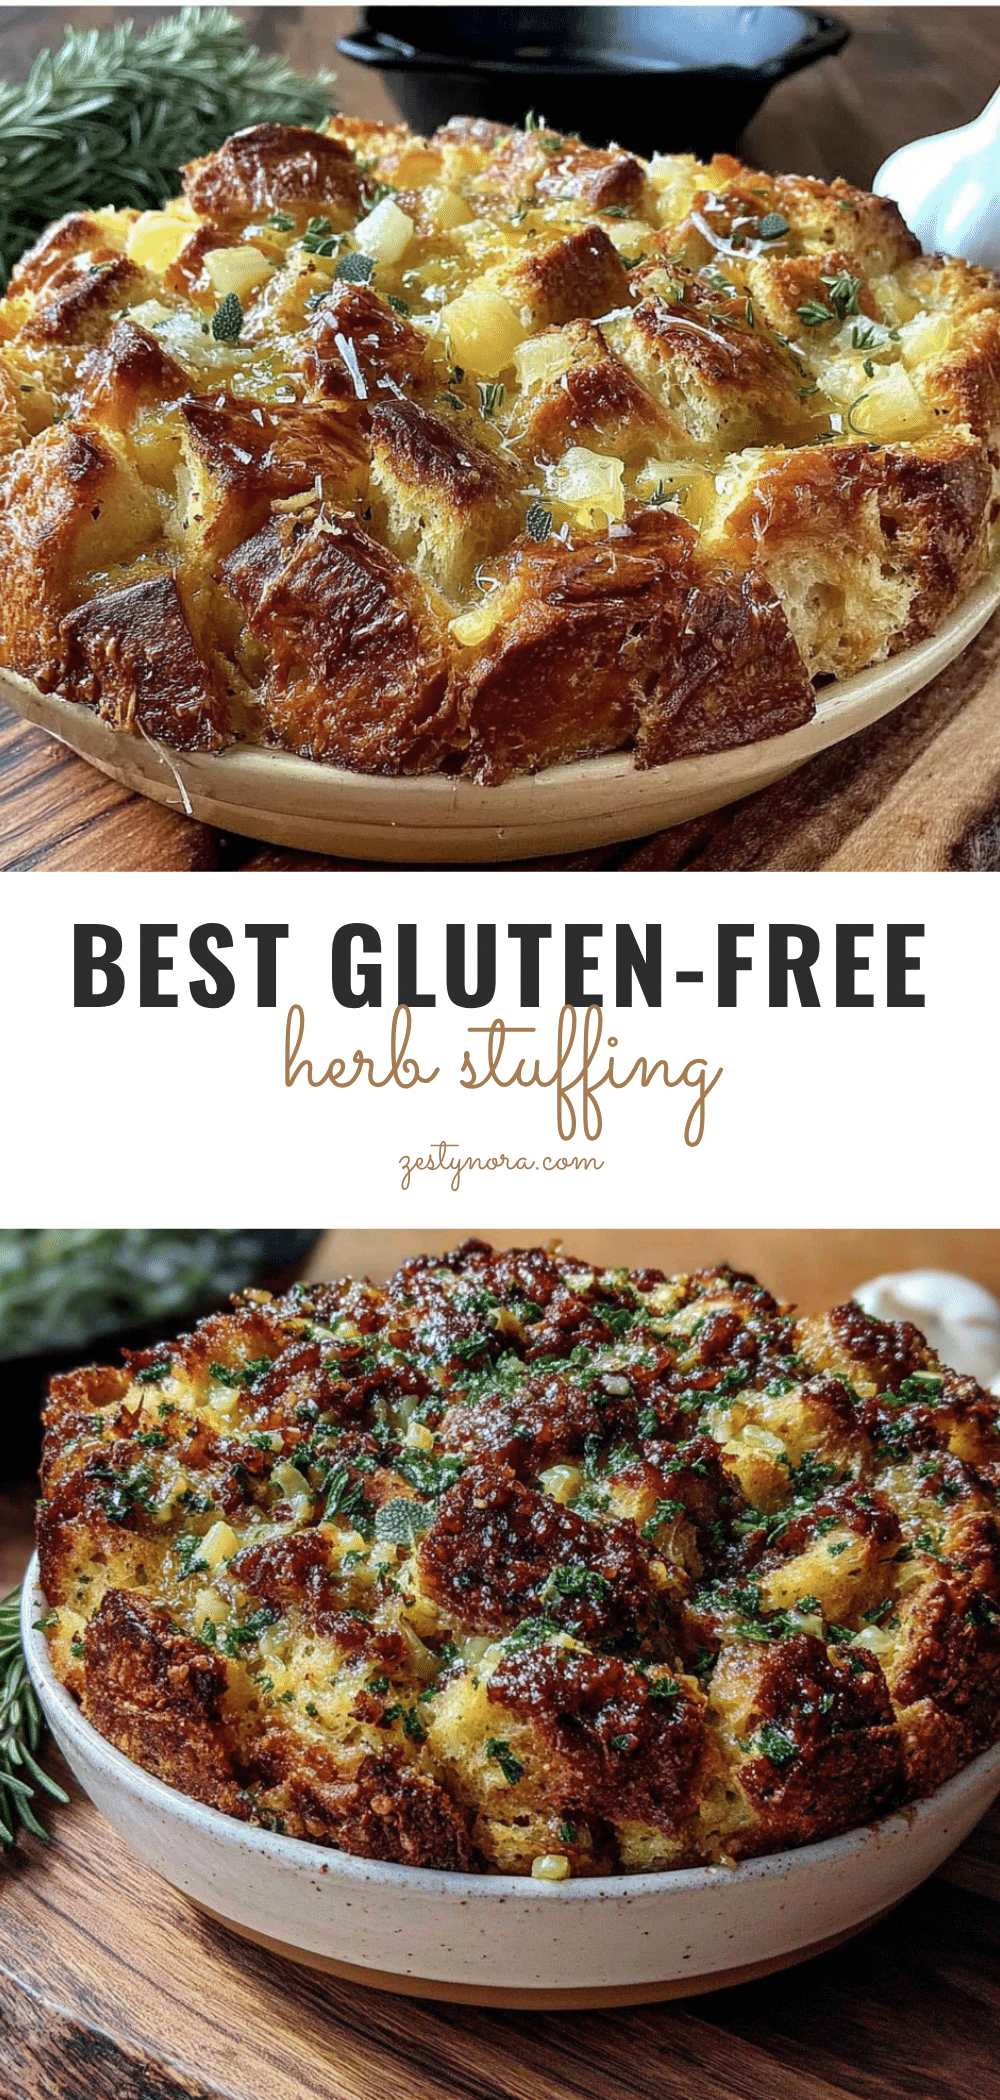
Best Gluten-Free Herb Stuffing: Easy Crowd-Pleasing Recipe

This gluten-free herb stuffing is crispy on top, soft in the middle, and packed with herbs and buttery, savory flavor. It’s an easy, crowd-pleasing recipe that comes together in under an hour, perfect for holidays and potlucks.
- Prep Time: 15 minutes
- Cook Time: 45 minutes
- Total Time: 1 hour
- Yield: 8 servings 1x
- Category: Side Dish
- Cuisine: American
Ingredients
- 1 loaf gluten-free bread (about 12–14 ounces), cut into ½-inch cubes
- 4 tablespoons unsalted butter
- 1 large yellow onion, diced (about 1½ cups)
- 3 celery stalks, diced (about 1 cup)
- 3 cloves garlic, minced
- 1½ cups low-sodium vegetable or chicken broth (gluten-free certified)
- 2 large eggs, lightly beaten
- 2 teaspoons dried sage
- 1½ teaspoons dried thyme
- 1 teaspoon dried rosemary, crushed
- ½ teaspoon dried marjoram (optional)
- ½ teaspoon salt
- ¼ teaspoon black pepper
- ¼ cup fresh parsley, chopped
Instructions
- Preheat oven to 350°F (175°C). Spread gluten-free bread cubes in a single layer on a large rimmed baking sheet. Bake for 10-12 minutes, stirring halfway, until dry and lightly golden.
- While bread toasts, melt butter in a large skillet over medium heat. Add diced onion and celery; cook 6-8 minutes until softened. Add minced garlic and cook 1 minute more. Remove from heat.
- In a small bowl, whisk together broth, eggs, dried sage, thyme, rosemary, marjoram, salt, and pepper.
- In a large mixing bowl, combine toasted bread cubes and sautéed vegetables. Pour herb broth mixture over top and gently fold together. Let sit 5-10 minutes for bread to absorb liquid.
- Transfer mixture to a greased 9×13-inch baking dish. Cover with foil and bake at 350°F for 25 minutes. Remove foil and bake 15-20 minutes more until top is golden brown and crispy. Let rest 5 minutes before serving.
Notes
Toast bread cubes to prevent sogginess. Use low-sodium broth to control salt. Let mixture rest before baking for best texture. Can be assembled a day ahead and refrigerated. Freezes well for up to 3 months.
Nutrition
- Serving Size: 1 cup
- Calories: 220
- Sugar: 4
- Sodium: 450
- Fat: 8
- Saturated Fat: 4
- Carbohydrates: 32
- Fiber: 3
- Protein: 6
Keywords: gluten-free stuffing, herb stuffing, Thanksgiving stuffing, gluten-free side dish, holiday stuffing, easy stuffing recipe


