The power went out halfway through my daughter’s fourth birthday party. There I was, standing in a kitchen that was rapidly losing its cool, staring at a half-melted tub of vanilla ice cream and a bunch of bananas that were definitely not going to survive the afternoon. My neighbor, an older gentleman named Frank who I’d only ever seen tending his immaculate rose bushes, poked his head through the back door. “Heard the whole neighborhood is down,” he said, holding up a dusty box. “You might need this.” It was a Ninja Creami, still in its original packaging, that his wife had bought on a whim and never used.
Honestly, I almost laughed. Here I was, trying to salvage a birthday party for a bunch of sugar-fueled toddlers, and this quiet rose gardener was handing me an ice cream machine I’d never seen before. But desperation makes you do funny things. I thanked him, plugged it in—thank goodness for gas generators—and started rummaging through my pantry. I had some overripe bananas, a carton of milk, and a box of sugar-free vanilla pudding mix. It wasn’t exactly a gourmet setup, but let me tell you, that first spin of the Creami changed everything.
I wasn’t trying to create a recipe that day. I was just trying to make something cold and sweet that wouldn’t send five four-year-olds bouncing off the walls. What came out of that machine was a creamy, banana-packed ice cream that had every single kid asking for seconds—and not a single parent complaining about the sugar crash later. Maybe you’ve been there, staring at a kitchen full of ingredients that don’t seem to add up to anything good. That’s exactly how this Kid-Approved Low Sugar Banana Pudding Ice Cream was born, and I’ve been making it every week since.
Why You’ll Love This Recipe
Let’s be real for a second. Finding a dessert that actually tastes indulgent but doesn’t load your kids up with sugar is like finding a unicorn. This recipe is that unicorn. I’ve tested it on my own picky eaters, my sister’s kids who swear they hate bananas, and even a few adults who rolled their eyes at “low sugar” ice cream. Every single one of them went back for more.
- Quick & Easy: From start to finish, you’re looking at about 10 minutes of active prep time. The Ninja Creami does all the hard work. Perfect for those afternoons when the kids are asking for a treat and you need something fast.
- Simple Ingredients: You probably have most of these in your kitchen right now. No fancy grocery store trips, no obscure health food aisle finds. Just bananas, milk, pudding mix, and a few pantry staples.
- Perfect for Family Movie Nights: This ice cream has become our go-to for Friday night movies. It feels special without the guilt, and the kids get excited about making their own toppings bar.
- Crowd-Pleaser: I’ve brought this to potlucks and playdates, and it disappears faster than anything else on the table. Kids love the creamy texture, and parents love that it won’t send their kids into a sugar spiral.
- Unbelievably Delicious: The secret is in the blend. The bananas add natural sweetness, the pudding mix gives that classic banana pudding flavor, and the Creami turns it all into the smoothest, creamiest ice cream you’ve ever had from a machine.
What makes this different from every other banana ice cream recipe out there? It’s the balance. Most low-sugar ice creams taste like frozen milk with a hint of fruit. This one actually tastes like banana pudding—the kind your grandma used to make with the vanilla wafers and the creamy layers. It’s comfort food reimagined for a generation of parents who want their kids to eat well without feeling deprived.
This recipe isn’t just good for low sugar ice cream. It’s good ice cream, period. The kind that makes you close your eyes after the first bite and forget you’re eating something that’s actually good for you.
What Ingredients You Will Need
This recipe uses simple, wholesome ingredients that come together to create something truly special. Most of these are pantry staples or easy to find at any grocery store. I’ve tested this with different brands and substitutions, so I’ll share what works best.
For the Base
- 2 large ripe bananas (the spotter, the better — those brown spots mean maximum natural sweetness)
- 1 ½ cups whole milk (I recommend using whole milk for the creamiest texture; 2% works in a pinch, but avoid skim)
- ½ cup heavy cream (this is the secret to that rich, indulgent mouthfeel without adding sugar)
- 1 box (1 oz) sugar-free vanilla instant pudding mix (Jell-O brand works perfectly, but store brands are fine too)
- 2 tablespoons honey or maple syrup (optional, but adds a touch more sweetness if your bananas aren’t super ripe)
- ½ teaspoon vanilla extract (pure vanilla extract makes a difference here)
- Pinch of salt (don’t skip this — it balances the sweetness and enhances the banana flavor)
For the Mix-Ins (Optional)
- ¼ cup crushed sugar-free vanilla wafers (I use the Good Dee’s brand or make my own with almond flour)
- ¼ cup chopped walnuts or pecans (adds a nice crunch and healthy fats)
- 2 tablespoons sugar-free chocolate chips (Lily’s brand is my go-to)
Let me talk about the bananas for a minute. I cannot stress this enough — use bananas that are almost too ripe to eat. You know the ones I’m talking about, the ones sitting on your counter with brown spots all over them. Those are perfect. They’re naturally sweeter and softer, which means you’ll need less added sweetener. I’ve tried this with yellow bananas, and it just doesn’t have the same depth of flavor.
For the milk, I’ve tested this with oat milk and almond milk. The oat milk version works okay, but the texture is slightly thinner. Almond milk makes it a bit icy. If you’re dairy-free, go with oat milk and add an extra tablespoon of heavy cream (or full-fat coconut cream) to compensate.
The sugar-free pudding mix is the backbone of this recipe. It gives you that classic banana pudding flavor without the sugar. I’ve tried making this with just bananas and milk, and it tastes like frozen banana smoothie — good, but not ice cream. The pudding mix adds the creaminess and structure that makes it feel like the real deal.
Equipment Needed
This recipe is designed specifically for the Ninja Creami, and honestly, that machine is worth every penny. I know it’s an investment, but if you’re a family that loves ice cream, it pays for itself in a summer.
- Ninja Creami Machine (any model works — I have the NC300 and it’s been going strong for two years)
- Ninja Creami Pint Container (the one that comes with the machine)
- Blender or immersion blender (for mixing the base until smooth)
- Measuring cups and spoons
- Freezer-safe container (if you’re making a double batch)
- Spatula (for scraping down the sides)
- Mixing bowl
If you don’t have a Ninja Creami yet, I’ve seen them at Target and on sale during Prime Day. My neighbor Frank got his at a garage sale for ten bucks, so keep an eye out. You can also check Facebook Marketplace — people buy these things, use them twice, and sell them.
One tip for the Creami — always make sure your base is completely frozen before spinning. I’m talking rock solid, at least 24 hours in the freezer. If it’s not frozen through, the machine will struggle and you’ll end up with a soupy mess. I learned that the hard way.
Preparation Method
This is where the magic happens. Follow these steps, and you’ll have a pint of the best low sugar ice cream you’ve ever tasted.
- Prep your bananas. Peel those overripe bananas and break them into chunks. Place them in a blender or a deep bowl if you’re using an immersion blender. The riper they are, the easier they’ll blend.
- Add the liquids. Pour in the whole milk, heavy cream, honey or maple syrup (if using), and vanilla extract. Don’t add the pudding mix yet — I’ve found it blends better if the liquids are already combined.
- Blend until smooth. Pulse the blender a few times, then blend on medium speed for about 30 seconds. You want the bananas completely incorporated — no chunks left. The mixture should be smooth and slightly thick, like a thin milkshake. If you see any banana bits, keep blending.
- Add the pudding mix. Sprinkle the sugar-free vanilla pudding mix over the top of the blended mixture. Add the pinch of salt. Blend again on low speed for about 15 seconds, just until the pudding mix is fully dissolved. Don’t over-blend here, or you’ll incorporate too much air.
- Taste and adjust. Here’s where you get to be the boss. Dip a clean spoon in and taste the base. Is it sweet enough for you? If your bananas were super ripe, you might not need any extra sweetener. If they were just okay, add a little more honey or maple syrup. Remember, freezing dulls sweetness, so it should taste slightly sweeter than you want the final ice cream to be.
- Pour into the pint container. Carefully pour the mixture into your Ninja Creami pint container. Leave about half an inch of headspace at the top — the mixture will expand slightly as it freezes. Put the lid on tight.
- Freeze for 24 hours. I know, I know, it’s hard to wait. But trust me on this. Place the pint container on a level surface in your freezer. Don’t stack anything on top of it. Let it freeze for at least 24 hours. If you try to spin it after 12 hours, it won’t be solid enough and you’ll get a sad, icy mess.
- Spin in the Ninja Creami. When your base is frozen solid, take the pint out of the freezer. Remove the lid and place it in the outer bowl of your Creami. Lock it into the machine. Select the “Ice Cream” setting and let it do its thing. The machine will make a loud grinding noise — that’s normal. It’s breaking up the frozen base into tiny crystals.
- Check the texture. When the cycle finishes, lift the pint out and check the texture. It should look like soft-serve ice cream. If it’s still a little powdery or crumbly, use a spoon to scrape down the sides and press any chunks into the center, then run the “Re-spin” cycle. I usually do one re-spin for the perfect creamy texture.
- Add mix-ins (optional). If you’re adding crushed wafers, nuts, or chocolate chips, now’s the time. Sprinkle them on top of the spun ice cream, then use a spoon to gently fold them in. You can also run the “Mix-in” cycle if your Creami has that setting, but I find it works better to fold by hand — the machine can pulverize the mix-ins if you’re not careful.
- Serve immediately or freeze for later. The ice cream will be soft-serve consistency right after spinning. If you want scoopable ice cream, transfer the pint to the freezer for about 30 minutes. If you’re storing it for later, press a piece of plastic wrap directly onto the surface of the ice cream before putting the lid on — this prevents ice crystals from forming.
Cooking Tips & Techniques
I’ve made this recipe at least thirty times, and I’ve learned a few things the hard way. Let me save you some trouble.
Don’t skip the heavy cream. I tried making this with all milk once because I thought I was being healthy. Big mistake. The texture was icy and thin. The heavy cream is what gives this ice cream that luxurious, melt-in-your-mouth feel. It’s worth the calories.
Temperature matters. Your freezer needs to be at 0°F or below for the Creami to work properly. If your freezer is too warm, the base won’t freeze hard enough, and you’ll end up with a slushy mess. I keep a freezer thermometer in mine just to be safe.
The re-spin is your friend. Don’t be afraid to run the re-spin cycle more than once if the texture isn’t right. I’ve done three re-spins on a particularly stubborn batch, and it came out perfectly creamy. The machine can handle it.
Let the base chill before freezing. This is a tip I picked up from a friend who’s a professional pastry chef. After you blend the base, pop it in the fridge for an hour before pouring it into the pint and freezing. This allows the flavors to meld and the pudding mix to fully hydrate. It makes a noticeable difference in the final texture.
One mistake I made early on — I added the mix-ins before spinning. Don’t do this. The mix-ins will get pulverized by the Creami’s blade, and you’ll end up with flavored ice cream instead of ice cream with chunks of goodies in it. Always spin first, then fold in your mix-ins.
Timing tip: I make my base in the evening, pour it into the pint, and let it freeze overnight. By the next afternoon, it’s ready to spin. This works perfectly for a after-school treat or a weekend dessert.
Variations & Adaptations
One of the best things about this recipe is how flexible it is. Here are some variations I’ve tried and loved.
Chocolate Banana Pudding Ice Cream: Swap the sugar-free vanilla pudding mix for sugar-free chocolate pudding mix. Add 1 tablespoon of unsweetened cocoa powder to the blender. The chocolate and banana combination is heavenly, and my kids go absolutely nuts for this version.
Vegan Version: Use full-fat oat milk or canned coconut milk instead of whole milk. Swap the heavy cream for full-fat coconut cream. Use a vegan sugar-free pudding mix (Simply Delish makes a good one). The texture will be slightly different — a bit more icy — but it’s still delicious. My sister-in-law, who’s vegan, says this is her favorite ice cream.
Peanut Butter Banana: Add 2 tablespoons of natural peanut butter to the blender along with the other ingredients. Use sugar-free chocolate pudding mix instead of vanilla. The peanut butter adds protein and makes the ice cream even creamier. This is my husband’s favorite variation.
Strawberry Banana: Replace one of the bananas with ½ cup of frozen strawberries (thawed). Use strawberry sugar-free pudding mix if you can find it, or stick with vanilla. The strawberries add a nice tartness that balances the sweetness.
Lower Carb Version: Use unsweetened almond milk instead of whole milk, and replace the heavy cream with full-fat coconut cream. Skip the honey or maple syrup entirely — the bananas and pudding mix provide enough sweetness. This version has about 8 grams of net carbs per serving, making it keto-friendly.
Dairy-Free with a Twist: I tried this with cashew milk once, and it was surprisingly good. Cashew milk is naturally creamier than almond milk, so it works well in ice cream. Use dairy-free heavy cream alternative (like Silk’s dairy-free heavy whipping cream) for the best texture.
Serving & Storage Suggestions
This ice cream is best served right after spinning, when it’s soft and creamy like soft serve. But if you want scoopable ice cream, here’s what to do.
After spinning, transfer the pint to the freezer for 30 to 45 minutes. This firms it up to a scoopable consistency without making it rock hard. I like to set a timer so I don’t forget about it.
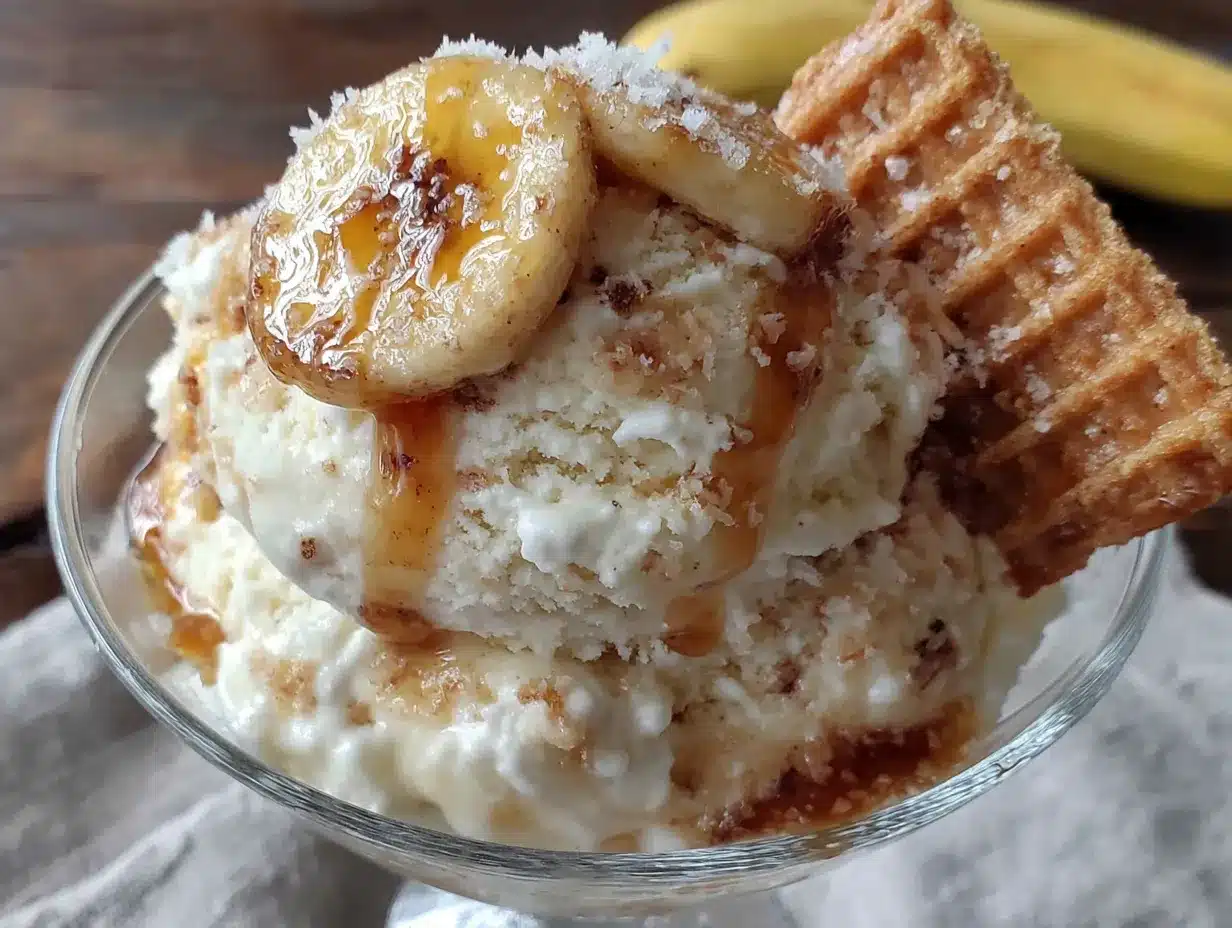
For serving, I love to top this ice cream with a few crushed sugar-free vanilla wafers, a drizzle of sugar-free caramel sauce, and a sprinkle of cinnamon. It makes it feel like a sundae without all the sugar. My kids like to add fresh banana slices and a dollop of whipped cream.
This ice cream pairs beautifully with warm desserts. Try serving a scoop next to a slice of low-sugar banana bread or a warm chocolate chip cookie. The temperature contrast is amazing.
Storage: If you have leftovers (unlikely, but possible), press a piece of plastic wrap directly onto the surface of the ice cream before putting the lid on. This prevents ice crystals from forming. Store in the freezer for up to two weeks. When you’re ready to eat it, let it sit on the counter for 10 to 15 minutes to soften, then re-spin in the Creami for best texture.
Reheating tip: If your ice cream gets too hard in the freezer, don’t microwave it. Just let it sit at room temperature for 10 minutes, then use a sturdy spoon to scoop it. Or better yet, run it through the Creami’s re-spin cycle — it’ll come back to life.
One thing I love about this recipe is that the flavors actually get better after a day or two. The banana flavor deepens, and the pudding mix fully sets. So don’t worry if you make it ahead of time — it’ll still be amazing.
Nutritional Information & Benefits
Here’s the breakdown for one serving (about ½ cup, without mix-ins):
| Nutrient | Amount |
|---|---|
| Calories | 145 |
| Total Fat | 8g |
| Saturated Fat | 5g |
| Cholesterol | 25mg |
| Sodium | 180mg |
| Total Carbohydrates | 18g |
| Dietary Fiber | 1g |
| Sugars | 9g |
| Added Sugars | 2g |
| Protein | 3g |
This ice cream is a great option for families watching their sugar intake. The bananas provide natural sweetness along with potassium, vitamin B6, and vitamin C. The milk and cream add calcium and protein, making this a more balanced treat than traditional ice cream.
If you’re on a low-carb or keto diet, the lower carb version with almond milk and coconut cream has about 8g net carbs per serving. It’s also gluten-free as written, and can easily be made dairy-free or vegan with the substitutions I mentioned earlier.
Potential allergens include dairy (milk, cream) and, if you add them, tree nuts (walnuts, pecans) and peanuts. The base recipe is egg-free and soy-free.
I love that I can give this to my kids as an after-school snack without worrying about a sugar crash. It satisfies their sweet tooth while actually providing some nutritional value. That’s a win in my book.
Conclusion
This Kid-Approved Low Sugar Banana Pudding Ice Cream is proof that you don’t need a ton of sugar to make something truly delicious. It started as a desperate experiment on a hot, powerless afternoon, and it’s become a staple in our home. My kids ask for it by name, my husband sneaks spoonfuls straight from the pint, and I feel good about serving it to everyone who walks through my door.
The best part? It’s completely customizable. Make it chocolate, add peanut butter, throw in some strawberries — the possibilities are endless. I’d love to hear what variations you come up with. Drop a comment below and tell me how your family likes it. Do your kids have a favorite mix-in? Did you find a substitution that worked better than mine?
If you make this recipe, please share a photo on Pinterest and tag me. I love seeing your creations. And if you’re looking for more healthy dessert ideas, check out my healthy dessert recipes collection — there’s something for every sweet tooth.
Remember, cooking is about experimenting and having fun. Don’t be afraid to tweak this recipe to make it your own. That’s how the best recipes are born. Happy Creami-ing!
Frequently Asked Questions
Can I use regular pudding mix instead of sugar-free?
Absolutely. If you’re not worried about sugar content, regular vanilla pudding mix works perfectly. Just keep in mind that it will increase the sugar content significantly. I’ve tested both, and the texture is identical — the only difference is the sweetness level.
Why is my ice cream icy instead of creamy?
This usually happens for one of three reasons: your base wasn’t frozen solid enough (needs a full 24 hours), you didn’t use enough heavy cream, or your freezer temperature is too warm. Make sure your freezer is at 0°F or below, and don’t skimp on the heavy cream — it’s essential for that creamy texture.
Can I make this without a Ninja Creami?
You can, but the texture won’t be the same. If you have an ice cream maker, you can churn this base according to your machine’s instructions. If you don’t have any ice cream maker, pour the base into a shallow dish and freeze, stirring every 30 minutes for about 3 hours to break up ice crystals. It won’t be as smooth, but it’ll still taste great.
How long does this ice cream keep in the freezer?
Up to two weeks, but it’s best within the first week. After that, ice crystals can start to form. Pressing plastic wrap directly onto the surface before sealing the lid helps prevent this. If it gets too hard, just let it sit at room temperature for 10 minutes or re-spin in the Creami.
Can I double this recipe?
Yes, but you’ll need to freeze the base in multiple pint containers. Don’t try to freeze more than one pint’s worth in a single container — the Creami can only process one pint at a time. I usually make a double batch and freeze two pints, so I always have one ready to go.
Pin This Recipe!
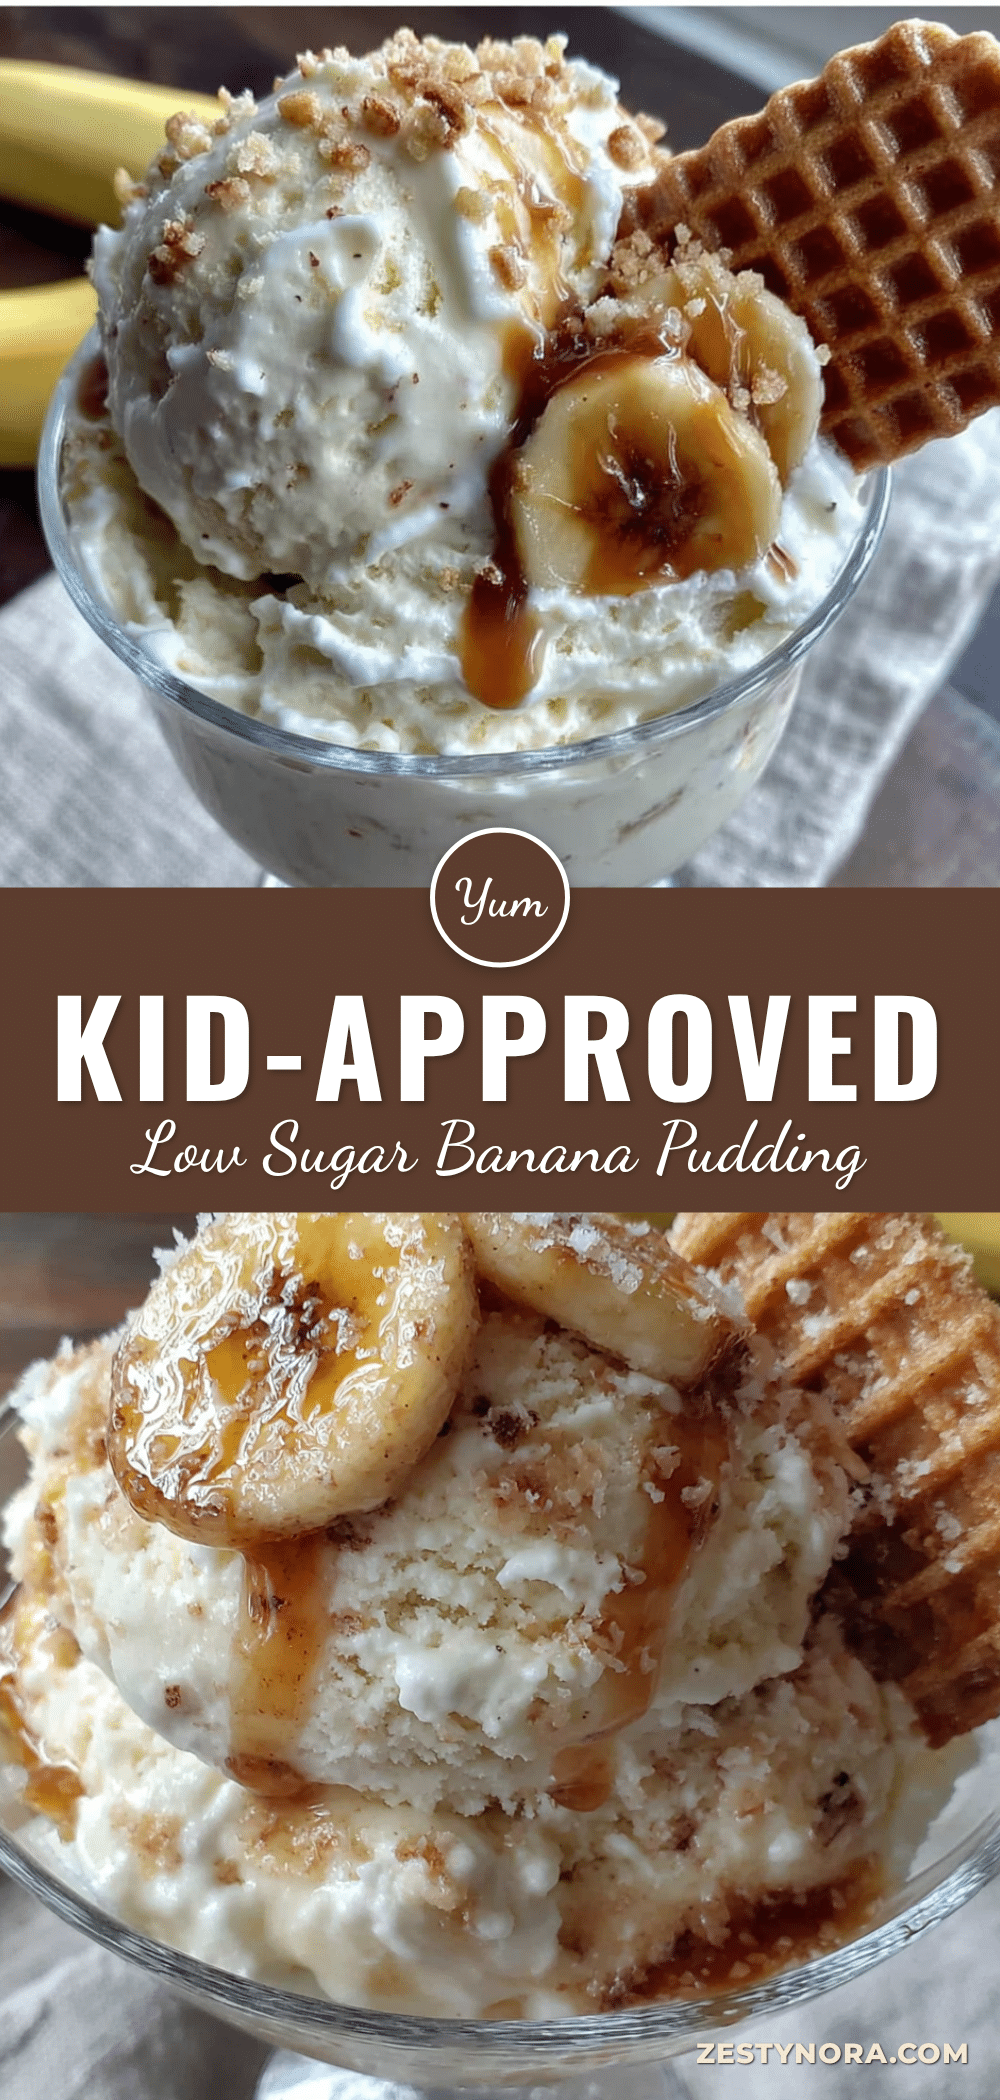
Kid-Approved Low Sugar Banana Pudding Ice Cream (Ninja Creami)
A creamy, low-sugar banana pudding ice cream made in the Ninja Creami that tastes indulgent without the sugar crash. Perfect for family movie nights and picky eaters.
- Prep Time: 10 minutes
- Cook Time: 0 minutes
- Total Time: 24 hours 10 minutes
- Yield: 4 servings 1x
- Category: Dessert
- Cuisine: American
Ingredients
- 2 large ripe bananas (the spottier, the better)
- 1 ½ cups whole milk
- ½ cup heavy cream
- 1 box (1 oz) sugar-free vanilla instant pudding mix
- 2 tablespoons honey or maple syrup (optional)
- ½ teaspoon vanilla extract
- Pinch of salt
- ¼ cup crushed sugar-free vanilla wafers (optional)
- ¼ cup chopped walnuts or pecans (optional)
- 2 tablespoons sugar-free chocolate chips (optional)
Instructions
- Prep your bananas. Peel those overripe bananas and break them into chunks. Place them in a blender or a deep bowl if you’re using an immersion blender.
- Add the liquids. Pour in the whole milk, heavy cream, honey or maple syrup (if using), and vanilla extract. Don’t add the pudding mix yet.
- Blend until smooth. Pulse the blender a few times, then blend on medium speed for about 30 seconds. The mixture should be smooth and slightly thick, like a thin milkshake.
- Add the pudding mix. Sprinkle the sugar-free vanilla pudding mix over the top of the blended mixture. Add the pinch of salt. Blend again on low speed for about 15 seconds, just until the pudding mix is fully dissolved.
- Taste and adjust. Dip a clean spoon in and taste the base. If it’s not sweet enough, add a little more honey or maple syrup. Remember, freezing dulls sweetness, so it should taste slightly sweeter than you want the final ice cream to be.
- Pour into the pint container. Carefully pour the mixture into your Ninja Creami pint container. Leave about half an inch of headspace at the top. Put the lid on tight.
- Freeze for 24 hours. Place the pint container on a level surface in your freezer. Don’t stack anything on top of it. Let it freeze for at least 24 hours.
- Spin in the Ninja Creami. When your base is frozen solid, take the pint out of the freezer. Remove the lid and place it in the outer bowl of your Creami. Lock it into the machine. Select the ‘Ice Cream’ setting and let it do its thing.
- Check the texture. When the cycle finishes, lift the pint out and check the texture. It should look like soft-serve ice cream. If it’s still a little powdery or crumbly, use a spoon to scrape down the sides and press any chunks into the center, then run the ‘Re-spin’ cycle.
- Add mix-ins (optional). If you’re adding crushed wafers, nuts, or chocolate chips, now’s the time. Sprinkle them on top of the spun ice cream, then use a spoon to gently fold them in.
- Serve immediately or freeze for later. The ice cream will be soft-serve consistency right after spinning. If you want scoopable ice cream, transfer the pint to the freezer for about 30 minutes. If you’re storing it for later, press a piece of plastic wrap directly onto the surface of the ice cream before putting the lid on.
Notes
Use overripe bananas for maximum natural sweetness. Freeze the base for a full 24 hours before spinning. The re-spin cycle is your friend for perfect creamy texture. Always add mix-ins after spinning to avoid pulverization. For best texture, chill the base in the fridge for an hour before freezing.
Nutrition
- Serving Size: ½ cup
- Calories: 145
- Sugar: 9
- Sodium: 180
- Fat: 8
- Saturated Fat: 5
- Carbohydrates: 18
- Fiber: 1
- Protein: 3
Keywords: low sugar ice cream, banana pudding ice cream, Ninja Creami, healthy dessert, kid-friendly, low sugar, banana ice cream