It was 10:47 PM on a Wednesday—the kind of Wednesday that felt like it had lasted a full week already—and I had a very specific, almost irrational craving for something warm, pumpkin-spiced, and breakfast-ish. The problem? I didn’t have a single muffin tin clean, my energy was running on fumes, and the idea of making a full-blown pumpkin bread felt like signing up for a marathon I hadn’t trained for. But I did have a bowl of leftover canned pumpkin from a soup experiment gone sideways, a half-empty bag of old-fashioned oats, and this wild idea that maybe—just maybe—I could skip the flour, skip the fuss, and bake something that looked like a muffin but acted like a hearty bowl of oatmeal.
Honestly, I wasn’t expecting much. I mashed the pumpkin with some maple syrup I found hiding behind the almond butter, threw in an egg, and started adding oats until the mixture looked like it might hold together. I didn’t even have liners, so I just greased the hell out of a muffin pan and prayed. Twenty-five minutes later, I pulled out these little golden cups that smelled like autumn had exploded in my kitchen. They were soft, slightly dense in the best way, and somehow exactly what I needed at 11:15 PM standing in my socks.
Maybe you’ve been there—standing in your kitchen late at night, too tired to cook but too hungry to sleep, and you just start throwing things together without overthinking it. That’s how this recipe was born. No grand plan, no grocery list, just a weird little moment of kitchen improv that turned into something I’ve now made at least twenty times. These wholesome baked pumpkin oatmeal cups have become my secret weapon for actually eating breakfast on busy mornings, and I think you’re going to love how simple they really are.
Why You’ll Love This Recipe
Let me tell you why these little cups have earned a permanent spot in my weekly rotation. I’ve tested this recipe more times than I care to admit—through burnt batches, undercooked centers, and one memorable incident where I forgot the egg entirely (don’t ask). What I landed on is a version that works every single time, and here’s why it’s different from anything else out there.
- Quick & Easy: From pantry to plate in under 30 minutes, these come together faster than you can brew your morning coffee. Perfect for those Sundays when you want to meal prep but don’t want to spend your whole afternoon in the kitchen.
- Simple Ingredients: No weird superfood powders or specialty flours here. You probably have everything in your pantry right now—oats, pumpkin, eggs, maple syrup, and your favorite fall spices.
- Perfect for Meal Prep: Make a batch on Sunday, grab one on your way out the door Monday through Friday. They reheat beautifully and actually taste better after a day in the fridge when the flavors have had time to mingle.
- Crowd-Pleaser: I’ve served these to my picky nephew, my health-conscious sister-in-law, and my dad who claims he doesn’t like oatmeal. Everyone went back for seconds. Kids love the portable cup shape, adults love the wholesome ingredients.
- Unbelievably Delicious: The texture is what gets me every time—soft and tender on the inside with slightly crisp edges. The pumpkin keeps them incredibly moist without making them soggy, and the warm spices hit you in that cozy, comforting way.
What makes this recipe stand out from the sea of pumpkin oatmeal recipes online is the technique. Instead of just mixing everything together and hoping for the best, I’ve figured out the exact ratio of wet to dry ingredients that gives you a sturdy cup that holds its shape without being dry or crumbly. The secret is letting the oats soak up the liquid for a few minutes before baking—it’s a small step that makes a huge difference in texture. This isn’t just another pumpkin oatmeal recipe; it’s the one you’ll actually want to make on repeat.
These cups are the kind of breakfast that makes you feel good about starting your day. They’re wholesome enough to fuel you through a busy morning but indulgent enough that you won’t feel like you’re eating cardboard. Honestly, that’s the sweet spot I’m always aiming for—food that nourishes you and makes you happy at the same time.
What Ingredients You Will Need
This recipe relies on simple, wholesome ingredients that work together to create something greater than the sum of their parts. No complicated shopping list, no obscure items you’ll use once and forget about. Here’s what you need and why each ingredient matters.
- Rolled Old-Fashioned Oats (2 cups / 180g): These are the backbone of the recipe. Rolled oats give you that chewy, satisfying texture that holds up during baking. I recommend using old-fashioned oats rather than quick oats—quick oats absorb liquid too fast and can turn the cups mushy. My go-to brand is Bob’s Red Mill, but any quality rolled oats will work.
- Canned Pumpkin Purée (1 cup / 245g): Not pumpkin pie filling—make sure you grab 100% pure pumpkin purée. The pumpkin adds moisture, natural sweetness, and a gorgeous golden color. I’ve tested this with homemade roasted pumpkin purée too, and it works beautifully if you have it on hand.
- Large Eggs (2): Eggs provide structure and help bind everything together. They also add a little protein boost. If you need an egg-free version, flax eggs work in a pinch, but the texture will be slightly more delicate.
- Maple Syrup (1/3 cup / 80ml): Pure maple syrup adds sweetness with a lovely depth of flavor that complements the pumpkin perfectly. You can substitute honey or agave if that’s what you have, but the maple-pumpkin combo is really special.
- Milk of Choice (1/2 cup / 120ml): Any milk works here—dairy, almond, oat, or coconut. I usually use unsweetened almond milk to keep things light, but whole milk makes them extra tender. The milk hydrates the oats and creates the perfect batter consistency.
- Coconut Oil or Butter (2 tablespoons, melted): A little fat adds richness and helps the cups develop those beautiful golden edges. Coconut oil keeps them dairy-free and adds a subtle sweetness that plays nicely with the pumpkin. Butter gives a slightly richer flavor.
- Pumpkin Pie Spice (2 teaspoons): You can use store-bought or make your own with a mix of cinnamon, nutmeg, ginger, and cloves. I actually prefer making my own blend because I like a heavier hand on the cinnamon—1 teaspoon cinnamon, 1/2 teaspoon ginger, 1/4 teaspoon nutmeg, and 1/4 teaspoon cloves.
- Vanilla Extract (1 teaspoon): A little vanilla rounds out the flavors and makes everything taste more, well, delicious. Don’t skip it—it makes a difference even though it’s a small amount.
- Baking Powder (1 teaspoon): This gives the cups a little lift so they’re not overly dense. Make sure your baking powder is fresh for the best results.
- Salt (1/4 teaspoon): Salt enhances all the other flavors and balances the sweetness. I use fine sea salt for baking.
- Optional Mix-Ins: 1/2 cup chopped pecans or walnuts, 1/3 cup chocolate chips, 1/4 cup dried cranberries, or 2 tablespoons chia seeds. These are completely optional but add texture and extra nutrition.
Equipment Needed
You don’t need a fancy kitchen to make these pumpkin oatmeal cups. Here’s what you’ll need, along with some tips from my own trial and error.
- 12-Cup Muffin Pan: Standard size works best. I’ve tried making these in a mini muffin pan, and while they’re cute, they cook much faster and are easier to overbake. Stick with regular size for the most forgiving results.
- Muffin Liners or Cooking Spray: I prefer silicone muffin liners because nothing sticks to them and they’re reusable. If you’re using paper liners, give them a quick spray with non-stick cooking spray—these cups are moist and can stick to paper. You can also grease the pan directly with butter or coconut oil.
- Large Mixing Bowl: Any bowl big enough to hold everything and give you room to stir without flinging oats across your counter.
- Whisk and Rubber Spatula: A whisk for the wet ingredients and a spatula for folding everything together. A wooden spoon works too if that’s what you have.
- Measuring Cups and Spoons: For accuracy. I cannot stress this enough—baking is more forgiving with oats than flour, but the ratio still matters.
- Ice Cream Scoop or 1/3 Cup Measure: For evenly portioning the batter. This is my favorite tip—using a scoop ensures all your cups are the same size and bake evenly.
- Cooling Rack: Letting these cool completely before storing prevents them from getting soggy on the bottom. If you don’t have a rack, you can transfer them to a plate after a few minutes in the pan.
Honestly, the most important piece of equipment is a reliable oven thermometer. I learned this the hard way after a batch came out undercooked because my oven was running 25 degrees cooler than the dial said. Trust me, it’s worth the ten bucks.
Preparation Method
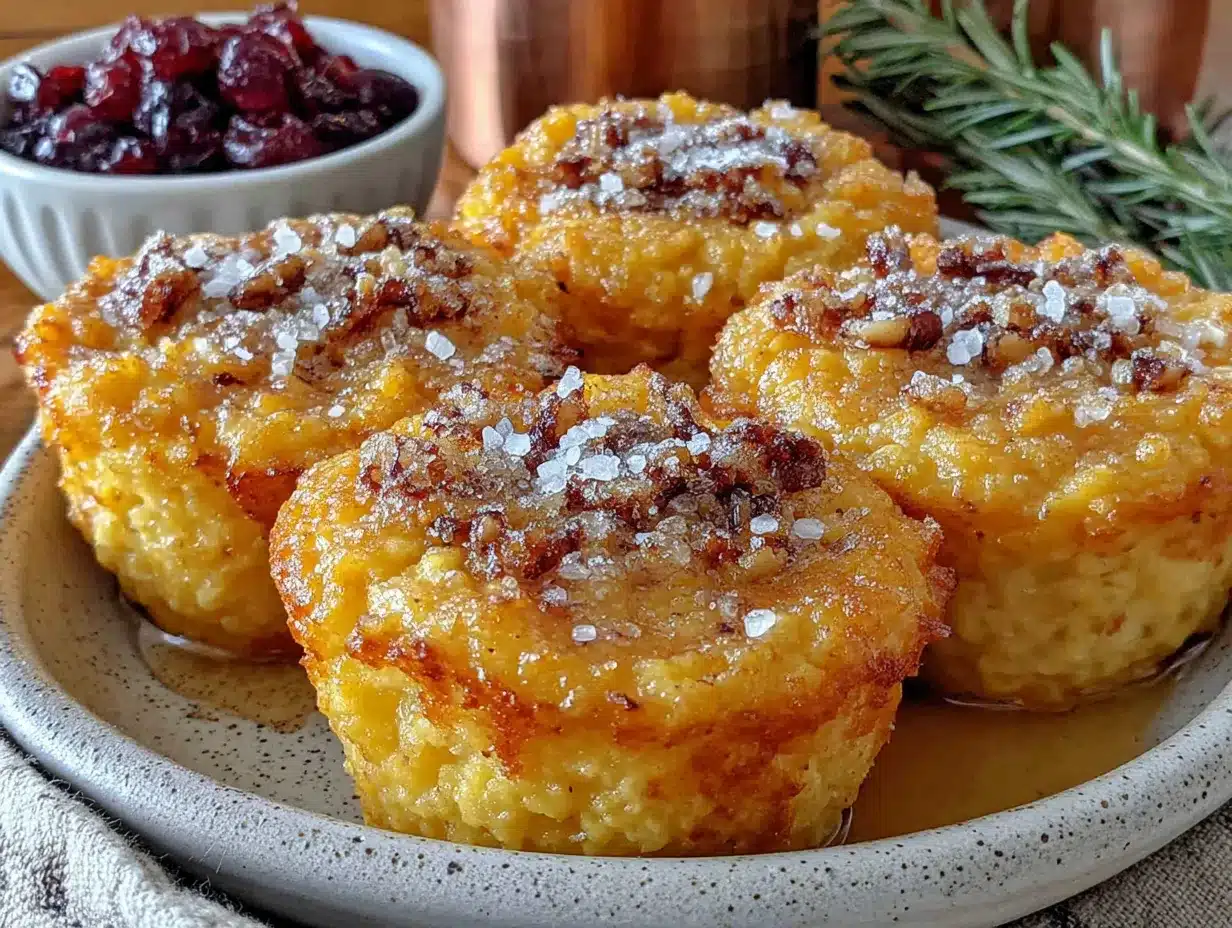
Let me walk you through this step by step. I’ve included all the little details I wish someone had told me the first time I made these.
- Preheat your oven to 350°F (175°C). While it’s heating, line your muffin pan with liners or grease it well. I like to do this first so everything’s ready to go when the batter is done.
- In a large bowl, whisk together the wet ingredients: pumpkin purée, eggs, maple syrup, milk, melted coconut oil or butter, and vanilla extract. Whisk until everything is smooth and well combined. The mixture should look like a thick, creamy orange liquid. Don’t worry if it separates a little—that’s normal.
- Add the dry ingredients directly to the same bowl: rolled oats, pumpkin pie spice, baking powder, and salt. Stir with a rubber spatula until everything is evenly distributed. Make sure there are no dry patches of oats hiding at the bottom of the bowl.
- Let the mixture sit for 5-10 minutes. This is the crucial step I mentioned earlier. The oats need time to absorb some of the liquid, which makes the final texture so much better. The batter will thicken noticeably during this rest period. If it looks too thick after resting, add a splash more milk. If it looks too thin, add a tablespoon or two more oats.
- Fold in any optional mix-ins if you’re using them. Pecans, chocolate chips, dried cranberries—whatever you choose. Gently fold them in so they’re distributed evenly without overmixing.
- Divide the batter evenly among the 12 muffin cups. I use a 1/3 cup ice cream scoop for this, and it’s perfect—each cup gets about 1/3 cup of batter. Fill them all the way to the top; these don’t rise much, so you want a generous portion in each cup.
- Bake for 20-25 minutes. Start checking at 20 minutes. The cups are done when they’re set on top, the edges are golden brown, and a toothpick inserted in the center comes out clean or with just a few moist crumbs. If the toothpick has wet batter on it, give them another 3-5 minutes.
- Let them cool in the pan for 5 minutes. This is important—they need this time to firm up so they hold their shape when you remove them. After 5 minutes, transfer them to a cooling rack to cool completely.
- Cool completely before storing. I know it’s tempting to eat one warm (and honestly, you should—they’re amazing warm), but if you’re storing them for meal prep, let them cool all the way to room temperature first. Otherwise, condensation will make them soggy in the container.
A few things I’ve learned along the way: If your cups come out a little flat, your baking powder might be old. If they’re too dry, you probably baked them a few minutes too long. If they’re too wet in the center, they need more time in the oven or your oats need a longer rest period. Every oven is different, so trust your eyes and your toothpick more than the timer.
Cooking Tips & Techniques
After making these pumpkin oatmeal cups more times than I can count, I’ve collected a few tricks that make the process smoother and the results more consistent. Let me share what I’ve learned—including the mistakes that taught me the most.
Don’t skip the rest period. I cannot emphasize this enough. The first time I made these, I was in a rush and baked them immediately after mixing. They came out watery and the oats were still crunchy in the center. Letting the batter sit for at least 5 minutes allows the oats to absorb the liquid and soften, which gives you that perfect tender-yet-chewy texture. It’s a small patience tax that pays huge dividends.
Watch your oven like a hawk. I once got distracted by a phone call and left these in for 28 minutes. They came out dry and crumbly, and I was so disappointed. Start checking at 18 minutes if your oven runs hot. Every oven has its own personality, and getting to know yours is the key to consistent baking. The tops should spring back when lightly pressed, and the edges should be a deep golden brown.
Use room temperature ingredients. This is a pro tip that makes a real difference. Cold eggs and cold milk can cause the coconut oil to seize up and create lumps in the batter. If you forgot to take them out of the fridge, place the eggs in a bowl of warm water for 5 minutes and microwave the milk for 15 seconds. Room temperature ingredients blend together more smoothly and create a more uniform texture.
Grease your liners. Even if you’re using non-stick paper liners, give them a quick spray. These cups are moist and can stick to paper, leaving half your breakfast stuck to the liner. Silicone liners are my favorite because they release perfectly every time, but if you’re using paper, a light spray of coconut oil cooking spray works wonders.
Make a double batch. Honestly, these freeze so well that it’s worth making two batches at once. The recipe doubles beautifully—just use two muffin pans or bake in batches. I often make 24 at a time and freeze half for later. Future you will thank present you on those chaotic mornings when you need breakfast in 30 seconds.
Variations & Adaptations
One of the things I love most about this recipe is how flexible it is. Here are some variations I’ve tried and loved, plus a few ideas for customizing based on what you have in your kitchen.
Gluten-Free Version: This recipe is naturally gluten-free if you use certified gluten-free rolled oats. Just double-check your oat label—some brands are processed in facilities that also handle wheat. Everything else in the recipe is already gluten-free, so this is an easy swap.
Vegan Adaptation: Replace the eggs with two flax eggs (2 tablespoons ground flaxseed mixed with 6 tablespoons water, let sit for 5 minutes until gelled). Use a plant-based milk and maple syrup instead of honey. The texture will be slightly more delicate, but they still hold together well. I’ve made this version for my vegan friend Sarah, and she said they were “breakfast perfection.”
Protein-Packed Version: Add 2 scoops of vanilla or unflavored protein powder and increase the milk by 1/4 cup to compensate for the extra dry ingredients. You can also stir in 2 tablespoons of chia seeds or hemp hearts for an extra nutrition boost. This version keeps me full until lunch, which is saying something.
Chocolate Chip Pumpkin: Fold in 1/3 cup dark chocolate chips along with the oats. The combination of pumpkin and chocolate is surprisingly amazing—the warm spices enhance the chocolate flavor in a way that feels fancy but takes zero extra effort.
Apple Pumpkin Fusion: Fold in 1/2 cup finely diced apple (peeled) along with an extra tablespoon of maple syrup. The apple adds little bursts of sweetness and a slightly different texture. This is my go-to variation in early fall when apples are at their peak.
Savory-Sweet Twist: Reduce the maple syrup to 2 tablespoons and add 1/4 teaspoon black pepper and a pinch of cayenne. The pepper brings out the warmth of the spices in a completely unexpected way. I know it sounds weird, but trust me—it’s addictive.
Serving & Storage Suggestions
These pumpkin oatmeal cups are incredibly versatile when it comes to serving. Here’s how I enjoy them and how to keep them fresh for the week ahead.
How to Serve: I love these warm, straight from the oven with a pat of butter melting on top. For meal prep, I reheat one in the microwave for 20-30 seconds, then add a drizzle of maple syrup and a sprinkle of cinnamon. They’re also delicious at room temperature—perfect for grabbing on your way out the door. Serve them with a side of Greek yogurt for extra protein, or crumble one over a bowl of overnight oats for a fun texture contrast.
What to Serve With: A hot cup of coffee or chai latte is the perfect companion. For a complete breakfast, pair one or two cups with a hard-boiled egg and some fresh fruit. They also make a great afternoon snack with a glass of cold milk or a warm cup of tea.
Storage Instructions: Store cooled cups in an airtight container in the refrigerator for up to 5 days. Place a paper towel at the bottom of the container to absorb excess moisture, and another on top. Change the paper towel if it gets damp. This little trick keeps them from getting soggy.
Freezer Instructions: These freeze beautifully for up to 3 months. Place cooled cups in a single layer on a baking sheet and freeze for 1 hour until solid. Transfer to a freezer-safe bag or container, removing as much air as possible. To thaw, leave one in the refrigerator overnight or microwave directly from frozen for 45-60 seconds.
Reheating Tips: The microwave is your friend here. 20-30 seconds for a refrigerated cup, 45-60 seconds for frozen. If you prefer a crisper exterior, pop them in a toaster oven at 350°F for 5-7 minutes. I actually prefer the texture after reheating—the flavors have melded together and the oats have softened even more.
How Flavors Develop: Honestly, these taste even better on day two. The pumpkin and spice flavors deepen as they sit, and the oats continue to soften. If you can resist eating them all on day one, you’re in for a treat on day two and three.
Nutritional Information & Benefits
Let’s talk about what makes these little cups a smart choice for your breakfast rotation. The exact nutrition will vary based on your specific ingredients and any mix-ins, but here’s a general breakdown per cup (based on the base recipe without mix-ins).
- Calories: Approximately 180-200 per cup
- Protein: 6-7 grams
- Fiber: 4-5 grams
- Fat: 7-8 grams
- Carbohydrates: 28-30 grams
- Sugar: 12-14 grams (mostly from maple syrup and natural sugars in pumpkin)
Health Benefits: These cups are packed with nutrition disguised as comfort food. Rolled oats are a fantastic source of soluble fiber, which helps keep you full and supports heart health. Pumpkin is loaded with vitamin A (over 200% of your daily needs in just one cup), plus antioxidants that support eye health and immune function. The eggs add high-quality protein, and the maple syrup provides a more balanced energy source than refined sugar.
Dietary Considerations: This recipe is naturally nut-free (if you skip the pecan mix-in) and can easily be made dairy-free, vegan, and gluten-free as noted in the variations section. It’s also free from refined sugar if you use pure maple syrup. The fiber and protein content make it a great option for blood sugar management—the oats and pumpkin provide slow-release energy that won’t spike your glucose levels.
Allergen Notes: Contains eggs and may contain gluten depending on your oat choice. If you’re avoiding nuts, skip the pecan or walnut mix-ins. Coconut oil is technically a fruit, not a tree nut, but if you have a coconut allergy, substitute with butter or a neutral vegetable oil.
I love that these cups make me feel good about starting my day. They’re not just empty calories—they actually fuel my morning and keep me going until lunch without that mid-morning energy crash. That’s the kind of breakfast I can get behind.
Conclusion
These wholesome baked pumpkin oatmeal cups have become a staple in my kitchen for good reason. They came from a late-night moment of kitchen improvisation, but they’ve earned a permanent spot in my weekly meal prep rotation. They’re simple enough for a busy weekday morning, wholesome enough to feel good about eating, and delicious enough that you’ll actually look forward to breakfast.
What I love most about this recipe is how forgiving it is. You can tweak the spices, swap the mix-ins, adjust the sweetness—it’s hard to mess up. The basic formula of oats, pumpkin, eggs, and milk creates something that’s greater than the sum of its parts. It’s comfort food that happens to be good for you, and honestly, that’s my favorite kind of recipe.
I’d love to hear how these turn out for you. Did you add chocolate chips? Try the apple variation? Forget the egg like I did that one time? Drop a comment below and let me know your favorite version. And if you’re looking for another easy meal prep breakfast, you might want to check out these healthy banana oatmeal muffins I’ve been making for years—they’re the perfect companion to these pumpkin cups for switching up your morning routine.
Happy baking, friends. May your mornings be warm, your coffee hot, and your breakfast already prepped.
Frequently Asked Questions
Can I use quick oats instead of rolled oats?
You can, but the texture will be different. Quick oats absorb liquid faster and break down more during baking, resulting in a softer, more uniform texture that’s almost like a bread pudding. Rolled oats give you that distinct chewy texture that makes these cups feel heartier. If you only have quick oats, reduce the rest time to 3-4 minutes and check for doneness a few minutes earlier.
Can I make these without eggs?
Yes! Use a flax egg (1 tablespoon ground flaxseed mixed with 3 tablespoons water per egg, let sit for 5 minutes). The texture will be slightly more tender and delicate, but they’ll still hold together. I recommend letting them cool completely in the pan before removing to give them extra time to set.
How do I keep these from sticking to the liners?
This was my biggest frustration early on. The solution is simple: spray your paper liners with non-stick cooking spray before filling them, or better yet, use silicone liners. Silicone liners are worth the investment—they release perfectly every time and are reusable for years. If you’re going liner-free, grease the muffin pan generously with butter or coconut oil.
Can I add protein powder to these?
Absolutely. Add 1-2 scoops of vanilla or unflavored protein powder and increase the milk by 1/4 cup to keep the batter from getting too thick. I’ve done this with both whey and plant-based protein powders, and both work well. Just be aware that some protein powders can make the cups slightly drier, so don’t overbake them.
How long do these last in the freezer?
Properly stored in an airtight freezer bag or container, these cups will maintain their quality for up to 3 months. I like to freeze them individually on a baking sheet first, then transfer to a bag—this prevents them from sticking together. To reheat, microwave straight from frozen for 45-60 seconds, or thaw overnight in the fridge and reheat for 20 seconds.
Pin This Recipe!
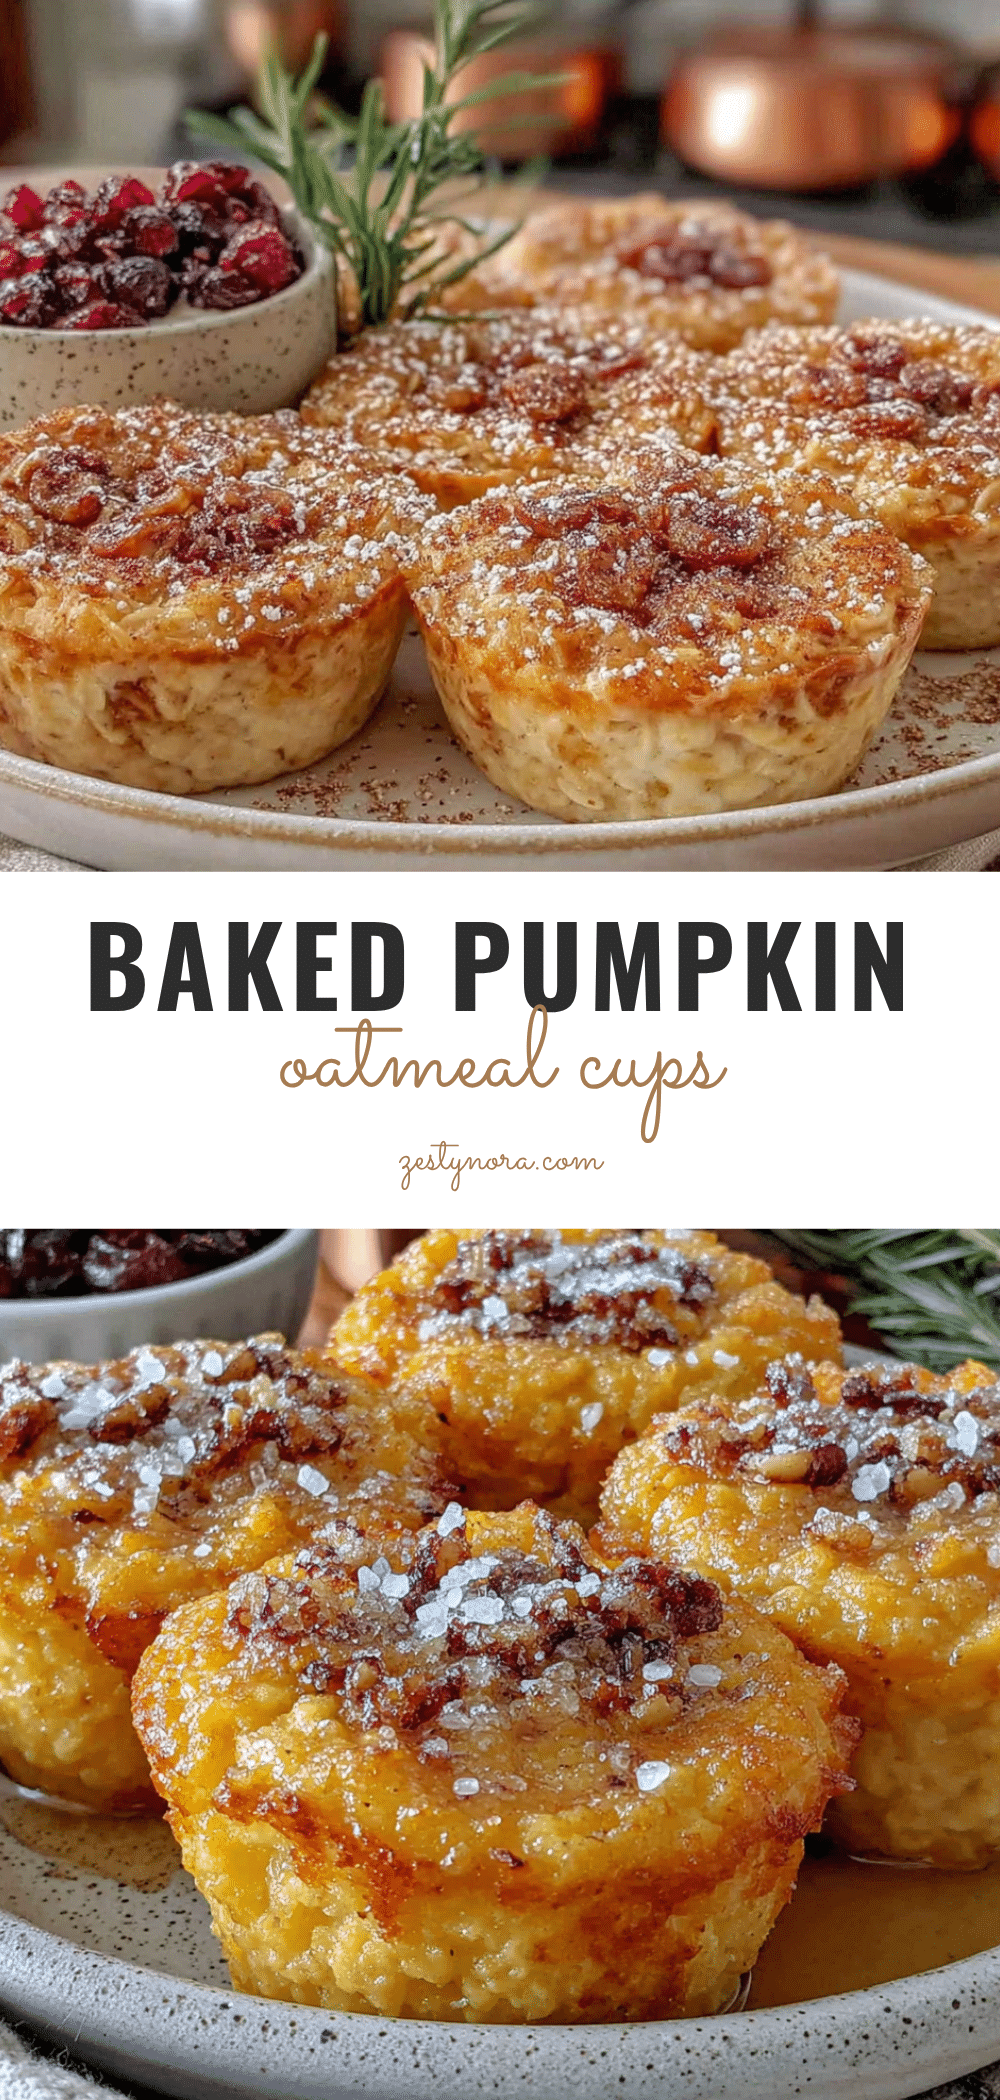
Wholesome Baked Pumpkin Oatmeal Cups: Easy Meal Prep Recipe

These wholesome baked pumpkin oatmeal cups are a quick and easy meal prep breakfast made with simple ingredients like oats, pumpkin, and warm fall spices. Perfect for busy mornings, they’re delicious, nutritious, and freezer-friendly.
- Prep Time: 10 minutes
- Cook Time: 25 minutes
- Total Time: 35 minutes
- Yield: 12 servings 1x
- Category: Breakfast
- Cuisine: American
Ingredients
- 2 cups (180g) rolled old-fashioned oats
- 1 cup (245g) canned pumpkin purée (100% pure, not pumpkin pie filling)
- 2 large eggs
- 1/3 cup (80ml) pure maple syrup
- 1/2 cup (120ml) milk of choice (dairy, almond, oat, or coconut)
- 2 tablespoons melted coconut oil or butter
- 2 teaspoons pumpkin pie spice (or homemade blend: 1 tsp cinnamon, 1/2 tsp ginger, 1/4 tsp nutmeg, 1/4 tsp cloves)
- 1 teaspoon vanilla extract
- 1 teaspoon baking powder
- 1/4 teaspoon fine sea salt
- Optional mix-ins: 1/2 cup chopped pecans or walnuts, 1/3 cup chocolate chips, 1/4 cup dried cranberries, or 2 tablespoons chia seeds
Instructions
- Preheat your oven to 350°F (175°C). Line a 12-cup muffin pan with liners or grease well.
- In a large bowl, whisk together the wet ingredients: pumpkin purée, eggs, maple syrup, milk, melted coconut oil or butter, and vanilla extract until smooth.
- Add the dry ingredients directly to the same bowl: rolled oats, pumpkin pie spice, baking powder, and salt. Stir with a rubber spatula until evenly distributed.
- Let the mixture sit for 5-10 minutes to allow the oats to absorb the liquid. The batter will thicken noticeably.
- Fold in any optional mix-ins if using.
- Divide the batter evenly among the 12 muffin cups, filling each to the top (about 1/3 cup per cup).
- Bake for 20-25 minutes, until set on top, edges are golden brown, and a toothpick inserted in the center comes out clean or with a few moist crumbs.
- Let cool in the pan for 5 minutes, then transfer to a cooling rack to cool completely.
- Cool completely before storing to prevent sogginess.
Notes
Let the batter rest for 5-10 minutes to allow oats to absorb liquid for best texture. Use room temperature ingredients for smoother blending. Grease paper liners to prevent sticking. These cups taste even better on day two as flavors meld. Freeze for up to 3 months.
Nutrition
- Serving Size: 1 cup
- Calories: 190
- Sugar: 13
- Sodium: 150
- Fat: 7.5
- Saturated Fat: 3.5
- Carbohydrates: 29
- Fiber: 4.5
- Protein: 6.5
Keywords: pumpkin oatmeal cups, baked oatmeal cups, meal prep breakfast, healthy pumpkin breakfast, easy pumpkin recipe


