The farmer’s market vendor watched me squinting at her display of sugar pumpkins, clearly trying to figure out which one was actually meant for cooking and not just decoration. She didn’t say anything at first. Then she picked up a small, ugly one with a scarred side and handed it to me. “This one,” she said, and that was that. She went on to tell me about her grandmother’s pumpkin porridge, a simple breakfast that got them through cold mornings on the farm. I bought three of those scarred pumpkins that day, and I’ve been experimenting with them ever since. Honestly, I didn’t know what I was going to make with all that pumpkin puree. I mean, I could only make so much soup. It was a Tuesday night, I think, and I was staring at a bowl of roasted pumpkin, a sad-looking bunch of oats, and a jar of maple syrup that was almost empty. That’s when these Healthy Pumpkin Oat Breakfast Bars were born. They weren’t supposed to be a blog recipe; they were just my breakfast for the next week. But the first batch was so good that I accidentally ate two for dinner. Maybe you’ve been there—standing in your kitchen with a few random ingredients and a desperate need for something that feels like a hug but also won’t make you regret it at 10 a.m. That’s exactly what these bars are. They are the kind of recipe that stays with you because they solve a real problem: how to eat something quick, satisfying, and actually good for you without sacrificing the joy of a warm, spiced treat. I keep making them because they remind me that the best recipes come from those imperfect, scarred moments—just like that pumpkin.
Why You’ll Love This Recipe
These Healthy Pumpkin Oat Breakfast Bars are not your average breakfast bar. They are soft, chewy, and packed with the cozy flavors of fall, but they work any time of the year. Let me tell you why I think you’ll fall for them just like I did.
- Quick & Easy: From start to finish, you’re looking at about 30 minutes. That’s less time than it takes to decide what to eat for breakfast. No complicated steps, no weird techniques—just mix, press, and bake.
- Simple Ingredients: You probably have most of these in your pantry right now. Oats, pumpkin puree, maple syrup, eggs, and a few spices. No trips to a specialty store required.
- Perfect for Meal Prep: Make a batch on Sunday, and you have breakfast or a snack ready for the whole week. They’re portable, they don’t crumble, and they actually get better after a day in the fridge.
- Crowd-Pleaser: I’ve served these to kids, to my skeptical father-in-law who “doesn’t do healthy food,” and to a group of friends who usually reach for doughnuts. They all asked for the recipe. It’s the kind of bar that makes you forget it’s good for you.
- Unbelievably Delicious: The texture is what gets me every time. The outside has a slight chew, while the inside stays tender and moist. The pumpkin and spices create this warm, comforting flavor that feels like a sweater for your stomach.
What makes this recipe different from the hundreds of other pumpkin oat bars out there? It’s the balance. I tested this recipe seven times to get the ratio of wet to dry ingredients just right. Too many bars end up dry or mushy. These are neither. They hold together beautifully without being dense. Plus, I use a trick—blending part of the oats into a flour—that gives them a better structure without adding any extra ingredients. It’s a small step, but it makes a big difference.
This recipe isn’t just good—it’s the kind that makes you close your eyes after the first bite. It’s comfort food reimagined: healthier, faster, but with the same soul-soothing satisfaction. Perfect for busy mornings when you need something to grab and go, or for a lazy weekend breakfast that feels like a treat without the sugar crash.
What Ingredients You Will Need
This recipe uses simple, wholesome ingredients to deliver bold flavor and satisfying texture without the fuss. Most of these are pantry staples, and I’ve included some notes on how to pick the best ones.
- Rolled Oats (2 cups / 180g): Use old-fashioned rolled oats, not instant. They give the bars a better texture. I like Bob’s Red Mill or Quaker. You’ll blend half of them into a flour, so don’t skip this step—it helps bind the bars.
- Pumpkin Puree (1 cup / 245g): Make sure you grab 100% pumpkin puree, not pumpkin pie filling. The filling has added sugar and spices that will throw off the recipe. If you’re using homemade, drain it a little if it seems watery.
- Maple Syrup (⅓ cup / 80ml): Pure maple syrup, not pancake syrup. It adds a deep, caramel-like sweetness. You can swap it with honey if that’s what you have, but the flavor will be slightly different.
- Egg (1 large): This helps bind everything together. For a vegan version, use a flax egg (1 tablespoon ground flaxseed mixed with 3 tablespoons water, let sit for 5 minutes).
- Coconut Oil (¼ cup / 60ml, melted): Adds moisture and a subtle richness. You can use melted butter or a neutral oil like avocado oil instead.
- Milk (¼ cup / 60ml): Any milk works—dairy, almond, oat, or coconut. I usually use unsweetened almond milk because that’s what I have.
- Brown Sugar (2 tablespoons / 25g): Just a little for extra depth. You can use coconut sugar or omit it if you want less sweetness.
- Pumpkin Pie Spice (1 ½ teaspoons): If you don’t have it, mix 1 teaspoon cinnamon, ½ teaspoon ginger, ¼ teaspoon nutmeg, and a pinch of cloves.
- Cinnamon (1 teaspoon): Because you can never have too much cinnamon.
- Baking Powder (1 teaspoon): Helps them rise just a bit and stay tender.
- Salt (¼ teaspoon): Balances the sweetness and brings out the flavors.
- Vanilla Extract (1 teaspoon): Optional but recommended. It rounds out the flavor.
- Optional Mix-ins: ½ cup chocolate chips, chopped nuts, or dried cranberries. I love adding dark chocolate chips for a little indulgence.
For the best texture, make sure your egg and milk are at room temperature. Cold ingredients can make the coconut oil seize up. Also, if your pumpkin puree looks watery, blot it with a paper towel before using.
Equipment Needed
You don’t need a fancy kitchen to make these bars. Here’s what you’ll need:
- 8×8-inch Baking Pan: This is the perfect size for a thick, satisfying bar. A 9×9 will work, but the bars will be thinner and bake a few minutes faster.
- Parchment Paper: Line your pan with it, leaving some overhang. This makes lifting the bars out so much easier. Trust me on this.
- Mixing Bowls: One large, one medium.
- Blender or Food Processor: To grind half the oats into flour. A high-speed blender works great. If you don’t have one, you can use oat flour directly.
- Spatula: For mixing and spreading the batter evenly.
- Measuring Cups and Spoons: Accurate measurements matter in baking.
- Whisk: For mixing the wet ingredients.
If you don’t have a blender, you can buy pre-made oat flour. It’s usually available in the gluten-free section. Also, I’ve made these in a glass pan and a metal pan—metal gives a slightly nicer edge, but glass works perfectly fine. Just keep an eye on the baking time.
Preparation Method
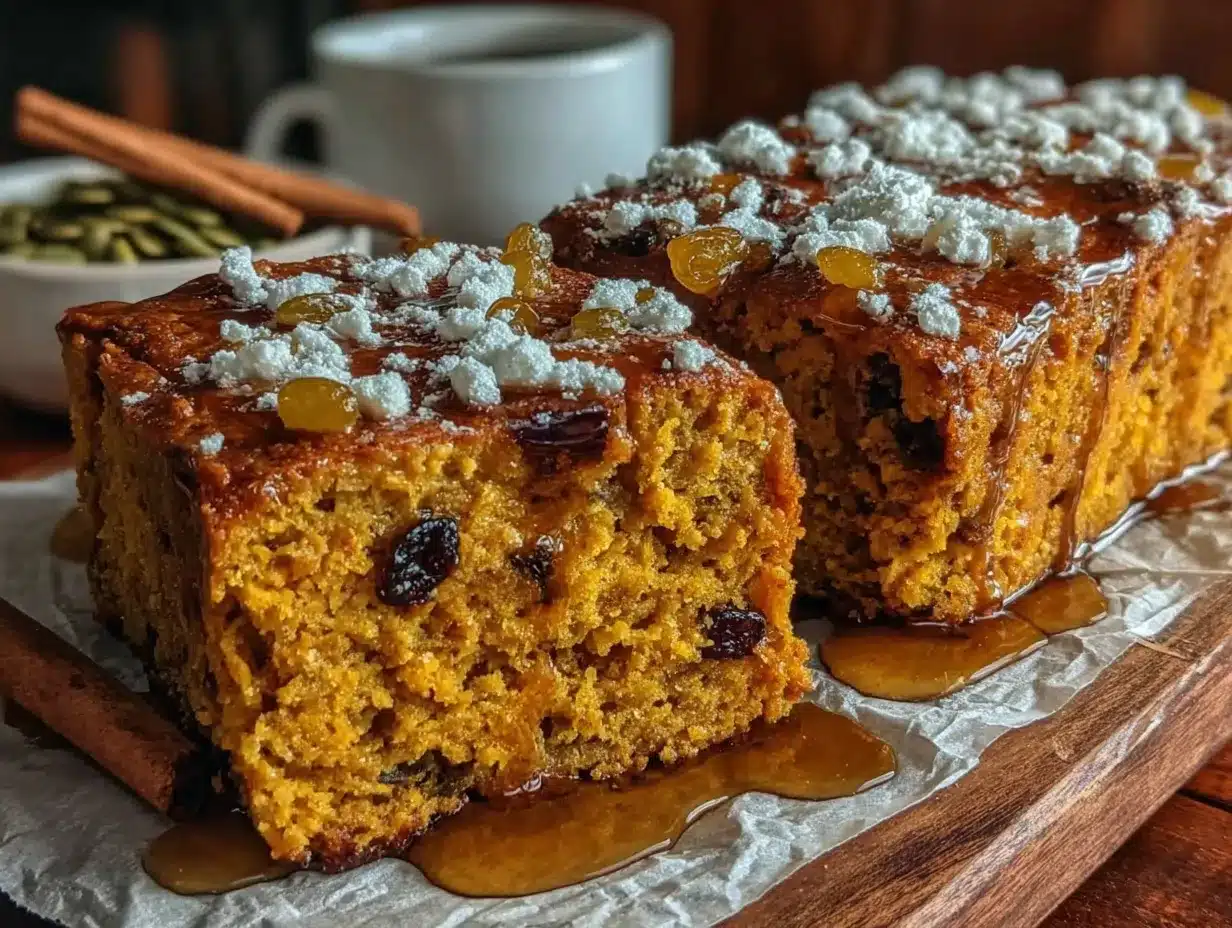
Let’s get baking. This is straightforward, I promise.
- Preheat and Prep: Preheat your oven to 350°F (175°C). Line your 8×8-inch baking pan with parchment paper, leaving some overhang on two opposite sides. This will be your handle later.
- Grind the Oats: Measure out 1 cup of rolled oats and add them to your blender or food processor. Pulse until they turn into a fine flour. It should look like whole wheat flour. Don’t overdo it—you don’t want it to turn into paste. Pour this into a large bowl.
- Mix the Dry Ingredients: To the oat flour, add the remaining 1 cup of whole rolled oats, the pumpkin pie spice, cinnamon, baking powder, and salt. Whisk everything together until it’s evenly combined. This ensures the spices are distributed throughout the bars.
- Mix the Wet Ingredients: In a medium bowl, whisk together the pumpkin puree, maple syrup, egg, melted coconut oil, milk, brown sugar, and vanilla extract. Whisk until the mixture is smooth and well combined. It should look like a thick, creamy orange sauce.
- Combine Wet and Dry: Pour the wet ingredients into the bowl with the dry ingredients. Use a spatula to fold everything together until just combined. Do not overmix—a few streaks of flour are okay. Overmixing can make the bars tough. If you’re adding chocolate chips or nuts, fold them in now.
- Transfer to Pan: Scrape the batter into your prepared pan. It will be thick and sticky. Use the spatula to spread it evenly, pressing it into the corners. Wet your spatula slightly if it’s too sticky.
- Bake: Place the pan in the preheated oven and bake for 22-25 minutes. The bars are done when the edges are golden brown and a toothpick inserted into the center comes out clean or with a few moist crumbs. If it comes out wet, bake for another 2-3 minutes.
- Cool Completely: This is the hardest part. Let the bars cool in the pan on a wire rack for at least 20 minutes. Then, use the parchment overhang to lift them out and transfer to a cutting board. Let them cool completely before slicing. If you cut them warm, they will fall apart. I learned this the hard way.
- Slice and Serve: Use a sharp knife to cut into 9 squares (3×3 grid) or 12 smaller rectangles. Wipe the knife clean between cuts for neat edges.
Pro tip: The batter will seem thick. That’s normal. Don’t be tempted to add more milk. The thick batter gives the bars their chewy, satisfying texture.
Cooking Tips & Techniques
I’ve made these bars more times than I can count, so let me share what I’ve learned the hard way.
Don’t skip the oat flour step. I tried making these with just whole oats once, and they were crumbly messes. The oat flour acts as a binder, giving the bars structure without needing a lot of flour or eggs. It’s the secret to that perfect, tender chew.
Watch your baking time. Every oven is a little different. My old oven would take exactly 23 minutes. My new one? 25 minutes. Start checking at 20 minutes. The edges should be golden, and the center should feel firm to the touch. If you press it lightly and it feels squishy, give it a few more minutes.
Let them cool completely. I know you’re hungry. I know the smell of pumpkin and cinnamon is intoxicating. But if you cut into these bars while they’re still warm, they will crumble and you’ll end up with a bowl of pumpkin oat crumble (which is delicious, but not what we’re going for). Patience pays off here.
Use room temperature ingredients. Cold eggs or milk can make the coconut oil clump up. If you forget to take them out of the fridge, place the egg in a bowl of warm water for 5 minutes and microwave the milk for 10 seconds.
Line your pan properly. I cannot stress this enough. The parchment overhang is your best friend. Without it, you’ll be digging at the pan with a spatula, swearing under your breath. Take the extra 30 seconds to do it right.
Multitasking tip: While the bars are baking, clean up your dishes. By the time they’re done, your kitchen will be tidy, and you can enjoy your bar without staring at a mess.
Variations & Adaptations
One of the best things about this recipe is how flexible it is. Here are some ways to make it your own.
Vegan Version: Swap the egg for a flax egg (1 tablespoon ground flaxseed + 3 tablespoons water, let sit for 5 minutes). Use a plant-based milk and maple syrup instead of honey. The texture will be slightly denser, but still delicious.
Gluten-Free: Use certified gluten-free rolled oats. That’s it. Oats are naturally gluten-free, but they’re often processed in facilities that handle wheat, so check the label.
Nut-Free: This recipe is already nut-free if you use oat milk or dairy milk. Just skip any nut-based mix-ins.
Lower Sugar: Reduce the maple syrup to ¼ cup and omit the brown sugar. Add an extra tablespoon of milk to compensate. The bars will be less sweet, but the pumpkin and spices will still shine.
Add Protein: Stir in 2 tablespoons of your favorite protein powder (vanilla works best). You may need to add an extra tablespoon of milk to keep the batter from getting too dry.
Seasonal Twist: In the summer, swap the pumpkin for the same amount of mashed banana or sweet potato puree. The flavor changes completely, but the texture stays perfect.
My personal favorite variation: I once added a tablespoon of peanut butter to the wet ingredients and folded in dark chocolate chips. It was dangerously good. I ate three for breakfast and didn’t regret a single bite.
Serving & Storage Suggestions
These bars are incredibly versatile. Here’s how to serve and store them.
Serving: I like them at room temperature, straight out of the pan. But they’re also amazing warmed up for 10-15 seconds in the microwave. Drizzle a little extra maple syrup on top if you’re feeling fancy, or spread a thin layer of almond butter for extra protein. They pair beautifully with a hot cup of coffee or a cold glass of milk.
Presentation: For brunch, arrange the bars on a wooden board with some fresh fruit and a dusting of cinnamon. They look rustic and inviting.
Storage: Keep them in an airtight container in the refrigerator. They stay fresh for up to 5 days. I actually think they taste better on day two—the flavors meld together and the texture becomes even more uniform.
Freezing: These freeze beautifully. Wrap each bar individually in plastic wrap, then place them in a freezer-safe bag. They’ll keep for up to 3 months. To thaw, just leave one out on the counter for an hour, or microwave it for 20-30 seconds. Perfect for those mornings when you need breakfast in a hurry.
Reheating: If you’re reheating from frozen, wrap the bar in a paper towel and microwave for 30-40 seconds. It will come out soft and warm, just like fresh-baked.
Flavor development: The spices intensify after a day or two in the fridge. So if you can wait, make them a day ahead for the best flavor.
Nutritional Information & Benefits
Here’s a rough estimate per bar (based on 9 servings):
- Calories: ~185
- Protein: 5g
- Carbohydrates: 28g
- Fiber: 4g
- Sugar: 12g
- Fat: 7g
These numbers will vary based on your exact ingredients and mix-ins, but they give you a good idea.
Health Benefits: Pumpkin is packed with vitamin A, which is great for your eyes and immune system. Oats are full of soluble fiber, which helps keep you full and supports heart health. The coconut oil provides healthy fats, and the maple syrup offers a more natural source of sweetness than refined sugar. Plus, these bars have no weird preservatives or artificial ingredients—just real food.
Dietary Considerations: This recipe is naturally dairy-free (if you use a plant-based milk) and can easily be made vegan and gluten-free. It’s a great option for anyone looking for a wholesome, satisfying breakfast that doesn’t spike blood sugar.
I love knowing that when I eat one of these bars, I’m fueling my body with good stuff. It’s a small, simple way to take care of myself without overthinking it.
Conclusion
These Healthy Pumpkin Oat Breakfast Bars are more than just a recipe—they’re a solution to the eternal question of what to eat when you want something quick, delicious, and actually good for you. They’re the kind of bar that makes you feel like you’re having a treat, even though you’re eating oats and pumpkin. They’re forgiving, adaptable, and endlessly customizable. Whether you stick to the basic version or go wild with chocolate chips and peanut butter, I promise you’ll be happy you made them.
I love this recipe because it reminds me that healthy food doesn’t have to be boring or complicated. It can be warm, spiced, and comforting—just like a conversation with a kind stranger at a farmer’s market. So go ahead, make a batch. Eat one for breakfast, one for a snack, and maybe one for dessert. I won’t tell anyone.
Now I want to hear from you! Did you try these bars? Did you add your own twist? Drop a comment below and let me know how they turned out. And if you loved them, share this recipe with a friend who needs a little pumpkin in their life. Happy baking!
Frequently Asked Questions
Can I use quick oats instead of rolled oats?
Yes, you can. The texture will be slightly softer and less chewy, but they will still work. If you use quick oats, you can skip the blending step since they’re already smaller.
Can I make these without a blender?
Absolutely. You can use store-bought oat flour instead of grinding your own. Use 1 cup of oat flour and 1 cup of whole rolled oats.
Why did my bars turn out dry?
This usually happens if they’re overbaked or if the pumpkin puree was too thick. Check your bars at the 20-minute mark. Also, make sure you’re measuring the pumpkin puree correctly—pack it into the measuring cup.
Can I add protein powder to these bars?
Yes, but you’ll need to adjust the liquid. Add 2 tablespoons of protein powder and an extra tablespoon of milk to keep the batter moist. Vanilla or unflavored protein works best.
How long do these bars last at room temperature?
They’re best stored in the fridge, but they can sit at room temperature for up to 2 days. If your kitchen is warm, stick to the fridge to keep them fresh longer.
Pin This Recipe!
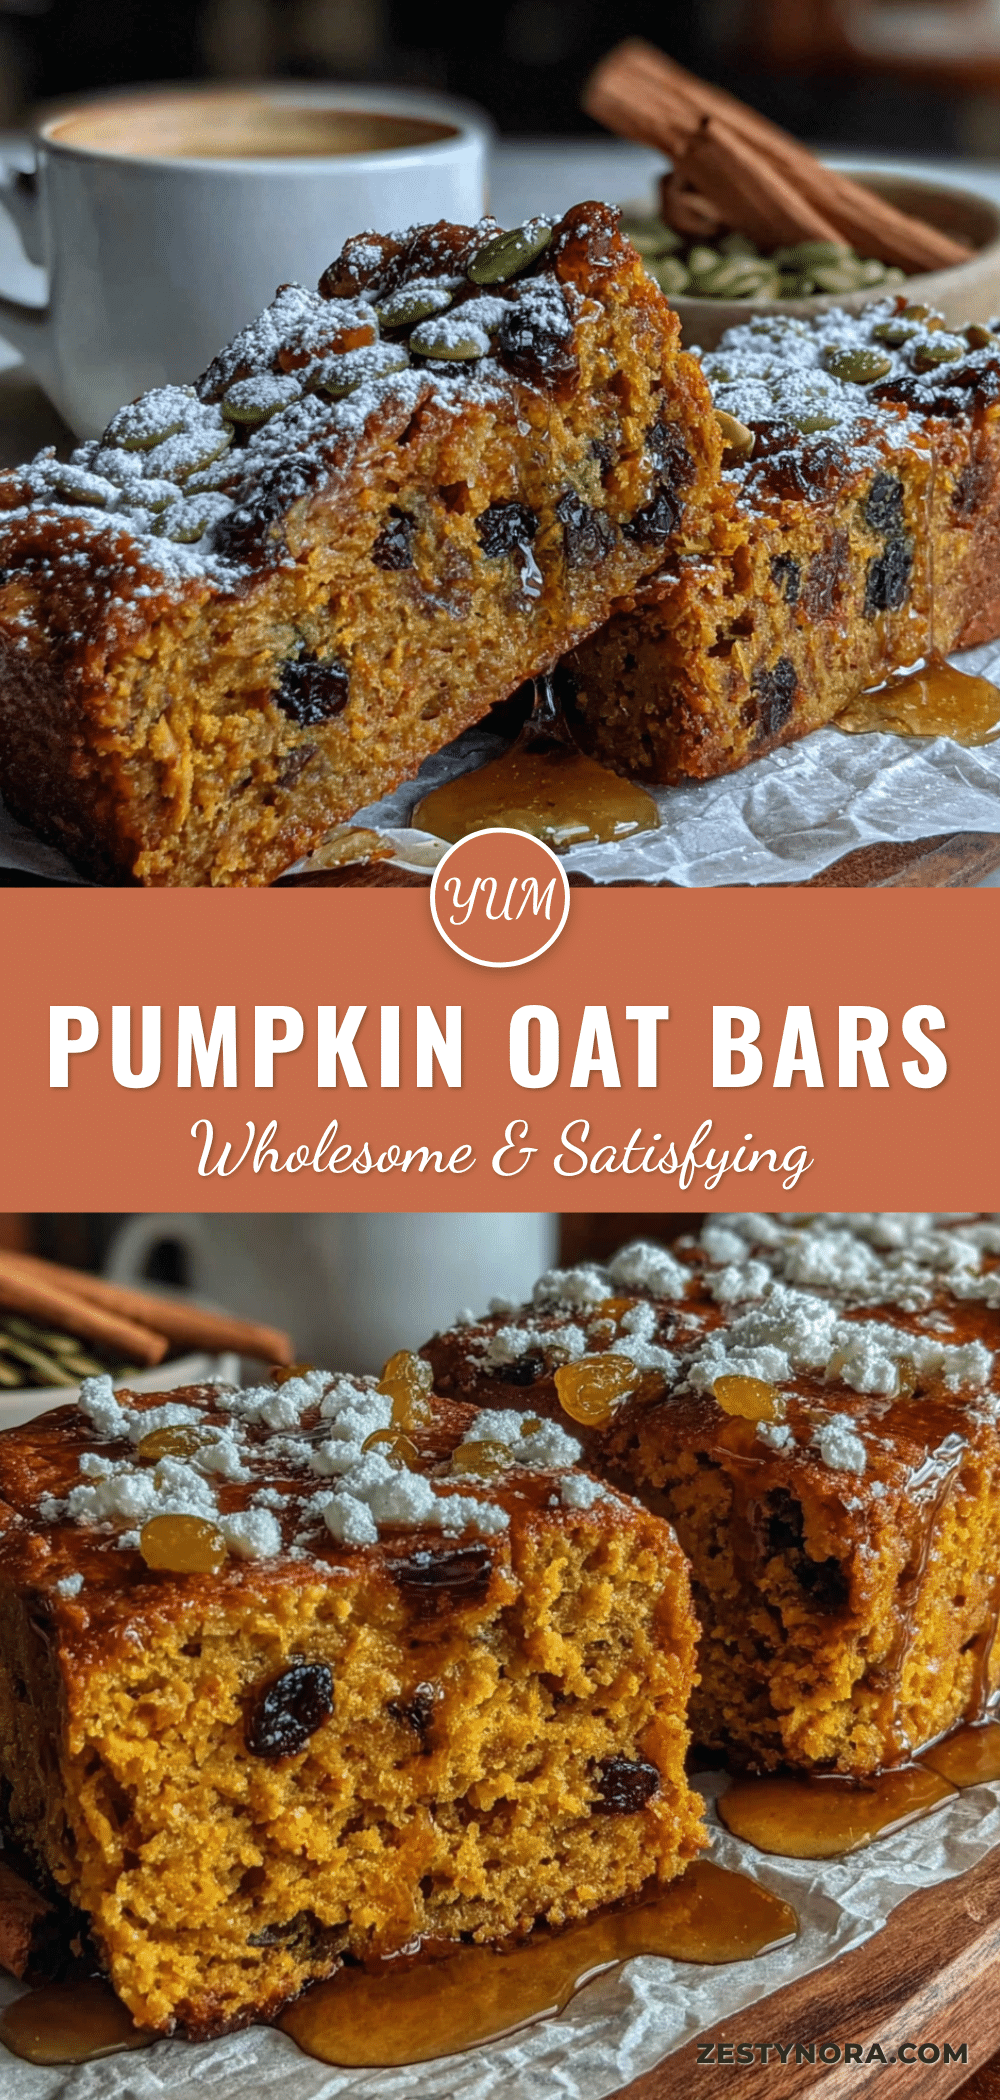
Healthy Pumpkin Oat Breakfast Bars: Easy 30-Minute Recipe
These Healthy Pumpkin Oat Breakfast Bars are soft, chewy, and packed with cozy fall flavors. Made with simple, wholesome ingredients, they come together in just 30 minutes and are perfect for meal prep, offering a quick, satisfying, and actually good-for-you breakfast or snack.
- Prep Time: 10 minutes
- Cook Time: 22-25 minutes
- Total Time: 30 minutes
- Yield: 9 servings 1x
- Category: Breakfast
- Cuisine: American
Ingredients
- 2 cups (180g) rolled oats (old-fashioned, not instant)
- 1 cup (245g) pumpkin puree (100% pure, not pumpkin pie filling)
- ⅓ cup (80ml) pure maple syrup
- 1 large egg (or flax egg for vegan: 1 tbsp ground flaxseed + 3 tbsp water, let sit 5 minutes)
- ¼ cup (60ml) coconut oil, melted (or melted butter or avocado oil)
- ¼ cup (60ml) milk (dairy, almond, oat, or coconut)
- 2 tablespoons (25g) brown sugar (or coconut sugar)
- 1 ½ teaspoons pumpkin pie spice (or 1 tsp cinnamon + ½ tsp ginger + ¼ tsp nutmeg + pinch cloves)
- 1 teaspoon cinnamon
- 1 teaspoon baking powder
- ¼ teaspoon salt
- 1 teaspoon vanilla extract (optional but recommended)
- ½ cup chocolate chips, chopped nuts, or dried cranberries (optional mix-ins)
Instructions
- Preheat your oven to 350°F (175°C). Line an 8×8-inch baking pan with parchment paper, leaving overhang on two opposite sides.
- Measure out 1 cup of rolled oats and add to a blender or food processor. Pulse until they turn into a fine flour. Pour into a large bowl.
- To the oat flour, add the remaining 1 cup of whole rolled oats, pumpkin pie spice, cinnamon, baking powder, and salt. Whisk to combine.
- In a medium bowl, whisk together pumpkin puree, maple syrup, egg, melted coconut oil, milk, brown sugar, and vanilla extract until smooth.
- Pour the wet ingredients into the dry ingredients. Fold with a spatula until just combined. Do not overmix. Fold in any optional mix-ins.
- Scrape the batter into the prepared pan. Spread evenly, pressing into corners. Wet the spatula slightly if sticky.
- Bake for 22-25 minutes, until edges are golden brown and a toothpick inserted in the center comes out clean or with a few moist crumbs.
- Cool in the pan on a wire rack for at least 20 minutes. Then use the parchment overhang to lift out and transfer to a cutting board. Cool completely before slicing.
- Slice into 9 squares (3×3 grid) or 12 smaller rectangles. Wipe knife clean between cuts for neat edges.
Notes
The batter will be thick—do not add more milk. Let bars cool completely before slicing to prevent crumbling. For best texture, use room temperature egg and milk. Bars keep in the fridge for up to 5 days and freeze well for up to 3 months. The spices intensify after a day in the fridge, so making them ahead is recommended.
Nutrition
- Serving Size: 1 bar (based on 9 se
- Calories: 185
- Sugar: 12
- Sodium: 120
- Fat: 7
- Saturated Fat: 4
- Carbohydrates: 28
- Fiber: 4
- Protein: 5
Keywords: pumpkin oat breakfast bars, healthy breakfast bars, pumpkin oatmeal bars, easy breakfast recipe, meal prep breakfast, gluten-free breakfast bars, vegan breakfast bars


