By the fourth batch, I finally stopped fighting the thermometer and just let the water bath do its thing. You know how it goes when you’re trying to perfect a gift for that one friend who always complains about store-bought treats being too waxy? You become a little manic. I had bowls of melted dark chocolate sitting on every surface in the kitchen. The strawberries were washed, hulled, and lined up on parchment paper like little red soldiers waiting for their coat of arms. My hands were stained purple from the berry juice, and I was pretty sure I’d spilled more cocoa butter than I actually used.
But here’s the thing that kept pulling me back to the stove. It wasn’t just about getting the ratio right. It was about the sound. That specific, quiet crackle when the chocolate sets and snaps against your teeth. I made these for a bridal shower last month, and the bride-to-be literally closed her eyes when she took a bite. That’s the moment. That split second where you realize you’ve actually made something that feels like luxury, even though it cost you about $8 in ingredients and three hours of your life.
I tried tempering by hand once. It was a disaster. The chocolate looked cloudy and felt grainy. Then I tried the microwave method, which is faster but risky if you’re not paying attention. The sweet spot for me? A double boiler with a good digital thermometer. It’s not fancy, but it works. And once you get the hang of it, you can make these for any occasion. Valentine’s Day, Easter, or just because you bought a pint of berries on sale and you’re feeling generous. Honestly, the effort is part of the charm. It shows you care. Plus, they look incredible in a gift box with some crinkle paper and a ribbon. Let’s face it, we all love receiving pretty things, and homemade chocolate-covered strawberries are the gold standard of pretty edible gifts.
Why You’ll Love This Recipe
There is a reason these are the best chocolate covered strawberry gift box ideas out there. It’s not just about the taste; it’s about the experience of making them and the reaction you get when you hand them over. I’ve tested dozens of methods over the years, from dipping by hand to using forks, and I’ve settled on the method that gives you the smoothest, shiniest finish without requiring a degree in confectionery science.
- Quick & Easy Setup: While the dipping process takes some focus, the actual prep is minimal. You’ll have everything ready in under 20 minutes, leaving plenty of time for the chocolate to set. It’s perfect for busy weeknights when you want to make something special without spending all day in the kitchen.
- Simple Ingredients: You don’t need a fancy grocery store trip. You likely already have chocolate chips or baking chocolate, heavy cream, and strawberries in your kitchen. It’s about using high-quality basics and treating them with respect.
- Perfect for Gifting: These are the ultimate hostess gift or party favor. They look expensive and sophisticated, but they’re incredibly approachable. Whether you’re making them for a holiday party, a wedding favor, or a “just because” treat for a neighbor, they always land well.
- Crowd-Pleaser: Kids love the sweetness, and adults appreciate the balance of tart fruit and rich chocolate. I’ve served these at everything from casual backyard BBQs to formal dinners, and they disappear fast. They are the kind of treat that makes people smile before they even take a bite.
- Unbelievably Delicious: The texture combo is next-level. The crisp snap of the chocolate gives way to the juicy, tart strawberry inside. It’s a flavor profile that feels classic for a reason. It’s comfort food reimagined—simple, elegant, and deeply satisfying.
What makes this version different? It’s the addition of a little heavy cream in the chocolate. This creates a ganache-like coating that is softer and more flavorful than standard dipping chocolate, which can sometimes be hard and waxy. It also helps prevent cracking when you bite into it. I’ve tried using pure candy melts, but they lack the depth of real chocolate. This method bridges the gap between a simple dip and a professional confection. It’s the kind of recipe that makes you feel like a pro, even if you’re having your first go at it.
What Ingredients You Will Need
This recipe relies on high-quality ingredients because there are so few of them. When you strip away the complexity, the quality of each component matters more. I recommend sourcing the best strawberries you can find, preferably local and in season, and using real chocolate rather than compound coatings.
- Fresh Strawberries: Look for large, firm, bright red berries. They should be ripe but not mushy. I prefer varieties like Albion or Sequoia if you can find them. Wash them thoroughly and pat them completely dry; any moisture will cause the chocolate to seize. (Choose stems that are still attached for easier handling.)
- Semi-Sweet Chocolate Chips: I use Ghirardelli or Lindt chips for their consistent melt. Avoid the cheap baking chips that contain stabilizers that prevent a smooth melt. If you prefer dark chocolate, a 60% cocoa content works beautifully. (This adds richness and balances the fruit’s sweetness.)
- Heavy Cream: This is the secret weapon. Adding a tablespoon or two of warm heavy cream to the melted chocolate creates a silky ganache texture. It makes the coating more flexible and less prone to cracking. (Use full-fat cream for best results; low-fat can make it grainy.)
- Vanilla Extract: A half-teaspoon of pure vanilla extract enhances the chocolate flavor and adds a subtle warmth. (Avoid imitation vanilla; it tastes artificial in simple recipes.)
- Flaky Sea Salt: A light sprinkle of Maldon sea salt after dipping adds a sophisticated touch and cuts through the sweetness. (Optional, but highly recommended for a gourmet feel.)
- Edible Glitter or Sprinkles: For decoration, use gold dust, silver sprinkles, or colored sugar. (Ensure they are food-grade if you plan to eat them.)
If you are dairy-free, you can substitute the heavy cream with coconut cream, though it will impart a slight coconut flavor. For a nut-free option, ensure your chocolate is processed in a nut-free facility. I’ve found that buying chocolate from specialty stores rather than the baking aisle often yields better results for dipping.
Equipment Needed
You don’t need a lot of fancy gear to make these, but having the right tools makes the process much less stressful.
- Double Boiler: A heatproof bowl set over a pot of simmering water is the best method. If you don’t have one, a microwave-safe bowl works, but you must heat in short bursts. A double boiler gives you more control and prevents scorching.
- Digital Thermometer: This is crucial. You want to melt the chocolate to around 110°F (43°C) and then cool it slightly before dipping. A thermometer takes the guesswork out and prevents seizing.
- Parchment Paper: Line two large baking sheets with parchment paper. This is where you’ll place the dipped strawberries to set. Wax paper won’t work as well because the chocolate can stick to it.
- Pastry Brush: A clean, dry pastry brush is helpful for removing any loose hulls or bits of green from the strawberries before dipping.
- Forks or Dipping Tools: You can use two forks to dip the berries, or specialized chocolate dipping forks. I usually use one fork to hold the berry and another to drizzle chocolate over it.
- Small Gift Boxes: If you’re making these as a gift, have your boxes ready. Small bakery boxes or custom-printed boxes work well. Add some crinkle paper or tissue paper for a professional look.
I once tried using a silicone mat instead of parchment, and the chocolate stuck terribly. Stick to parchment. Also, make sure all your equipment is completely dry. Even a single drop of water in the chocolate can ruin the whole batch by causing it to seize up into a grainy mess.
Preparation Method
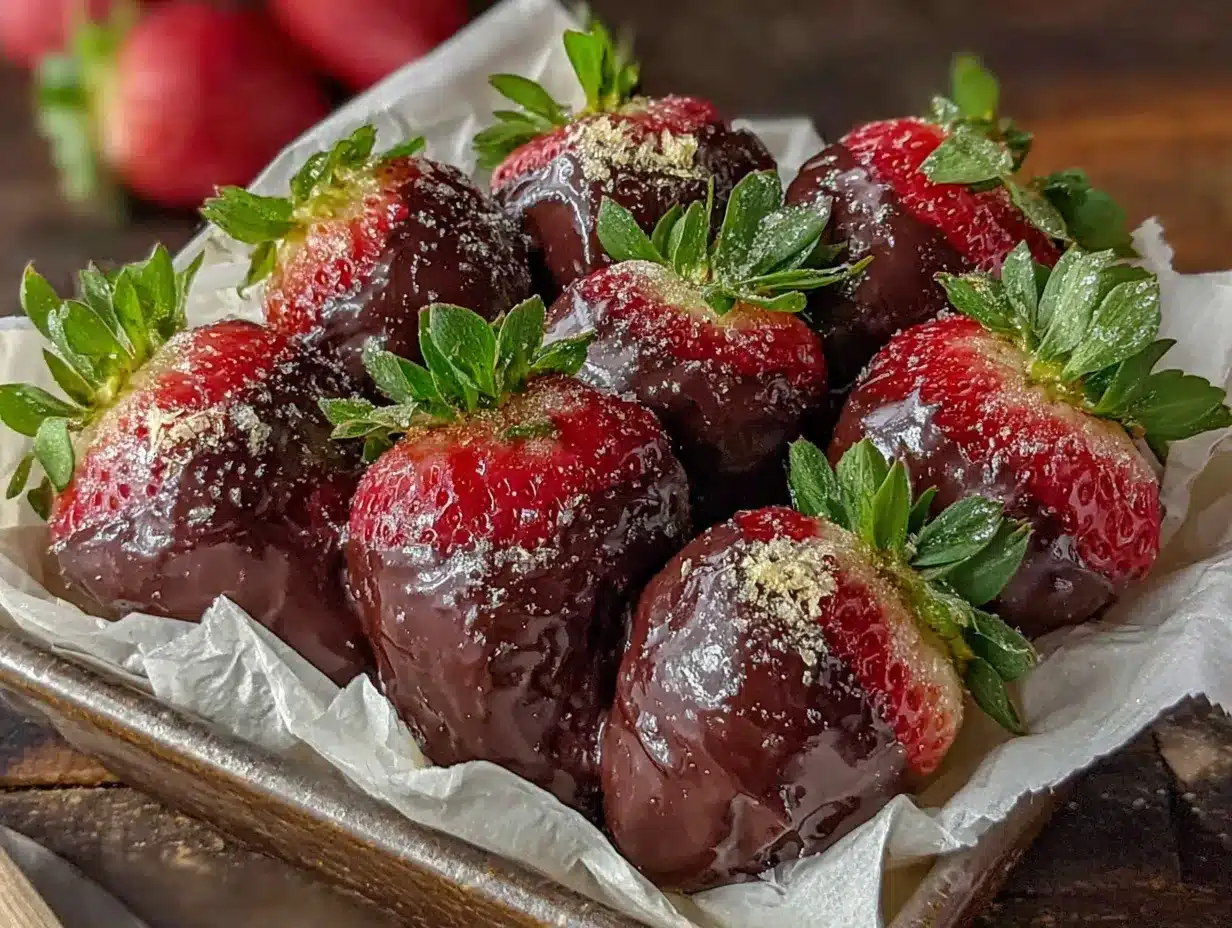
- Prepare the Strawberries: Start by washing your strawberries gently under cool water. This is important to remove any dirt or pesticides. After washing, pat them completely dry with paper towels. This step is non-negotiable. If the berries are wet, the chocolate will slide off or seize. Let them air dry for 10-15 minutes to ensure all moisture is gone. (Time estimate: 20 minutes)
- Set Up Your Station: Line two large baking sheets with parchment paper. This is your setting station. Have your dipping tools, forks, and any decorations within arm’s reach. You want to work efficiently once the chocolate is melted. (Time estimate: 5 minutes)
- Melt the Chocolate: Chop your chocolate bars if using them, or use chips. Place the chocolate in a heatproof bowl. Set the bowl over a pot of barely simmering water, making sure the bottom of the bowl doesn’t touch the water. Stir occasionally until the chocolate is about 75% melted. If using a microwave, heat in 30-second intervals, stirring between each, until smooth. (Time estimate: 5-7 minutes)
- Add Cream and Vanilla: Once the chocolate is mostly melted, remove the bowl from the heat. Stir in the heavy cream and vanilla extract. The residual heat will melt the remaining chocolate and incorporate the cream. Stir until the mixture is smooth, glossy, and uniform in color. This creates your ganache coating. (Time estimate: 2 minutes)
- Test the Consistency: Dip the tip of a fork into the chocolate and let it drip back into the bowl. The chocolate should flow smoothly and coat the fork evenly. If it’s too thick, add a tiny bit more warm cream. If it’s too thin, let it cool for a minute. The ideal consistency is like warm honey. (Time estimate: 1 minute)
- Dip the Strawberries: Pick up a strawberry by the stem. Dip it into the chocolate, swirling it to coat it evenly. Lift it out and let the excess chocolate drip back into the bowl for a few seconds. Gently tap the fork against the side of the bowl to remove excess. This prevents thick pools of chocolate at the bottom. (Time estimate: 15-20 minutes for a dozen berries)
- Place on Parchment: Carefully place the dipped strawberry onto the prepared parchment paper. You can use another fork to smooth out the bottom if needed. If you are adding sprinkles or salt, do it immediately while the chocolate is still wet. (Time estimate: 5 minutes)
- Set the Chocolate: Allow the strawberries to set at room temperature for about 30 minutes. For faster setting, you can place them in the refrigerator for 15 minutes. Do not leave them in the fridge for too long, as condensation can form when you take them out, which can make the chocolate sticky. (Time estimate: 30 minutes)
- Package for Gifting: Once set, gently place the strawberries into your gift box. Use crinkle paper or tissue to keep them from moving around. Add a ribbon and a tag. They are ready to give! (Time estimate: 10 minutes)
Personal tip: Work in small batches if you are making a large number. The chocolate can thicken as it sits, so it’s easier to manage if you dip 6-8 berries at a time and refresh the chocolate if needed.
How do I keep the chocolate from seizing?
Seizing happens when water gets into the chocolate. Ensure your strawberries are bone dry and your bowl is completely dry. Also, avoid covering the bowl with plastic wrap while melting, as condensation can drip back in.
Can I use white chocolate?
Yes, white chocolate works well, but it is more delicate. It melts at a lower temperature, so be careful not to overheat it. You may need to use lower heat or shorter microwave bursts.
Why is my chocolate too thick?
If the chocolate is too thick, it will coat the strawberries heavily and look lumpy. Stir in a teaspoon of warm cream or vegetable oil to thin it out. Add it gradually until you reach the desired consistency.
How long do they last?
Homemade chocolate-covered strawberries last about 2-3 days at room temperature. After that, the strawberries may start to release moisture, which can affect the chocolate. Keep them in a cool, dry place.
Can I freeze them?
It’s not recommended to freeze them because the texture of the strawberry can become mushy upon thawing. It’s best to make them fresh for the day you plan to serve or gift them.
Cooking Tips & Techniques
Getting the chocolate right is all about temperature control. I learned this the hard way when I tried to rush the process with high heat. The chocolate scorched and tasted bitter. Now, I always use low, gentle heat. If you’re using a double boiler, the water should be simmering, not boiling vigorously. Steam can get into the chocolate, so keep the lid off.
Another common mistake is not drying the strawberries enough. I once skipped the extra drying step and ended up with a batch of chocolate that slid right off the berries. It was frustrating, but now I always pat them dry and then let them air dry for a bit. It’s worth the wait.
Multitasking is key here. While the chocolate is melting, have your dipping tools ready. Have your parchment paper lined. Have your decorations open. The chocolate sets quickly, so you want to be efficient. I usually set up a “assembly line” style station: wash and dry berries -> melt chocolate -> dip -> decorate -> set.
For consistency, try to use the same size strawberries. This ensures they all dip evenly and look uniform in your gift box. If you have a mix of sizes, sort them before you start. Also, keep the chocolate warm but not hot. If it starts to cool and thicken, you can briefly return the bowl to the warm water bath for a few seconds to loosen it up.
Don’t forget to clean your forks between dips if you’re using them to hold the berries. Chocolate builds up on the forks and can make the coating thick and uneven. A quick wipe with a paper towel helps.
Variations & Adaptations
While the classic dark chocolate and strawberry combination is timeless, there are plenty of ways to mix it up. Here are a few variations I’ve tried:
- Milk Chocolate and Sea Salt: Swap the dark chocolate for milk chocolate for a sweeter, creamier flavor. Sprinkle with flaky sea salt for a salty-sweet contrast. This is a crowd favorite, especially with kids.
- White Chocolate and Raspberry: Use white chocolate and dip raspberries instead of strawberries. The tartness of the raspberry pairs beautifully with the sweet white chocolate. You can also add a layer of raspberry jam inside the chocolate for extra flavor.
- Coconut and Lime: Add a teaspoon of lime zest to the chocolate. After dipping, roll the berries in shredded coconut. This gives a tropical twist that is perfect for summer gatherings.
- Peanut Butter Cup: Dip the strawberries in dark chocolate, then drizzle with melted peanut butter. Sprinkle with crushed peanuts. This tastes like a miniature peanut butter cup.
- Gluten-Free Option: This recipe is naturally gluten-free, but always check your chocolate packaging to ensure it’s processed in a gluten-free facility. Use gluten-free sprinkles if needed.
I once tried adding matcha powder to the chocolate, but it turned out too bitter. Stick to flavors that complement the chocolate, like orange zest or espresso powder. A teaspoon of espresso powder in dark chocolate really enhances the chocolate flavor without tasting like coffee.
Serving & Storage Suggestions
These strawberries are best served at room temperature. If they are too cold, the chocolate can be hard and the flavor muted. Take them out of the fridge 15-20 minutes before serving if you chilled them to set.
For presentation, arrange them in a single layer in a gift box. Use crinkle paper or tissue paper to fill the gaps and keep them secure. You can add a small tag with a thank you note or the date they were made. They look beautiful alongside other treats like salted caramel apple cheesecake bars or no-churn salted caramel ice cream sandwiches for a dessert platter.
Store leftovers in an airtight container in the refrigerator. Place a sheet of parchment paper between layers if you need to stack them. Consume within 2-3 days for the best quality. The strawberries will release moisture over time, which can make the chocolate sticky or soft.
Do not freeze them. The texture of the strawberry changes after freezing and thawing, becoming mushy. It’s best to enjoy them fresh. If you need to make them ahead, prepare the chocolate and wash the berries, but wait to dip them until the day of serving.
Can I store them in the freezer?
No, freezing is not recommended. The water content in the strawberries will expand and rupture the cell walls, leading to a mushy texture when thawed.
How do I reheat them?
You don’t need to reheat them. In fact, reheating can melt the chocolate. Just let them come to room temperature before eating.
What drinks pair well with them?
They pair beautifully with coffee, tea, or a glass of red wine. A sweet dessert wine like Mosel also works well.
Can I make them ahead for a party?
You can prepare the chocolate and wash the berries a day ahead, but dip them the day of the party for the best texture and appearance.
How do I prevent condensation?
When taking them out of the fridge, let them sit in their container at room temperature for 15 minutes before opening. This prevents condensation from forming on the chocolate.
Nutritional Information & Benefits
While these are definitely a treat, strawberries are actually quite nutritious. They are high in vitamin C, manganese, and folate. They also contain antioxidants like anthocyanins, which give them their red color and may help reduce inflammation. The dark chocolate, if used in moderation, can provide some flavonoids and iron. However, these are high in sugar and calories due to the chocolate coating, so enjoy them in moderation.
Each strawberry contains roughly 50-70 calories, depending on the size and thickness of the chocolate coating. They are naturally gluten-free and can be made dairy-free with coconut cream. For those watching their sugar intake, you can use sugar-free chocolate chips, though the taste may differ.
I like to think of these as a mindful treat. It’s not something you eat by the handful; it’s something you savor. One or two strawberries are usually enough to satisfy a sweet tooth. It’s about quality over quantity.
Are they gluten-free?
Yes, they are naturally gluten-free. Just ensure your chocolate and decorations are certified gluten-free.
Can they be made vegan?
Yes, use dairy-free chocolate chips and coconut cream instead of heavy cream. Ensure the chocolate is vegan-certified.
What are the health benefits of strawberries?
Strawberries are rich in vitamin C, manganese, and antioxidants. They support heart health and may help reduce inflammation.
How many calories are in one strawberry?
Approximately 50-70 calories per strawberry, depending on the size and chocolate coating.
Are they good for diabetics?
They are high in sugar, so diabetics should consume them in moderation and monitor their blood sugar levels.
Conclusion
Making the best chocolate covered strawberry gift box is a labor of love, but the results are worth every minute. These treats are elegant, delicious, and deeply personal. They show that you put thought and care into your gifts, which is something that can’t be bought at a store.
I hope this recipe inspires you to try your hand at dipping. Don’t be afraid to experiment with different chocolates and decorations. Find what works for you and your taste buds. Whether you’re making them for Valentine’s Day, Easter, or just because, they are sure to be a hit.
Please try this recipe and let me know how it goes! I’d love to see your creations. Share your photos on social media or leave a comment below with your tips and variations. Happy dipping!
Can I use milk chocolate?
Yes, milk chocolate is a great option for a sweeter, creamier flavor. It melts similarly to dark chocolate.
What is the best chocolate for dipping?
High-quality semi-sweet or dark chocolate chips or baking chocolate work best. Avoid cheap baking chips that contain stabilizers.
How do I make them look professional?
Use a double boiler for smooth melting, dry the berries thoroughly, and decorate immediately after dipping. Use a clean fork to remove excess chocolate.
Can I add nuts to the chocolate?
Yes, chopped nuts like pistachios, almonds, or hazelnuts can be sprinkled on the wet chocolate for added crunch and flavor.
Why did my chocolate crack?
Chocolate can crack if it’s too thick or if the strawberry is too wet. Ensure the chocolate is the right consistency and the berries are completely dry.
Pin This Recipe!
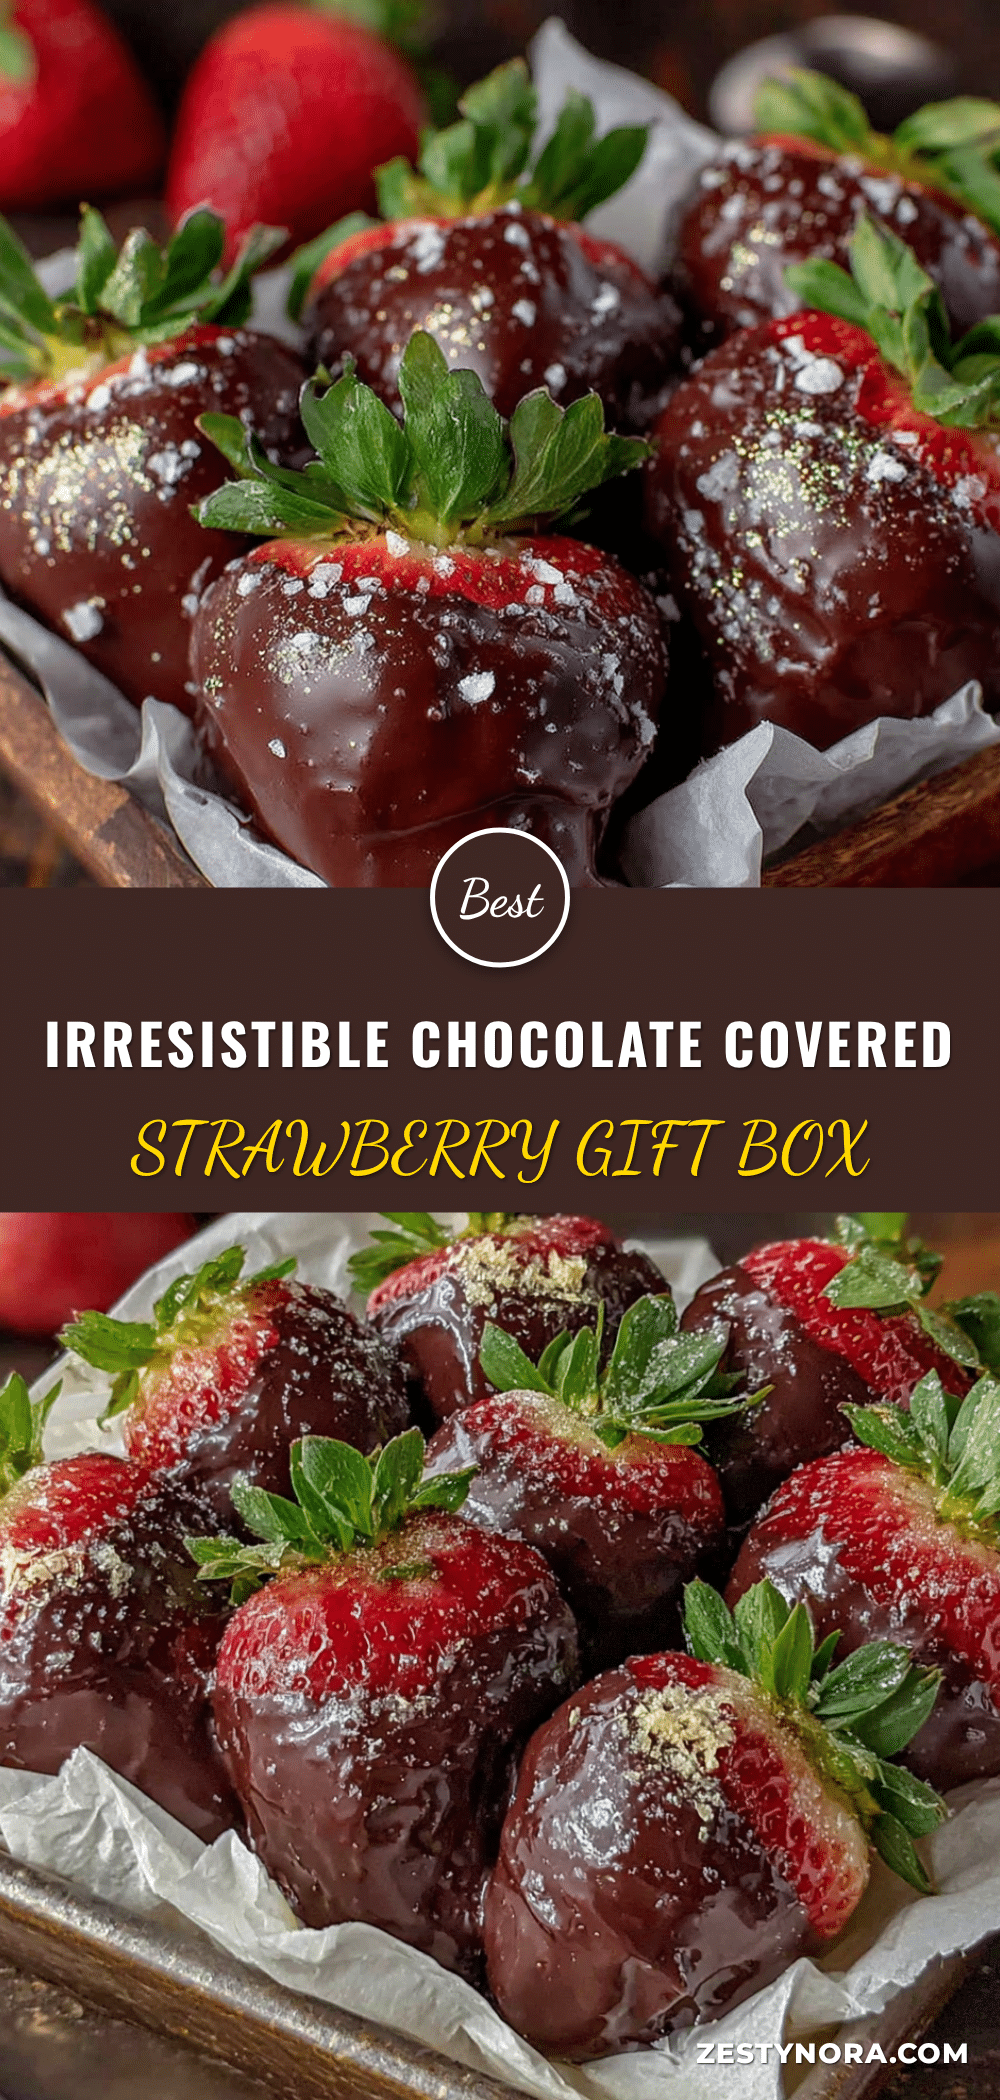
Best Chocolate Covered Strawberries: Easy Homemade Gift Box

Homemade chocolate-covered strawberries with a silky ganache coating made from semi-sweet chocolate and heavy cream. Perfect for gifting or as an elegant dessert.
- Prep Time: 20 minutes
- Cook Time: 10 minutes
- Total Time: 45 minutes
- Yield: 12 servings
- Category: Dessert
- Cuisine: American
Ingredients
- Fresh Strawberries (large, firm, washed and completely dried)
- Semi-Sweet Chocolate Chips (high quality, e.g., Ghirardelli or Lindt)
- Heavy Cream (warm, full-fat)
- Vanilla Extract (pure)
- Flaky Sea Salt (optional, for garnish)
- Edible Glitter or Sprinkles (optional, for decoration)
Instructions
- Wash strawberries gently and pat them completely dry with paper towels. Let them air dry for 10-15 minutes to ensure no moisture remains.
- Line two large baking sheets with parchment paper and have dipping tools ready.
- Melt chocolate in a heatproof bowl over a double boiler (or microwave in 30-second intervals) until about 75% melted.
- Remove from heat and stir in heavy cream and vanilla extract until smooth and glossy.
- Test consistency; it should flow like warm honey. Add a tiny bit more cream if too thick.
- Dip each strawberry by the stem into the chocolate, swirling to coat evenly. Let excess drip off.
- Place dipped strawberries on parchment paper. Add salt or sprinkles immediately while chocolate is wet.
- Allow to set at room temperature for 30 minutes or in the refrigerator for 15 minutes.
- Package in gift boxes with crinkle paper or tissue paper.
Notes
Ensure all equipment and strawberries are completely dry to prevent the chocolate from seizing. Work in small batches for best results. Do not freeze as the strawberry texture becomes mushy upon thawing.
Nutrition
- Serving Size: 1 strawberry
- Calories: 60
- Sugar: 5
- Sodium: 5
- Fat: 4
- Saturated Fat: 3
- Carbohydrates: 6
- Fiber: 1
- Protein: 1
Keywords: chocolate covered strawberries, homemade gift, ganache, Valentine's Day, dessert, gifting, easy recipe