Flipping through takeout menus when I realized the craving wasn’t for delivery. It was for something specific—that perfect crackly skin, the kind that shatters when you bite into it, slicked with something spicy and buttery. I had a bag of chicken wings in the fridge and absolutely zero patience for deep frying. The air fryer sat on my counter like it was waiting for this exact moment. Honestly, I wasn’t sure it would work. Wings in an air fryer? I’d tried before and ended up with sad, dry little things that tasted more like jerky than game-day greatness.
But this time felt different. I had a trick up my sleeve—a little baking powder, a long rest in the fridge, and a buffalo glaze that I’d been tweaking for months. The kitchen smelled like a sports bar within fifteen minutes. My husband wandered in, sniffing the air like a cartoon character floating toward a pie on a windowsill. “Are those wings?” he asked. I just pointed at the air fryer basket and grinned. These crispy air fryer chicken wings with buffalo glaze weren’t just good. They were the kind of good that makes you text your friends a photo mid-bite.
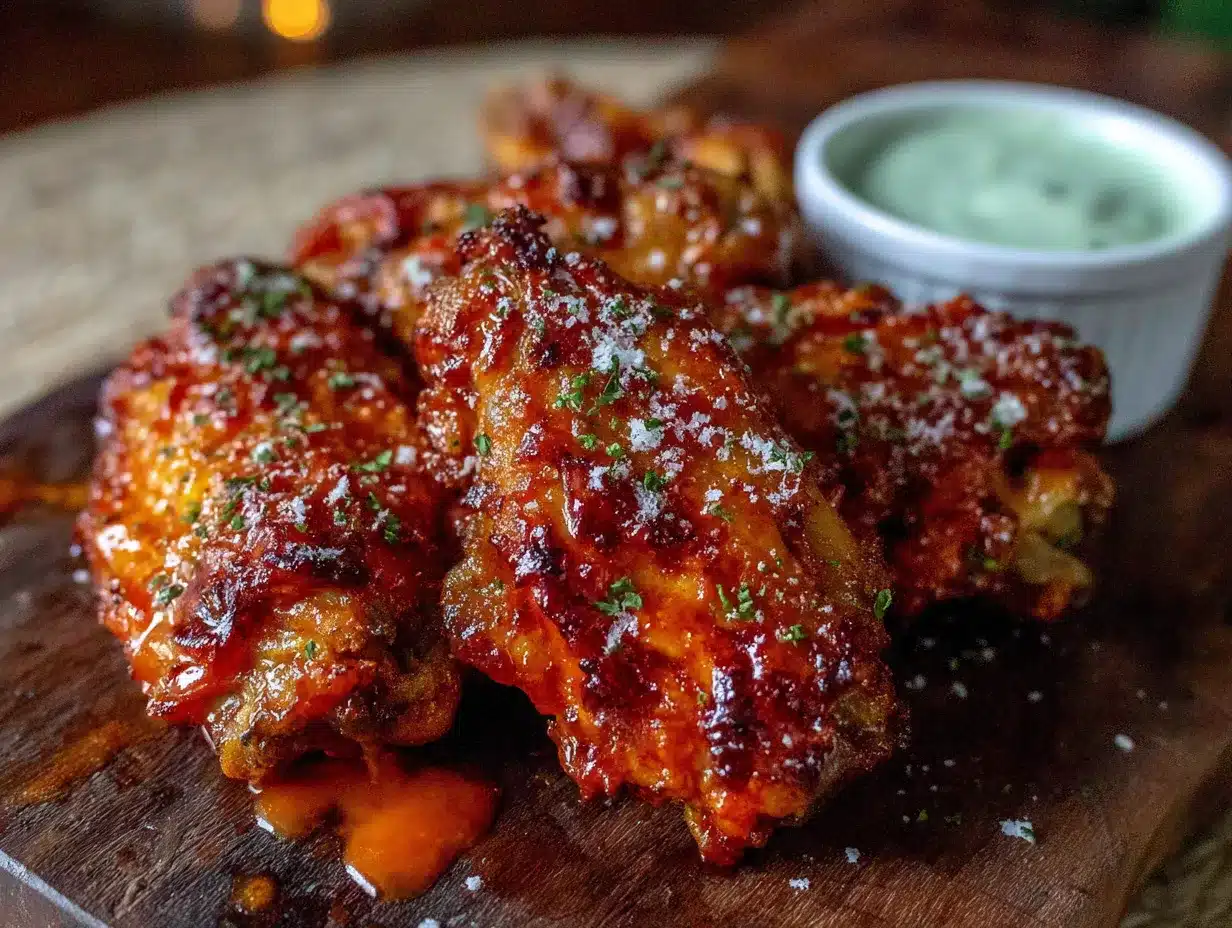
By the time the timer went off, I had already planned to make them again for Sunday’s game. The skin was impossibly crispy—no deep fryer required. The glaze clung to every ridge and crevice like it belonged there. And the best part? No greasy stove, no splattered oil, no lingering smell in the house for three days. Just pure, messy, finger-licking wing perfection. That night, I knew this recipe was going to become a regular in our rotation. And now I’m pretty sure it’s about to become one in yours too.
Why You’ll Love This Recipe
Let me tell you why these wings have officially retired our takeout wing habit. First off, they’re genuinely crispy. Not “air fryer crispy” as a consolation prize—I mean legit, deep-fryer-level crunchy skin that stays crisp even after you toss them in sauce. The secret is a combination of drying the wings thoroughly and using a tiny amount of baking powder in the seasoning. It sounds weird, I know. But trust me on this one.
- No Deep Frying Required : You get all the crunch without the mess, the smell, or the vat of oil. Your kitchen stays clean, and your smoke detector stays quiet.
- Ready in Under 40 Minutes : From fridge to plate in about 35 minutes. That’s faster than delivery and way more satisfying.
- Simple Pantry Ingredients : Chicken wings, salt, pepper, garlic powder, baking powder, and your favorite hot sauce. You probably have most of this already.
- Perfect for Game Day or Weeknight Dinner : These wings work for a big crowd or a Tuesday night when you need something fun to eat while watching reruns.
- Gluten-Free Friendly : No flour dredge needed. These wings are naturally gluten-free, so everyone can enjoy them.
- Better Than Takeout : Honestly, I’ve ordered wings from a dozen places, and these beat almost all of them. The texture is that good.
What makes this recipe different from every other air fryer wing recipe out there? It’s the method. Most recipes rush the process. They tell you to pat the wings dry, toss them in seasoning, and throw them in the air fryer. That works, but it doesn’t deliver the shatteringly crisp skin we’re after. My approach includes a resting period in the fridge that lets the baking powder work its magic on the skin. It draws out moisture and creates tiny bubbles that turn into extra-crunchy texture when they hit hot air. Plus, this buffalo glaze is not just hot sauce and butter. I add a splash of vinegar and a pinch of garlic powder to balance the heat and give it that authentic wing joint flavor.
These wings are the kind of recipe that makes you feel like a hero. You set them down on the table, and people stop talking. They just reach for wings and make happy noises. That’s the kind of cooking I live for.
What Ingredients You Will Need
This recipe uses simple, straightforward ingredients that come together to create something truly special. The magic is in the technique, not a long list of fancy items. Here’s everything you’ll need, along with a few notes on what to look for and why each ingredient matters.
For the Chicken Wings
- 2 pounds chicken wings (about 10-12 whole wings, or 20-24 separated into flats and drumettes) — Look for fresh wings if possible. Frozen work fine, just thaw them completely in the fridge overnight. I prefer buying whole wings and separating them myself at home. It saves money and the wing tips can be saved for making stock. If you’re short on time, most grocery stores sell pre-separated party wings.
- 1 teaspoon baking powder (aluminum-free) — This is the non-negotiable secret ingredient for crispy skin. Do not substitute baking soda. Baking powder is alkaline and helps break down the skin’s proteins while creating tiny bubbles that crisp up beautifully. I use Rumford brand because it’s aluminum-free and doesn’t leave any weird aftertaste.
- 1 teaspoon salt — Use fine sea salt or kosher salt. Table salt works too, but reduce to ¾ teaspoon since it’s more concentrated.
- ½ teaspoon black pepper — Freshly ground is always better, but pre-ground works in a pinch.
- ½ teaspoon garlic powder — Not garlic salt. We want pure garlic flavor without extra salt messing up the balance.
- ½ teaspoon onion powder (optional but recommended) — Adds a subtle savory depth that rounds out the flavor.
For the Buffalo Glaze
- ⅓ cup hot sauce (Frank’s RedHot Original is my go-to) — Frank’s has the perfect balance of heat and vinegar. It’s the gold standard for buffalo sauce. If you want something milder, use a cayenne pepper sauce with less heat. For extra fire, try a habanero-based sauce like the one I use in my perfect habanero peach hot sauce—it adds a fruity kick that’s incredible on wings.
- 3 tablespoons unsalted butter — Salted butter works too, just reduce the added salt slightly. The butter mellows the heat and gives the glaze that silky, clingy texture.
- 1 teaspoon brown sugar (optional) — Just a tiny bit to balance the acidity and heat. It doesn’t make the wings sweet, just more rounded in flavor.
- ½ teaspoon Worcestershire sauce — Adds umami depth that makes the glaze taste like it simmered for hours. It only takes a few seconds to stir in.
- Pinch of cayenne pepper (optional for extra heat) — If you like your wings on the fiery side, this is your moment.
For Serving
- Celery sticks and carrot sticks — The classic cool, crunchy contrast to hot wings. Non-negotiable in my house.
- Blue cheese or ranch dressing — I’m team blue cheese all the way, but ranch is perfectly acceptable. No judgment here.
- Fresh parsley or chives (optional for garnish) — Makes them look pretty for photos, but honestly, you’ll eat them before anyone notices.
One quick note on ingredient sourcing: If you can find pasture-raised chicken wings, the flavor difference is noticeable. The meat is firmer and tastes more chicken-y. But standard grocery store wings work beautifully too. This recipe is forgiving that way.
Equipment Needed
The beauty of this recipe is that it doesn’t require much specialized gear. Here’s what you’ll need to pull off these wings like a pro.
- Air fryer (obviously) — Any size works, but basket-style air fryers tend to give the best circulation. I use a 5.8-quart Cosori and it fits about 2 pounds of wings comfortably. If you have an oven-style air fryer, just make sure the wings are in a single layer with space between them. No overcrowding allowed.
- Large bowl — For tossing the wings with seasoning. A metal or glass bowl works best because it doesn’t absorb odors.
- Paper towels — Lots of them. Drying the wings thoroughly is the most important step. Don’t skip it.
- Baking sheet or large plate — For resting the seasoned wings in the fridge. A rimmed baking sheet is ideal because it catches any drips.
- Small saucepan — For making the buffalo glaze. A 1-quart saucepan is perfect.
- Tongs — For flipping the wings halfway through cooking and for tossing them in the glaze without burning your fingers.
- Pastry brush (optional) — If you prefer brushing the glaze on instead of tossing, this works great. But tossing is faster and more evenly coated.
- Instant-read thermometer (optional but recommended) — Chicken wings need to reach 165°F internally. The thermometer takes the guesswork out of it.
If you don’t have an air fryer yet, I honestly think this recipe is worth buying one for. But if you’re not ready to commit, you can adapt this for a convection oven. Just increase the temperature to 425°F and bake on a wire rack set over a baking sheet for about 40-45 minutes, flipping halfway. The texture won’t be quite as shatteringly crisp, but it’ll still be really good.
A quick tip on air fryer maintenance: After making wings, your air fryer basket will look like a greasy crime scene. Don’t let it sit. Soak the basket in hot soapy water for 10 minutes, then scrub with a non-abrasive sponge. The nonstick coating is delicate, so avoid steel wool or harsh scrubbers.
Preparation Method
Alright, let’s make these wings. I’ll walk you through every step so you get perfect results the first time. No guesswork, no crossed fingers.
Step 1: Prep the Wings
Start by patting the chicken wings completely dry with paper towels. I mean really dry. Like, use five or six paper towels and press firmly. Moisture is the enemy of crispy skin. If you have time, let the wings sit uncovered on a paper towel-lined baking sheet in the fridge for 30 minutes to air-dry even further. This step alone makes a noticeable difference.
If your wings are whole, separate them into flats and drumettes. Locate the joint between the drumette and flat, cut through it, then cut off the wing tip and save it for stock. Don’t throw those tips away—they make amazing broth. If you bought pre-separated wings, you’re already ahead of the game.
Step 2: Season the Wings
In a large bowl, whisk together the baking powder, salt, pepper, garlic powder, and onion powder. Add the dried wings to the bowl and toss with your hands until every piece is evenly coated. The mixture will look a little dusty, and that’s exactly what you want. Make sure the baking powder is distributed evenly—clumps of baking powder will leave bitter spots on the finished wings.
Here’s where the magic happens: Place the seasoned wings on a baking sheet or plate in a single layer, not touching each other. Refrigerate uncovered for at least 30 minutes, or up to 4 hours if you have the time. This resting period lets the baking powder start working on the skin, drawing out moisture and creating that crackly texture. I’ve tested wings straight into the air fryer versus rested wings, and the rested ones are noticeably crispier. It’s worth the wait.
Step 3: Preheat the Air Fryer
Preheat your air fryer to 380°F (193°C) for 3-5 minutes. Preheating ensures the wings start cooking immediately, which helps the skin crisp up faster. If your air fryer doesn’t have a preheat function, just run it empty for 3 minutes at the cooking temperature.
Step 4: Air Fry the Wings
Place the wings in the air fryer basket in a single layer. Crowding is the enemy here. If your air fryer is small, cook in batches. The wings need hot air circulating around every surface to get crispy. I usually do two batches with 2 pounds of wings.
Cook at 380°F for 12 minutes. Flip the wings with tongs, then cook for another 10-12 minutes. The wings should be golden brown and the skin should look tight and crispy. If you’re using an instant-read thermometer, the internal temperature should read 165°F in the thickest part of the meat. For extra-crispy skin, increase the temperature to 400°F for the last 2-3 minutes. Watch them closely—they can go from perfect to burnt quickly at high heat.
Sensory cue: At the 20-minute mark, your kitchen should smell like a wing joint. The skin will look bubbled and crackled, and you might hear a faint sizzling sound. That’s the sound of success.
Step 5: Make the Buffalo Glaze
While the wings are cooking, make the glaze. In a small saucepan over low heat, combine the hot sauce, butter, brown sugar, and Worcestershire sauce. Stir occasionally until the butter is fully melted and the mixture is smooth. Don’t let it boil—you just want everything warm and combined. Taste it and adjust. Want more heat? Add a pinch of cayenne. Want it milder? Add another tablespoon of butter. Keep the glaze warm on the lowest setting while the wings finish.
Step 6: Toss and Serve
When the wings come out of the air fryer, transfer them to a large bowl. Pour the warm buffalo glaze over the top and toss gently with tongs until every wing is coated. Don’t drench them—you want a glossy coating, not a soggy mess. If you prefer less sauce, start with half the glaze and add more as needed.
Transfer the glazed wings to a serving platter. Serve immediately with celery sticks, carrot sticks, and your choice of blue cheese or ranch dressing. Garnish with fresh parsley or chives if you’re feeling fancy. Then stand back and watch them disappear.
Cooking Tips & Techniques
After making these wings about a dozen times (testing for science, obviously), I’ve picked up a few tricks that make a real difference. Here’s what I’ve learned the hard way so you don’t have to.
Don’t skip the drying step. I know I’ve said this already, but it bears repeating. Wet skin steams instead of crisps. If you’re in a hurry, use extra paper towels and press firmly. If you have time, the fridge rest is a game-changer. I once skipped the drying step because I was impatient, and the wings came out with chewy, rubbery skin. Never again.
Baking powder is not baking soda. They look similar but they’re not interchangeable. Baking soda is much more alkaline and will leave a metallic, soapy taste on your wings. Baking powder is milder and creates better texture. Double-check your container before you start.
Flip halfway through cooking. This ensures even browning and crispiness. If you forget, the bottom side of the wings will be pale and soft. Set a timer on your phone if you’re prone to distraction.
Work in batches if needed. Overcrowding the air fryer basket is the number one mistake people make. The wings need space. If they’re touching or stacked, they’ll steam instead of crisp. It’s better to cook two smaller batches than one crowded batch. The first batch will stay warm in a 200°F oven while the second batch cooks.
Glaze right before serving. Tossing wings in sauce too early will soften the crispy skin. I learned this the hard way when I glazed a batch 20 minutes before serving and ended up with soggy wings. Keep the wings and glaze separate until you’re ready to eat. If you’re serving a crowd, toss in batches as people grab them.
Double fry for extra crunch. If you’re a texture fanatic like me, try this: cook the wings at 360°F for 20 minutes, let them rest for 5 minutes, then crank the air fryer to 400°F and cook for another 5-7 minutes. The rest period lets the skin dry out slightly, and the second blast of high heat creates an even crispier exterior. It’s an extra step, but the results are worth it for special occasions.
Variations & Adaptations
One of the best things about this recipe is how adaptable it is. Here are some of my favorite variations, all tested and approved.
Extra Spicy Buffalo Wings — Add 1 teaspoon of cayenne pepper to the seasoning mix and stir ½ teaspoon of ghost pepper powder or habanero hot sauce into the glaze. These are not for the faint of heart. My husband loves these, but I stick to the original recipe. If you’re a heat seeker, you might also enjoy my perfect habanero peach hot sauce drizzled over the top for an extra fruity kick.
Honey Garlic Wings — Skip the buffalo glaze and make a honey garlic version instead. Mix ¼ cup honey, 3 tablespoons soy sauce, 2 minced garlic cloves, and 1 teaspoon sesame oil in a small saucepan. Warm over low heat until combined. Toss with the cooked wings and garnish with sesame seeds and sliced green onions. These are a huge hit with kids and anyone who prefers sweet over spicy.
Lemon Pepper Wings — A classic for a reason. Omit the buffalo glaze entirely. Instead, toss the cooked wings with a mixture of 2 tablespoons melted butter, 1 tablespoon lemon zest, 1 teaspoon black pepper, and ½ teaspoon salt. The bright citrus flavor pairs beautifully with the crispy skin.
Dry Rub BBQ Wings — Skip the glaze and toss the cooked wings with your favorite dry barbecue rub. I like using a mix of smoked paprika, brown sugar, garlic powder, onion powder, and a pinch of cayenne. The dry rub sticks to the buttery surface of the wings and creates a sweet, smoky crust.
Keto-Friendly Version — The recipe is already low-carb as written. Just skip the brown sugar in the glaze or use a sugar-free substitute like monk fruit sweetener. Serve with extra celery and blue cheese dressing for a satisfying keto meal.
Oven-Baked Option — No air fryer? No problem. Preheat your oven to 425°F. Place the seasoned wings on a wire rack set over a rimmed baking sheet. Bake for 40-45 minutes, flipping halfway through, until golden brown and crispy. The wire rack is essential—it lets hot air circulate under the wings so the bottom gets crispy too. If you don’t have a wire rack, flip the wings every 10 minutes to prevent soggy bottoms.
Grilled Buffalo Wings — For a smoky summer version, grill the wings over medium-high heat for 12-15 minutes, turning frequently, until charred and cooked through. Toss with the buffalo glaze and serve. The char marks add incredible flavor.
Serving & Storage Suggestions
These wings are best served hot and fresh, right after tossing in the glaze. The contrast between the crispy skin and the warm, spicy sauce is at its peak within the first 10 minutes. Arrange them on a large platter with celery and carrot sticks tucked around the edges. Serve with small bowls of blue cheese or ranch dressing for dipping. If you’re hosting a party, set out napkins and wet wipes—things are about to get messy.
For a full spread, pair these wings with other game-day favorites. My best buffalo chicken football dip ring is a natural sidekick, and a best football charcuterie board for game day rounds out the spread beautifully. For something lighter on the side, a 5-minute cucumber salad with easy rice vinegar dressing adds a cool, refreshing contrast to the spicy wings.
If you have leftovers (unlikely, but possible), store them in an airtight container in the refrigerator for up to 3 days. The glaze will soften the skin overnight, so don’t expect them to be as crispy the next day. To reheat, place the wings back in the air fryer at 375°F for 3-4 minutes. This helps restore some of the crunch. Avoid the microwave—it turns them into rubbery, sad little things.
You can also freeze cooked wings before glazing. Let them cool completely, then arrange in a single layer on a baking sheet and freeze until solid. Transfer to a freezer bag and store for up to 3 months. To serve, reheat directly from frozen in the air fryer at 375°F for 8-10 minutes, then toss with fresh glaze. The texture won’t be quite as perfect as fresh, but it’s still miles better than anything from the freezer aisle.
One more thing: the flavors in the glaze deepen slightly after a day in the fridge. If you’re meal-prepping, make the glaze ahead of time and store it separately. Reheat gently before tossing with freshly cooked wings.
Nutritional Information & Benefits
Here’s the nutritional breakdown for a serving of 4-5 wings (about ⅓ of the recipe) without dipping sauce. Keep in mind that these are estimates and will vary based on exact ingredients and portion sizes.
| Nutrient | Amount Per Serving |
|---|---|
| Calories | 380 |
| Total Fat | 26g |
| Saturated Fat | 10g |
| Cholesterol | 145mg |
| Sodium | 980mg |
| Total Carbohydrates | 3g |
| Fiber | 0g |
| Sugar | 2g |
| Protein | 32g |
Chicken wings are a good source of protein, providing about 32 grams per serving. They also contain B vitamins, particularly niacin and vitamin B6, which support energy metabolism. The skin contains collagen, which is beneficial for joint health and skin elasticity—though I’m not claiming these wings are a health food. Let’s be real.
The hot sauce in the glaze contains capsaicin, which has been linked to boosting metabolism and reducing inflammation. Celery and carrots, served on the side, add fiber, vitamin K, and vitamin A. If you’re watching your sodium intake, reduce the salt in the seasoning mix and use unsalted butter in the glaze. The hot sauce already contains plenty of sodium, so you won’t miss the extra salt.
This recipe is naturally gluten-free and low-carb, making it suitable for keto and paleo diets (skip the brown sugar for strict paleo). It’s also nut-free and egg-free, so it works for most common food allergies. If you’re dairy-free, substitute the butter with a plant-based butter or coconut oil—the flavor will change slightly, but it’ll still be delicious.
Conclusion
These crispy air fryer chicken wings with buffalo glaze have become a staple in my kitchen for good reason. They deliver everything you want from a wing—crackling skin, tender meat, and that perfect balance of heat and butter—without the mess and hassle of deep frying. The air fryer does the heavy lifting, and the glaze does the flavor work. It’s a partnership made in kitchen heaven.
What I love most about this recipe is how it brings people together. Wings are meant to be shared. They’re messy, they’re fun, and they somehow make every occasion feel like a celebration. Whether you’re hosting a game-day party, feeding a hungry family on a weeknight, or just treating yourself to something special, these wings deliver every single time.
I’d love to hear how yours turn out. Did you stick with the classic buffalo glaze, or did you try one of the variations? Did you add extra heat or dial it back? Drop a comment below and let me know. And if you share a photo on social media, tag me so I can see your crispy creations. Happy cooking, friends. Go make some wings.
Frequently Asked Questions
Can I use frozen chicken wings in the air fryer?
Yes, but you’ll need to thaw them completely first and pat them very dry. Frozen wings release a lot of moisture as they cook, which prevents the skin from getting crispy. Thaw in the refrigerator overnight, then proceed with the recipe as written.
Why are my air fryer wings not crispy?
The most common reasons are insufficient drying, overcrowding the basket, or not using baking powder. Make sure your wings are bone-dry before seasoning, cook them in a single layer with space between each piece, and don’t skip the baking powder. Also, flipping halfway through cooking ensures both sides get crispy.
Can I make these wings ahead of time for a party?
You can cook the wings ahead of time and reheat them just before serving. Cook them without the glaze, let them cool, and store in the refrigerator. When you’re ready to serve, reheat in the air fryer at 375°F for 3-4 minutes, then toss with warm glaze. This keeps the skin as crispy as possible.
What’s the best hot sauce for buffalo wings?
Frank’s RedHot Original is the classic choice for a reason—it has the perfect balance of heat, vinegar, and flavor. Crystal Hot Sauce and Texas Pete are also excellent options. Avoid thick, sweet-style hot sauces like sriracha, which don’t have the right consistency for a traditional buffalo glaze.
How do I keep the wings warm for a party without losing crispiness?
Keep the cooked wings (unglazed) on a wire rack set over a baking sheet in a 200°F oven. The wire rack allows air to circulate underneath, preventing sogginess. Glaze them in small batches as people grab them. This way, everyone gets hot, crispy, perfectly sauced wings.
Pin This Recipe!
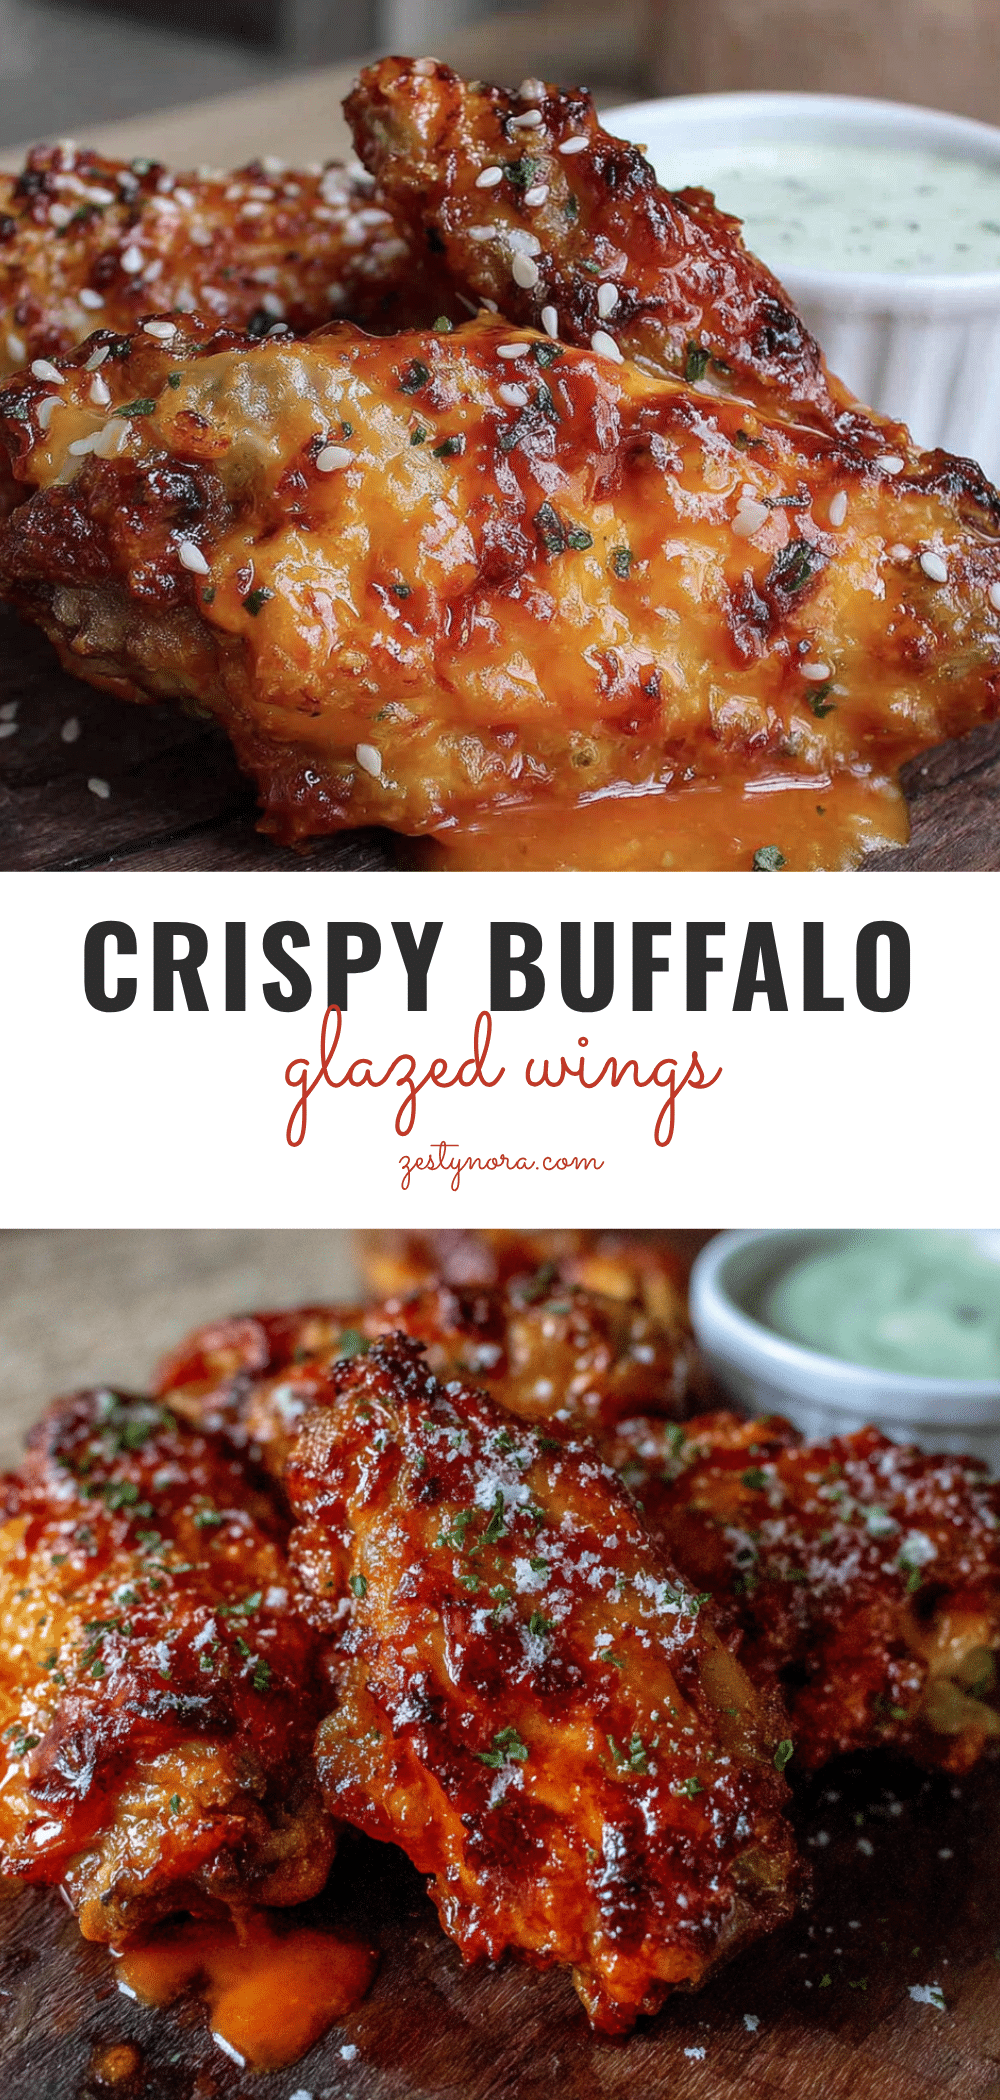
Crispy Air Fryer Chicken Wings with Easy Buffalo Glaze

These crispy air fryer chicken wings deliver deep-fryer-level crunch without the mess. Tossed in a tangy, buttery buffalo glaze, they’re perfect for game day or a quick weeknight dinner.
- Prep Time: 15 minutes
- Cook Time: 24 minutes
- Total Time: 39 minutes
- Yield: 4 servings 1x
- Category: Appetizer
- Cuisine: American
Ingredients
- 2 pounds chicken wings (about 10–12 whole wings, or 20–24 separated into flats and drumettes)
- 1 teaspoon baking powder (aluminum-free)
- 1 teaspoon salt
- ½ teaspoon black pepper
- ½ teaspoon garlic powder
- ½ teaspoon onion powder (optional)
- ⅓ cup hot sauce (Frank’s RedHot Original recommended)
- 3 tablespoons unsalted butter
- 1 teaspoon brown sugar (optional)
- ½ teaspoon Worcestershire sauce
- Pinch of cayenne pepper (optional for extra heat)
- Celery sticks and carrot sticks for serving
- Blue cheese or ranch dressing for serving
- Fresh parsley or chives for garnish (optional)
Instructions
- Pat the chicken wings completely dry with paper towels. If whole, separate into flats and drumettes, discarding or saving wing tips for stock.
- In a large bowl, whisk together baking powder, salt, pepper, garlic powder, and onion powder. Add the dried wings and toss until evenly coated.
- Place the seasoned wings in a single layer on a baking sheet or plate. Refrigerate uncovered for at least 30 minutes (up to 4 hours) to allow the baking powder to work.
- Preheat the air fryer to 380°F (193°C) for 3-5 minutes.
- Place the wings in the air fryer basket in a single layer (cook in batches if needed). Cook at 380°F for 12 minutes. Flip the wings, then cook for another 10-12 minutes until golden brown and crispy. Internal temperature should reach 165°F.
- While the wings cook, make the glaze: In a small saucepan over low heat, combine hot sauce, butter, brown sugar, and Worcestershire sauce. Stir until butter is melted and mixture is smooth. Keep warm.
- Transfer cooked wings to a large bowl. Pour the warm glaze over the top and toss gently with tongs until evenly coated.
- Serve immediately with celery sticks, carrot sticks, and blue cheese or ranch dressing. Garnish with fresh parsley or chives if desired.
Notes
Don’t skip the drying step or the resting period in the fridge—they are key for crispy skin. Baking powder is not interchangeable with baking soda. Work in batches to avoid overcrowding the air fryer. Glaze right before serving to maintain crispiness.
Nutrition
- Serving Size: 4-5 wings
- Calories: 380
- Sugar: 2
- Sodium: 980
- Fat: 26
- Saturated Fat: 10
- Carbohydrates: 3
- Protein: 32
Keywords: air fryer chicken wings, buffalo wings, crispy wings, game day appetizer, gluten-free wings