The last bagel in the house had been sacrificed to a toddler meltdown, and I was staring at a loaf of bread like it owed me money. My kid needed lunch, like, ten minutes ago, and the usual peanut butter routine was off the table—literally and figuratively, thanks to the nut-free policy at school. I grabbed the sunflower seed butter, a jar of raspberry jam, and had one of those moments where you just start smashing things together out of pure desperation. Honestly, it was less a recipe and more a survival tactic at 11 AM on a Tuesday.
That first batch of sunbutter and jelly sandwiches, though? They disappeared. My kid didn’t just eat them—he asked for them again the next day. And the day after that. It clicked: I could make a whole stack, freeze them, and suddenly have a week’s worth of lunches sorted in under fifteen minutes. No more frantic morning assembly, no more sticky counters at 7 AM. Just grab, pack, and go. This is how the Easy Sunbutter and Jelly Freezer Uncrustables were born, and honestly, they’ve been a quiet little hero in my kitchen ever since.
These aren’t just sandwiches. They’re a small act of future-you being grateful to past-you. If you’ve got a nut-free household, a picky eater, or just a deep desire to streamline your mornings, this one’s for you. I promise, it’s the kind of recipe that makes you feel like you’ve unlocked a secret level of parenting.
Why You’ll Love This Recipe
Let me tell you why these freezer uncrustables have become my go-to. I’ve tested this method about a dozen times, tweaking the bread type, the filling amount, and the freezing technique to make sure it works every single time. Here’s what makes them stand out:
- Quick & Easy: You can make a batch of 12 in under 15 minutes. That’s less time than a single episode of a cartoon, and you get a whole week of lunches.
- Simple Ingredients: You only need bread, sunbutter, and jelly. No fancy equipment, no obscure grocery store finds.
- Perfect for Nut-Free Lunches: Sunflower seed butter is a lifesaver for schools and daycares that have banned peanuts and tree nuts. It’s safe, delicious, and kids love it.
- Crowd-Pleaser: I’ve served these at playdates, and they were gone before the apple slices. Kids and adults alike grab them without hesitation.
- Unbelievably Convenient: Having a stash in the freezer means you’re never more than 30 seconds away from a ready-to-go lunch or snack. It’s like having a fast-food drive-thru in your own kitchen, but way healthier.
What makes this different from just making a sandwich and tossing it in the freezer? It’s the method. I’ve learned that sealing the edges properly prevents the jelly from leaking out and making everything soggy during thawing. Plus, using the right bread—nothing too crusty or thick—ensures the texture stays soft and chewy, not tough or icy. This isn’t just another version of a freezer sandwich; it’s the best version, tested by a mom who’s forgotten lunch more times than she’d like to admit.
What Ingredients You Will Need
This recipe uses simple, pantry-friendly ingredients to create a lunchbox staple that’s both safe and satisfying. Here’s what you’ll need to grab:
- Sandwich Bread: 12 slices (about 1 loaf). I recommend a soft white bread or whole wheat sandwich bread. Avoid artisan breads with hard crusts—they don’t freeze as well and can get tough. I personally love using a classic brand like Wonder Bread or a store-brand soft honey wheat.
- Sunflower Seed Butter (Sunbutter): ¾ cup (about 192 grams). Look for a creamy, no-stir variety for the best texture. I prefer the brand SunButter—it has a smooth consistency and a mild flavor that kids don’t find overpowering. If you’re using natural sunbutter that separates, stir it really well before measuring.
- Fruit Jelly or Jam: ½ cup (about 160 grams). Use your favorite flavor—grape, strawberry, raspberry, or even apricot all work beautifully. I usually go with a seedless raspberry jam for a classic taste. Avoid preserves with large fruit chunks, as they can make the sandwich lumpy and harder to seal.
Ingredient Selection Tips: For the best results, use bread that’s fresh but not too soft. Day-old bread actually works a bit better because it’s slightly firmer and holds up to the pressing and freezing process. If your bread is super fresh, don’t worry—it’ll still work, just be gentle when pressing the edges.
Substitution Guidance: Need a gluten-free option? Use your favorite gluten-free sandwich bread—just make sure it’s soft and pliable. For a lower-sugar version, look for no-sugar-added sunbutter and fruit spread. You can also swap the sunbutter for any other nut-free seed butter, like pumpkin seed butter or tahini, though the flavor will change slightly.
Equipment Needed
You don’t need a lot of fancy gear for this, which is part of the beauty. Here’s what you’ll want on hand:
- Uncrustables Press or Sandwich Sealer: This is the star of the show. You can find them online or at kitchen supply stores for around $10-15. It cuts off the crusts and seals the edges in one go. If you don’t have one, a large round cookie cutter (about 4 inches) and a fork will do the trick.
- Baking Sheet: You’ll need one that fits in your freezer. Line it with parchment paper or wax paper so the uncrustables don’t stick.
- Butter Knife or Spatula: For spreading the sunbutter and jelly evenly. A small offset spatula works wonders for getting a thin, even layer.
- Freezer-Safe Bags or Airtight Container: For storing the finished uncrustables. I recommend gallon-sized zip-top freezer bags—they’re easy to stack and label.
- Parchment Paper or Wax Paper: To separate the layers of uncrustables on the baking sheet and in the storage bag.
Personal Note: I’ve tried using just a knife to cut the crusts off, and honestly, it’s way more work. The press is totally worth the small investment. My first one lasted two years before the plastic hinge broke, and I immediately bought a replacement. If you’re on a budget, a round cookie cutter and a fork will get the job done—it just takes a bit more patience.
Preparation Method
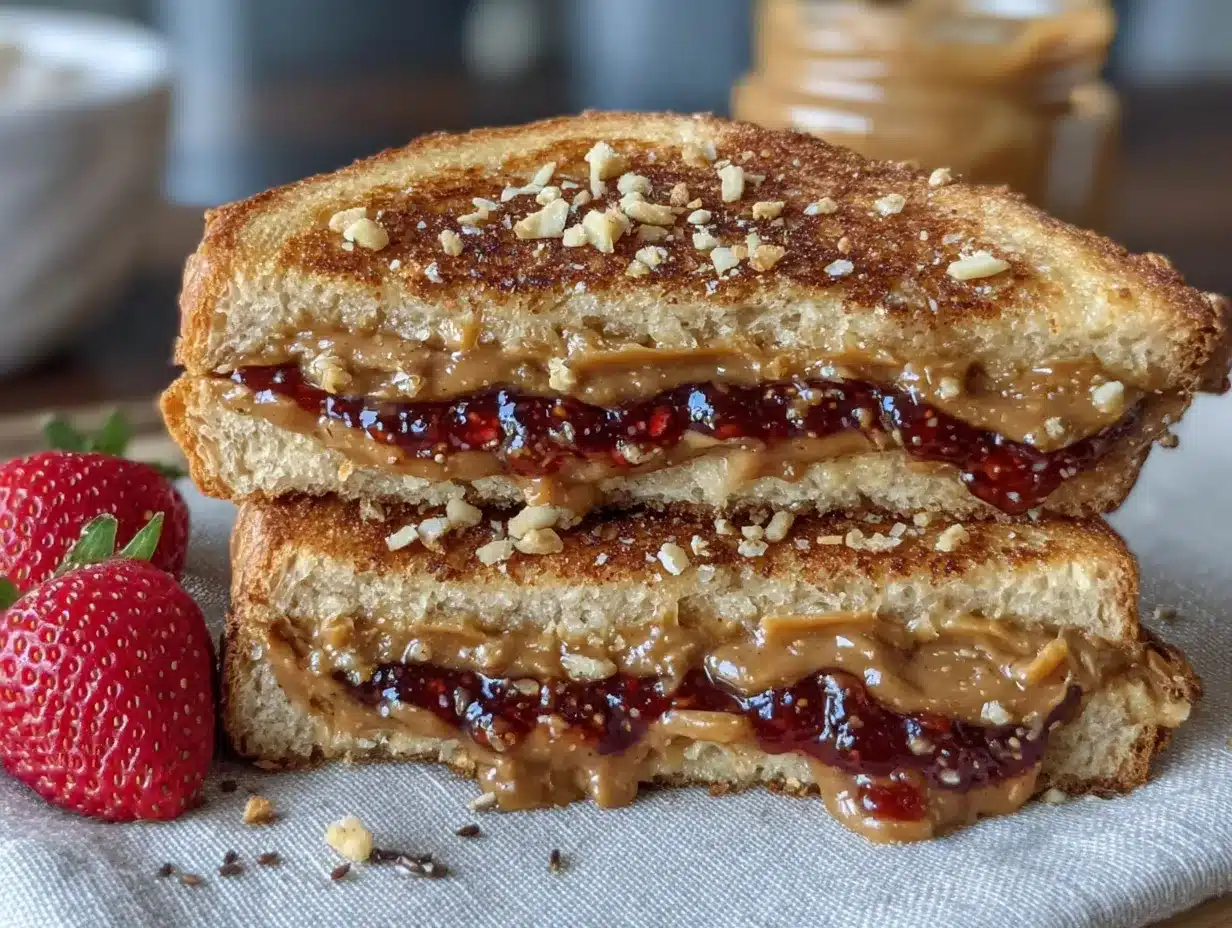
Follow these steps carefully, and you’ll have a freezer full of lunch-ready goodness in no time. I’ve included my best tips and sensory cues so you know exactly what to look for at each stage.
- Prep Your Workspace: Lay out your bread slices, sunbutter, and jelly. Line a baking sheet with parchment or wax paper. Make sure your hands are clean and dry—sticky fingers will make this messier than it needs to be.
- Spread the Sunbutter: Take 6 slices of bread and spread about 1 tablespoon (about 16 grams) of sunbutter evenly on each one. Go all the way to the edges—this helps create a seal when you press them. The layer should be thin but complete, like buttering toast for a grilled cheese.
- Add the Jelly: On the same 6 slices, spread about 1 teaspoon (about 5 grams) of jelly or jam on top of the sunbutter. Don’t overdo it—too much jelly will squirt out when you press and make a sticky mess. You want a thin, even layer.
- Top with Remaining Bread: Place the remaining 6 slices of bread on top of the jelly-covered slices, creating 6 sandwiches. Press down gently to help them stick together.
- Press and Seal: Take your uncrustables press or round cookie cutter and center it over one sandwich. Press down firmly and evenly. You should hear a clean cut as it goes through the crust. If using a cookie cutter, press down, then use the tines of a fork to crimp the edges all the way around, sealing the sandwich.
- Arrange on Baking Sheet: Place each finished uncrustable on the prepared baking sheet. Make sure they aren’t touching each other. If you’re making a double batch, layer them with parchment paper between the layers. This prevents them from freezing into one giant block.
- Flash Freeze: Place the baking sheet in the freezer for 1-2 hours, or until the uncrustables are solid to the touch. This is called flash freezing, and it’s the secret to keeping them from sticking together in the storage bag. You’ll know they’re ready when they feel hard and don’t bend when you pick them up.
- Transfer to Storage: Once frozen solid, remove the uncrustables from the baking sheet and transfer them to a freezer-safe bag or airtight container. Squeeze out as much air as possible before sealing. Label the bag with the date and contents—trust me, you won’t remember in three weeks.
Troubleshooting Tip: If your uncrustables are leaking jelly during pressing, you’re using too much filling. Next time, use a little less. If the edges aren’t sealing properly, make sure your sunbutter layer reaches the very edge of the bread—it acts like glue.
Cooking Tips & Techniques
After making these more times than I can count, I’ve picked up a few tricks that make a real difference. Here’s what I’ve learned the hard way:
Don’t Skimp on the Sunbutter at the Edges: This is the number one mistake I made early on. If the sunbutter doesn’t reach the edge of the bread, the seal will be weak, and your jelly will leak out during thawing. Spread it all the way to the crust—it’s the glue that holds everything together.
Use Room Temperature Ingredients: Cold sunbutter straight from the fridge is stiff and hard to spread. Let it sit on the counter for 15 minutes before you start. Room temperature sunbutter spreads like a dream and creates a better seal. Same goes for the jelly—if it’s been in the fridge, give it a quick stir to loosen it up.
Press Firmly, But Don’t Smash: When using the uncrustables press, apply steady, even pressure. You want to cut through the bread cleanly without squishing the filling out the sides. If you’re using a fork to crimp, press the tines down firmly and wiggle them slightly to create a good seal.
Freeze in a Single Layer First: I cannot stress this enough. If you toss them all in a bag while they’re still soft, you’ll end up with a sad, stuck-together clump of sandwiches. The flash freezing step is non-negotiable for individual portions.
My Biggest Failure: The first time I made these, I used a super thick, rustic whole wheat bread. The crust was too hard, and the press couldn’t cut through it cleanly. I ended up with mangled, jagged edges that didn’t seal properly. Stick with soft sandwich bread—it’s not fancy, but it works.
Variations & Adaptations
Once you’ve mastered the basic version, the possibilities are endless. Here are a few variations I’ve tried and loved:
- Flavor Twist – Cinnamon Swirl: Use cinnamon raisin bread instead of plain white bread. Spread the sunbutter as usual, but swap the jelly for a thin layer of honey or apple butter. It tastes like a warm breakfast pastry, but it’s totally lunch-appropriate.
- Dietary Adaptation – Gluten-Free: I’ve tested this with several gluten-free bread brands, and the best results came from using a soft, white gluten-free bread (like Canyon Bakehouse). The texture is slightly more delicate, so be extra gentle when pressing. They freeze beautifully and thaw perfectly in about 30 minutes.
- Seasonal Variation – Strawberry Basil: In the summer, I love using fresh strawberry jam and adding a tiny fresh basil leaf inside the sandwich before sealing. The basil adds a surprising, grown-up twist that even my kids enjoy. It’s like a fancy picnic in a lunchbox.
- Savory Version – Sunbutter & Honey: For a change of pace, skip the jelly and use a drizzle of honey instead. It’s less sweet and pairs beautifully with the nutty flavor of the sunbutter. This is my personal favorite for a quick breakfast on the go.
Personal Variation: I once made a batch using leftover pear vanilla jam I had canned the previous fall. The combination of sunbutter and pear was incredible—earthy, sweet, and a little floral. If you have homemade jam lying around, this is a fantastic way to use it up.
Serving & Storage Suggestions
These uncrustables are designed for maximum convenience, but a few tips will help you get the best experience every time.
Serving: Take an uncrustable out of the freezer and place it in a lunchbox in the morning. By lunchtime (about 3-4 hours later), it will be perfectly thawed and ready to eat. The texture is soft and bread-like, not soggy or icy. If you’re in a rush, you can microwave it for 15-20 seconds on a low power setting, but I find the natural thawing method works best.
Storage: Keep your uncrustables in a sealed freezer bag or airtight container in the freezer for up to 3 months. After that, the bread can start to develop freezer burn or lose its texture. I like to label my bags with the date and flavor so I know what’s in there.
Reheating: These are designed to be eaten cold or at room temperature, but if you want a warm version, pop one in the toaster oven at 300°F for about 5 minutes. The bread gets slightly crispy on the outside, and the sunbutter gets warm and gooey. It’s a completely different experience—and totally delicious.
Serving Suggestions: Pair these uncrustables with some fresh fruit, veggie sticks, or a handful of sunflower butter ants on a log for a complete, balanced lunch. They also make a great after-school snack alongside a glass of milk or a smoothie.
Flavor Development: Unlike some foods, these don’t get better with age. They taste best within the first month of freezing. After that, the bread can start to dry out slightly, though they’re still perfectly edible.
Nutritional Information & Benefits
Here’s an estimated nutritional breakdown for one uncrustable (based on using soft white bread, creamy sunbutter, and seedless raspberry jam):
- Calories: Approximately 220-250 kcal
- Protein: 7-8 grams
- Fat: 12-14 grams
- Carbohydrates: 24-28 grams
- Fiber: 2-3 grams
- Sugar: 8-10 grams
Health Benefits: Sunflower seed butter is a fantastic source of vitamin E, magnesium, and healthy fats. It’s also naturally nut-free, making it a safe choice for schools and families with allergies. The whole wheat bread option adds extra fiber, and using a lower-sugar jam can reduce the overall sugar content. These uncrustables are a balanced, kid-friendly option that provides sustained energy for a busy school day.
Dietary Considerations: This recipe is naturally dairy-free, egg-free, and vegan (as long as your bread is vegan-friendly). It’s also nut-free, making it a top choice for allergy-conscious households. If you’re watching your sugar intake, opt for no-sugar-added sunbutter and fruit spread.
Personal Wellness Perspective: I love that I can feel good about sending these to school. They’re not ultra-processed, they use real ingredients, and I know exactly what’s in them. Plus, having a stash in the freezer means I’m less tempted to grab something less healthy when I’m in a pinch.
Conclusion
These Easy Sunbutter and Jelly Freezer Uncrustables have honestly changed the way I handle weekday mornings. They’re simple, safe, and so ridiculously convenient that I feel a little smug every time I pull one out of the freezer. Whether you’re packing lunches for a nut-free school, looking for a quick snack for hungry kids, or just want to make your own life a little easier, this recipe delivers.
I love that you can customize them endlessly—swap the jelly, try different breads, or add a little twist like honey or fresh herbs. Don’t be afraid to experiment and find your family’s favorite combination. The basic method is foolproof, so the rest is just fun.
I’d love to hear how these turn out for you! Drop a comment below and let me know what flavor combinations you tried, or tag me in your photos if you share them online. Happy prepping, and here’s to one less thing to worry about in the morning rush!
Frequently Asked Questions
Can I use regular peanut butter instead of sunbutter?
Absolutely, if nut butters are allowed in your home or school. The method works exactly the same with peanut butter, almond butter, or any other nut butter. Just keep in mind that this recipe is specifically designed to be nut-free, so if you need that, stick with sunbutter or another seed butter.
How long do these last in the freezer?
They stay fresh and delicious for up to 3 months when stored properly in a sealed freezer bag. After that, the bread can start to dry out or develop freezer burn. I recommend labeling your bag with the date so you know when you made them.
Can I make these without an uncrustables press?
Yes, definitely! Use a large round cookie cutter (about 4 inches in diameter) to cut out the sandwich, then use the tines of a fork to crimp the edges all the way around. It takes a little more time, but the result is just as good. Just make sure you press firmly to create a good seal.
Do I need to thaw them before putting them in a lunchbox?
No, you can put them directly into the lunchbox frozen. By the time lunch rolls around (about 3-4 hours), they’ll be perfectly thawed and soft. If your lunchbox has an ice pack, they might take a little longer, but they’ll still be ready to eat.
Can I use homemade bread for this recipe?
You can, but I recommend using a soft, sandwich-style homemade bread. Avoid crusty artisan loaves or breads with a very hard crust, as they won’t press and seal as well. If your homemade bread is a bit denser, you might need to roll it slightly with a rolling pin to make it more pliable before assembling.
Pin This Recipe!
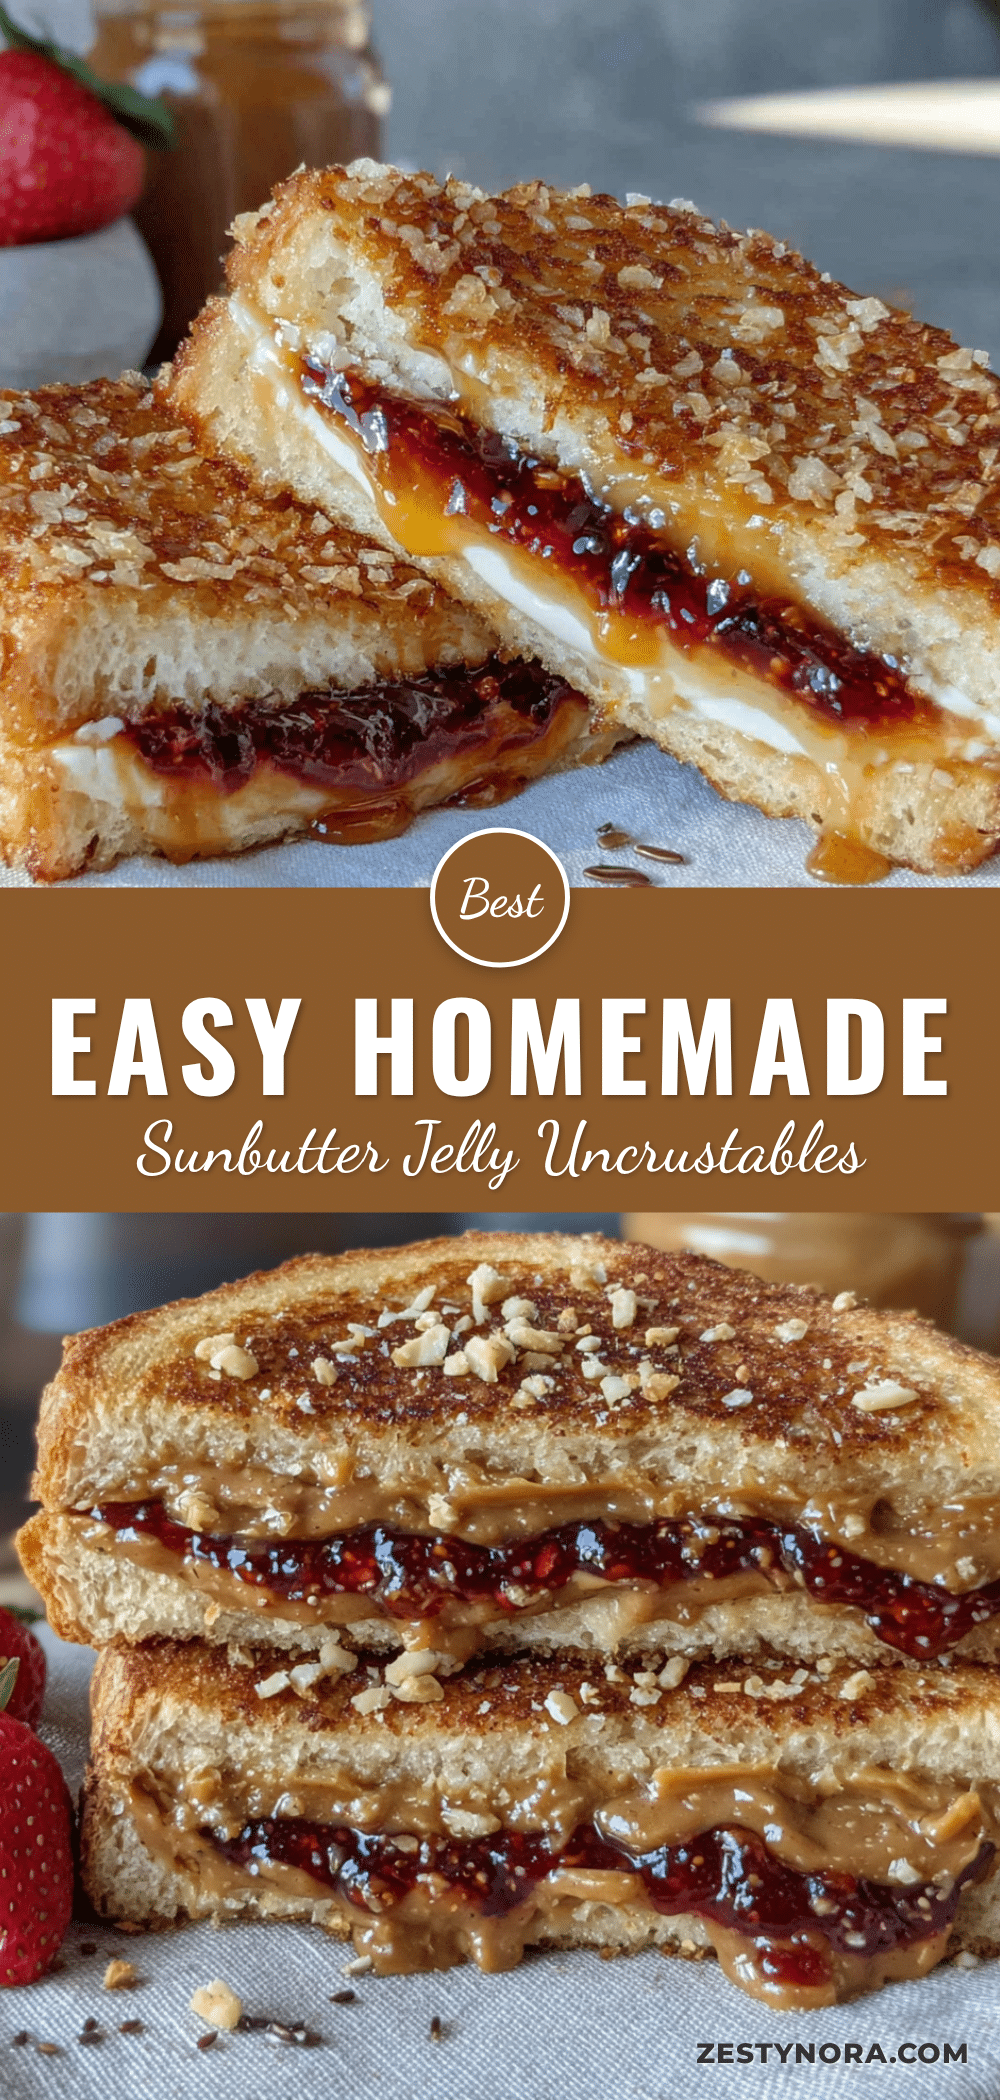
Best Easy Sunbutter & Jelly Freezer Uncrustables Recipe
These nut-free freezer uncrustables are a lifesaver for busy mornings. Made with sunflower seed butter and jelly, they’re quick to assemble, freeze beautifully, and are perfect for school lunches or snacks.
- Prep Time: 15 minutes
- Cook Time: 0 minutes
- Total Time: 1 hour 15 minutes (including freezing time)
- Yield: 6 servings 1x
- Category: Snack
- Cuisine: American
Ingredients
- 12 slices soft sandwich bread (about 1 loaf)
- ¾ cup (192 g) creamy sunflower seed butter (no-stir variety)
- ½ cup (160 g) fruit jelly or jam (seedless raspberry recommended)
Instructions
- Prep your workspace: Lay out bread slices, sunbutter, and jelly. Line a baking sheet with parchment or wax paper.
- Spread the sunbutter: On 6 slices of bread, spread about 1 tablespoon (16 g) of sunbutter evenly to the edges.
- Add the jelly: On the same 6 slices, spread about 1 teaspoon (5 g) of jelly on top of the sunbutter.
- Top with remaining bread: Place the remaining 6 slices on top to form 6 sandwiches. Press down gently.
- Press and seal: Use an uncrustables press or a 4-inch round cookie cutter to cut and seal each sandwich. If using a cookie cutter, crimp edges with a fork.
- Arrange on baking sheet: Place uncrustables on the prepared sheet, not touching. Layer with parchment if needed.
- Flash freeze: Freeze for 1-2 hours until solid.
- Transfer to storage: Place frozen uncrustables in a freezer-safe bag or airtight container. Squeeze out air, seal, and label with date.
Notes
For best results, use soft sandwich bread (not crusty artisan loaves). Spread sunbutter all the way to the edges to create a good seal. Flash freeze in a single layer before bagging to prevent sticking. Thaw naturally in a lunchbox for 3-4 hours or microwave on low for 15-20 seconds.
Nutrition
- Serving Size: 1 uncrustable
- Calories: 235
- Sugar: 9
- Sodium: 200
- Fat: 13
- Saturated Fat: 1.5
- Carbohydrates: 26
- Fiber: 2.5
- Protein: 7.5
Keywords: sunbutter and jelly, freezer uncrustables, nut-free lunch, school lunch, easy snack, freezer meal prep


