My husband took a bite, paused, and then just stared at the stuffing muffin in his hand. He didn’t say anything for a solid ten seconds, which, if you know him, is basically a standing ovation. I’d been tinkering with this recipe for weeks, trying to capture that golden, crispy edge you get from a baking dish but in a perfectly portable, single-serving form. The brown butter had just finished bubbling in the pan, filling the kitchen with that nutty, almost-toffee smell that makes you forget about calories entirely. And honestly? I think I finally cracked it.
This isn’t your grandmother’s stuffing, though she’d probably approve. These Brown Butter Sage Stuffing Muffins take everything we love about the Thanksgiving classic—the herby aroma, the soft-yet-crispy texture, the buttery richness—and shrink it down into something you can grab with one hand while juggling a gravy boat in the other. They’re like the best part of the stuffing casserole, but every single muffin has that coveted corner piece texture. No fighting over the crispy bits anymore.
What I love most about this recipe is how forgiving it is. You can prep the bread cubes days ahead, brown the butter whenever you have five minutes, and then just assemble and bake when you’re ready. It takes the pressure off holiday cooking and turns stuffing into something you can actually make ahead. And let’s be real—anything that reduces kitchen chaos on a big cooking day is a win in my book.
Why You’ll Love This Recipe
These stuffing muffins have become my secret weapon for holiday dinners, potlucks, and even random Tuesday nights when I’m craving comfort food. Here’s why they keep showing up on my table:
- Perfectly Portioned: No more scooping from a giant dish. Each muffin is its own perfect serving, making dinner service a breeze.
- Crispy on All Sides: The muffin tin creates that golden-brown crust all around, not just on top. Every bite has that satisfying crunch.
- Make-Ahead Magic: Assemble them the day before, refrigerate, and bake just before serving. Your future self will thank you.
- Brown Butter Goodness: That nutty, caramelized butter takes the flavor from good to unforgettable. It’s the secret that makes people ask for the recipe.
- No More Soggy Stuffing: The muffin shape allows for even baking and better moisture distribution. No more wet spots hiding in the middle.
These aren’t just another holiday side dish—they’re the kind of recipe that makes you look like a kitchen genius with minimal effort. The brown butter adds a depth that regular butter just can’t match, and the sage brings that earthy, aromatic quality that screams “fall comfort food.” Plus, they’re completely customizable. Add sausage, dried cranberries, mushrooms, or keep them classic. They work for Thanksgiving, Christmas, or any cozy dinner where you want a little extra something on the plate.
I’ve tested these at three different holiday gatherings now, and every single time, people end up standing around the kitchen island eating them straight off the baking sheet. That’s the kind of reaction you can’t fake. And honestly, that’s exactly how they should be enjoyed—warm, slightly messy, and shared with people you love.
What Ingredients You Will Need
This recipe relies on simple, pantry-friendly ingredients, but each one plays a crucial role in creating that perfect stuffing texture and flavor. The magic really happens when the brown butter meets the fresh sage, but let’s break down everything you’ll need.
- Bread (12 cups, cubed, about 1-pound loaf): Use a sturdy artisan bread, sourdough, or French loaf. Day-old bread works best because it’s slightly dried out and absorbs the broth without turning to mush. I prefer a crusty sourdough for its tangy flavor and ability to hold its shape.
- Unsalted butter (1 cup, 2 sticks): This is the star of the show. Use unsalted so you can control the salt level. The browning process transforms the butter into something magical—nutty, toasty, and incredibly aromatic.
- Fresh sage leaves (¼ cup, finely chopped, plus whole leaves for garnish): Fresh sage is non-negotiable here. Dried sage just doesn’t deliver the same peppery, earthy punch. Look for leaves that are vibrant green and fragrant.
- Yellow onion (1 large, diced): Onions provide the savory backbone. Cook them until they’re soft and translucent, not browned, to keep the flavor mellow and sweet.
- Celery (3 ribs, diced): Celery adds that classic stuffing crunch and freshness. Don’t skip it—it’s essential for texture and flavor balance.
- Garlic (4 cloves, minced): Garlic amplifies the savory notes and pairs beautifully with the sage and brown butter.
- Chicken or vegetable broth (2½ cups, warmed): The liquid that brings everything together. Use low-sodium broth so you can adjust seasoning. Warm broth absorbs more evenly into the bread cubes.
- Eggs (2 large): Eggs act as a binder, helping the muffins hold their shape. They add richness and structure without making the stuffing heavy.
- Fresh parsley (¼ cup, chopped): Parsley adds a fresh, bright note that cuts through the richness of the brown butter.
- Salt (1½ teaspoons, or to taste): Season generously. Bread absorbs salt, so don’t be shy.
- Black pepper (1 teaspoon, freshly ground): Freshly ground pepper makes a difference. It adds warmth and a subtle kick.
- Optional add-ins: Cooked Italian sausage (½ pound, crumbled), dried cranberries (½ cup), chopped mushrooms (1 cup, sautéed), or toasted pecans (½ cup).
For the best results, I recommend using King Arthur’s sourdough bread or a bakery-fresh French loaf. The sturdier the bread, the better the texture. And please, please use fresh sage. I once tried to sub in dried sage when I was in a pinch, and the flavor was flat and almost dusty. Fresh herbs make a world of difference here.
Equipment Needed
You don’t need any fancy gadgets for this recipe, but having the right tools makes the process smoother and more enjoyable.
- 12-cup standard muffin tin: A non-stick tin works best, but a regular tin greased well will also do the job. I prefer a light-colored metal pan for even browning.
- Large skillet or saucepan: For browning the butter and sautéing the vegetables. A light-colored pan helps you see the butter change color as it browns.
- Large mixing bowl: Big enough to hold all the bread cubes and mix everything without spilling.
- Whisk: For combining the eggs and broth.
- Wooden spoon or spatula: For stirring the bread mixture gently without crushing the cubes.
- Cooling rack: For cooling the muffins after baking, which keeps the bottoms from getting soggy.
- Measuring cups and spoons: Precision matters, especially with the broth-to-bread ratio.
- Chef’s knife and cutting board: For prepping the vegetables and herbs.
If you don’t have a muffin tin, you can bake this stuffing in a standard 9×13-inch baking dish. Just spread it evenly and bake for about 35-40 minutes, or until the top is golden and crispy. The texture won’t be quite the same—you’ll miss that all-around crust—but it’ll still be delicious. I’ve also used a jumbo muffin tin for bigger portions, which works great for a main dish serving.
Preparation Method
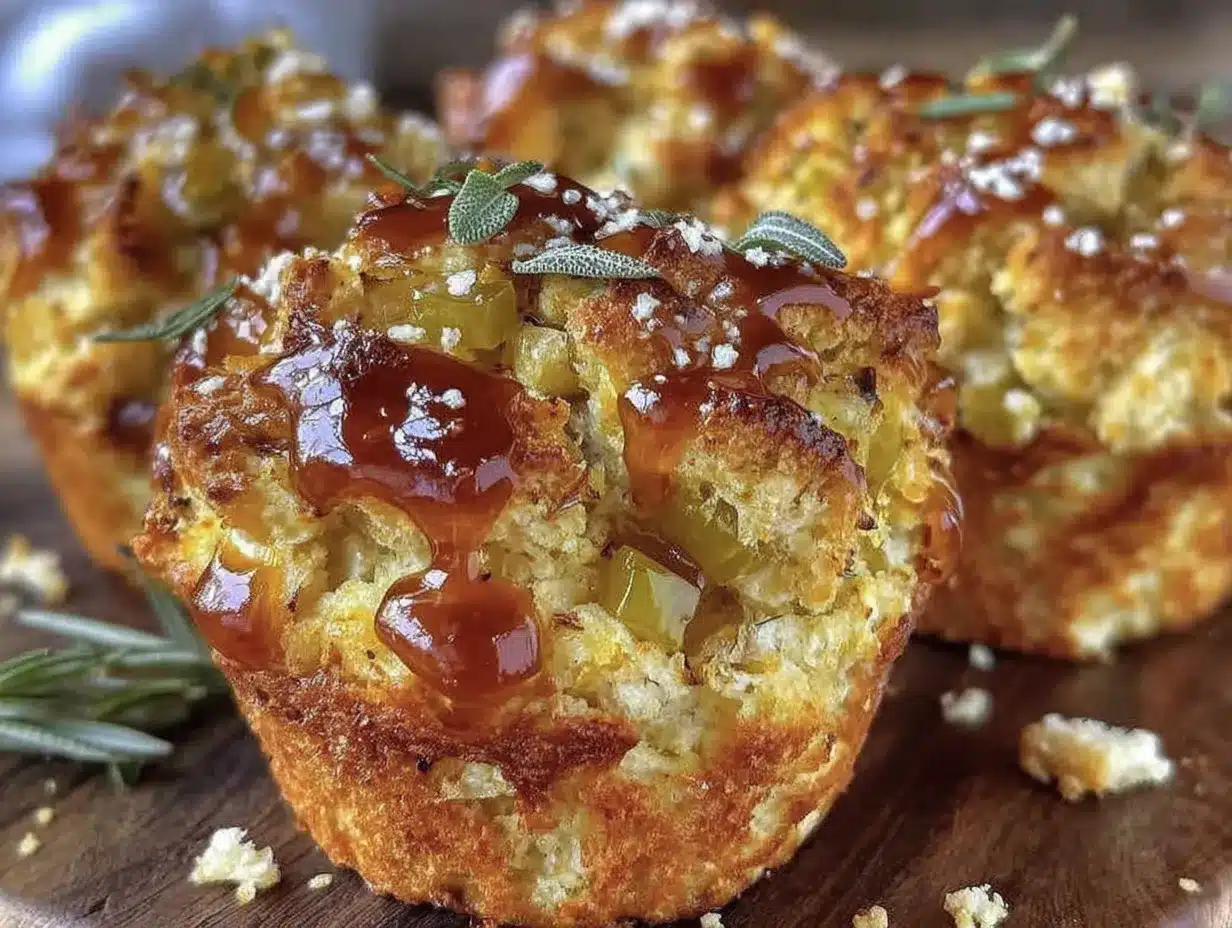
Making these stuffing muffins is surprisingly straightforward, but there are a few key moments where attention to detail really pays off. Let me walk you through it step by step.
Step 1: Prepare the bread. Cut the bread into ½-inch cubes. Spread them on a large baking sheet in a single layer. If you’re using fresh bread, toast it in a 300°F oven for about 15-20 minutes, stirring halfway through, until the cubes are dry but not browned. This step is crucial—dry bread absorbs the broth without turning into paste. You can do this up to 3 days ahead and store the cubes in an airtight container at room temperature.
Step 2: Brown the butter. In a large skillet or saucepan, melt the butter over medium heat. Once melted, it will start to foam and sputter. Swirl the pan occasionally. After about 5-7 minutes, the butter will turn a deep golden brown and smell intensely nutty. You’ll see brown specks forming at the bottom of the pan—those are the milk solids toasting. As soon as it reaches that color, remove it from the heat immediately to prevent burning. Pour it into a heat-safe bowl to stop the cooking process. Set aside 2 tablespoons of the browned butter to brush on top of the muffins later.
Step 3: Sauté the aromatics. In the same skillet (don’t wipe it clean—there’s flavor left behind), add the remaining browned butter and heat over medium. Add the diced onion and celery, and cook for 6-8 minutes, stirring occasionally, until the vegetables are soft and translucent. Add the minced garlic and cook for one more minute until fragrant. Remove from heat and let cool slightly.
Step 4: Combine the wet ingredients. In a small bowl or measuring cup, whisk together the warm broth, eggs, chopped sage, parsley, salt, and pepper. The eggs should be fully incorporated into the broth.
Step 5: Assemble the stuffing. Place the dried bread cubes in a large mixing bowl. Pour the sautéed vegetables over the bread and toss gently to distribute. Pour the broth mixture over the bread, a little at a time, tossing gently after each addition. The bread should be moist but not swimming in liquid. Let the mixture sit for 10 minutes to allow the bread to absorb the liquid. This resting period is where the magic happens—the flavors meld, and the bread softens to the perfect texture.
Step 6: Fill the muffin tin. Preheat your oven to 375°F. Generously grease a 12-cup muffin tin with butter or non-stick spray. Divide the stuffing mixture evenly among the cups, pressing down gently to pack it in. Don’t overpack or the muffins will be dense, but you want them to hold together. Mound them slightly above the rim—they’ll puff up as they bake, then settle into perfect domes.
Step 7: Bake to golden perfection. Bake for 25-30 minutes, or until the tops are golden brown and crispy. About 5 minutes before they’re done, brush the reserved brown butter over the tops and place a fresh sage leaf on each muffin for garnish. This final brush of brown butter adds an extra layer of flavor and helps the tops get beautifully crispy.
Step 8: Cool and serve. Let the muffins cool in the pan for 5 minutes. Then run a knife around the edges to loosen them and transfer to a cooling rack. Serve warm. If you’re making them ahead, cool completely, then store in an airtight container in the refrigerator for up to 3 days.
Pro tip: If you want extra-crispy edges, brush the muffin tin with a little extra brown butter before filling. That buttery coating creates a golden crust that’s absolutely irresistible.
Cooking Tips & Techniques
Over the years, I’ve learned a few tricks that make these stuffing muffins turn out perfectly every time. Here are the ones I swear by.
Don’t rush the browning butter. This is the most important step. Brown butter can go from perfect to burnt in about 30 seconds. Keep your eyes on the pan and trust your nose. When it smells nutty and toasty, it’s done. I’ve burned more batches than I care to admit, usually because I got distracted by something else in the kitchen. Set a timer if you need to, and stay close to the stove.
Dry bread is your friend. Fresh bread will turn your stuffing into a soggy mess. Drying the cubes in the oven ensures they absorb the broth evenly without disintegrating. If you’re in a rush, you can spread the cubes on a baking sheet and leave them out overnight—they’ll dry out naturally by morning.
Let the mixture rest before baking. That 10-minute rest after adding the broth is critical. It gives the bread time to absorb the liquid, which means your muffins will hold their shape better and have a more consistent texture. Skip this step, and you might end up with wet spots in the middle.
Pack the muffins firmly but gently. You want them to hold together, but you don’t want to compress the bread into dense lumps. Use a gentle pressing motion with your fingers or the back of a spoon. The goal is a muffin that’s tender but structured.
Use an ice cream scoop for even portions. A ⅓-cup ice cream scoop makes filling the muffin tin quick and consistent. Every muffin will be the same size, which means they’ll bake evenly. This is one of those small tools that makes a big difference in the kitchen.
Watch the bake time. Oven temperatures vary, so start checking at 22 minutes. The muffins are done when the tops are golden brown and a toothpick inserted in the center comes out clean. If the tops are browning too quickly, tent the pan with foil for the last 5-10 minutes.
Let them cool before removing. Hot stuffing muffins are fragile. Let them rest in the pan for 5 minutes to set up before you try to remove them. If they stick, run a thin knife around the edges to loosen them gently.
Variations & Adaptations
One of the best things about this recipe is how easily it adapts to different tastes and dietary needs. Here are some of my favorite variations.
Sausage and Sage Stuffing Muffins: Brown ½ pound of Italian sausage (casings removed) in the skillet before sautéing the vegetables. Crumble the sausage and add it to the bread along with the vegetables. The sausage adds richness and a savory depth that’s perfect for a heartier meal. This version is my go-to for Thanksgiving dinner.
Mushroom and Thyme Stuffing Muffins: Sauté 8 ounces of chopped cremini or shiitake mushrooms with the onions and celery. Add a teaspoon of fresh thyme leaves along with the sage. The mushrooms bring an earthy, umami quality that pairs beautifully with the brown butter. This is a great vegetarian option that doesn’t sacrifice flavor.
Cranberry and Pecan Stuffing Muffins: Fold in ½ cup of dried cranberries and ½ cup of toasted, chopped pecans after adding the broth. The tart cranberries cut through the richness of the butter, and the pecans add a lovely crunch. This version is especially festive for holiday meals and pairs beautifully with roasted turkey or chicken.
Gluten-Free Stuffing Muffins: Use a good quality gluten-free bread, preferably one that’s sturdy and not too sweet. Gluten-free bread tends to be more delicate, so handle the mixture gently. You might need to add an extra tablespoon of broth to compensate for the different absorption rate. I’ve had great results with Against the Grain’s gluten-free baguettes.
Vegan Stuffing Muffins: Substitute the butter with a high-quality vegan butter (Miyoko’s works beautifully) and use a flax egg (1 tablespoon ground flaxseed mixed with 3 tablespoons water, let sit for 5 minutes) instead of regular eggs. Use vegetable broth instead of chicken broth. The vegan version is slightly less rich but still delicious and satisfying.
Spicy Southwest Stuffing Muffins: Add 1 diced jalapeño (seeds removed for less heat) to the sautéed vegetables, and stir in ½ cup of corn kernels and ½ cup of black beans. Use cilantro instead of parsley and add a teaspoon of cumin. This version is a fun twist that’s perfect for a Tex-Mex dinner.
I personally love the sausage version for Thanksgiving and the cranberry-pecan version for Christmas. But honestly, the classic brown butter sage version is the one I make most often—it’s simple, elegant, and never fails to impress.
Serving & Storage Suggestions
These stuffing muffins are incredibly versatile when it comes to serving. Here’s how to make the most of them.
Serving temperature: Serve them warm, straight from the oven. The edges should be crispy, the centers tender and moist. If you’re making them ahead, reheat them in a 350°F oven for about 10 minutes to restore the crispiness. Microwaving will make them soggy, so avoid it if you can.
Presentation ideas: Arrange the muffins on a platter with fresh sage leaves and a sprinkle of flaky sea salt. For a holiday table, nestle them among roasted vegetables or alongside a gravy boat. They’re also great as a side dish for roasted chicken, pork chops, or a simple green salad.
Complementary dishes: These stuffing muffins pair beautifully with creamy roasted butternut squash soup with crispy sage brown butter for a cozy fall meal. They also work wonderfully alongside crispy garlic parmesan boneless chicken thighs for a weeknight dinner that feels special. And if you’re planning a Thanksgiving menu, they’re a natural partner for creamy slow cooker chicken and wild rice soup as a starter.
Storage instructions: Store leftover muffins in an airtight container in the refrigerator for up to 5 days. To freeze, wrap each muffin individually in plastic wrap, then place them in a freezer-safe bag. They’ll keep for up to 3 months. Thaw overnight in the refrigerator before reheating.
Reheating methods: For best results, reheat in a 350°F oven for 10-12 minutes, or until warmed through and crispy on the edges. If you’re in a hurry, you can microwave them for 30-45 seconds, but the texture won’t be as good. An air fryer works great too—350°F for 5-6 minutes.
How flavors develop: Interestingly, these muffins taste even better the next day. The flavors meld and deepen overnight, and the texture becomes even more cohesive. If you can, make them a day ahead and reheat before serving. Your taste buds will thank you.
Nutritional Information & Benefits
While stuffing is traditionally considered an indulgence, these muffins offer some nutritional benefits worth noting. Here’s a breakdown per muffin (based on the classic recipe without add-ins).
| Nutrient | Amount Per Muffin |
|---|---|
| Calories | 220 |
| Total Fat | 12g |
| Saturated Fat | 7g |
| Cholesterol | 55mg |
| Sodium | 480mg |
| Total Carbohydrates | 22g |
| Dietary Fiber | 2g |
| Sugars | 3g |
| Protein | 6g |
Health highlights: Sage is packed with antioxidants and has anti-inflammatory properties. It’s also been traditionally used to support digestion. Celery provides vitamin K and is a good source of fiber. The eggs add high-quality protein, and if you use whole grain bread, you’ll get additional fiber and nutrients.
Dietary considerations: This recipe can be made gluten-free, dairy-free, and vegan with the substitutions mentioned above. It’s naturally nut-free unless you add pecans or walnuts. If you’re watching sodium, use low-sodium broth and reduce the added salt to 1 teaspoon.
My personal take: I don’t think of these as health food, but I do feel good about serving them. They’re made from real, whole ingredients with no preservatives or artificial flavors. And because they’re portion-controlled in muffin form, it’s easier to enjoy a sensible serving without going overboard. That’s a win in my book.
Frequently Asked Questions
Can I make these stuffing muffins ahead of time?
Absolutely! You can assemble the muffins in the tin, cover them with plastic wrap, and refrigerate for up to 24 hours before baking. You may need to add 5-10 minutes to the baking time since they’ll be starting from cold. You can also bake them fully, cool, and reheat later.
What’s the best bread to use for stuffing muffins?
A sturdy, crusty bread like sourdough, French loaf, or Italian bread works best. The bread should be at least a day old, or you can dry it in the oven. Avoid soft sandwich bread—it will turn into a mushy mess. The sturdier the bread, the better the texture.
Why did my stuffing muffins turn out soggy?
Soggy stuffing usually means the bread wasn’t dried enough, or you added too much broth. Make sure your bread cubes are thoroughly dried before assembling. Also, let the mixture rest for 10 minutes after adding the broth—this gives the bread time to absorb the liquid evenly. If the mixture looks too wet, add a few more bread cubes to balance it out.
Can I freeze stuffing muffins?
Yes! Freeze them after baking and cooling. Wrap each muffin individually in plastic wrap, then place them in a freezer-safe bag. They’ll keep for up to 3 months. To reheat, thaw overnight in the refrigerator, then warm in a 350°F oven for 10-12 minutes. They taste almost as good as fresh.
How do I get the muffins to hold their shape better?
The eggs and the resting time are key. Make sure you let the mixture sit for 10 minutes after adding the broth so the bread absorbs the liquid. Pack the muffins firmly but gently into the tin. And don’t skip the cooling time after baking—let them rest in the pan for 5 minutes before removing. If they still fall apart, try adding an extra egg next time.
Conclusion
These Brown Butter Sage Stuffing Muffins have become a staple in my kitchen for good reason. They take everything we love about traditional stuffing and make it better—crispier, more flavorful, and infinitely more portable. The brown butter adds a nutty richness that’s hard to beat, and the individual servings make serving and storing a breeze.
What I love most is how adaptable they are. Whether you’re feeding a crowd at Thanksgiving, looking for a side dish for a cozy dinner, or just want something comforting on a chilly evening, these muffins deliver. They’re the kind of recipe that feels special enough for a holiday but simple enough for any day of the week.
I’d love to hear how they turn out for you. Did you add any fun variations? Did your family fight over the crispy edges like mine does? Drop a comment below and let me know. And if you’re looking for more cozy fall recipes, don’t miss our cozy apple cider donut loaf cake with brown butter maple glaze or our brown butter salted caramel apple blondies with oat streusel topping—because you can never have too much brown butter in your life.
Happy cooking, and remember—the best meals are the ones shared with the people you love.
Pin This Recipe!
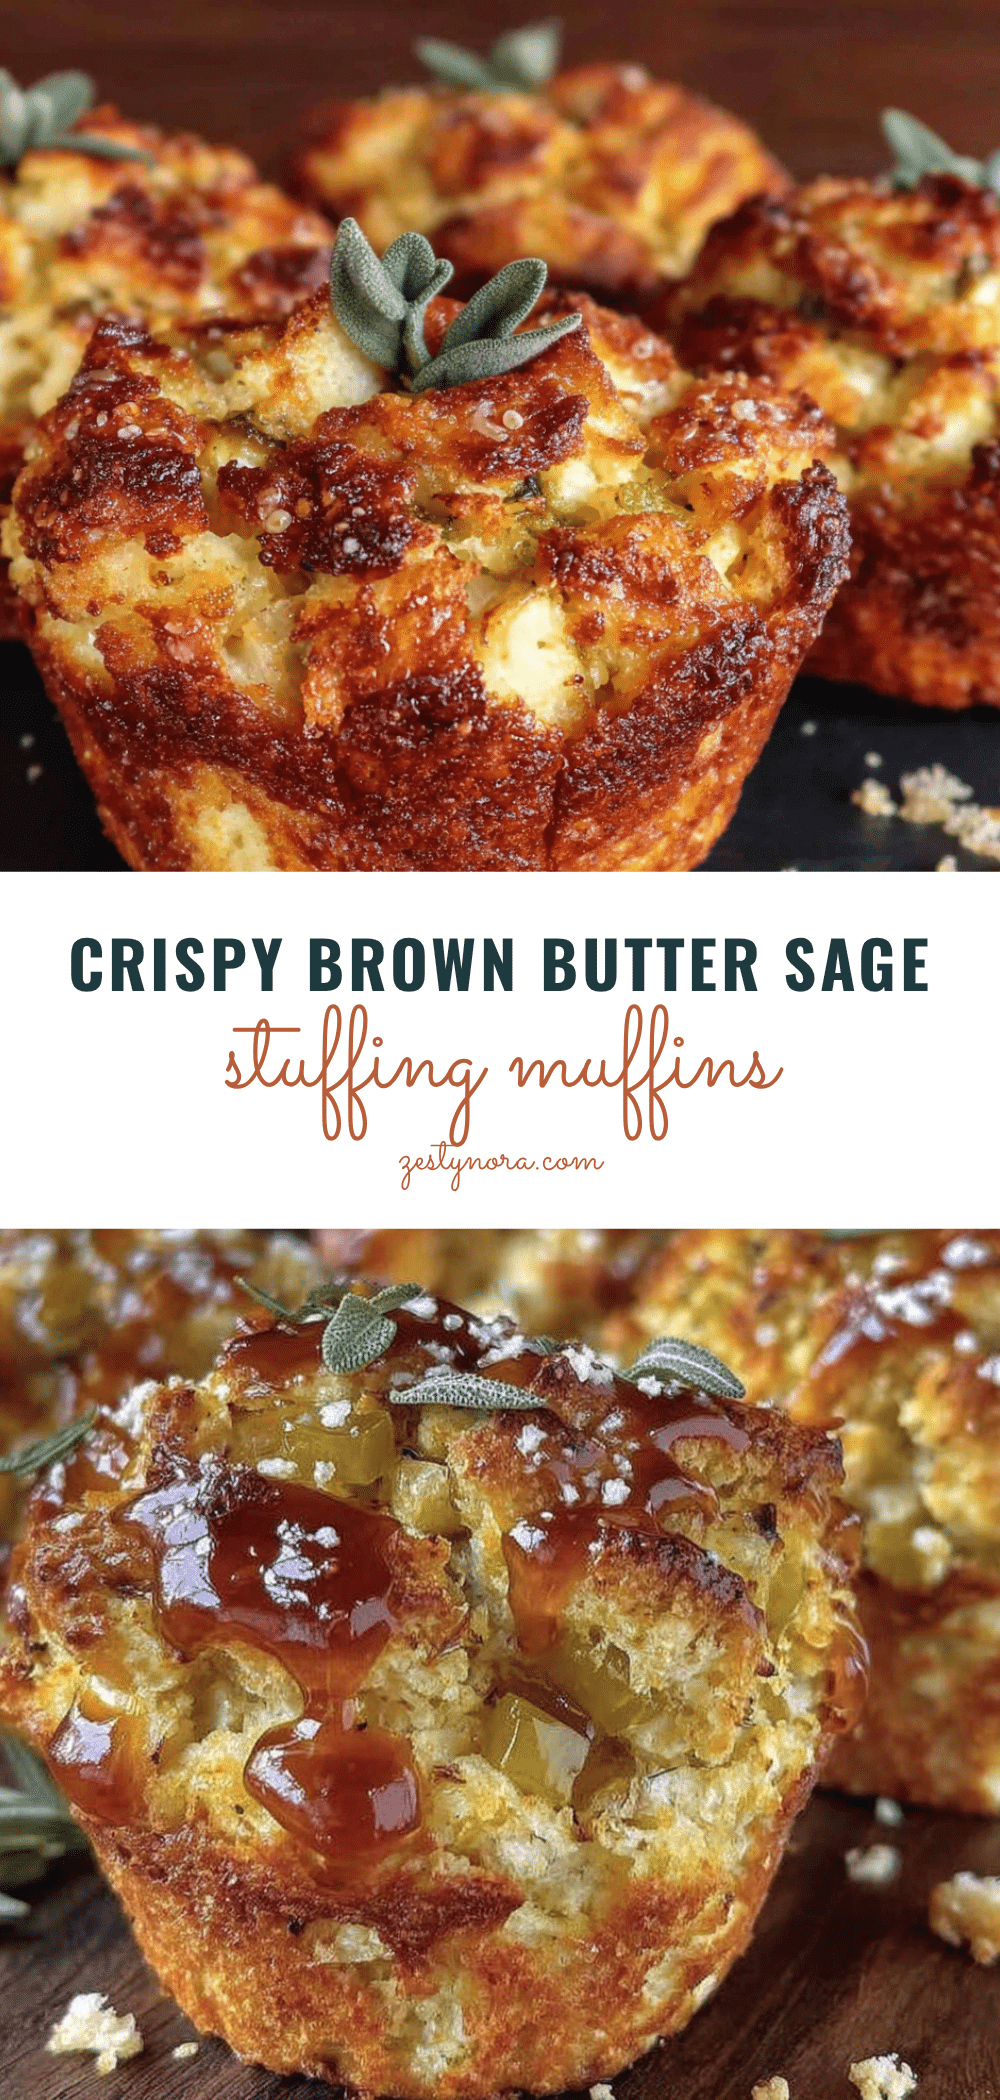
The Perfect Brown Butter Sage Stuffing Muffins

These Brown Butter Sage Stuffing Muffins take everything we love about the Thanksgiving classic—the herby aroma, the soft-yet-crispy texture, the buttery richness—and shrink it down into something you can grab with one hand. Every muffin has that coveted corner piece texture, with no fighting over the crispy bits.
- Prep Time: 20 minutes
- Cook Time: 30 minutes
- Total Time: 50 minutes
- Yield: 12 servings 1x
- Category: Side Dish
- Cuisine: American
Ingredients
- 12 cups bread cubes (about 1-pound loaf, sturdy artisan bread, sourdough, or French loaf)
- 1 cup unsalted butter (2 sticks)
- ¼ cup fresh sage leaves, finely chopped, plus whole leaves for garnish
- 1 large yellow onion, diced
- 3 ribs celery, diced
- 4 cloves garlic, minced
- 2½ cups chicken or vegetable broth, warmed
- 2 large eggs
- ¼ cup fresh parsley, chopped
- 1½ teaspoons salt (or to taste)
- 1 teaspoon freshly ground black pepper
- Optional: ½ pound cooked Italian sausage, crumbled; ½ cup dried cranberries; 1 cup chopped mushrooms, sautéed; ½ cup toasted pecans
Instructions
- Prepare the bread: Cut bread into ½-inch cubes. Spread on a large baking sheet in a single layer. If using fresh bread, toast in a 300°F oven for 15-20 minutes, stirring halfway, until dry but not browned. (Can be done up to 3 days ahead; store in airtight container at room temperature.)
- Brown the butter: In a large skillet or saucepan, melt butter over medium heat. Swirl occasionally. After 5-7 minutes, butter will turn deep golden brown and smell nutty. Remove from heat immediately and pour into a heat-safe bowl. Set aside 2 tablespoons for brushing on top later.
- Sauté the aromatics: In the same skillet, add remaining browned butter and heat over medium. Add onion and celery; cook 6-8 minutes until soft and translucent. Add garlic and cook 1 minute more. Remove from heat and let cool slightly.
- Combine wet ingredients: In a small bowl, whisk together warm broth, eggs, chopped sage, parsley, salt, and pepper until eggs are fully incorporated.
- Assemble the stuffing: Place dried bread cubes in a large mixing bowl. Pour sautéed vegetables over bread and toss gently. Pour broth mixture over bread a little at a time, tossing gently after each addition. Bread should be moist but not swimming. Let mixture rest for 10 minutes to absorb liquid.
- Fill the muffin tin: Preheat oven to 375°F. Generously grease a 12-cup muffin tin with butter or non-stick spray. Divide stuffing mixture evenly among cups, pressing down gently to pack. Mound slightly above the rim.
- Bake: Bake for 25-30 minutes until tops are golden brown and crispy. About 5 minutes before done, brush reserved brown butter over tops and place a fresh sage leaf on each muffin for garnish.
- Cool and serve: Let muffins cool in pan for 5 minutes. Run a knife around edges to loosen, then transfer to a cooling rack. Serve warm. (Make ahead: cool completely, store in airtight container in refrigerator up to 3 days.)
Notes
For extra-crispy edges, brush muffin tin with extra brown butter before filling. Let mixture rest 10 minutes after adding broth for better texture. Muffins taste even better the next day. To reheat, use 350°F oven for 10-12 minutes (not microwave).
Nutrition
- Serving Size: 1 muffin
- Calories: 220
- Sugar: 3
- Sodium: 480
- Fat: 12
- Saturated Fat: 7
- Carbohydrates: 22
- Fiber: 2
- Protein: 6
Keywords: stuffing muffins, brown butter sage stuffing, Thanksgiving stuffing, holiday side dish, make-ahead stuffing, crispy stuffing, individual stuffing