“You know what we need? A little bottle of fire.” My neighbor, Gina, said this to me last January while we stood in her kitchen, both of us sniffling through a third round of whatever cold was making the rounds. She wasn’t talking about hot sauce or whiskey. She pulled a jar from her fridge that looked like a science experiment gone right — cloudy, amber, stuffed with knobs of ginger and jalapeño slices. She poured us each a shot. It burned going down, in that good way, the kind that makes you feel like your body just woke up and decided to fight back. That was my first taste of homemade fire cider immune shots, and honestly, I haven’t bought a single bottle of immunity support from the store since.
Gina learned it from her grandmother, who called it “the winter tonic” and made a fresh batch every time the first frost hit. I loved that — the idea that something so simple, so rooted in kitchen wisdom, could be this powerful. No fancy packaging, no big marketing claims. Just vinegar, horseradish, garlic, and a whole lot of heat packed into a jar. I started making my own that same week, tweaking the recipe until it felt like mine. A little more ginger here, a little less cayenne there. It became my cold-weather ritual, something I looked forward to almost as much as chunky sweaters and slow cooker soups.
There’s something grounding about making a batch of homemade fire cider immune shots. It’s not quick — you have to let it steep for a few weeks — but that waiting is part of the magic. You watch the colors deepen, the flavors meld, the vinegar turn from sharp to something almost complex. By the time cold season rolls around, you’ve got a little army of amber bottles ready to go. It’s the kind of recipe that makes you feel prepared, like you’ve got a secret weapon in your back pocket. And honestly? It works. At least, it works for me.
Why You’ll Love This Recipe
I’ve tested this homemade fire cider immune shots recipe more times than I can count, adjusting ratios, swapping ingredients, and even messing up a batch or two (note to self: do not use distilled white vinegar — it’s too harsh). What I landed on is a version that balances heat, tang, and earthiness without making you wince. Here’s why it’s worth your time:
- Brews Itself: The active work takes maybe 20 minutes. After that, your fridge does the rest. It’s the perfect set-it-and-forget-it project for busy weeks.
- Pantry-Friendly Ingredients: You probably already have most of these — garlic, onion, ginger, lemon, honey. The only specialty item is horseradish root, which most grocery stores carry in the produce section.
- Way Cheaper Than Store-Bought: A 16-ounce bottle of immunity tonic can run you $15-20 at the health food store. This batch costs a fraction of that and makes twice as much.
- Totally Customizable: Spice it up with extra jalapeño, mellow it with more honey, or throw in some turmeric for an anti-inflammatory boost. This recipe is a starting point, not a rulebook.
- Actually Tastes Good: I know “fire cider” sounds aggressive, but the honey mellows everything out. It’s tangy, spicy, and slightly sweet — like a really intense shrub cocktail without the alcohol.
I’ve shared jars of this with friends battling sinus infections, coworkers who felt a tickle in their throat, and my mom who swears by a daily shot for “general maintenance.” Every single person has asked for the recipe. That’s the kind of feedback that tells you you’ve got something special. This isn’t just another wellness trend — it’s a time-tested tonic that actually delivers on its promise. And making it yourself means you control exactly what goes in, which feels good in a world where we don’t always get to decide what’s in our food.
What Ingredients You Will Need
This homemade fire cider immune shots recipe relies on a handful of powerful ingredients, each pulling its weight in both flavor and function. Here’s what you’ll need to gather:
For the Base
- Raw apple cider vinegar: 2 cups (with the mother — Bragg’s is my go-to). This forms the backbone of the tonic and helps extract nutrients from the other ingredients.
- Raw honey: ¼ cup (local if you can find it). This balances the acidity and heat while adding its own immune-supporting properties.
The Aromatics & Roots
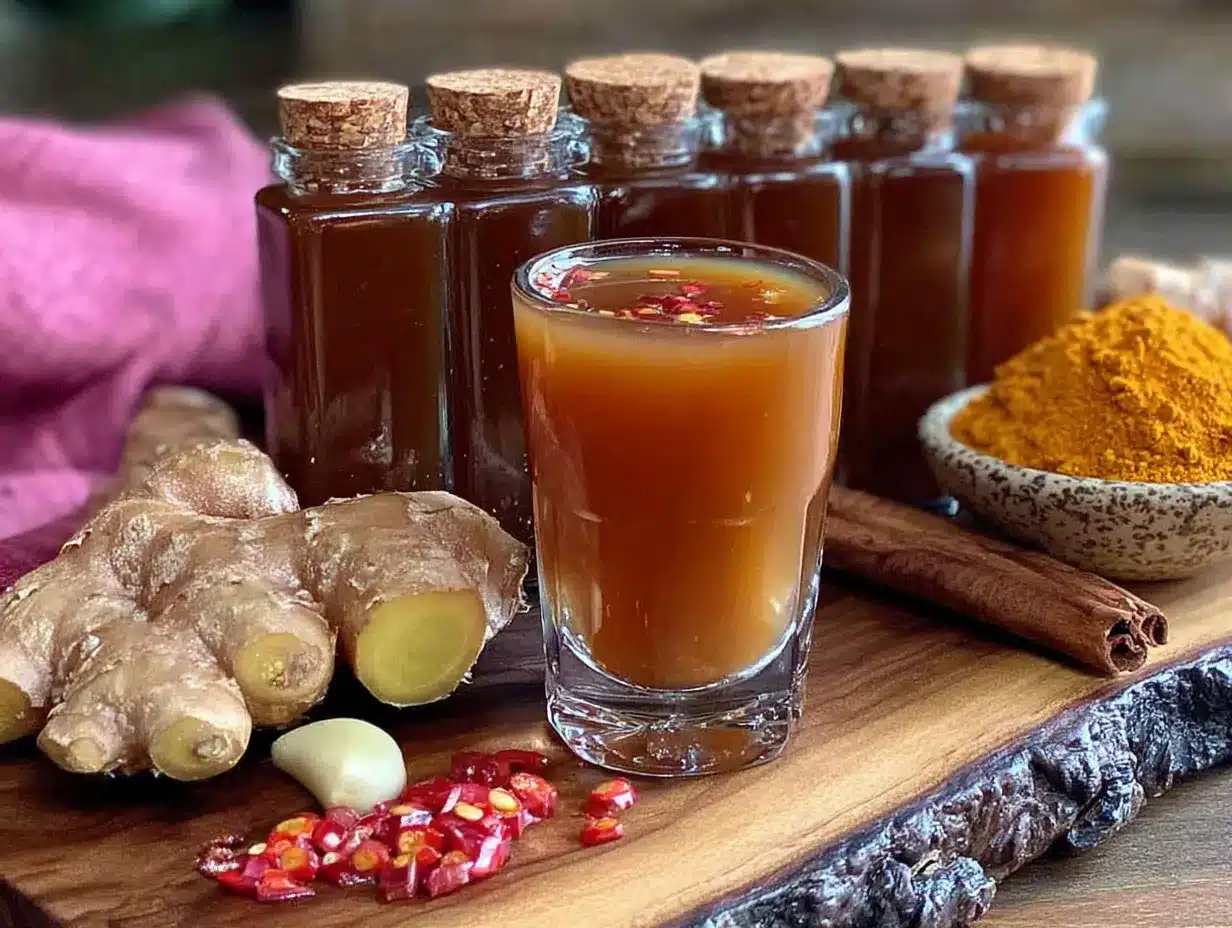
- Fresh ginger root: 3-4 inches, thinly sliced (no need to peel). Adds warmth and that signature zing.
- Fresh turmeric root: 2 inches, thinly sliced (optional but recommended). Brings earthy color and anti-inflammatory benefits.
- Horseradish root: 2 inches, peeled and chopped (fresh is non-negotiable here — jarred horseradish won’t work the same).
- Garlic cloves: 6-8, smashed. Adds pungency and antimicrobial punch.
- Yellow onion: ½ medium, roughly chopped. Don’t skip it — it adds a subtle savory depth.
The Heat
- Jalapeño or serrano pepper: 1 small, sliced (seeds in if you want more heat, seeds out for milder).
- Cayenne pepper: ½ teaspoon (or 1 small dried cayenne pepper, crushed).
- Black peppercorns: 1 teaspoon (helps with absorption of turmeric).
Optional Add-Ins
- Fresh rosemary sprig: 1 (adds an herbal note I love).
- Orange peel: Strips from ½ an orange (brightens the flavor).
- Star anise: 1 pod (adds a subtle licorice warmth).
When shopping for horseradish root, look for firm, unblemished pieces that feel heavy for their size. The skin should be tan to light brown, not shriveled or soft. If your grocery store doesn’t carry it, check the farmers’ market or a specialty produce store. I once substituted fresh horseradish with prepared horseradish from a jar — big mistake. The flavor was flat and the texture was all wrong. Trust me on this one, fresh makes all the difference.
For the apple cider vinegar, I really do recommend Bragg’s or another brand that includes “the mother” — that cloudy, cobweb-like substance floating in the bottle. It’s full of beneficial bacteria and enzymes that support gut health. If you can’t find raw vinegar, regular apple cider vinegar will still work, but you’ll miss out on some of the probiotic benefits.
One note on honey: raw honey is ideal because it hasn’t been pasteurized, which means it retains its natural enzymes and antimicrobial properties. If raw honey isn’t available, regular honey is fine — just know that the final product might be slightly less complex in flavor.
Equipment Needed
You don’t need much to make homemade fire cider immune shots, which is part of the appeal. Here’s what you’ll want on hand:
- Quart-size glass jar: Wide-mouth is best for fitting all the ingredients in easily. A mason jar works perfectly.
- Cutting board and sharp knife: For prepping the roots and aromatics. A mandoline slicer can speed things up if you have one.
- Measuring cups and spoons: For the vinegar, honey, and spices.
- Wooden spoon or chopstick: For stirring and pressing ingredients down.
- Fine-mesh strainer or cheesecloth: For straining the finished tonic.
- Small funnel: Makes transferring the liquid into bottles much less messy.
- Glass bottles with tight-fitting lids: Swing-top bottles (like Grolsch-style) or small mason jars work great for storing the finished shots.
- Labels or masking tape + marker: Trust me, you’ll forget when you made it. Label everything.
I’ve made this recipe with a cheap plastic funnel and a regular dinner knife — the equipment doesn’t need to be fancy. The one thing I’d splurge on is good glass bottles. I picked up a set of six 4-ounce swing-top bottles from a kitchen supply store for about $12, and they’ve lasted through multiple batches. Plus, they make the final product look like something you’d buy at a fancy market, which feels nice when you’re gifting jars to friends.
If you don’t have cheesecloth, a clean, thin kitchen towel works for straining. Just make sure it’s been washed in hot water with no fabric softener, which can leave a residue that affects the taste.
Preparation Method
Making homemade fire cider immune shots is more about patience than skill. The actual hands-on work is quick, but the waiting is where the magic happens. Here’s how I do it:
Step 1: Prep Your Ingredients
Start by washing all your produce thoroughly. You don’t need to peel the ginger or turmeric — just scrub them well with a vegetable brush. Thinly slice the ginger, turmeric, and horseradish root. Smash the garlic cloves with the flat side of your knife (this releases more of their good compounds than slicing would). Roughly chop the onion. Slice the jalapeño into rings. If you’re using orange peel, use a vegetable peeler to remove strips of zest, avoiding the white pith which can be bitter.
Step 2: Layer Everything in the Jar
This is where you get to be a little artistic. Layer the ingredients in your quart-sized jar, starting with the harder roots at the bottom — ginger, turmeric, horseradish. Add the garlic, onion, and jalapeño next. Tuck in the rosemary sprig, orange peel, and star anise if you’re using them. Sprinkle in the black peppercorns and cayenne. Don’t pack everything too tightly; you want the vinegar to be able to flow around all the pieces. Leave about an inch of space at the top of the jar.
Step 3: Add the Vinegar and Honey
Pour the raw apple cider vinegar over the ingredients until they’re completely submerged. You might need a bit more or less than 2 cups depending on how tightly you packed your jar. Add the raw honey — it will sink to the bottom, which is fine. Use a wooden spoon or chopstick to stir gently, encouraging the honey to dissolve and distribute. Wipe the rim of the jar clean, then screw on the lid tightly. Give the jar a good shake to help everything combine.
Step 4: The Waiting Game
Label your jar with the date and store it in a cool, dark place (like a cupboard or pantry) for 2 to 4 weeks. I’ve found that 3 weeks is the sweet spot — enough time for the flavors to develop without the garlic becoming too aggressive. Every day or two, give the jar a gentle shake to redistribute the ingredients. You’ll notice the color deepening over time, from pale gold to a rich amber. The smell will shift too, from sharply vinegary to something more complex and almost savory.
Step 5: Taste and Adjust
After 2 weeks, start tasting. Use a clean spoon to dip into the liquid (don’t double-dip). If it’s spicy enough for you, it’s ready to strain. If you want more heat or deeper flavor, let it go another week. I usually taste at 2 weeks, 3 weeks, and then decide. One batch I let steep for 5 weeks because I got busy and forgot about it — it was intense but delicious, with a serious kick.
Step 6: Strain and Bottle
Once you’re happy with the flavor, set a fine-mesh strainer over a large bowl or measuring cup. Line the strainer with cheesecloth if you want a clearer final product. Pour the contents of the jar through the strainer, pressing gently on the solids with a spoon to extract every last drop of liquid. Don’t press too hard, though, or you’ll get sediment in your final tonic. Discard the solids (or compost them — they’re great for the garden).
Step 7: Sweeten to Taste
At this point, taste your strained fire cider. If it’s too sharp or acidic for your liking, stir in an extra tablespoon or two of raw honey until it balances out. I usually add about 2 more tablespoons, but this is entirely personal preference. My brother-in-law likes his so spicy it makes his eyes water, so he adds no extra honey at all.
Step 8: Bottle and Store
Use your funnel to transfer the finished fire cider into clean glass bottles. Leave about ½ inch of headspace at the top. Seal tightly and store in the refrigerator. The tonic will keep for up to 6 months, though I’ve never had a batch last that long — it gets used up too quickly.
Cooking Tips & Techniques
After making dozens of batches of homemade fire cider immune shots, I’ve picked up a few tricks that make the process smoother and the final product better. Here’s what I’ve learned:
Don’t skimp on the horseradish. It’s the ingredient that gives fire cider its signature sinus-clearing punch. Fresh horseradish root has a volatile compound that dissipates quickly once cut, so use it within a day or two of buying it. I learned this the hard way after leaving a root in my fridge for two weeks — it had lost most of its kick by the time I used it.
Temperature matters during steeping. Your fire cider needs to be stored at room temperature (around 65-75°F) for the fermentation to happen properly. If your kitchen runs cold in winter, find a warmer spot like the top of the fridge or a cabinet near the stove. Too cold and the extraction will be slow; too hot and you risk spoilage.
Shake it like you mean it. I set a daily reminder on my phone to shake the jar. It’s a small thing, but it makes a big difference in how evenly the flavors develop. If you forget for a few days, don’t stress — just give it an extra good shake when you remember.
Use a chopstick for stubborn ingredients. Sometimes the honey sinks to the bottom and refuses to dissolve. A wooden chopstick is perfect for reaching down and stirring it up without scratching the glass. I keep a pair of reusable chopsticks in my kitchen drawer just for this purpose.
Label everything obsessively. I cannot stress this enough. I once had two jars in my pantry — one fire cider and one pickled red onions — and I grabbed the wrong one for a shot. The look on my face was apparently hilarious, but I don’t recommend the experience. Masking tape and a permanent marker are your friends.
Batch size matters. This recipe scales up beautifully. I often double or triple it in the fall, using a half-gallon jar, so I have enough to share and enough to keep. Just make sure your jar is big enough to hold everything with room to shake.
Variations & Adaptations
One of the best things about homemade fire cider immune shots is how adaptable they are. Here are some variations I’ve tried and loved:
Milder Version for Sensitive Stomachs
If the heat is too intense for you, reduce or omit the jalapeño and cayenne. Double the honey and add an extra inch of ginger for warmth without the burn. My sister-in-law makes this version for her kids (ages 6 and 9) and they take a teaspoon in orange juice every morning during cold season.
Turmeric-Golden Milk Inspired
Add an extra 2 inches of fresh turmeric, 1 teaspoon of ground cinnamon, and ½ teaspoon of ground cardamom to the jar. This version is less spicy and more warming, with a beautiful golden color. It’s my go-to for the transition between fall and winter when I want something cozy but still protective.
Herbal Garden Version
In summer, I swap the rosemary for fresh thyme, sage, and a sprig of lemon balm from my garden. The herbal notes are more pronounced and the tonic feels lighter, somehow. It’s perfect for those late-summer colds that catch you off guard when everyone else is still enjoying the sunshine.
Low-Sugar Option
If you’re watching your sugar intake, you can reduce the honey to 1 tablespoon or omit it entirely. The fire cider will be much more tart and aggressive, but it still works. I’d recommend adding a few slices of lemon or a cinnamon stick to help balance the acidity if you go this route.
Extra Immune-Boosting Add-Ins
For times when I feel like I need extra support, I add 1 tablespoon of dried echinacea root, 1 teaspoon of astragalus slices, and a pinch of bee pollen. These are all available at health food stores or online. The flavor becomes more earthy and medicinal, but in a way that feels intentional and comforting.
Serving & Storage Suggestions
Homemade fire cider immune shots are best taken as a daily preventive during cold and flu season, or at the first sign of a scratchy throat. Here’s how I serve and store mine:
How to Take It: The standard dose is 1 ounce (a shot glass) per day. I take mine first thing in the morning, before breakfast, straight up. It wakes me up faster than coffee, honestly. If the straight shot is too intense, you can dilute it in 2 ounces of warm water or add it to a mug of hot tea with a squeeze of lemon. Some people even use it as a salad dressing base — it’s surprisingly good whisked with olive oil.
Storage: Keep your bottled fire cider in the refrigerator. It will last 4-6 months, though the flavor will mellow over time. I’ve kept a batch for 8 months with no issues, but the garlic and horseradish notes definitely fade after the 6-month mark. If you see any mold or off smells, toss it and start fresh — better safe than sorry.
Gifting: These make wonderful homemade gifts. I tie a small tag around each bottle with the ingredients listed and a note: “Take 1 oz daily for immune support. Shake well. Refrigerate after opening.” People love receiving something that feels both thoughtful and useful. I’ve given bottles to coworkers, teachers, and neighbors, and they’re always appreciated.
Pairing Suggestions: For a wellness-themed gift basket, pair a bottle of fire cider with a bag of creamy roasted butternut squash soup mix, a jar of local honey, and a cozy mug. It’s the kind of gift that says “I want you to feel good” without being preachy about it.
Nutritional Information & Benefits
While I’m not a doctor or nutritionist, I can share what I’ve learned about the ingredients in homemade fire cider immune shots and why they’re considered beneficial:
Estimated per 1-ounce serving: Approximately 15-20 calories, 0g fat, 4g carbohydrates, 0g protein. Most of the calories come from the honey.
Key Benefits:
- Garlic: Contains allicin, a compound with antimicrobial and immune-boosting properties. Crushing the garlic activates this compound, which is why I smash rather than slice.
- Ginger: Known for its anti-inflammatory and antioxidant effects. It also helps with nausea and digestion, which is a nice bonus during cold season.
- Horseradish: Contains glucosinolates that have been studied for their antimicrobial effects. It’s also a natural decongestant — that heat you feel in your sinuses is real.
- Apple cider vinegar: May help with blood sugar regulation and gut health, thanks to the probiotics in the “mother.”
- Honey: Raw honey has natural antibacterial properties and soothes sore throats. Local honey may also help with seasonal allergies.
Dietary Notes: This recipe is naturally gluten-free, dairy-free, and vegan (if you use maple syrup instead of honey). The main allergen concern is the honey, which some people avoid for dietary or ethical reasons. If you’re serving this to others, always check for allergies first.
Conclusion
Making homemade fire cider immune shots has become one of those kitchen rituals I genuinely look forward to. There’s something satisfying about taking a handful of simple, powerful ingredients and transforming them into something that makes you feel prepared for whatever winter throws your way. It’s not magic, but it feels a little bit like it — especially when you feel that first tickle in your throat and a shot of this stuff knocks it right out.
I hope this recipe becomes a staple in your kitchen too. Start with the basic version, then make it your own. Add more ginger if you love the heat. Swap in different herbs based on what’s growing in your garden. Adjust the honey until it tastes right to you. The best version of this recipe is the one that actually makes you want to take it every day.
If you give this a try, I’d love to hear how it goes. Drop a comment below and let me know what variations you tried, or tag me in your photos if you’re sharing on social media. And if you’re looking for more ways to stay cozy and healthy this season, don’t miss my creamy slow cooker chicken and wild rice soup or these no-bake peanut butter banana energy bites — they’re perfect companions for your fire cider routine. Stay well, friends!
Frequently Asked Questions
Can I use dried herbs instead of fresh?
Yes, but the flavor will be less vibrant. If using dried herbs, reduce the amount by about half since dried herbs are more concentrated. I’d still recommend fresh ginger and horseradish root for the best results.
How long does homemade fire cider last?
Stored in the refrigerator, it will keep for 4-6 months. The flavor will mellow over time, but it remains safe to consume as long as there’s no mold or off smell. I usually make a fresh batch every 3 months during cold season.
Can I drink this if I’m pregnant or nursing?
You should consult your healthcare provider before taking fire cider during pregnancy or while nursing. The high concentration of certain herbs and spices may not be recommended for everyone, especially in medicinal amounts.
Why is my fire cider cloudy?
Cloudiness is completely normal and actually a good sign! It’s caused by the “mother” in the raw apple cider vinegar and the natural compounds extracted from the roots and spices. Give it a shake before each use and don’t worry about the appearance.
Can I use this in cooking instead of drinking it?
Absolutely! Fire cider makes an excellent base for salad dressings, marinades, and glazes. Try whisking a tablespoon with olive oil and a pinch of salt for a quick vinaigrette, or use it to deglaze a pan after searing chicken. It’s also great drizzled over roasted vegetables.
Pin This Recipe!
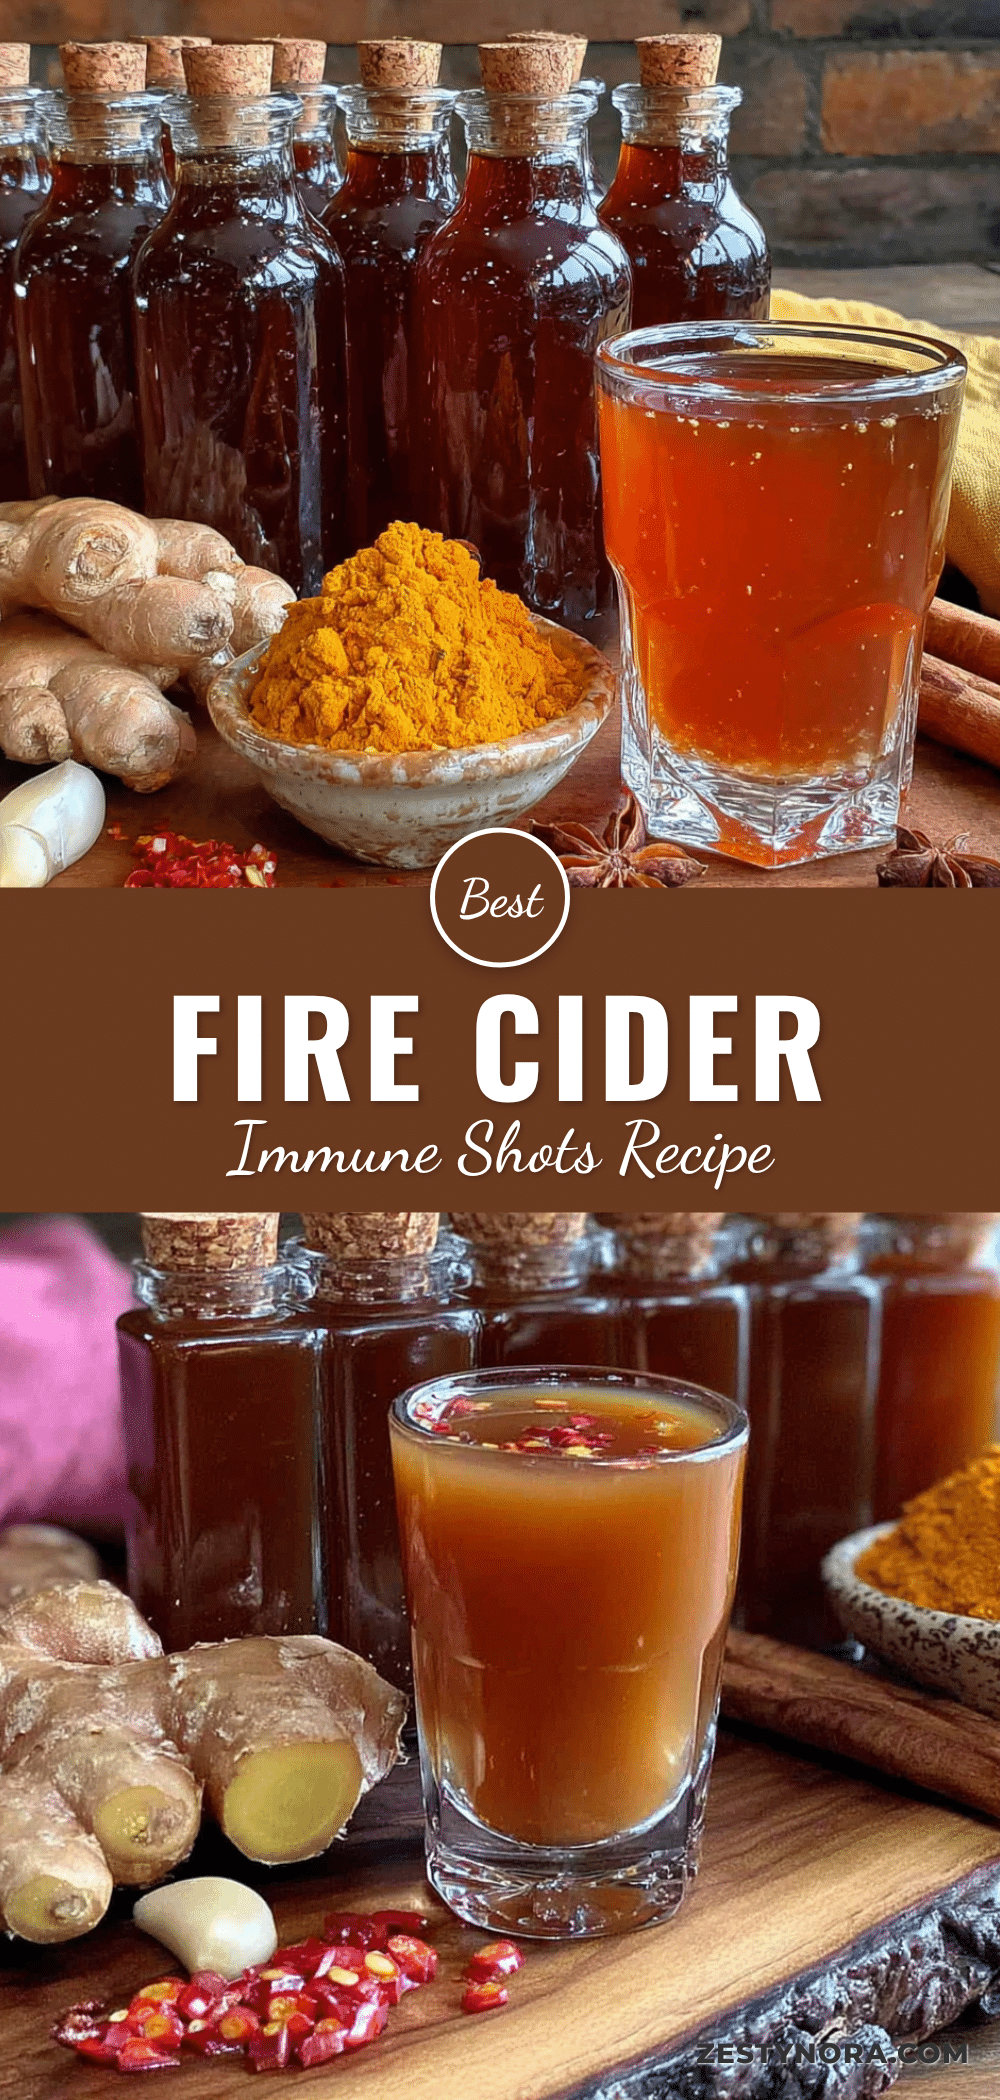
Best Homemade Fire Cider Immune Shots Recipe (Easy)
A simple, customizable fire cider recipe that balances heat, tang, and earthiness. Made with raw apple cider vinegar, honey, ginger, horseradish, garlic, and spices, this immune-boosting tonic is steeped for weeks and taken as a daily shot during cold and flu season.
- Prep Time: 20 minutes
- Cook Time: 0 minutes
- Total Time: 20 minutes (plus 2-4 weeks steeping)
- Yield: 16 servings (1 ounce each) 1x
- Category: Beverage / Tonic
- Cuisine: American
Ingredients
- 2 cups raw apple cider vinegar (with the mother, e.g., Bragg’s)
- ¼ cup raw honey (local if possible)
- 3–4 inches fresh ginger root, thinly sliced (no need to peel)
- 2 inches fresh turmeric root, thinly sliced (optional but recommended)
- 2 inches horseradish root, peeled and chopped
- 6–8 garlic cloves, smashed
- ½ medium yellow onion, roughly chopped
- 1 small jalapeño or serrano pepper, sliced (seeds in for more heat, out for milder)
- ½ teaspoon cayenne pepper (or 1 small dried cayenne pepper, crushed)
- 1 teaspoon black peppercorns
- 1 fresh rosemary sprig (optional)
- Strips from ½ orange peel (optional)
- 1 star anise pod (optional)
Instructions
- Wash all produce thoroughly. Thinly slice ginger, turmeric, and horseradish. Smash garlic cloves. Roughly chop onion. Slice jalapeño into rings. If using orange peel, use a vegetable peeler to remove strips of zest, avoiding white pith.
- Layer ingredients in a quart-sized glass jar: start with harder roots (ginger, turmeric, horseradish), then add garlic, onion, jalapeño. Tuck in rosemary, orange peel, and star anise if using. Sprinkle in black peppercorns and cayenne. Leave about 1 inch of space at the top.
- Pour raw apple cider vinegar over ingredients until completely submerged. Add raw honey. Stir gently with a wooden spoon or chopstick to help honey dissolve. Wipe rim, screw on lid tightly, and shake well.
- Label jar with date and store in a cool, dark place (cupboard or pantry) for 2 to 4 weeks. Shake gently every day or two. The color will deepen from pale gold to rich amber.
- After 2 weeks, start tasting. Use a clean spoon to dip into liquid. If spicy enough, it’s ready to strain. If more heat or depth is desired, let steep another week.
- Once flavor is satisfactory, set a fine-mesh strainer over a large bowl or measuring cup. Line with cheesecloth for a clearer product. Pour contents through strainer, pressing gently on solids with a spoon to extract liquid. Discard solids.
- Taste strained fire cider. If too sharp, stir in an extra 1-2 tablespoons of raw honey until balanced.
- Use a funnel to transfer finished fire cider into clean glass bottles, leaving ½ inch headspace. Seal tightly and store in the refrigerator. Keeps for up to 6 months.
Notes
Don’t skimp on fresh horseradish root; it provides the signature sinus-clearing punch. Store at room temperature (65-75°F) during steeping. Shake daily for even flavor development. Label everything to avoid confusion. This recipe scales up beautifully; double or triple for larger batches.
Nutrition
- Serving Size: 1 ounce (shot)
- Calories: 1520
- Sugar: 3
- Sodium: 5
- Carbohydrates: 4
Keywords: fire cider, immune shots, homemade fire cider, immune booster, apple cider vinegar tonic, wellness shots, cold remedy, natural immunity


