“Mom, these are the only ones that don’t taste like wet bread.” My seven-year-old said that after biting into her lunch, and honestly, that was it. I had been chasing the perfect school-safe, sunbutter-and-jelly solution for months, and her simple, unfiltered review told me I had finally cracked the code.
It started, as most of my kitchen obsessions do, with a lunchbox failure. I had packed a beautiful sunbutter and jelly sandwich on soft wheat bread, only to have it returned as a sad, soggy, purple-stained mess. The bread had disintegrated, the jelly had bled through the sunbutter, and my daughter was hungry. I knew there had to be a better way—a way to get that classic, nostalgic PB&J (or in our case, SB&J) experience without the dreaded lunchtime sogginess.
This recipe isn’t about fancy techniques or hard-to-find ingredients. It is about a few smart, tested tricks that keep the bread perfectly intact, the sunbutter creamy, and the jelly exactly where it belongs. It is the kind of lunch that makes you feel like a superhero parent, even on your most chaotic morning. You get the satisfaction of a homemade treat without the stress, and your kids get a lunch that actually tastes as good as it looked when you packed it.
Why You’ll Love This Recipe
After countless tests (and yes, a few more soggy casualties), I landed on a method that works every single time. This isn’t just another sandwich—it is a game-changer for anyone packing lunches, planning picnics, or just wanting a quick, mess-free snack.
- Absolutely No Soggy Bread : The secret barrier technique prevents the jelly from seeping into the bread, keeping it perfectly soft and intact for hours. This is the promise, and this recipe delivers.
- Quick & Easy : These come together in under 10 minutes. You can make a whole batch for the week in one go, which is a lifesaver on busy school mornings.
- Simple Ingredients : You likely already have everything in your pantry. No fancy flours, obscure seeds, or special equipment required.
- Perfect for Lunchboxes & On-the-Go : These are sturdy, portable, and won’t make a mess in a backpack. They are also fantastic for road trips, picnics, or a quick snack at the park.
- School-Safe : Using sunbutter makes these a safe option for nut-free classrooms and schools. Everyone can enjoy them without worry.
- Crowd-Pleaser : I have yet to meet a kid (or adult) who doesn’t love these. They are nostalgic, comforting, and just plain delicious.
What makes this recipe different from the rest? It is the simple, almost too-obvious step of toasting the bread just slightly before assembling. Not enough to make it crunchy, but just enough to create a barrier that repels moisture. Combined with the right jelly-to-sunbutter ratio and a perfect seal, you get an uncrustable that tastes fresh-made, even hours later. This is the kind of recipe that makes you wonder why you didn’t think of it sooner—it is that simple and that effective.
What Ingredients You Will Need
This recipe uses the most basic, wholesome ingredients to create something truly special. The magic is in the method, not the grocery list, which makes it incredibly approachable.
- Bread : Use a sturdy, soft white or whole wheat bread. I prefer a standard sliced sandwich bread, but you can use any bread that is soft enough to seal without cracking. Avoid super thin, flimsy bread. (Look for a brand that is thick and soft, like a basic white or whole wheat loaf.)
- Sunbutter (Sunflower Seed Butter) : This is the star. Sunbutter is naturally sweet and creamy, making it a perfect substitute for peanut butter. I recommend using a well-stirred, creamy sunbutter for the best texture. (If you are using a natural sunbutter that separates, stir it very well before using. Some brands are creamier than others.)
- Jelly or Jam : Use your favorite flavor. Grape jelly is classic, but strawberry, raspberry, or even apricot jam work beautifully. The key is to use a jelly or jam that is not too runny. (A thicker jam or preserves will help prevent sogginess.)
- Butter or Coconut Oil (Optional) : A very thin layer of softened butter or coconut oil spread on the outside of the bread before toasting can add an extra layer of protection and a slightly richer flavor. This is optional but highly recommended for the best results.
Equipment Needed
You don’t need any special gadgets for this recipe, which is one of the things I love most about it. It is all about using what you already have in your kitchen.
- Uncrustables Sealer (Optional but Recommended) : This is the best tool for the job. It cuts and seals the sandwich in one motion, creating that classic crimped edge. If you make these often, it is a worthwhile investment. (I got mine for under $10, and it has paid for itself in saved bread and happy kids.)
- Round Cookie Cutter or a Glass : If you don’t have an uncrustables sealer, a round cookie cutter or even the rim of a drinking glass will work. You will just need to crimp the edges with a fork to seal them.
- Rolling Pin : A rolling pin helps flatten the sandwich slightly, ensuring a better seal and a more even thickness. You can also use a clean wine bottle or even your hands.
- Toaster or Skillet : For the crucial toasting step. A toaster is easiest, but a dry skillet over medium heat works perfectly too.
- Butter Knife : For spreading the sunbutter and jelly.
- Parchment Paper or Wax Paper : For wrapping the finished uncrustables for storage.
Preparation Method
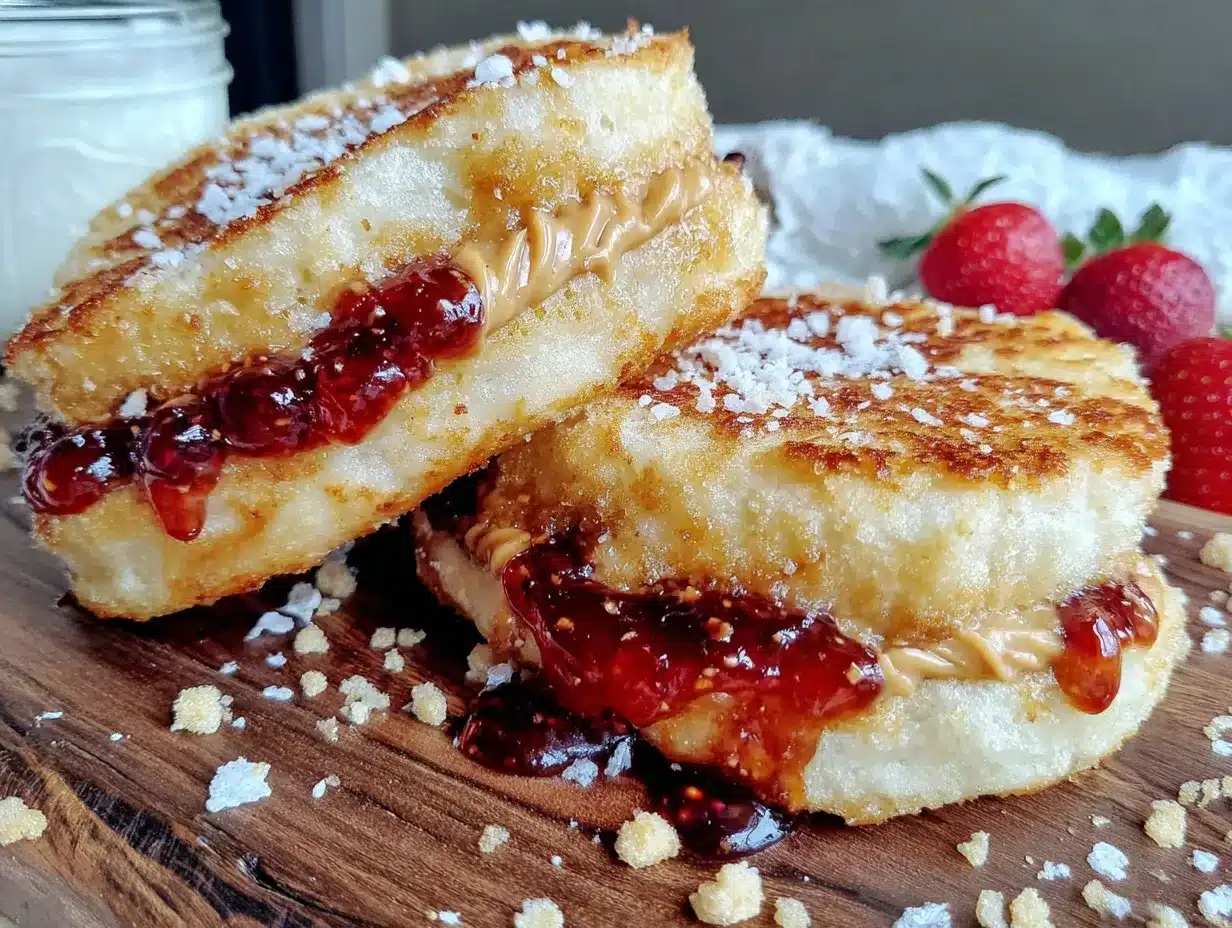
Follow these steps carefully, and you will have perfect, no-soggy uncrustables every single time. The toasting step is the secret, so don’t skip it!
- Prepare Your Bread (The Secret Step!) : Take two slices of your bread and lightly toast them. You are not aiming for brown, crunchy toast. You just want them to be warm and slightly dry to the touch. This usually takes about 30-45 seconds in a toaster on the lowest setting, or about 15-20 seconds per side in a dry skillet. This creates a moisture barrier that will keep the jelly from soaking into the bread later.
- Spread the Sunbutter : While the bread is still warm (but not hot), spread a generous layer of sunbutter on one slice. Go all the way to the edges—this helps create a good seal. (A thick layer of sunbutter acts as an additional waterproof barrier for the jelly.)
- Add the Jelly : On the second slice of toasted bread, spread your jelly or jam. Use a slightly smaller amount than you think you need. A thin, even layer is better than a thick glob, which can squeeze out during sealing. (About 1 tablespoon is perfect for a standard sandwich.)
- Assemble the Sandwich : Place the jelly slice on top of the sunbutter slice, jelly-side down. This puts the jelly in the center, sandwiched between two layers of sunbutter-protected bread. (This is another key to preventing sogginess!)
- Flatten Slightly : Using a rolling pin, gently roll over the assembled sandwich. You want to flatten it just a bit, which helps the two slices adhere to each other and makes a better seal. Don’t press too hard, or the filling might squirt out.
- Seal the Uncrustable : Place your uncrustables sealer over the center of the sandwich and press down firmly. You should hear a satisfying “pop” as it cuts and seals the edges. If using a cookie cutter, press down firmly, then use the tines of a fork to crimp the edges all the way around, pressing the two slices of bread together.
- Remove the Scraps : Lift the sealer or cutter, and you will have a perfectly sealed, round uncrustable. The leftover bread scraps can be saved to make breadcrumbs or just enjoyed as a snack. (I often sprinkle them with a little cinnamon and sugar for a quick treat!)
- Cool and Store : Place the finished uncrustables on a wire rack to cool completely. This is important because any residual heat can create condensation inside the storage container, leading to sogginess. Once cool, wrap each one in parchment paper or wax paper and store them in an airtight container in the refrigerator.
Cooking Tips & Techniques
I learned these tips the hard way—through many, many soggy sandwiches. Trust me, these little details make all the difference.
- The Toasting Mistake : I once over-toasted the bread, thinking more would be better. The result was a dry, crumbly uncrustable that fell apart. The goal is a very light, almost imperceptible toast. You just want to dry the surface, not cook the bread.
- Don’t Overfill : This is the most common mistake. It is tempting to pile on the jelly, but too much filling will cause the seal to burst or the jelly to leak out during sealing. A thin, even layer is your friend.
- Use Room Temperature Sunbutter : Cold sunbutter is hard to spread and can tear the soft bread. Let it sit out for 10-15 minutes before using, or give it a quick stir to soften it up.
- The Fork Crimp Technique : If you are using a cookie cutter or glass, the fork crimp is crucial. Press the tines of the fork firmly into the edges of the bread, creating a tight seal. Overlap your crimps slightly to ensure no gaps.
- Batch Prep is Key : These freeze beautifully. Make a double or triple batch on a Sunday afternoon, and you have lunches ready for the whole week. Just pull one out of the freezer in the morning, and it will be thawed and perfect by lunchtime.
Variations & Adaptations
This base recipe is incredibly versatile. Once you master the no-soggy technique, the possibilities are endless. Here are a few of my favorite variations.
- The “Fluffernutter” Twist : Swap the jelly for a generous spread of marshmallow fluff. The combination of creamy sunbutter and sweet, gooey fluff is irresistible. (The toasting step is still essential to keep the fluff from making the bread soggy.)
- Nutella-Style : For a chocolatey version, use a chocolate-hazelnut spread (or a sunbutter-based chocolate spread for a nut-free option) instead of the jelly. This is a decadent treat that feels like dessert.
- Fruit & Cream : Spread a layer of cream cheese on one slice of bread before adding the jelly. The cream cheese adds a tangy richness that pairs beautifully with the sweet jam and nutty sunbutter.
- Seasonal Berry Jam : In the summer, use a homemade or high-quality store-bought strawberry or raspberry jam with visible fruit pieces. The texture is amazing, and the flavor is incredibly fresh.
- Savory Sunbutter & Apple : For a less sweet option, spread sunbutter on the bread, then add a thin layer of apple butter or even a few slices of fresh apple. The slight tartness of the apple is a wonderful contrast to the creamy sunbutter.
Serving & Storage Suggestions
These uncrustables are designed to be convenient, but a few simple tips can make them even better.
- Serving Temperature : These are best served cold or at room temperature. I like to pull one out of the fridge about 15 minutes before serving to take the chill off. They are perfect straight from the lunchbox.
- Presentation : For a fun lunchbox surprise, cut the finished uncrustable into fun shapes using a small cookie cutter before sealing. Stars, hearts, or dinosaurs make lunchtime extra special.
- Storage : Store uncrustables in an airtight container in the refrigerator for up to 5 days. They will stay perfectly fresh and not soggy. For longer storage, you can freeze them for up to 3 months. Wrap each one individually in plastic wrap, then place them in a freezer-safe bag.
- Reheating : These are meant to be eaten cold, but if you prefer a slightly warm sandwich, you can microwave a frozen uncrustable for about 15-20 seconds. Just be careful not to overheat it, or the bread can become tough.
- Flavor Development : Like many good things, these uncrustables actually taste better the next day. The flavors meld together, and the sunbutter and jelly become one cohesive, delicious filling. They are truly a make-ahead marvel.
Nutritional Information & Benefits
This recipe is a fantastic option for a balanced lunch or snack, especially for those with nut allergies. It provides sustained energy and healthy fats.
- Estimated Nutritional Values (per uncrustable) : Calories: 280-350, Fat: 14-18g, Carbohydrates: 32-40g, Protein: 8-10g. (These values will vary based on the specific bread, sunbutter, and jelly you use.)
- Health Benefits of Sunbutter : Sunflower seed butter is an excellent source of vitamin E, magnesium, and healthy fats. It is also a great plant-based protein source, making it a satisfying and nutritious choice.
- Dietary Considerations : This recipe is naturally nut-free, making it safe for most school and daycare environments. It can also be made vegan by using a plant-based bread and ensuring your jelly is vegan-friendly.
- Potential Allergens : The primary allergens are sunflower seeds (sunbutter) and wheat (bread). Always check labels if you have specific allergies.
- Personal Wellness Perspective : I love that this recipe allows me to pack a lunch that is both delicious and safe for my daughter’s nut-free classroom. It gives me peace of mind knowing she is getting a satisfying, nutritious meal that she will actually eat.
Conclusion
This recipe is more than just a sandwich—it is a solution to a very real lunchtime problem. It is the answer to the soggy bread, the frustrated kids, and the exhausted parents. It is a small victory that makes the daily routine a little bit easier and a lot more delicious.
I encourage you to make these your own. Try different jelly flavors, experiment with the variations, and find the combination that your family loves best. The beauty of this recipe is its simplicity and its reliability. It works, every single time.
I would love to hear how your uncrustables turn out! Share your creations, your favorite flavor combinations, or any questions you have in the comments below. Let’s make lunchtime something to look forward to, together.
Frequently Asked Questions
Can I use a different type of seed butter?
Absolutely! You can use any seed butter you like, such as tahini (sesame seed butter) or pumpkin seed butter. Just be aware that the flavor and texture will vary slightly. The key is to use a creamy, well-stirred seed butter for the best results.
Why is my uncrustable falling apart?
This usually happens for one of two reasons: the bread wasn’t sealed properly, or you overfilled it. Make sure you are pressing down firmly with your sealer or fork to create a tight crimp. Also, use a thin, even layer of filling rather than a thick glob.
Can I make these without a sealer?
Yes, definitely! A round cookie cutter or the rim of a drinking glass works perfectly. Just press down firmly to cut the shape, then use a fork to crimp the edges all the way around. It takes a little more time, but the result is just as good.
How long do these last in the freezer?
These uncrustables freeze beautifully for up to 3 months. Wrap each one individually in plastic wrap, then place them in a freezer-safe bag or container. They are perfect for grabbing and throwing into a lunchbox in the morning.
Can I use a different type of bread?
While soft white or whole wheat bread works best, you can experiment with other types. Avoid very thin, delicate breads like rye or pumpernickel, as they are more likely to tear. A sturdy, soft bread is your best bet for a perfect seal.
If you loved this recipe, you might also enjoy our Easy Mini PB and J Sushi Rolls for another fun lunchbox twist, or our Fresh Greek Chicken Bento Box for a more savory option. For a sweet treat, try our No-Bake Peanut Butter Banana Energy Bites. And for a savory snack that travels well, our Flavorful Sriracha Honey Chicken Pinwheels are always a hit.
Pin This Recipe!
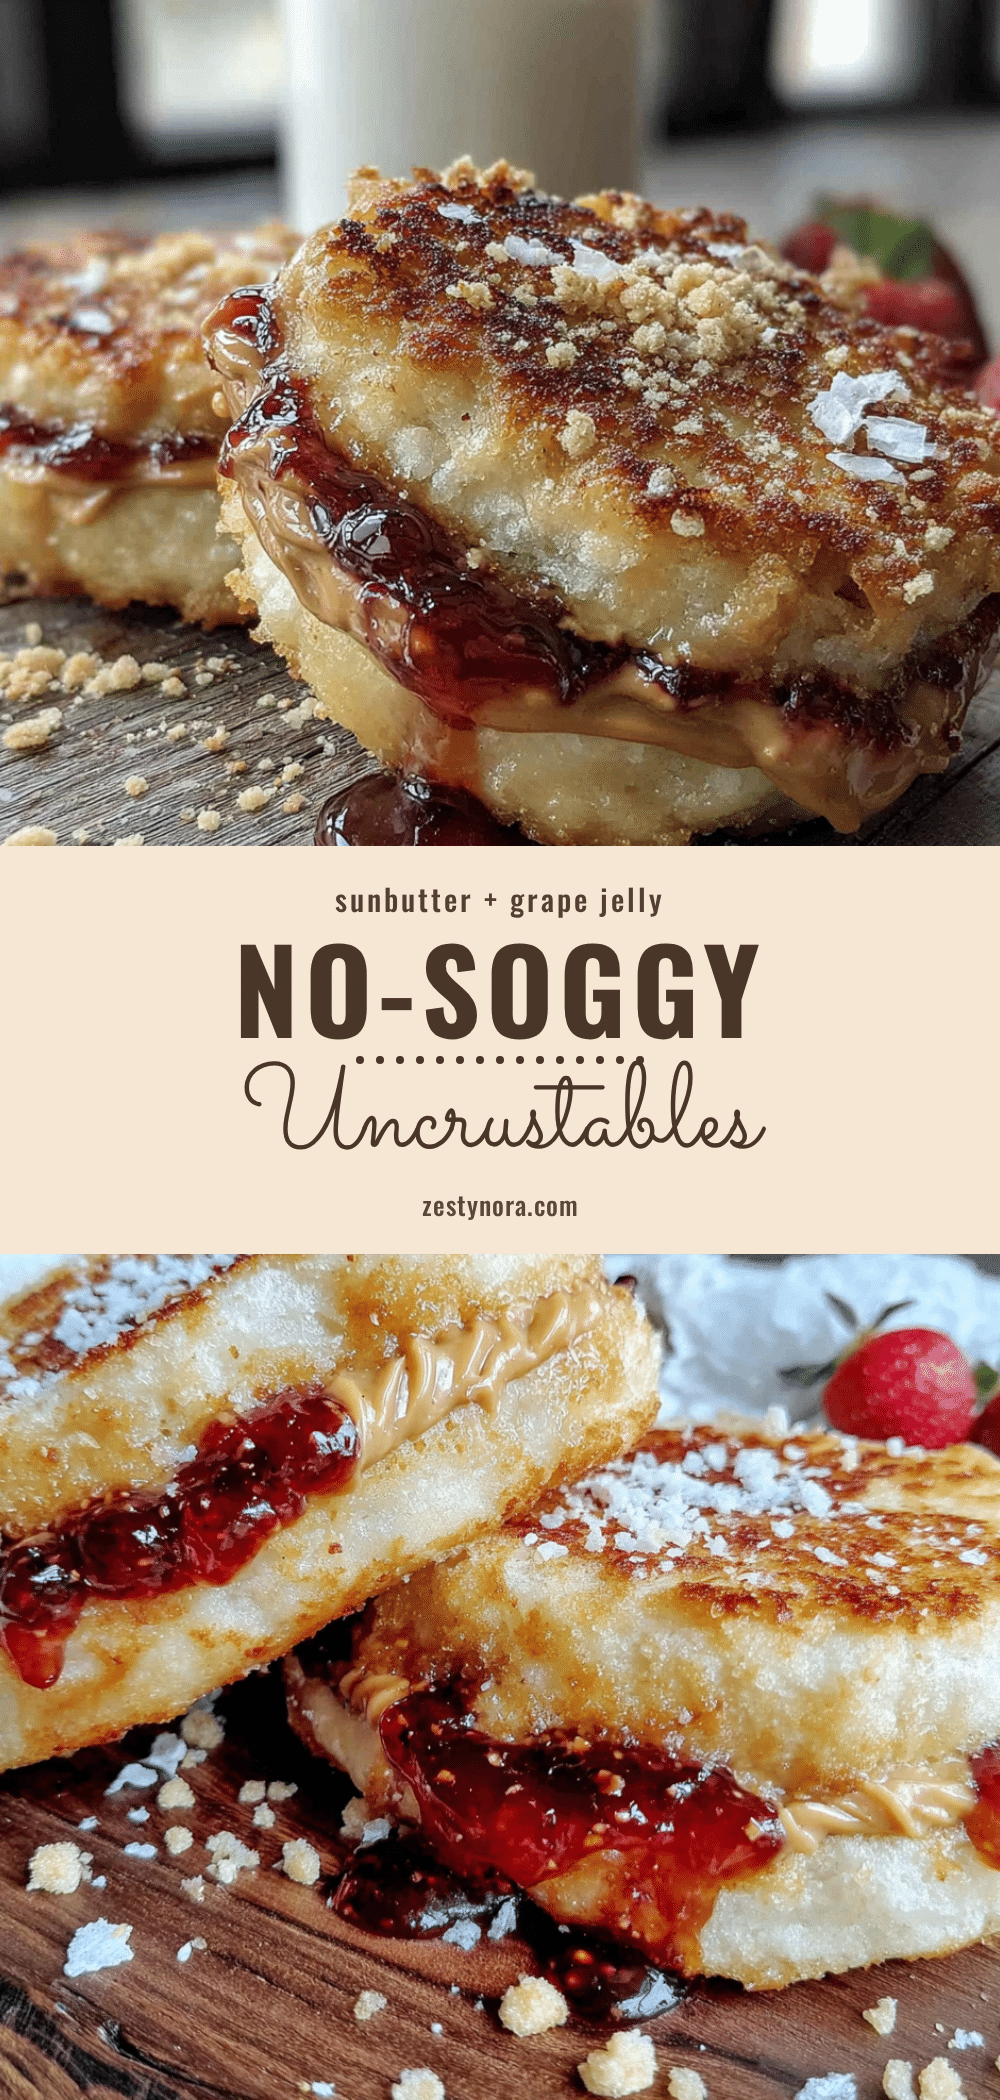
Best No-Soggy Sunbutter and Jelly Uncrustables

A simple, foolproof method for making sunbutter and jelly uncrustables that stay perfectly soft and intact for hours, without any soggy bread. Perfect for school lunches, picnics, and on-the-go snacks.
- Prep Time: 10 minutes
- Cook Time: 2 minutes
- Total Time: 12 minutes
- Yield: 1 serving 1x
- Category: Lunch
- Cuisine: American
Ingredients
- 2 slices sturdy soft white or whole wheat bread
- 2 tablespoons creamy sunbutter (sunflower seed butter), at room temperature
- 1 tablespoon jelly or jam (grape, strawberry, or raspberry)
- 1 teaspoon butter or coconut oil, softened (optional, for extra moisture barrier)
Instructions
- Lightly toast the bread slices for 30-45 seconds on the lowest toaster setting, or 15-20 seconds per side in a dry skillet, until warm and slightly dry but not browned. This creates a moisture barrier.
- While the bread is still warm, spread a generous layer of sunbutter on one slice, going all the way to the edges.
- On the second slice, spread a thin, even layer of jelly or jam (about 1 tablespoon).
- Place the jelly slice on top of the sunbutter slice, jelly-side down, so the jelly is sandwiched between two layers of sunbutter-protected bread.
- Gently roll over the assembled sandwich with a rolling pin to flatten slightly, helping the slices adhere.
- Use an uncrustables sealer, round cookie cutter, or the rim of a glass to cut and seal the sandwich. If using a cookie cutter, press firmly and then crimp the edges with a fork to seal.
- Remove the bread scraps. Place the finished uncrustable on a wire rack to cool completely.
- Once cool, wrap in parchment paper or wax paper and store in an airtight container in the refrigerator.
Notes
The key to preventing sogginess is lightly toasting the bread to create a moisture barrier. Do not over-toast. Use room temperature sunbutter for easier spreading. A thin layer of jelly prevents the seal from bursting. These freeze beautifully for up to 3 months.
Nutrition
- Serving Size: 1 uncrustable
- Calories: 315
- Sugar: 12
- Sodium: 280
- Fat: 16
- Saturated Fat: 2
- Carbohydrates: 36
- Fiber: 3
- Protein: 9
Keywords: sunbutter and jelly, uncrustables, no-soggy, school lunch, nut-free, kid-friendly, easy lunch, picnic snack


