My son Leo came home from second grade with a problem I never expected. He sat at the kitchen counter, chin in hands, and announced that the cafeteria mac and cheese tasted like “sad noodles.” I laughed, but he was serious. He wanted real mac and cheese in his lunchbox, the kind that stays warm and creamy until noon. Not the lukewarm, clumpy stuff that sits in a plastic container. He wanted thermos mac and cheese. And honestly, I thought it was a terrible idea.
I mean, mac and cheese that sits in a thermos for four hours? I pictured a gluey, sweaty mess. A science experiment disguised as lunch. I told him I’d try, but I made no promises. The first few attempts confirmed my fears. The pasta turned to mush. The cheese sauce separated into an oily puddle. Leo would come home and say, “It was okay, Mom,” which is code for “please don’t pack this again.” So I went back to the drawing board, determined to figure out how to keep mac and cheese creamy in a thermos without it turning into a disaster.
After a solid week of trial and error (and a lot of sad noodles on my end), I cracked the code. The trick isn’t just the recipe, it’s the method. Warming the thermos first. Undercooking the pasta just a touch. Using a cheese sauce that stays stable even after hours of sitting. The day Leo came home and said, “Mom, Jake asked if he could trade his sandwich for my mac and cheese,” I knew I had something worth sharing. This thermos mac and cheese is the real deal. It stays creamy, cheesy, and warm until lunchtime. No sad noodles here.
Why You’ll Love This Recipe
This isn’t just another mac and cheese recipe. It’s specifically designed for the lunchbox, and I’ve tested it more times than I care to admit. Here is why it works so well.
- Stays Creamy for Hours : The sauce holds its texture inside a thermos for at least four hours. No separation, no gumminess, just velvety cheese sauce when your kid opens that thermos.
- Simple Ingredients : You likely have everything in your kitchen right now. No fancy cheese blends or specialty pasta shapes needed. Just good old-fashioned cheddar, milk, butter, and elbow macaroni.
- Perfect for School Lunches : This thermos mac and cheese eliminates the need for a microwave. Pack it hot, and it stays warm until lunchtime. Cold lunch problems solved.
- Kid-Approved and Parent-Tested : Leo and his friends give it two thumbs up. Even picky eaters come back for seconds. It’s comfort food that travels well.
- Quick to Make : From start to finish, you are looking at about 20 minutes of active work. The whole thing comes together faster than you can pack the rest of the lunchbox.
What makes this recipe different from every other mac and cheese out there? It’s the technique. I undercook the pasta by a full minute to account for the residual heat in the thermos. I use a combination of sharp cheddar and a touch of cream cheese to keep the sauce stable. And I warm the thermos with boiling water before filling it. These small steps make the difference between a lunch that gets eaten and one that comes home half-full. Honestly, this recipe turned me from a skeptic into a believer. And if you have a kid who loves mac and cheese, it will do the same for you.
What Ingredients You Will Need
This recipe uses simple, everyday ingredients to create a cheese sauce that stays creamy even after hours in a thermos. Nothing fancy here, just smart choices.
- Elbow macaroni (8 ounces, or about 2 cups uncooked) — I prefer Barilla or De Cecco for best texture. They hold their shape well and don’t turn to mush.
- Sharp cheddar cheese (2 cups, freshly grated) — Please buy a block and grate it yourself. Pre-shredded cheese has anti-caking agents that prevent smooth melting. It makes a real difference here.
- Cream cheese (2 ounces, softened) — This is the secret ingredient. It stabilizes the sauce and keeps it creamy even after sitting in a thermos. Do not skip it.
- Unsalted butter (2 tablespoons)
- Whole milk (1 ½ cups) — Full-fat milk works best for a rich, stable sauce. Lower-fat options can separate more easily during the holding time.
- All-purpose flour (2 tablespoons) — This helps thicken the sauce without making it gluey.
- Salt (½ teaspoon, plus more for pasta water)
- Garlic powder (¼ teaspoon) — Optional, but I find it rounds out the cheese flavor nicely.
- Pinch of paprika (optional, for color and mild warmth)
- Pinch of mustard powder (optional, but it really enhances cheddar flavor)
Substitution Guidance : If you need a gluten-free version, use gluten-free elbow pasta and a 1-to-1 gluten-free flour blend. The sauce works the same way. For a dairy-free option, use unsweetened oat milk and dairy-free cheddar shreds plus a dairy-free cream cheese alternative. The texture won’t be exactly the same, but it still holds up well in a thermos. I have made it both ways for Leo’s friends with allergies, and it has worked out fine.
I always recommend grating your own cheese for this recipe. It melts more evenly and creates a smoother sauce. Pre-shredded cheese might save you a few minutes, but it can make the sauce grainy, and that graininess gets worse as it sits in the thermos. Trust me on this one.
Equipment Needed
You do not need a lot of fancy equipment for this recipe. Here is what you will need.
- Large pot (4 to 6 quarts) for boiling pasta
- Medium saucepan for making the cheese sauce
- Whisk for smooth sauce consistency
- Box grater or food processor for shredding cheese
- Measuring cups and spoons
- Colander for draining pasta
- Thermos (10 to 16 ounce size works best for a school lunch portion) — I use a Thermos brand stainless steel food jar. It holds temperature really well. A wide-mouth thermos is easier to fill and eat from.
- Spoon or spatula for mixing
If you do not have a food processor for shredding cheese, a simple box grater works perfectly. It takes a few extra minutes, but it’s totally doable. As for the thermos, you do not need the most expensive one on the market. I have used both a budget-friendly option and a high-end stainless steel jar, and both worked well after I started preheating them with boiling water. The key is to get a thermos with a wide mouth so it is easy to fill and easy for little hands to eat from. I learned this the hard way after Leo struggled with a narrow-mouth thermos and ended up wearing half his lunch.
Preparation Method
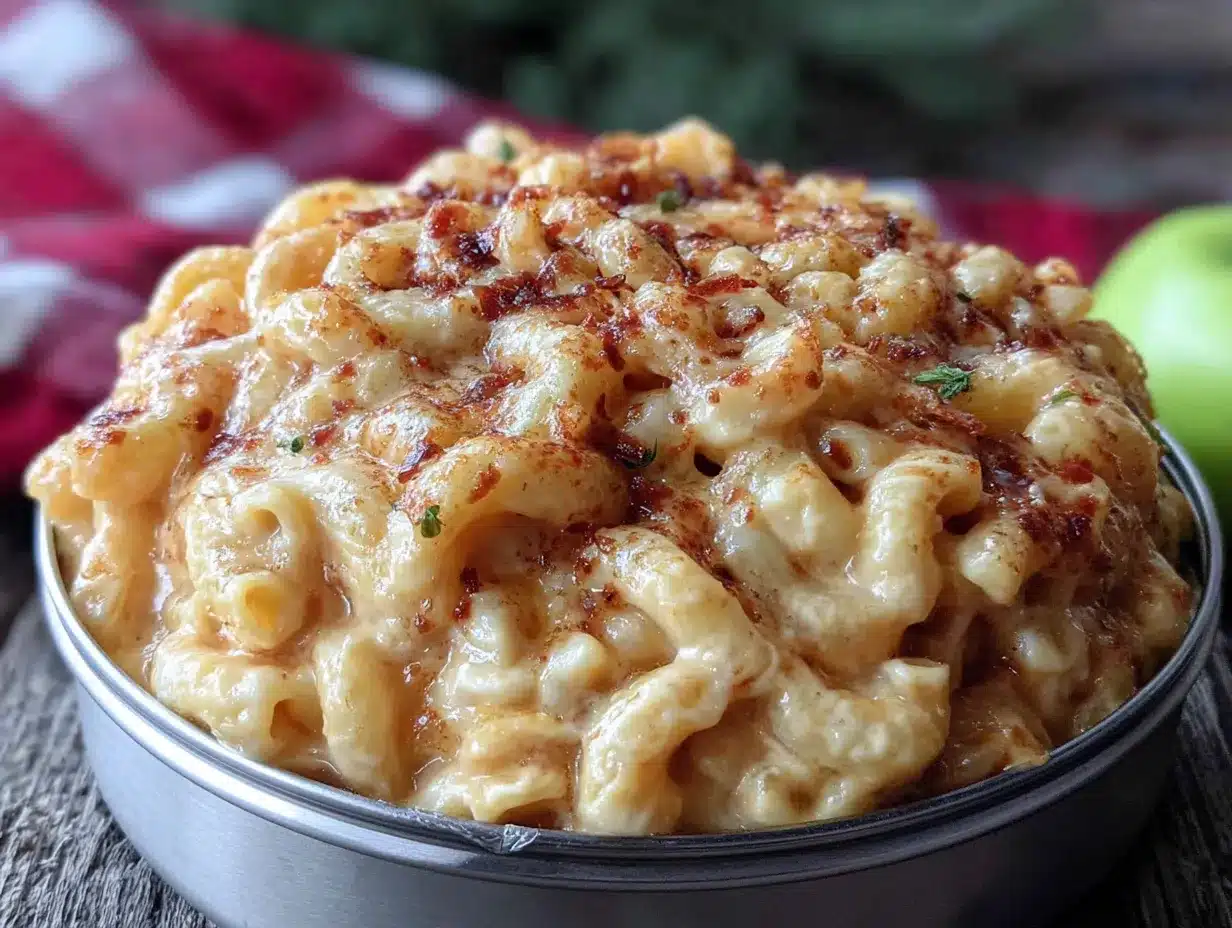
Follow these steps carefully, and you will have perfect thermos mac and cheese every time. The order matters here, especially the thermos preheating step.
- Bring a large pot of salted water to a rolling boil. Use about 1 tablespoon of salt per 4 quarts of water. The pasta absorbs the salt, so do not skip this step.
- Cook the elbow macaroni for 1 minute less than the package directions. If the box says 8 minutes, cook it for 7. The pasta will continue to cook slightly from the residual heat inside the thermos. Undercooking prevents mushy noodles at lunchtime. Drain the pasta in a colander but do not rinse it. You want the starch to help the sauce cling to the noodles.
- While the pasta cooks, start the cheese sauce. In a medium saucepan, melt the butter over medium heat. Once it is bubbly, whisk in the flour. Cook this mixture for about 1 minute, stirring constantly. It will smell nutty and look like a thick paste. This is your roux, and it is the foundation of a smooth sauce.
- Slowly pour in the milk while whisking constantly. Keep whisking until the mixture is smooth and starts to thicken, about 2 to 3 minutes. It should coat the back of a spoon. Do not walk away from this step. A lumpy roux makes a lumpy sauce.
- Reduce the heat to low. Add the softened cream cheese and whisk until completely melted and incorporated. The sauce will look glossy and smooth at this point. Add the salt, garlic powder, paprika, and mustard powder if using. Whisk to combine.
- Add the shredded sharp cheddar cheese in handfuls. Keep the heat on low and stir constantly. Add each handful only after the previous one has melted. This gradual addition prevents the sauce from breaking or becoming grainy. Once all the cheese is melted, remove the saucepan from the heat. The sauce should be thick, creamy, and smooth.
- Pour the cheese sauce over the drained pasta. Stir gently but thoroughly until every piece of macaroni is coated. The sauce will seem a little looser than you might expect, but that is intentional. It thickens as it sits.
- Preheat your thermos. Fill it with boiling water, put the lid on, and let it sit for 5 minutes. This step is non-negotiable. A cold thermos will suck the heat right out of your mac and cheese and leave you with lukewarm noodles by lunchtime. Pour out the water right before you fill the thermos.
- Fill the preheated thermos with the mac and cheese. Pack it in tightly to minimize air gaps, which helps retain heat. Screw the lid on securely.
- Wrap the thermos in a kitchen towel or place it in an insulated lunch bag. This extra layer of insulation helps maintain the temperature. Your thermos mac and cheese is ready to go.
Troubleshooting Tip : If your sauce looks separated or greasy after adding the cheese, you likely had the heat too high. Next time, keep it on low and add the cheese slowly. You can sometimes rescue a broken sauce by whisking in a tablespoon of cold milk off the heat, but prevention is easier.
Cooking Tips & Techniques
I learned most of these tips through trial and error, and they make a real difference in the final result. Here is what I wish someone had told me before I started.
Always grate your own cheese. I know I keep saying this, but it is the single most important tip for a smooth, creamy sauce. Pre-shredded cheese contains cellulose and other anti-caking agents that prevent smooth melting. The difference is night and day. Take the extra three minutes to grate a block of cheddar.
Undercook the pasta by a full minute. This is counterintuitive because we all want perfectly cooked pasta. But remember, the pasta continues cooking inside the warm thermos. If you cook it to al dente on the stove, it will be mushy by lunchtime. One minute less gives you perfectly textured noodles at noon.
Do not skip the thermos preheating step. I tried skipping it once because I was in a hurry. Leo came home and said the mac and cheese was “kinda warm.” That was the last time I skipped it. Boiling water in the thermos for 5 minutes makes a huge difference. It creates a warm environment that helps maintain the temperature of the food.
Make the sauce slightly looser than you think it should be. The sauce thickens as it cools and sits. If you make it perfect on the stove, it will be too thick in the thermos. Aim for a consistency that is just a bit thinner than what you would want to eat immediately. It will tighten up beautifully.
Pack the thermos full. Air is the enemy of heat retention. Fill the thermos as full as possible, leaving as little air space as you can. If you have leftover mac and cheese, store it separately in the fridge. Do not leave half a thermos of air in there.
I once forgot to preheat the thermos and tried to compensate by making the mac and cheese extra hot before packing it. It did not work. The cold thermos absorbed all that heat within minutes. Learn from my mistakes, please.
Variations & Adaptations
This thermos mac and cheese is a great base recipe that you can adapt in many ways. Here are some variations I have tried and loved.
Broccoli and Cheddar Thermos Mac : Steam some small broccoli florets until tender-crisp, about 3 minutes. Stir them into the mac and cheese before packing. Leo loves this version, and it adds a vegetable to his lunch without any fuss. The broccoli holds up well in the thermos and does not get mushy.
Bacon and Chive Mac and Cheese : Cook 4 strips of bacon until crispy, crumble them, and stir into the mac and cheese along with 2 tablespoons of chopped fresh chives. The salty, smoky bacon flavor pairs beautifully with the sharp cheddar. This version is a hit with older kids and adults packing their own lunches.
Spicy Southwest Thermos Mac : Add ¼ cup of canned diced green chiles (drained) and ½ teaspoon of cumin to the cheese sauce. Top with a sprinkle of crushed tortilla chips right before sealing the thermos. The green chiles add a mild warmth that kids tend to enjoy without being overwhelming.
Gluten-Free Version : Use gluten-free elbow pasta and a 1-to-1 gluten-free flour blend in the roux. Cook the pasta according to package directions but still undercook it by 1 minute. The sauce behaves the same way. I have tested this with several gluten-free pasta brands, and the thermos method works just as well.
Dairy-Free Version : Use unsweetened oat milk, dairy-free cheddar shreds, and dairy-free cream cheese. The sauce will be slightly thinner, so I recommend adding an extra tablespoon of flour to the roux. It still holds up well in the thermos, though the texture is a bit different. Leo’s dairy-free friend gave it a thumbs up, so I consider it a win.
I have personally tried the broccoli cheddar version more times than I can count. It is my go-to when I want Leo to get some vegetables in without a fight. The broccoli absorbs a little bit of the cheese sauce and becomes incredibly tender and flavorful.
Serving & Storage Suggestions
This thermos mac and cheese is designed to be eaten warm, straight from the thermos, at lunchtime. Here is how to serve and store it best.
Serving Temperature : The mac and cheese should still be warm when your child opens the thermos at lunch. If you pack it correctly, it will be pleasantly warm, not piping hot, after about 3 to 4 hours. The texture remains creamy and delicious at this temperature.
Presentation : Pack the thermos with a small spoon or fork inside the lunch bag. Wide-mouth thermoses make eating easy for little hands. I also pack a small napkin because, let’s face it, mac and cheese can get messy.
Complementary Dishes : This mac and cheese pairs well with simple sides like apple slices, baby carrots, cucumber sticks, or a small fruit cup. I sometimes pack a peanut butter oat energy ball for a little extra protein. A small container of ranch dressing for dipping vegetables is also a hit in our house.
Storage Instructions : If you have leftover mac and cheese that did not fit in the thermos, store it in an airtight container in the refrigerator for up to 3 days. To reheat, add a splash of milk and warm it gently on the stovetop or in the microwave in 30-second bursts, stirring between each. The sauce will thicken as it cools, so the milk helps restore the creamy texture.
Freezer Instructions : You can freeze the mac and cheese in a freezer-safe container for up to 2 months. Thaw it overnight in the refrigerator before reheating. The texture will be slightly different after freezing, but it is still perfectly good for a quick dinner or another thermos lunch. I usually make a double batch and freeze half for busy mornings.
Flavor Development : Honestly, this mac and cheese tastes best when it is freshly made and packed. The flavors are brightest, and the texture is at its peak. Leftovers are good, but they never quite match the first-day experience. That said, it is still way better than anything from a box.
Nutritional Information & Benefits
Here is the approximate nutritional breakdown for one serving of this thermos mac and cheese (based on 4 servings per recipe).
| Nutrient | Amount Per Serving |
|---|---|
| Calories | 485 |
| Total Fat | 24g |
| Saturated Fat | 14g |
| Cholesterol | 65mg |
| Sodium | 520mg |
| Total Carbohydrates | 47g |
| Dietary Fiber | 2g |
| Sugars | 6g |
| Protein | 18g |
| Calcium | 350mg |
Health Benefits of Key Ingredients : Sharp cheddar cheese provides a good amount of calcium, which is essential for growing bones and teeth. Whole milk adds vitamin D and additional calcium. The pasta offers complex carbohydrates for sustained energy throughout the school day. Cream cheese adds a small amount of protein and helps create a more stable sauce with less fat separation.
Dietary Considerations : This recipe contains dairy (milk, cheese, butter, cream cheese) and gluten (pasta, flour). It is not suitable for vegan or dairy-free diets without substitutions. For a gluten-free version, see the variations section above. For a lower-fat option, you can use reduced-fat cheddar and 2% milk, but the sauce will be less stable in the thermos. I have tested it, and it works, but the texture is not as creamy.
Potential Allergens : Milk, wheat, gluten. Always check your specific cheese and milk labels if you have concerns about hidden allergens.
From a personal wellness perspective, I feel good about packing this mac and cheese for Leo. It is made from real ingredients, has a decent amount of protein, and keeps him full and happy through the lunch hour. It is not an everyday food, but it is a wonderful occasional treat that beats anything from the cafeteria.
Conclusion
This thermos mac and cheese turned my skeptical kid into the most popular lunchbox in his class. It is proof that with a little patience and the right technique, you can send your child off with a warm, creamy, homemade lunch that actually stays delicious until noon. No sad noodles, no separated sauce, no disappointment.
I encourage you to make this recipe your own. Add broccoli, bacon, or green chiles. Use a different cheese blend. Pack it for a picnic or a road trip instead of a school lunch. The method works for any situation where you need warm mac and cheese on the go. The key is the preheated thermos, the undercooked pasta, and the cream cheese in the sauce. Those three things make all the difference.
Honestly, I love this recipe because it solved a real problem in our house. Leo gets the lunch he actually wants, and I get the peace of mind knowing he ate something warm and homemade. If you try this thermos mac and cheese, I would love to hear how it went. Drop a comment below and tell me if your kids gave it the thumbs up. Did you try any fun variations? Did it stay warm until lunchtime? Share your experience, and let’s help other parents pack better lunches together.
Frequently Asked Questions
Can I use a different pasta shape for this thermos mac and cheese?
Yes, absolutely. Small shapes like shells, rotini, or cavatappi work well. Avoid very large shapes or long noodles like spaghetti, as they are harder to eat from a thermos and may not heat evenly. Stick with small, bite-sized shapes for best results.
How long will the mac and cheese stay warm in the thermos?
When properly preheated and packed, this thermos mac and cheese stays warm for about 4 to 5 hours. The temperature will drop gradually, but it should still be pleasantly warm at lunchtime. If your child eats later than that, consider adding an extra layer of insulation by wrapping the thermos in a towel.
Can I make this recipe ahead of time and pack it in the morning?
Yes, you can make the mac and cheese the night before and store it in the refrigerator. In the morning, reheat it gently on the stovetop with a splash of milk until it is hot and creamy. Then follow the same thermos preheating and packing steps. The texture is slightly better when freshly made, but this method works well for busy mornings.
Why did my cheese sauce turn out grainy?
Grainy cheese sauce usually happens for one of two reasons: the heat was too high when you added the cheese, or you used pre-shredded cheese with anti-caking agents. Keep the heat on low and add the cheese gradually, stirring constantly. Always grate your own cheese from a block for the smoothest results.
Can I double this recipe for multiple kids or for meal prep?
Absolutely. This recipe doubles easily. Just use a larger pot for the pasta and a larger saucepan for the sauce. The cooking times remain the same. You can also make a big batch on Sunday and portion it out for the week, reheating and packing each morning. It is a great meal prep option for busy school weeks.
Pin This Recipe!
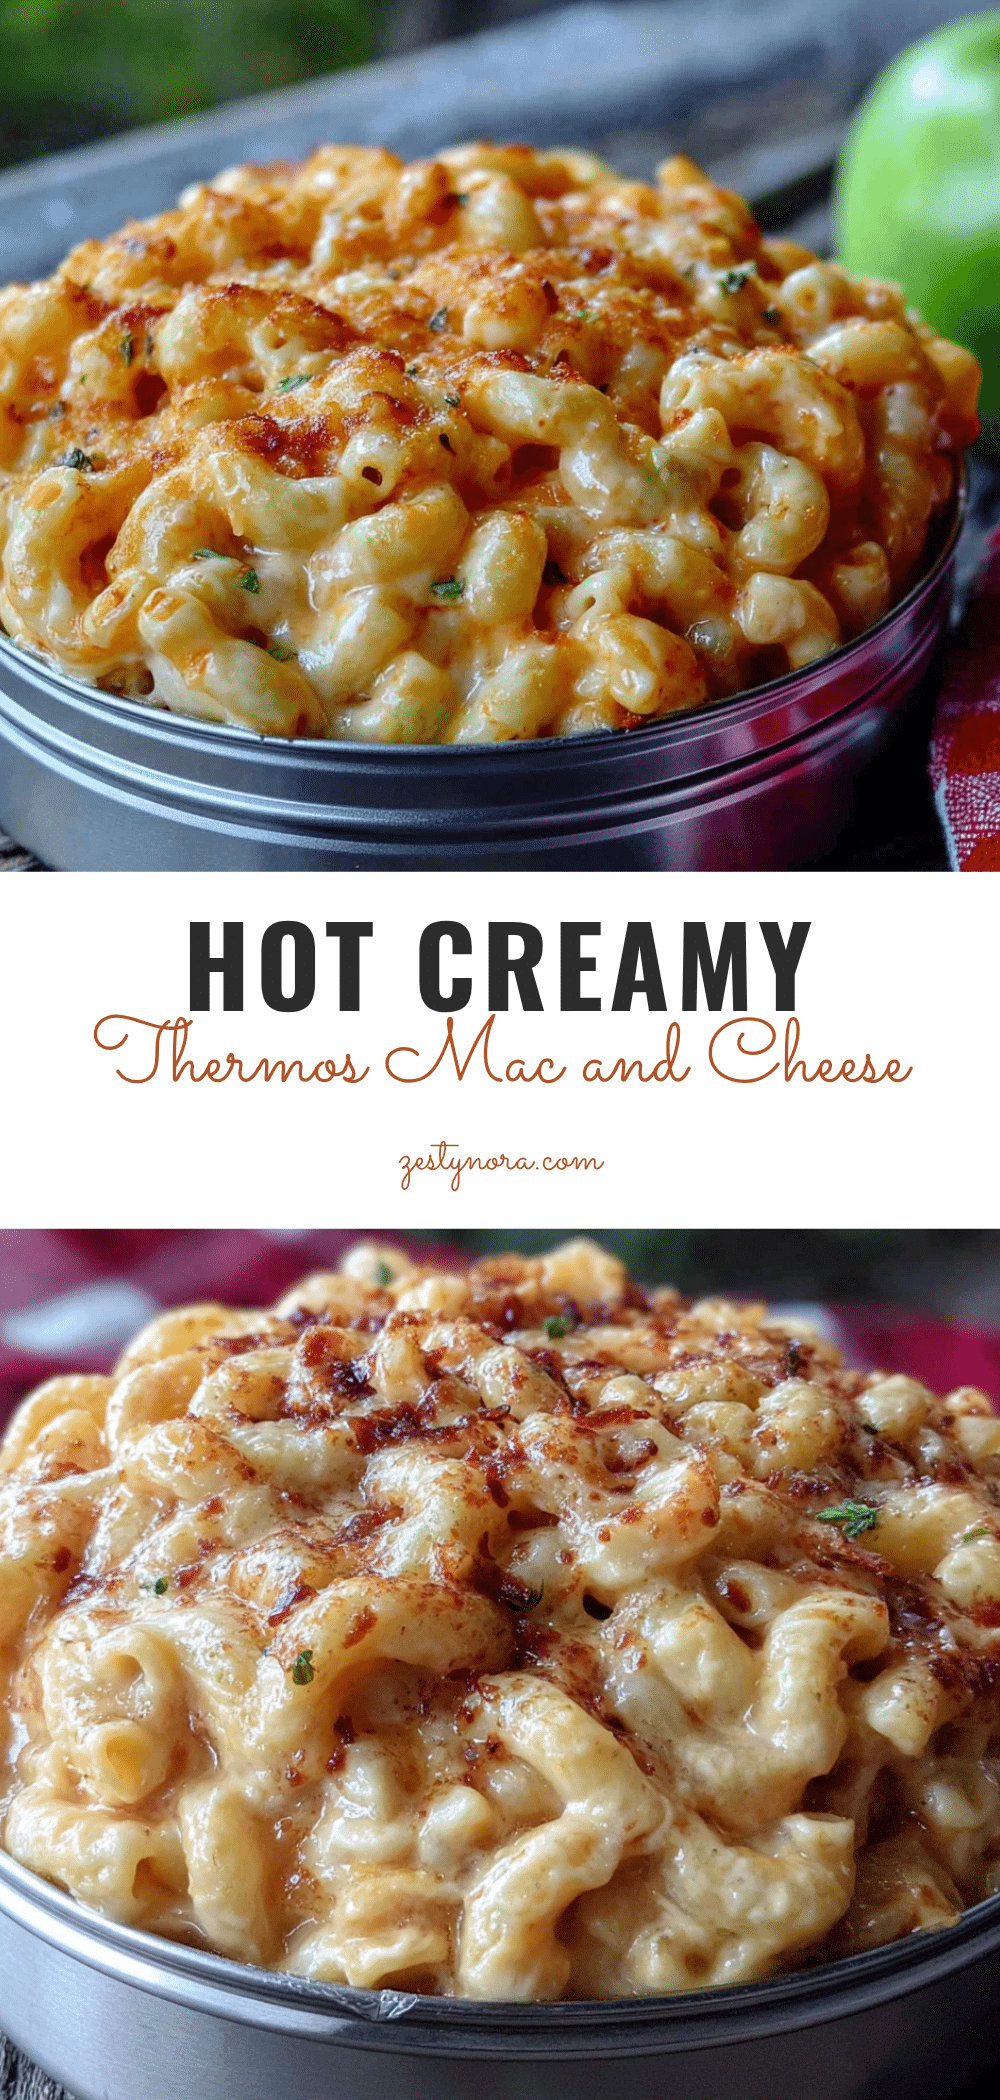
Creamy Thermos Mac and Cheese: Best School Lunch Ever

This thermos mac and cheese stays creamy, cheesy, and warm until lunchtime. It’s specifically designed for the lunchbox, with a stable cheese sauce that holds its texture for hours.
- Prep Time: 10 minutes
- Cook Time: 10 minutes
- Total Time: 20 minutes
- Yield: 4 servings 1x
- Category: Main Course
- Cuisine: American
Ingredients
- 8 ounces elbow macaroni (about 2 cups uncooked)
- 2 cups sharp cheddar cheese, freshly grated
- 2 ounces cream cheese, softened
- 2 tablespoons unsalted butter
- 1 ½ cups whole milk
- 2 tablespoons all-purpose flour
- ½ teaspoon salt, plus more for pasta water
- ¼ teaspoon garlic powder (optional)
- Pinch of paprika (optional)
- Pinch of mustard powder (optional)
Instructions
- Bring a large pot of salted water to a rolling boil. Use about 1 tablespoon of salt per 4 quarts of water.
- Cook the elbow macaroni for 1 minute less than the package directions. Drain in a colander but do not rinse.
- While the pasta cooks, start the cheese sauce. In a medium saucepan, melt the butter over medium heat. Once bubbly, whisk in the flour and cook for about 1 minute, stirring constantly.
- Slowly pour in the milk while whisking constantly. Keep whisking until the mixture is smooth and starts to thicken, about 2 to 3 minutes.
- Reduce the heat to low. Add the softened cream cheese and whisk until completely melted and incorporated. Add the salt, garlic powder, paprika, and mustard powder if using. Whisk to combine.
- Add the shredded sharp cheddar cheese in handfuls, stirring constantly and adding each handful only after the previous one has melted. Once all cheese is melted, remove from heat.
- Pour the cheese sauce over the drained pasta and stir gently until every piece is coated.
- Preheat the thermos by filling it with boiling water, putting the lid on, and letting it sit for 5 minutes. Pour out the water right before filling.
- Fill the preheated thermos with the mac and cheese, packing it in tightly to minimize air gaps. Screw the lid on securely.
- Wrap the thermos in a kitchen towel or place it in an insulated lunch bag.
Notes
Always grate your own cheese for a smooth sauce. Undercook the pasta by 1 minute to prevent mushiness. Preheat the thermos with boiling water for 5 minutes to keep the mac and cheese warm. Make the sauce slightly looser than desired as it thickens while sitting. Pack the thermos full to minimize air gaps.
Nutrition
- Serving Size: 1 serving
- Calories: 485
- Sugar: 6
- Sodium: 520
- Fat: 24
- Saturated Fat: 14
- Carbohydrates: 47
- Fiber: 2
- Protein: 18
Keywords: thermos mac and cheese, school lunch, creamy mac and cheese, lunchbox recipe, homemade mac and cheese


