There used to be a tiny, hole-in-the-wall spot tucked behind a laundromat in Portland called The Rusty Ladle that made a chili so dark and mysterious it practically glowed. When they closed their doors three winters ago, I actually drove by the place twice, hoping it was just a renovation. Nope. Just a “For Lease” sign and a ghost of that incredible, smoky, almost-sweet aroma. After twelve attempts — twelve bowls of chili that ranged from “meh” to “decent but not *that* chili” — I finally cracked the code. It wasn’t just more cumin or a longer simmer. It was cocoa. Not the sweet, sugary kind, but deep, dark, unsweetened cocoa powder. I felt a little ridiculous, honestly. Cocoa in chili? But that first spoonful of my final batch, sitting in my own kitchen on a rainy Tuesday, hit me right in the chest. It was that same velvety, complex warmth I’d been chasing. This is that story. And maybe, if you’ve ever had a dish you just couldn’t let go of, you’ll understand why I had to share it.
This isn’t your average weeknight chili. This is a bowl of deep, rich comfort that tastes like it’s been simmering all day, even if you only have an hour. The secret, of course, is that cocoa powder. It doesn’t make the chili taste like chocolate. Instead, it adds this incredible depth, a subtle earthiness that rounds out the beef and the heat without screaming for attention. It’s the kind of flavor that makes people close their eyes after the first bite and say, “What’s in this?” with a look of pure confusion and delight.
Why You’ll Love This Recipe
Let’s be honest, chili recipes are a dime a dozen. Everyone’s got their “famous” version. So why should this one earn a permanent spot in your dinner rotation? Well, I’ve spent years testing and tweaking this, and it’s become the only chili recipe I use. It’s the one I bring to potlucks where the pot comes back empty, and the one I crave on the coldest, grayest days of the year.
- Deep, Complex Flavor, Simple Ingredients: The magic is in the pantry. You likely have cocoa powder, cumin, and chili powder already. No weird, specialty items required for this flavor bomb.
- Perfect for a Cozy Night In: This chili is the definition of comfort food. It’s hearty, warming, and fills your whole house with an amazing, savory aroma. It’s made for curling up on the couch with a blanket.
- A Genuine Crowd-Pleaser: I’ve served this to kids, picky eaters, and serious chili connoisseurs. Everyone loves it. The cocoa is a secret weapon that adds complexity without being weird. It just makes people ask for the recipe.
- Better the Next Day: This is a non-negotiable for any great chili. The flavors meld and deepen overnight, making leftovers a gift you give your future self.
What makes this recipe different is that fine line between sweet and savory, heat and depth. It’s not just another chili; it’s the chili you’ll remember. The cocoa doesn’t steal the show; it makes the supporting cast — the beef, the beans, the smoky spices — sing in harmony. It’s comfort food reimagined, with a warmth that goes straight to your soul.
Ingredients You Will Need
This recipe uses simple, hearty ingredients to build a massive wall of flavor. You don’t need a gourmet grocery store; just a well-stocked pantry and a little bit of patience. Let’s break down what you’ll need and why each ingredient matters.
For the Chili Base
- 2 tablespoons olive oil (for browning the meat and sautéing the veggies. Avocado oil works great too.)
- 2 pounds ground beef (I prefer 80/20 for the best flavor, but you can use 90/10. Don’t go leaner than that, or you’ll lose the richness.)
- 1 large yellow onion, diced (about 2 cups. The onion is the backbone of the flavor.)
- 1 red bell pepper, diced (adds a touch of sweetness and color. Green bell pepper works too, but red is sweeter.)
- 4 cloves garlic, minced (fresh is non-negotiable here. Don’t use the jarred stuff, it won’t have the same punch.)
- 2 jalapeños, seeded and minced (for a gentle heat. Leave the seeds in if you want more kick.)
The Spice Blend (The Secret Weapon)
- 3 tablespoons chili powder (I use a standard mild blend. Use your favorite brand.)
- 1 tablespoon ground cumin (this is key for that warm, earthy chili flavor.)
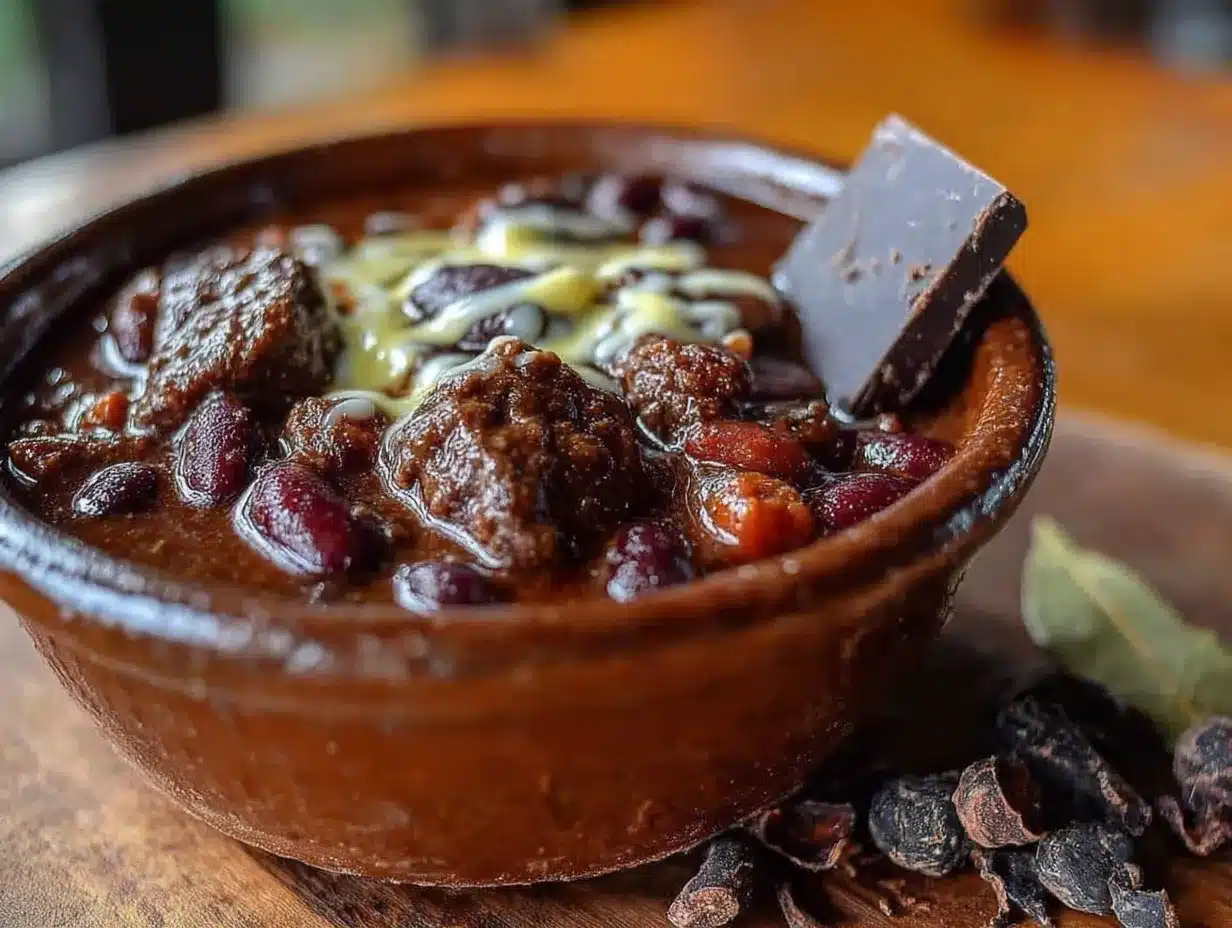
- 2 tablespoons unsweetened cocoa powder (the star of the show! Make sure it’s unsweetened, not hot cocoa mix. I really like the flavor of Droste or Valrhona, but any good brand works.)
- 1 teaspoon smoked paprika (for a subtle, smoky depth that complements the cocoa.)
- 1 teaspoon dried oregano (a little goes a long way for an herby note.)
- 1/2 teaspoon cayenne pepper (optional, for extra heat. Start with 1/4 teaspoon if you’re sensitive.)
- Salt and black pepper, to taste
The Liquid & The Beans
- 1 (15-ounce) can fire-roasted diced tomatoes (fire-roasted adds a lovely charred flavor. Regular diced tomatoes work in a pinch.)
- 1 (15-ounce) can tomato sauce (for a smooth, rich base.)
- 1 cup beef broth (low-sodium is best so you can control the salt. Chicken or vegetable broth also work.)
- 2 (15-ounce) cans kidney beans, drained and rinsed (I like dark red kidney beans for their creamy texture. Black beans or pinto beans are great substitutes.)
- 1 (15-ounce) can pinto beans, drained and rinsed (adds another layer of texture and creaminess. You can use all kidney beans if you prefer.)
Equipment Needed
You don’t need a professional kitchen to make this happen. Just a few trusty tools you probably already own. A heavy-bottomed pot is your best friend here.
- Large Dutch Oven or Heavy-Bottomed Pot: This is essential for even heat distribution and preventing the chili from scorching. I use my 6-quart Le Creuset, but any heavy pot will do. A stockpot works, but you’ll need to stir more often.
- Sharp Chef’s Knife & Cutting Board: For dicing the onion, bell pepper, and mincing the garlic and jalapeño. A good knife makes all the difference.
- Wooden Spoon or Silicone Spatula: For stirring and scraping up all those delicious browned bits from the bottom of the pot.
- Measuring Spoons and Cups: For accuracy. I’ve learned the hard way that eyeballing spices in a recipe like this can lead to a very sad chili.
- Can Opener: A basic one is fine, but a good one that doesn’t leave sharp edges is a small kitchen luxury I appreciate.
- Ladle: For serving. It’s just the right tool for the job.
Preparation Method
Alright, let’s get cooking. This process is straightforward, but a few key steps make all the difference. I’ll walk you through it so you feel like I’m right there in the kitchen with you.
- Brown the Beef (The Flavor Foundation): Heat the olive oil in your large pot over medium-high heat. Add the ground beef and cook, breaking it up with your spoon, until it’s well-browned. Don’t rush this step! We’re looking for deep, dark brown bits on the bottom of the pot. That’s pure flavor. This should take about 8-10 minutes. Once browned, use a slotted spoon to transfer the beef to a plate, leaving about 2 tablespoons of the rendered fat in the pot. If there’s a lot of fat, pour most of it off, leaving just a couple of tablespoons.
- Sauté the Aromatics: Reduce the heat to medium. Add the diced onion and red bell pepper to the pot. Cook, stirring occasionally, until they soften, about 5-7 minutes. You’ll notice the bottom of the pot is getting those beautiful browned bits. That’s good. Add the garlic and jalapeño and cook for one more minute until fragrant. Your kitchen will start smelling amazing right about now.
- Bloom the Spices (This is Crucial!): This is the step where the magic happens. Add the chili powder, cumin, cocoa powder, smoked paprika, oregano, and cayenne (if using) to the pot. Stir constantly for about 1-2 minutes. Toasting the spices in the hot oil releases their essential oils and deepens their flavor. You’ll smell the cocoa becoming fragrant and earthy. Don’t let it burn! If it starts to smell bitter, you’ve gone too far.
- Deglaze the Pot: Pour in the beef broth and use your wooden spoon to scrape up all those browned bits from the bottom of the pot. This is called deglazing, and it’s where a ton of flavor lives. Let it come to a simmer.
- Combine Everything: Return the browned beef to the pot. Add the fire-roasted tomatoes (with their juices) and the tomato sauce. Give it all a good stir to combine.
- Simmer and Develop: Bring the chili to a boil, then reduce the heat to low. Cover the pot with the lid slightly ajar and let it simmer gently for at least 30 minutes, but preferably for 45 minutes to an hour. The longer it simmers, the more the flavors meld and deepen. Stir it every 15 minutes or so to make sure nothing is sticking to the bottom.
- Add the Beans: After the chili has simmered for at least 30 minutes, stir in the drained and rinsed kidney beans and pinto beans. Let it simmer, uncovered, for another 10-15 minutes, or until the beans are heated through and the chili has thickened to your liking.
- Season and Serve: Taste your chili and season generously with salt and pepper. You’ll likely need more salt than you think. This is the moment of truth! Ladle it into bowls and top with your favorite fixings.
Cooking Tips & Techniques
I’ve made this chili more times than I can count, and I’ve made every mistake in the book. Here are the lessons I learned the hard way so you don’t have to.
- Don’t Skip the Beef Browning: I know it’s tempting to just throw the beef in and break it up quickly. But the deep, savory flavor of this chili comes directly from those browned bits on the bottom of the pot. Patience here is non-negotiable. Let it get really dark.
- Toast Your Spices: This is the single biggest game-changer for any chili or stew. Blooming the spices in the hot fat for a minute before adding liquid unlocks a depth of flavor you can’t get any other way. I once forgot to toast the cocoa powder and the chili just tasted flat and one-dimensional. Don’t make my mistake!
- Low and Slow is Your Friend: Chili is not a race. A long, gentle simmer allows the flavors to marry and the meat to become incredibly tender. If you’re in a rush, 30 minutes will do, but an hour or more is where the magic truly happens.
- Undersalt Early, Oversalt Late: Since the broth and tomatoes can vary in saltiness, it’s best to go easy on the salt during cooking. Do your final seasoning adjustment at the end, right before serving. Taste, add a pinch of salt, taste again. You’ll get it perfect.
- The “Overnight” Rule: If you can, make this chili a day ahead. The flavors deepen and meld in the refrigerator in a way that a single simmer can’t replicate. It’s like a completely different, more complex dish the next day. I always plan for leftovers.
Variations & Adaptations
This recipe is a fantastic base, and it’s easy to make it your own. I’ve tried a few different twists over the years, and these are my favorites. Feel free to experiment!
- Smoky Chipotle Chili: For a smoky, spicy kick, add 1-2 minced chipotle peppers in adobo sauce along with the garlic. This adds a fantastic, complex heat that pairs beautifully with the cocoa.
- Vegetarian Version: Skip the ground beef and double the beans. Use a mix of kidney, pinto, and black beans. Add a diced sweet potato or some portobello mushrooms for extra heartiness. Use vegetable broth instead of beef broth.
- Slow Cooker Method: Brown the beef and sauté the aromatics on the stovetop first. Then, transfer everything (except the beans) to your slow cooker. Cook on low for 6-8 hours or high for 3-4 hours. Stir in the beans during the last 30 minutes of cooking. This is my go-to for busy days.
- Spice It Up (or Down): The cayenne pepper is optional. For a milder chili, leave it out entirely. For a real fire-breather, add an extra teaspoon of chili powder and a whole minced habanero (seeds and all). I once did this and my husband couldn’t speak for ten minutes, so proceed with caution.
Serving & Storage Suggestions
The way you serve this chili is almost as important as the chili itself. The toppings are where you can really get creative and make it your own. And trust me, the leftovers are a gift.
Serving: Ladle the chili into deep bowls while it’s piping hot. The classic toppings are a must: a generous dollop of sour cream or Greek yogurt, a handful of sharp cheddar cheese, some fresh cilantro, and sliced green onions. A squeeze of fresh lime juice right before eating brightens everything up. For some crunch, I love topping it with crushed tortilla chips or a few pickled jalapeños. It’s also incredible served over a baked potato or with a side of warm cornbread for sopping up every last drop.
Storage: This chili is a champion of the refrigerator and freezer. Let it cool completely, then store it in an airtight container. It will keep in the fridge for up to 5 days. The flavor actually improves over the first 2-3 days. To freeze, portion it into freezer-safe bags or containers, leaving a little room for expansion. It will keep for up to 3 months. Thaw overnight in the refrigerator before reheating.
Reheating: The best way to reheat chili is on the stovetop over medium-low heat, stirring occasionally. Add a splash of water or broth if it seems too thick. You can also microwave it in a bowl, stirring every 30 seconds. Just be careful not to overheat it, as the beans can get mushy.
Nutritional Information & Benefits
While this is definitely a comfort food, it’s also packed with some serious nutritional benefits. The cocoa powder is the surprising star here. It’s rich in antioxidants called flavonoids, which are great for heart health. The beans are an excellent source of fiber and plant-based protein, which helps keep you full and satisfied. The beef provides iron and zinc, and the tomatoes are loaded with lycopene, another powerful antioxidant.
Here are the approximate nutritional values per serving (based on 8 servings, without toppings):
- Calories: ~450
- Protein: 35g
- Fat: 22g
- Carbohydrates: 30g
- Fiber: 10g
- Sugar: 8g
Dietary Considerations: This recipe is naturally gluten-free (just double-check your chili powder and broth labels). It’s also dairy-free and nut-free as written. To make it lower in carbs, you can reduce the amount of beans or swap them for more vegetables like zucchini or mushrooms.
Frequently Asked Questions
Can I taste the cocoa in the chili?
Not in a sweet or obvious way. The cocoa adds a deep, dark, earthy richness that enhances the other flavors. It’s a secret ingredient that makes people wonder what’s in it, not a chocolate bar in a bowl.
Can I use sweetened cocoa powder?
No, please don’t! Use only unsweetened cocoa powder. Sweetened cocoa powder will make your chili taste like a dessert disaster. Stick with the dark stuff.
How can I thicken the chili?
If your chili is too thin after simmering, you have a few options. Let it simmer uncovered for another 10-15 minutes to allow more liquid to evaporate. You can also mash some of the beans against the side of the pot with your spoon to release their starch, which will naturally thicken the chili.
Can I make this in an Instant Pot?
Absolutely! Use the sauté function to brown the beef and cook the aromatics. Then, add all the other ingredients except the beans. Pressure cook on high for 20 minutes with a natural release. Stir in the beans and let them heat through using the sauté function. It’s a great time-saver.
What are the best toppings for this chili?
The possibilities are endless! My top five are: sharp cheddar cheese, a dollop of sour cream, fresh cilantro, sliced green onions, and a squeeze of lime. Crushed tortilla chips, diced avocado, and pickled jalapeños are also fantastic choices.
Conclusion
This Cozy Cocoa-Infused Beef & Bean Chili isn’t just a recipe; it’s an experience. It’s the warmth on a cold day, the comfort after a long week, and the dish that will earn you a reputation as a truly great cook. The cocoa is the little secret that makes it unforgettable, turning a simple weeknight meal into something special. I honestly can’t imagine making chili any other way now. It’s become my go-to for game days, cozy nights in, and potlucks where I want to bring something that disappears.
I truly hope you give this recipe a try and fall in love with it as much as I have. Don’t be afraid to make it your own — adjust the heat, swap the beans, pile on your favorite toppings. And when you do make it, I’d love to hear about it! Leave a comment below and tell me how it turned out. Did your family love it? Did you try a wild variation? Sharing your cooking adventures is what makes this community so special. Now go make some magic in your kitchen!
Pin This Recipe!
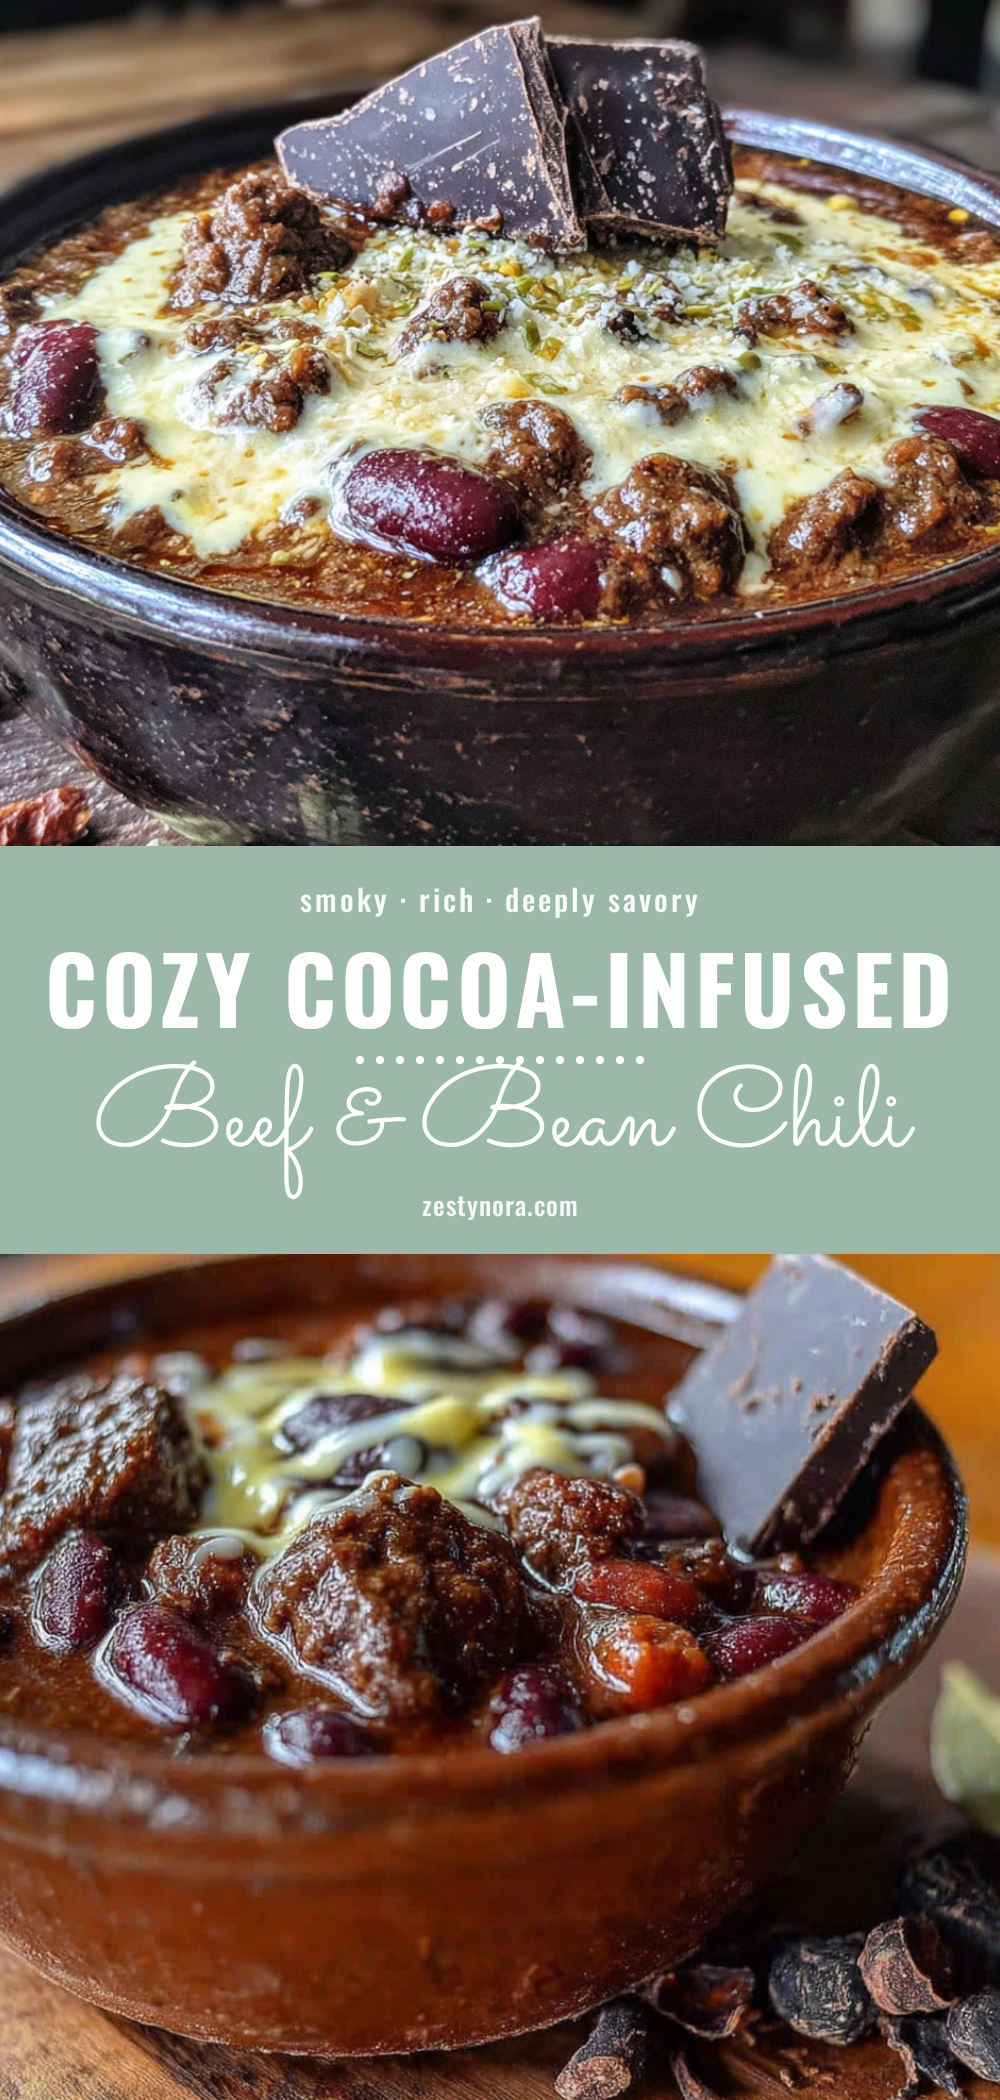
Cozy Cocoa-Infused Beef & Bean Chili

This isn’t your average weeknight chili. This is a bowl of deep, rich comfort that tastes like it’s been simmering all day, even if you only have an hour. The secret is unsweetened cocoa powder, which adds incredible depth and a subtle earthiness that rounds out the beef and the heat.
- Prep Time: 15 minutes
- Cook Time: 1 hour
- Total Time: 1 hour 15 minutes
- Yield: 8 servings 1x
- Category: Main Course
- Cuisine: American
Ingredients
- 2 tablespoons olive oil
- 2 pounds ground beef (80/20 preferred)
- 1 large yellow onion, diced (about 2 cups)
- 1 red bell pepper, diced
- 4 cloves garlic, minced
- 2 jalapeños, seeded and minced
- 3 tablespoons chili powder
- 1 tablespoon ground cumin
- 2 tablespoons unsweetened cocoa powder
- 1 teaspoon smoked paprika
- 1 teaspoon dried oregano
- 1/2 teaspoon cayenne pepper (optional)
- Salt and black pepper, to taste
- 1 (15-ounce) can fire-roasted diced tomatoes
- 1 (15-ounce) can tomato sauce
- 1 cup beef broth (low-sodium)
- 2 (15-ounce) cans kidney beans, drained and rinsed
- 1 (15-ounce) can pinto beans, drained and rinsed
Instructions
- Heat the olive oil in a large pot over medium-high heat. Add the ground beef and cook, breaking it up, until well-browned, about 8-10 minutes. Transfer beef to a plate, leaving about 2 tablespoons of rendered fat in the pot.
- Reduce heat to medium. Add the diced onion and red bell pepper. Cook, stirring occasionally, until softened, about 5-7 minutes. Add the garlic and jalapeño and cook for one more minute until fragrant.
- Add the chili powder, cumin, cocoa powder, smoked paprika, oregano, and cayenne (if using). Stir constantly for 1-2 minutes to toast the spices.
- Pour in the beef broth and scrape up the browned bits from the bottom of the pot. Let it come to a simmer.
- Return the browned beef to the pot. Add the fire-roasted tomatoes (with their juices) and the tomato sauce. Stir to combine.
- Bring the chili to a boil, then reduce heat to low. Cover the pot with the lid slightly ajar and simmer gently for at least 30 minutes, preferably 45 minutes to 1 hour, stirring every 15 minutes.
- Stir in the drained and rinsed kidney beans and pinto beans. Simmer, uncovered, for another 10-15 minutes, until beans are heated through and chili has thickened.
- Season generously with salt and pepper to taste. Ladle into bowls and serve with desired toppings.
Notes
For best flavor, make the chili a day ahead and refrigerate overnight. The flavors will deepen and meld. To thicken the chili, let it simmer uncovered longer or mash some beans against the pot. For a vegetarian version, skip the beef, double the beans, and use vegetable broth. For a slow cooker version, brown the beef and sauté aromatics on the stovetop first, then transfer everything (except beans) to the slow cooker. Cook on low for 6-8 hours or high for 3-4 hours, then stir in beans during the last 30 minutes.
Nutrition
- Serving Size: 1 bowl (about 1.5 cu
- Calories: 450
- Sugar: 8
- Sodium: 800
- Fat: 22
- Saturated Fat: 8
- Carbohydrates: 30
- Fiber: 10
- Protein: 35
Keywords: chili, cocoa chili, beef chili, bean chili, comfort food, winter recipe, game day chili