Marta wasn’t trying to impress anyone. I’d stopped by to borrow a cookie sheet—mine was buried somewhere in the post-Thanksgiving chaos—and the smell hit me before I even got through the back door. It was that unmistakable, sweet, almost buttery scent that makes your brain stop mid-thought and just… follow it. She was standing at the stove, stirring something thick and glossy in a battered old pot, wearing a sweater with a tiny hole in the sleeve. “Oh, just the fudge,” she said when I asked, like it was no big deal. Like she wasn’t making the most decadent, silky, perfect-looking pan of old-fashioned fantasy fudge I had ever seen. Honestly, I think I stood there staring for a full ten seconds before I even remembered why I came over. That’s the thing about this classic old-fashioned fantasy fudge—it has a way of making everything else disappear. The way the sugar and chocolate come together in that pot, bubbling and gleaming, is pure kitchen magic. Marta didn’t have a fancy thermometer or a stand mixer. She just had that pot, a wooden spoon, and a look of total calm. Maybe you’ve been in a kitchen like that—where someone is making something incredible without breaking a sweat. It sticks with you. That day, I knew I had to learn how to make it myself, and I’ve been making it every holiday season since. Let me tell you, this easy holiday baking treat is about to become your new December tradition.
Why You’ll Love This Recipe
After testing this recipe about a dozen times—and, I’ll admit, eating way too many test batches—I can say with confidence that this is the best version of classic old-fashioned fantasy fudge you will find. It’s not just another sugar bomb. It’s a perfectly balanced, creamy, chocolatey slice of nostalgia.
- Quick & Easy: From pot to pan in under 15 minutes. Seriously. No candy thermometer, no complicated steps. Just stir, pour, and let it set.
- Simple Ingredients: You probably have most of these in your pantry right now. No special trips to a gourmet store or hunting down obscure ingredients. It’s the kind of recipe that saves you when you need a last-minute gift.
- Perfect for Holiday Baking: This fudge is a showstopper on any cookie platter, holiday party table, or gift box. It feels fancy without the fuss, which is exactly what you need in December.
- Crowd-Pleaser: I have yet to meet someone who doesn’t go back for a second piece. It’s that good. Kids devour it, adults sneak it, and it disappears faster than almost anything else I bake.
- Unbelievably Delicious: The texture is the real star here. It’s not grainy or crumbly. It’s smooth, melt-in-your-mouth, with that perfect old-fashioned chew that reminds you of your grandmother’s kitchen.
What makes this recipe different from all the others? It’s the technique. Most recipes tell you to just boil the sugar mixture and hope for the best. I’m showing you exactly what to look for—the right bubbles, the right sheen, the right feel. This isn’t just another version of fantasy fudge. It’s the one that works every single time. It’s the kind of recipe that makes you close your eyes after the first bite because it tastes exactly like the holidays should taste.
What Ingredients You Will Need
This recipe uses simple, pantry-friendly ingredients to create that signature creamy, rich texture. Each one plays a specific role, so let’s break it down. You’ll notice there are no fancy extracts or weird stabilizers here—just the good stuff.
- Granulated Sugar (3 cups): This is the backbone of the fudge. It provides the structure and sweetness. Don’t use a sugar substitute here, as it will change the texture completely. I always use standard white granulated sugar for the most reliable results.
- Unsalted Butter (¾ cup, or 1½ sticks): Butter adds richness and helps create that smooth, creamy mouthfeel. I prefer using unsalted so I can control the salt level. Cut it into a few pieces so it melts evenly.
- Evaporated Milk (⅔ cup): This is the secret to the classic fantasy fudge texture. It’s more concentrated than regular milk, which means less water and a creamier final product. Do not substitute with regular milk or cream—it won’t set up the same way. I always use Carnation brand because it’s consistent.
- Semi-Sweet Chocolate Chips (2 cups, or one 12-ounce bag): These provide the deep chocolate flavor. I recommend using a good quality brand like Ghirardelli or Nestlé Toll House. The better the chocolate, the better the fudge. You can use milk chocolate chips if you prefer a sweeter fudge, but semi-sweet gives that perfect balance.
- Marshmallow Creme (1 jar, about 7 ounces): This is the magic ingredient that gives fantasy fudge its signature fluffy, smooth texture. It helps stabilize the sugar mixture and prevents the fudge from becoming grainy. Do not substitute with mini marshmallows—the texture will be different. Jet-Puffed is my go-to brand.
- Vanilla Extract (1 teaspoon): A good vanilla extract rounds out the chocolate flavor and adds warmth. Pure vanilla extract is best, but imitation works in a pinch. I recommend Nielsen-Massey or simply a good store brand.
- Chopped Walnuts (1 cup, optional): Walnuts add a lovely crunch and nutty flavor that contrasts beautifully with the creamy fudge. Toast them lightly in a dry pan for a few minutes before adding to deepen their flavor. Pecans also work wonderfully here.
- Salt (a pinch): Just a tiny pinch of salt enhances the chocolate flavor and balances the sweetness. Don’t skip it—it makes a difference.
If you’re looking for a dairy-free option, you can try using a high-quality vegan butter and a dairy-free condensed milk alternative, but I haven’t tested that myself, so results may vary. For a nut-free version, simply leave out the walnuts or substitute with toasted coconut flakes or dried cranberries.
Equipment Needed
You don’t need a fancy kitchen to make this fudge, which is one of the reasons I love it. Here’s what you’ll need to pull it off without a hitch.
- Large Heavy-Bottomed Saucepan (3-quart or larger): This is non-negotiable. A heavy bottom prevents the sugar mixture from scorching. I use my trusty old Calphalon pot, but any heavy saucepan will work. Avoid thin, flimsy pots—you’ll end up with burnt fudge and a lot of frustration.
- Wooden Spoon or Heatproof Silicone Spatula: You need something sturdy to stir the boiling sugar mixture. A wooden spoon is traditional and works perfectly. A silicone spatula is great for scraping every last bit of fudge out of the pot.
- 8×8-Inch Baking Pan: This is the perfect size for a thick batch of fudge. Line it with parchment paper, leaving some overhang on two sides. That way, you can lift the whole block out for easy cutting. I’ve also used a 9×9-inch pan, but the fudge will be slightly thinner.
- Candy Thermometer (Optional but Helpful): While this recipe is designed to work without one, a candy thermometer can give you extra confidence. You’re looking for the soft-ball stage, around 234-240°F. If you don’t have one, don’t worry—the visual cues in the method will guide you.
- Measuring Cups and Spoons: Accurate measurements are key in candy making. Use dry measuring cups for the sugar and liquid measuring cups for the evaporated milk.
- Parchment Paper: For lining the pan. Trust me, this makes cleanup a breeze and helps you get perfect squares.
If you don’t have a heavy-bottomed saucepan, you can use a double boiler setup, but it will take longer. I’ve also made this in a non-stick pot in a pinch, and it worked fine, just be extra careful not to scratch the surface while stirring.
Preparation Method
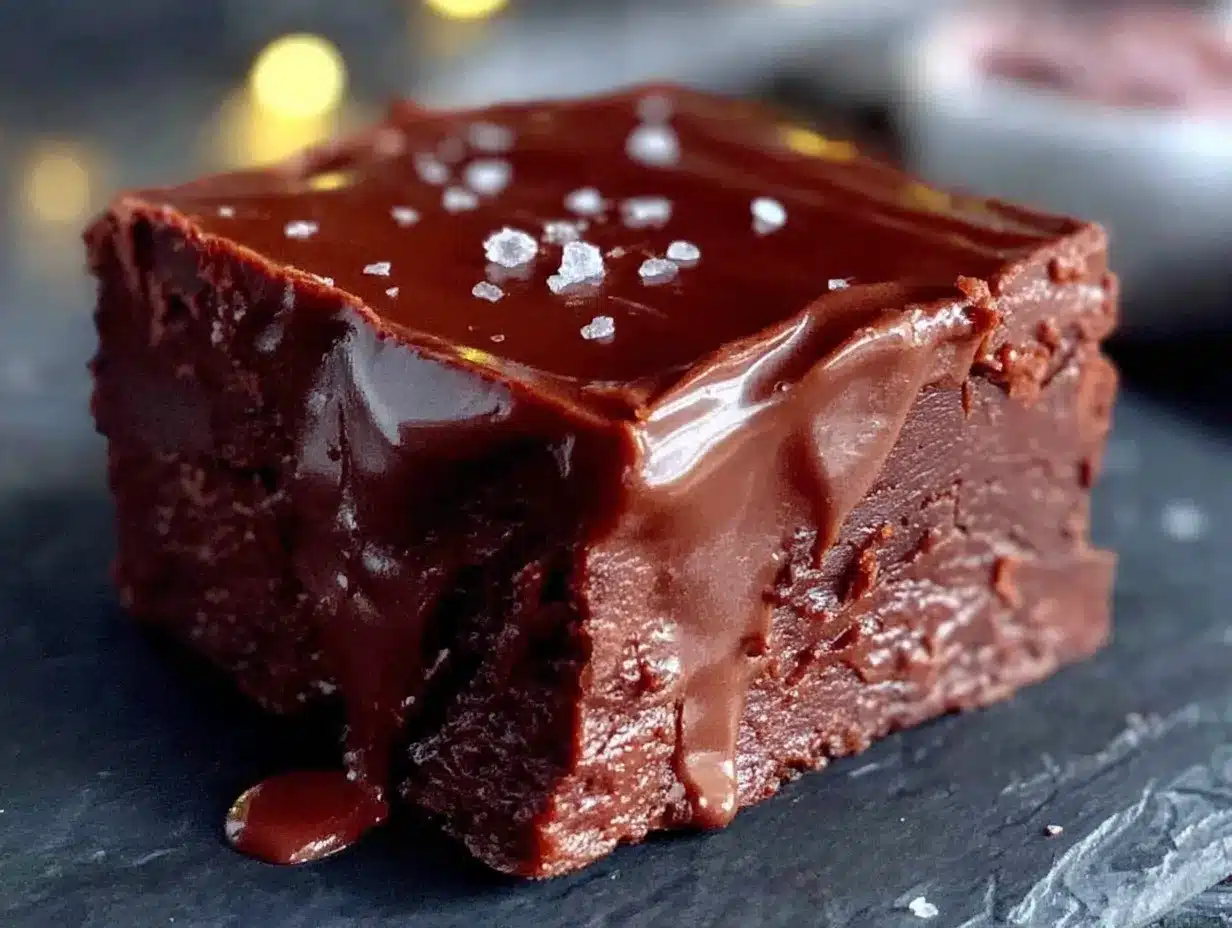
Alright, let’s make some fudge. This process moves quickly once you start, so I recommend having all your ingredients measured and ready to go before you turn on the stove. Trust me on this—you don’t want to be hunting for the vanilla while your sugar is boiling.
- Prepare Your Pan: Line an 8×8-inch baking pan with parchment paper, leaving about 2 inches of overhang on two opposite sides. This will create handles for lifting the fudge out later. Set the pan aside.
- Combine the Base Ingredients: In your large, heavy-bottomed saucepan, combine the 3 cups of granulated sugar, ¾ cup of unsalted butter, and ⅔ cup of evaporated milk. Place the pan over medium heat. Stir constantly with your wooden spoon until the butter is completely melted and the sugar has dissolved. You want a smooth, grainy-free mixture. This takes about 3-4 minutes.
- Bring to a Rolling Boil: Once the mixture is smooth, increase the heat to medium-high. Keep stirring gently but constantly. You want to bring the mixture to a full, rolling boil—the kind where the bubbles don’t stop even when you’re stirring. This is important. If you stop stirring for even a few seconds, the sugar can scorch on the bottom. Let it boil for exactly 4 minutes. Set a timer. Don’t walk away. The mixture will get thick and look almost like caramel.
- Remove from Heat and Add Chocolate: After 4 minutes of boiling, remove the pan from the heat immediately. Add the 2 cups of semi-sweet chocolate chips and the entire jar of marshmallow creme. Stir vigorously until everything is melted and smooth. The heat from the sugar mixture will do the work. Keep stirring until there are no streaks of white from the marshmallow creme. This takes about 2 minutes of steady stirring.
- Add Vanilla and Nuts: Stir in the 1 teaspoon of vanilla extract and a tiny pinch of salt. If you’re using walnuts, fold them in now. Stir just until everything is combined. The mixture will be thick, glossy, and smell incredible.
- Pour and Spread: Immediately pour the fudge mixture into your prepared pan. Use your spatula to spread it evenly into the corners. Don’t fuss with it too much—just get it level. The fudge will start to set as it cools, so work quickly but gently.
- Let It Set: Allow the fudge to cool at room temperature for at least 2-3 hours, or until it’s completely firm to the touch. Do not refrigerate it while it’s still warm—this can cause the sugar to crystallize and make the fudge grainy. Patience is key here. Once it’s fully set, use the parchment overhang to lift the block out onto a cutting board.
- Cut and Serve: Use a sharp chef’s knife to cut the fudge into 1-inch squares. Wipe the knife clean between cuts for the neatest edges. You should get about 36-40 pieces, depending on how generous you are with your cuts.
One thing I learned the hard way: don’t try to rush the cooling process by putting the pan in the fridge. I did that once, and the fudge turned out slightly grainy and not as creamy. Let it set naturally on the counter. It’s worth the wait.
Cooking Tips & Techniques
I’ve made this classic old-fashioned fantasy fudge more times than I can count, and I’ve definitely made my share of mistakes. Here are the things I wish someone had told me when I first started.
The Boil is Everything. This is the most critical step. You must let the mixture boil for the full 4 minutes. If you under-boil it, the fudge won’t set properly and will be too soft. If you over-boil it, it will become crumbly and dry. I set a timer on my phone every single time. No exceptions. The mixture should look thick and bubbly, almost like lava, when it’s ready.
Stir, Stir, Stir. When the mixture is boiling, you need to stir constantly. I know it’s tempting to walk away for “just a second,” but that’s when the sugar burns on the bottom. I use a wooden spoon and keep a steady, gentle motion. It’s almost meditative once you get into the rhythm.
Humidity is Your Enemy. Fudge is sensitive to humidity. If you’re making this on a rainy or very humid day, the sugar can absorb moisture from the air and prevent the fudge from setting properly. If you can, pick a dry day to make your fudge. If you can’t, just know that it might take a little longer to set, and that’s okay.
The Marshmallow Creme Trick. I’ve found that microwaving the jar of marshmallow creme for about 10-15 seconds before adding it makes it much easier to scoop out and incorporate. Just remove the lid and foil seal first. It slides right into the pot without sticking to the spoon.
Don’t Over-Stir After Adding Chocolate. Once the chocolate and marshmallow creme are melted and smooth, stop stirring. Over-stirring at this stage can incorporate air bubbles and make the fudge look less smooth when it sets. Gentle, thorough mixing is all you need.
Variations & Adaptations
One of the best things about this fantasy fudge recipe is how easy it is to adapt. Here are some of my favorite variations that I’ve tried over the years.
- Peppermint Bark Fudge: After pouring the fudge into the pan, sprinkle the top with ½ cup of crushed candy canes or peppermint candies. Press them in gently. The minty crunch is perfect for the holidays. I made this for a cookie swap last year and it was the first thing to disappear.
- Rocky Road Fudge: Fold in ½ cup of mini marshmallows and ½ cup of chopped almonds along with the walnuts. The extra marshmallows create little pockets of gooeyness that are absolutely divine.
- White Chocolate Fantasy Fudge: Swap the semi-sweet chocolate chips for white chocolate chips. The result is a creamy, vanilla-forward fudge that looks beautiful on a platter. Add a few drops of peppermint extract for a festive twist.
- Gluten-Free Option: This recipe is naturally gluten-free, as long as you check that your vanilla extract and chocolate chips are certified gluten-free. Most brands are, but it’s always good to double-check for sensitive guests.
- Nut-Free Version: Simply omit the walnuts. The fudge will still be perfectly delicious. You can add ½ cup of dried cranberries or chopped dried cherries for a festive, nut-free alternative.
I once tried a version with dark chocolate and a pinch of cayenne pepper for a spicy kick. It was surprisingly good—the heat from the cayenne lingers after the sweetness fades. Not for everyone, but definitely memorable.
Serving & Storage Suggestions
This fudge is a star on its own, but here’s how to make it shine even brighter.
Serving: Serve the fudge at room temperature. It’s at its creamiest and most flavorful when it’s not straight out of the fridge. Arrange the squares on a festive plate or in a decorative tin for gift-giving. A light dusting of powdered sugar or a sprinkle of sea salt on top can elevate the presentation.
Pairing Suggestions: This fudge pairs beautifully with a hot cup of coffee, a glass of cold milk, or even a small glass of bourbon or dark rum. For a dessert board, arrange the fudge alongside fresh berries, shortbread cookies, and salty pretzels. The contrast of sweet and salty is irresistible.
Storage: Store the fudge in an airtight container at room temperature for up to 2 weeks. Yes, it lasts that long—if you can resist eating it all. Do not refrigerate it, as the cold can cause the texture to become slightly grainy over time. If you live in a warm climate, you can store it in the fridge, but let it come to room temperature before serving.
Freezing: This fudge freezes beautifully. Wrap the entire block or individual squares tightly in plastic wrap, then place them in a freezer-safe bag or container. It will keep for up to 3 months. Thaw in the refrigerator overnight or on the counter for a few hours. The texture remains just as creamy.
Flavor Development: Honestly, this fudge tastes even better the next day. The flavors meld together, and the texture becomes even smoother. If you can, make it a day ahead of when you plan to serve it. Your patience will be rewarded.
Nutritional Information & Benefits
Let’s be real—fudge is a treat, not a health food. But knowing what’s in it helps you enjoy it mindfully. Here’s the estimated nutritional breakdown for one 1-inch square (based on 36 servings, with walnuts).
| Nutrient | Amount Per Serving |
|---|---|
| Calories | 145 |
| Total Fat | 7g |
| Saturated Fat | 4g |
| Cholesterol | 10mg |
| Sodium | 30mg |
| Total Carbohydrates | 21g |
| Sugars | 19g |
| Protein | 1g |
While this isn’t a low-calorie snack, the walnuts provide a small amount of healthy omega-3 fatty acids and protein. The dark chocolate in the semi-sweet chips contains antioxidants called flavonoids, which are linked to heart health in moderate amounts. As with all treats, the key is moderation. One or two squares is the perfect way to satisfy a sweet craving without overdoing it.
This recipe is not suitable for those with dairy or nut allergies unless substitutions are made. Always check labels if you’re serving someone with dietary restrictions.
Conclusion
This classic old-fashioned fantasy fudge is more than just a recipe—it’s a little piece of holiday magic. It’s the kind of treat that brings people together, whether you’re making it for a cookie swap, a gift for a neighbor, or just because you need a little sweetness in your life. The process is simple, the ingredients are humble, but the result is absolutely extraordinary.
I encourage you to make this your own. Add your favorite nuts, try a different chocolate, or throw in some crushed candy canes. The beauty of this fudge is that it’s forgiving and adaptable. And honestly, the best part is watching someone take their first bite and seeing that smile spread across their face. That never gets old.
So go on—pull out that pot, grab your wooden spoon, and make some memories. When you do, I’d love to hear about it. Leave a comment below and tell me how your fudge turned out, or share a photo of your creation. Happy holidays, and happy baking!
Frequently Asked Questions
Can I use mini marshmallows instead of marshmallow creme?
I don’t recommend it. Marshmallow creme has a specific texture and stabilizer that helps the fudge set up smooth and creamy. Mini marshmallows contain more air and cornstarch, which can make the fudge grainy or cause it to separate. Stick with the creme for the best results.
Why did my fudge turn out grainy?
Grainy fudge usually happens when the sugar crystals aren’t fully dissolved before the mixture comes to a boil, or if the fudge was stirred too much after it started to cool. Make sure you stir the sugar mixture constantly until it’s completely smooth before boiling, and don’t stir the fudge once it’s in the pan to set.
Can I double this recipe?
Yes, you can double it, but you’ll need a much larger pot—at least a 6-quart capacity. The boiling time may also need to increase by a minute or two. I recommend making two separate batches if you’re unsure, as it’s easier to control the outcome.
How do I know when the fudge is done boiling without a thermometer?
Look for the visual cues. The mixture should be at a full, rolling boil that doesn’t stop when you stir it. It will look thick and bubbly, almost like thick lava. After 4 minutes of this vigorous boil, it’s ready. I always set a timer to be safe.
Can I make this fudge in the microwave?
I don’t recommend it for this particular recipe. The stovetop method gives you much more control over the boiling process, which is critical for the right texture. Microwave methods can lead to uneven heating and a higher chance of the fudge not setting properly.
Pin This Recipe!
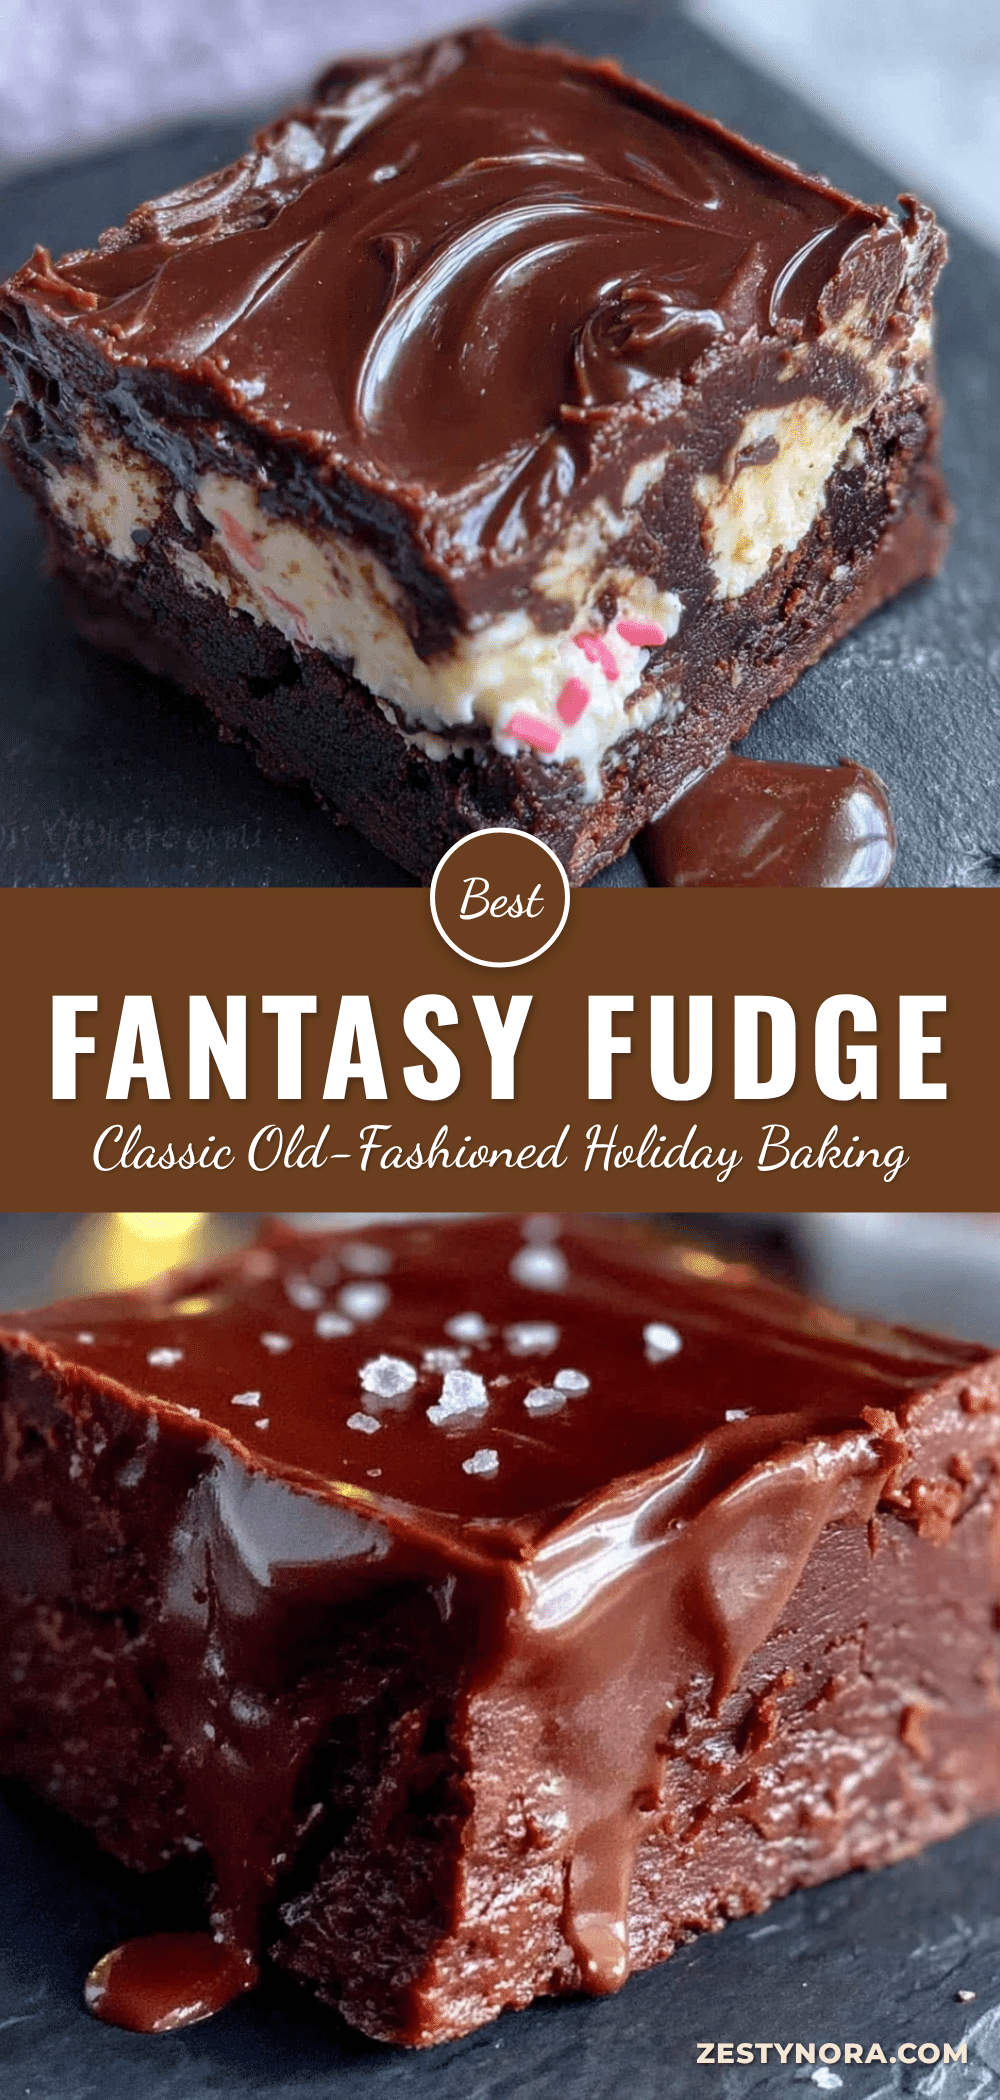
Classic Old-Fashioned Fantasy Fudge: Easy Holiday Baking Treat

This classic old-fashioned fantasy fudge is a perfectly balanced, creamy, chocolatey slice of nostalgia. It’s quick and easy to make with simple ingredients, making it the perfect holiday baking treat.
- Prep Time: 10 minutes
- Cook Time: 10 minutes
- Total Time: 2 hours 20 minutes (including cooling)
- Yield: 36-40 servings 1x
- Category: Dessert
- Cuisine: American
Ingredients
- 3 cups granulated sugar
- 3/4 cup unsalted butter (1½ sticks)
- 2/3 cup evaporated milk
- 2 cups semi-sweet chocolate chips (one 12-ounce bag)
- 1 jar marshmallow creme (about 7 ounces)
- 1 teaspoon vanilla extract
- 1 cup chopped walnuts (optional)
- a pinch of salt
Instructions
- Line an 8×8-inch baking pan with parchment paper, leaving about 2 inches of overhang on two opposite sides. Set aside.
- In a large, heavy-bottomed saucepan, combine the sugar, butter, and evaporated milk. Place over medium heat and stir constantly until the butter is melted and the sugar is dissolved, about 3-4 minutes.
- Increase heat to medium-high and bring the mixture to a full rolling boil. Stir constantly and let boil for exactly 4 minutes.
- Remove from heat immediately. Add the chocolate chips and marshmallow creme. Stir vigorously until melted and smooth, about 2 minutes.
- Stir in the vanilla extract and a pinch of salt. If using walnuts, fold them in.
- Immediately pour the fudge into the prepared pan and spread evenly.
- Let cool at room temperature for 2-3 hours until completely firm. Do not refrigerate while warm.
- Once set, lift the fudge out using the parchment overhang. Cut into 1-inch squares.
Notes
Do not refrigerate the fudge while it is still warm, as this can cause graininess. For best results, let it set at room temperature. The fudge tastes even better the next day. Humidity can affect setting; choose a dry day if possible.
Nutrition
- Serving Size: 1 square (1-inch)
- Calories: 145
- Sugar: 19
- Sodium: 30
- Fat: 7
- Saturated Fat: 4
- Carbohydrates: 21
- Protein: 1
Keywords: fantasy fudge, old-fashioned fudge, holiday fudge, easy fudge recipe, chocolate fudge, Christmas fudge