I was standing in the frozen food aisle of a grocery store last November when the smell of someone’s holiday candle—something buttery and vaguely cheesy—hit me, and suddenly I was nine years old at my great-aunt Margie’s kitchen table, watching her grate a block of sharp cheddar into a pool of warm milk. The memory was so sharp it almost hurt. Margie has been gone for years now, and her kitchen, with its faded yellow linoleum and the dented metal colander she used for everything, exists only in my head. But that smell, that specific combination of dairy and warmth, yanked me right back. I stood there holding a bag of frozen broccoli, completely lost for a second, and I knew I had to figure out how to make her mac and cheese. Not just any mac and cheese. Her version—the one with four cheeses, the one that fed everyone at every family gathering, the one that tasted like being loved.
Honestly, I didn’t have her recipe. Margie cooked from memory and instinct, not from a notecard. So I spent the next few weekends in my own kitchen, trying to reverse-engineer that creamy, golden, utterly comforting dish. There were fails. One batch was so gluey it could have patched drywall. Another was so greasy, I actually had to blot it with paper towels. But eventually, I cracked it. This baked four-cheese mac and cheese for a crowd is the result of those messy, delicious experiments. It’s the dish I bring to every potluck now, the one people ask for by name. Let me tell you, there’s something about pulling a bubbling, golden casserole dish out of the oven that just makes everything feel right in the world. Maybe you’ve been there, too, searching for a taste of something you can’t quite put into words.
Why You’ll Love This Recipe
This isn’t just another mac and cheese recipe. I’ve tested this thing about a dozen times—with different cheese ratios, different pasta shapes, different cooking times—and this version is the one that works every single time. It’s the one that got a thumbs-up from my picky nephew, my cheese-snob neighbor who owns a deli, and my friend who’s a nutritionist (she approved the protein content from the eggs, believe it or not). Here’s why you’re going to love it:
- Perfect for a Crowd: This recipe makes a generous 9×13-inch dish that feeds 12 to 16 people easily. No more running out of the good stuff at the party.
- No Fancy Ingredients: You probably already have most of what you need in your fridge and pantry. No expensive truffle oil or imported cheese required.
- Ultra-Creamy, Not Gluey: The secret is a combination of evaporated milk and a touch of cream cheese. It gives you that velvety texture that stays creamy even after baking.
- That Golden, Crispy Top: A buttery panko breadcrumb topping gives you that satisfying crunch that contrasts perfectly with the soft pasta underneath.
- Make-Ahead Friendly: You can assemble the whole thing a day in advance and just pop it in the oven when you’re ready. It’s a lifesaver for holidays and busy weekends.
- Family-Approved: Kids love the mild, cheesy flavor, and adults appreciate the depth from the Gruyère and the sharp cheddar. It’s a true crowd-pleaser.
What makes this recipe different from the rest is the technique. Instead of a traditional flour-based roux that can sometimes get lumpy, I use a method that starts with a simple milk and butter base, thickened with a little flour but kept smooth by the evaporated milk. The result is a sauce that coats every piece of pasta without feeling heavy. It’s comfort food at its finest—rich, satisfying, and made with love.
What Ingredients You Will Need
This recipe uses simple, wholesome ingredients to deliver a rich and creamy flavor without any fuss. Most of these are pantry staples, and the cheeses are easy to find at any grocery store. Let me walk you through what you’ll need.
For the Pasta and Cheese Sauce
- 1 pound (454 g) dried elbow macaroni: You can also use cavatappi, shells, or rotini. I prefer elbow macaroni for that classic childhood feel, but any short pasta with nooks and crannies works great.
- 4 tablespoons (56 g) unsalted butter: I use salted butter in a pinch, but unsalted lets you control the salt level better. I recommend Kerrygold or Land O’Lakes for the best flavor.
- 1/4 cup (31 g) all-purpose flour: This helps thicken the sauce. For a gluten-free version, you can use a 1-to-1 gluten-free flour blend.
- 2 cups (480 ml) whole milk: Whole milk gives the richest sauce. You can use 2% in a pinch, but avoid skim milk—it will make the sauce watery.
- 1 can (12 oz) evaporated milk: This is the secret ingredient! It adds incredible creaminess without making the sauce too heavy. Don’t substitute with regular milk here.
- 1 teaspoon (5 g) salt: Plus more for the pasta water.
- 1/2 teaspoon (1 g) black pepper: Freshly ground is best.
- 1/4 teaspoon (0.5 g) garlic powder: Optional, but it adds a nice savory note.
- 1/4 teaspoon (0.5 g) mustard powder: This is a classic mac and cheese trick—it doesn’t make it taste like mustard, it just enhances the cheesy flavor.
The Four Cheeses
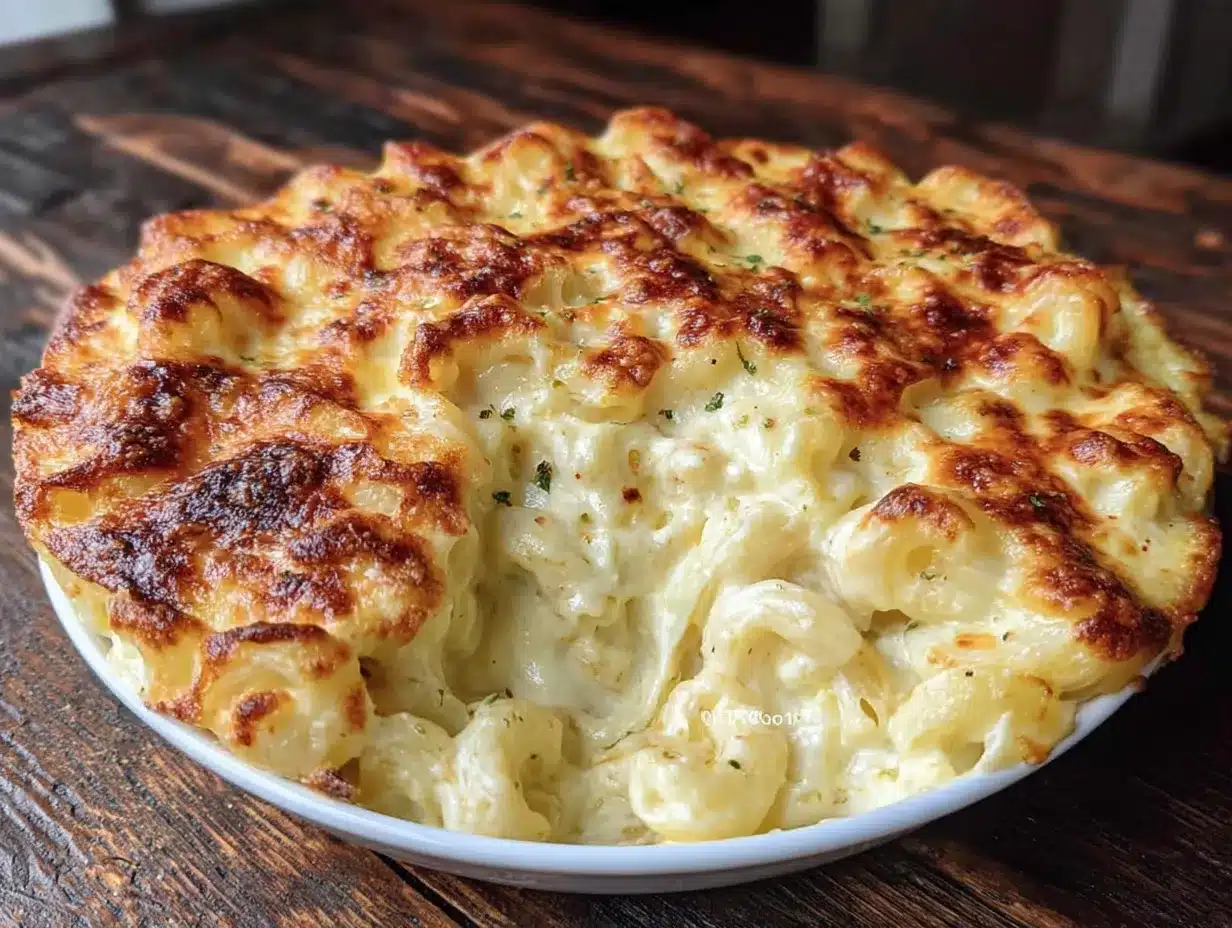
- 2 cups (226 g) sharp cheddar cheese, freshly shredded: Don’t buy pre-shredded cheese! It has anti-caking agents that prevent it from melting smoothly. Shred it yourself from a block. I recommend Tillamook or Cabot.
- 1 cup (113 g) Gruyère cheese, freshly shredded: This adds a nutty, slightly sweet flavor that takes the dish to the next level. It melts beautifully.
- 1 cup (113 g) mozzarella cheese, freshly shredded: For that perfect stretchy, gooey texture. Low-moisture mozzarella works best.
- 4 oz (113 g) cream cheese, softened: This is my secret weapon. It adds a tangy creaminess and helps stabilize the sauce so it doesn’t separate when baked.
For the Topping
- 1 cup (120 g) panko breadcrumbs: They give the best crispy texture. You can use regular breadcrumbs, but panko is crunchier.
- 2 tablespoons (28 g) unsalted butter, melted: This helps the breadcrumbs brown and get crispy.
- 1/4 cup (28 g) Parmesan cheese, grated: Adds a salty, umami kick to the topping.
Equipment Needed
You don’t need a professional kitchen to make this mac and cheese. Here’s what you’ll need:
- Large pot (6-8 quarts): For boiling the pasta. A stockpot works perfectly.
- Large saucepan or Dutch oven: For making the cheese sauce. I use my trusty Le Creuset Dutch oven, but any heavy-bottomed pot works.
- 9×13-inch baking dish: This is the standard size for feeding a crowd. Glass or ceramic works best. I’ve had good results with Pyrex.
- Box grater or food processor: For shredding the cheese. A box grater is a classic choice, but a food processor with a shredding disc makes quick work of it. Just don’t use pre-shredded cheese.
- Whisk: A sturdy whisk is essential for a smooth, lump-free sauce.
- Wooden spoon or spatula: For stirring the pasta and sauce together.
- Measuring cups and spoons: Accuracy matters in baking.
- Mixing bowls: For combining the topping and holding the shredded cheese.
Preparation Method
Alright, let’s get cooking! This might look like a lot of steps, but I promise it’s straightforward. I’ve broken it down so you can follow along easily.
- Preheat your oven and prep your dish. Set your oven to 375°F (190°C). Lightly grease your 9×13-inch baking dish with butter or non-stick spray. This prevents sticking and makes cleanup easier.
- Cook the pasta. Bring a large pot of generously salted water to a rolling boil. Add your 1 pound of elbow macaroni and cook according to the package directions, but stop 1 minute before the suggested al dente time. The pasta will continue to cook in the oven, so you want it slightly underdone. Drain the pasta in a colander and set it aside. Do not rinse it—the starch helps the sauce cling to the pasta.
- Shred your cheeses. While the pasta is cooking, shred your cheddar, Gruyère, and mozzarella. Place them in a large bowl and toss them together. Set aside about 1/2 cup of the shredded cheddar for the topping. Make sure your cream cheese is softened so it mixes in smoothly.
- Make the sauce base. In your large saucepan or Dutch oven, melt the 4 tablespoons of butter over medium heat. Once it’s melted and bubbly, whisk in the 1/4 cup of flour. Cook this mixture, whisking constantly, for about 1-2 minutes. You’re looking for a pale, golden color—this is your roux. Don’t let it brown.
- Add the liquids. Slowly pour in the 2 cups of whole milk while whisking constantly. Then, pour in the 12-ounce can of evaporated milk. Keep whisking until the mixture is smooth and starts to thicken, about 3-4 minutes. It should coat the back of your spoon.
- Season the sauce. Add the 1 teaspoon of salt, 1/2 teaspoon of black pepper, 1/4 teaspoon of garlic powder, and 1/4 teaspoon of mustard powder. Whisk to combine. Taste it—it should be slightly salty, as the cheese will add more salt later.
- Melt in the cheeses. Reduce the heat to low. Add the softened cream cheese and whisk until it’s completely melted and smooth. Then, gradually add your shredded cheese mixture (reserving that 1/2 cup for the topping), a handful at a time. Whisk after each addition until the cheese is fully melted and the sauce is velvety smooth. This should take about 3-5 minutes. Do not rush this step—adding the cheese too quickly can cause the sauce to become grainy.
- Combine pasta and sauce. Remove the pot from the heat. Add your drained pasta to the cheese sauce and stir gently with a wooden spoon until every piece of pasta is coated. The sauce will seem a bit loose, but that’s okay—it will thicken as it bakes.
- Assemble the dish. Pour the mac and cheese mixture into your prepared 9×13-inch baking dish. Spread it into an even layer with your spatula.
- Make the crispy topping. In a small bowl, combine the 1 cup of panko breadcrumbs, 2 tablespoons of melted butter, 1/4 cup of grated Parmesan, and the reserved 1/2 cup of shredded cheddar. Stir until the breadcrumbs are evenly coated. Sprinkle this mixture evenly over the top of the mac and cheese.
- Bake to perfection. Place the dish on the middle rack of your preheated oven. Bake for 20-25 minutes, or until the sauce is bubbly around the edges and the topping is golden brown and crispy. If you want an extra-crunchy top, you can switch the oven to broil for the last 2-3 minutes, but watch it closely so it doesn’t burn.
- Rest before serving. This is the hardest part! Let the mac and cheese sit on the counter for at least 10-15 minutes before you serve it. This allows the sauce to set up a bit so it doesn’t run all over the plate. I know it’s tempting to dig in right away, but trust me on this one.
Cooking Tips & Techniques
I’ve made this recipe so many times that I’ve learned a few things the hard way. Here are my best tips to ensure your mac and cheese turns out perfect every time.
- Don’t overcook the pasta. I cannot stress this enough. If you cook the pasta to al dente, it will turn into mush after baking. Always cook it 1-2 minutes less than the package says. It should still have a little bite to it when you drain it.
- Shred your own cheese. I know it’s a pain, but pre-shredded cheese is coated in cellulose and other starches that prevent it from melting smoothly. Your sauce will be grainy instead of silky. Just do it—your taste buds will thank you.
- Low and slow for the sauce. When you add the cheese, keep the heat on low and whisk constantly. High heat can cause the dairy to separate, leaving you with a greasy, broken sauce. Patience is key here.
- Season your pasta water. The water should taste like the sea. This is your only chance to season the pasta itself, so don’t skimp on the salt. I use about 1 tablespoon of salt per 4 quarts of water.
- Let it rest. This is the tip I always forget to mention when I’m teaching someone. If you serve it immediately, the sauce will be runny. Giving it a 10-minute rest allows the starches to set and the sauce to thicken into that perfect, creamy consistency.
- Make it ahead. You can assemble the entire dish (without the topping) up to 24 hours in advance. Cover it with foil and refrigerate. When you’re ready to bake, let it sit on the counter for 30 minutes to take the chill off, then add the topping and bake as directed. You might need to add 5-10 minutes to the baking time.
Variations & Adaptations
One of the best things about this mac and cheese is how easy it is to adapt. Here are some of my favorite variations that I’ve tried over the years.
- Add Some Protein: Stir in 2 cups of cooked, shredded rotisserie chicken, crispy bacon bits, or even leftover pulled pork before baking. It turns this side dish into a hearty main course.
- Make It Spicy: Add 1-2 diced jalapeños (seeds removed if you want less heat) to the sauce, or stir in a 4-ounce can of diced green chiles. A pinch of cayenne pepper in the sauce also works wonders.
- Go Gluten-Free: Use a 1-to-1 gluten-free flour blend for the roux and gluten-free pasta. Be careful not to overcook the gluten-free pasta, as it tends to get mushy faster. Also, use gluten-free panko breadcrumbs for the topping.
- Vegetable Lover’s Version: Sauté 1 cup of diced broccoli florets, 1/2 cup of chopped spinach, or 1 cup of roasted butternut squash and fold them into the pasta before baking. It adds color and nutrients.
- Smoky Twist: Replace the Gruyère with 1 cup of smoked Gouda. The smoky flavor pairs beautifully with the creamy sauce. You can also add 1/2 teaspoon of smoked paprika to the sauce.
- Three-Cheese Option: If you can’t find Gruyère, just use an extra cup of sharp cheddar. It will still be delicious, just a little less complex.
Serving & Storage Suggestions
This mac and cheese is a star on its own, but here’s how to serve and store it like a pro.
Serving: Serve it warm, straight from the baking dish, after that crucial 10-minute rest. It’s the ultimate comfort food for a potluck, Thanksgiving dinner, or a cozy weeknight meal. I love it alongside a simple green salad with a tangy vinaigrette to cut through the richness. It also pairs beautifully with roasted vegetables like asparagus or Brussels sprouts. For a truly indulgent meal, serve it with some grilled steak or roasted chicken. A glass of crisp white wine or a cold beer is a great beverage pairing.
Storage: Leftovers can be stored in an airtight container in the refrigerator for up to 4 days. The topping will lose its crunch, but the flavor will still be amazing. To reheat, place individual portions in the microwave for 1-2 minutes, or reheat the entire dish in a 350°F (175°C) oven for 15-20 minutes, covered with foil to prevent it from drying out. Add a splash of milk before reheating to restore some creaminess.
Freezing: This mac and cheese freezes beautifully. Assemble the dish completely (including the topping) but do not bake it. Wrap the dish tightly in a layer of plastic wrap, then a layer of aluminum foil. Freeze for up to 3 months. When you’re ready to bake, thaw it overnight in the refrigerator, then bake as directed, adding about 10-15 minutes to the baking time. The flavors actually get even better after freezing!
Nutritional Information & Benefits
Let’s be real—this is a comfort food dish, not a health food. But that doesn’t mean it’s completely without merit. Here’s a rough estimate of the nutritional information per serving (based on 12 servings):
| Nutrient | Amount per Serving |
|---|---|
| Calories | 480-520 |
| Total Fat | 28 g |
| Saturated Fat | 16 g |
| Cholesterol | 85 mg |
| Sodium | 680 mg |
| Total Carbohydrates | 38 g |
| Dietary Fiber | 2 g |
| Total Sugars | 6 g |
| Protein | 22 g |
| Calcium | 450 mg (35% DV) |
This dish is a fantastic source of calcium from all that cheese and milk, which is great for bone health. It also provides a decent amount of protein, thanks to the dairy and eggs. If you’re looking to lighten it up, you can use low-fat milk and reduced-fat cheese, but the texture won’t be as creamy. For a lower-carb option, you can swap the pasta for cooked cauliflower florets. It’s a different dish, but still delicious.
Conclusion
This baked four-cheese mac and cheese is more than just a recipe—it’s a little piece of warmth you can share with the people you love. Every time I pull that golden, bubbling dish out of the oven, I think of my great-aunt Margie and her faded yellow kitchen. I think of all the family dinners, the laughter, the arguments over who got the corner piece with the most crunchy topping. This recipe is my way of keeping that feeling alive, and I hope it becomes a part of your story, too.
Don’t be afraid to make it your own. Add some bacon, throw in some broccoli, or just keep it classic. The beauty of this dish is that it’s forgiving and endlessly adaptable. I’d love to hear how it turns out for you! Leave a comment below and let me know if you tried any variations, or tag me in your photos on social media. Until next time, happy cooking—and remember, a little extra cheese never hurt anyone.
Frequently Asked Questions
Can I use pre-shredded cheese?
I really don’t recommend it. Pre-shredded cheese is coated with anti-caking agents like cellulose, which prevent it from melting smoothly. Your sauce will end up grainy instead of silky. It takes just a few extra minutes to shred a block of cheese, and the difference in texture is huge.
Why did my cheese sauce turn out grainy?
Grainy sauce usually happens for one of two reasons: you used pre-shredded cheese, or you overheated the sauce. Always add the cheese over low heat and whisk constantly. If the sauce gets too hot, the proteins in the cheese can separate from the fat, leaving you with a gritty texture.
Can I make this mac and cheese without evaporated milk?
You can, but the texture won’t be as creamy. Evaporated milk has a higher concentration of protein and less water than regular milk, which helps stabilize the sauce and prevents it from becoming watery. If you don’t have it, you can substitute with 1 cup of half-and-half or heavy cream mixed with 1 cup of whole milk.
How do I reheat leftover mac and cheese without drying it out?
The best way is to reheat it in the oven. Place the leftovers in an oven-safe dish, add a splash of milk (about 1-2 tablespoons per serving), cover with foil, and bake at 350°F (175°C) for 15-20 minutes. The foil traps steam, which helps rehydrate the pasta. If you’re in a hurry, the microwave works, but the texture won’t be as good.
Can I add other cheeses to this recipe?
Absolutely! This recipe is a great base for experimentation. You can swap out the Gruyère for smoked Gouda, fontina, or even a creamy brie (remove the rind first). Just keep the total amount of cheese the same. Avoid using very hard cheeses like Parmesan in the sauce, as they don’t melt well and can make the sauce gritty. That’s why we only use it in the topping.
Pin This Recipe!
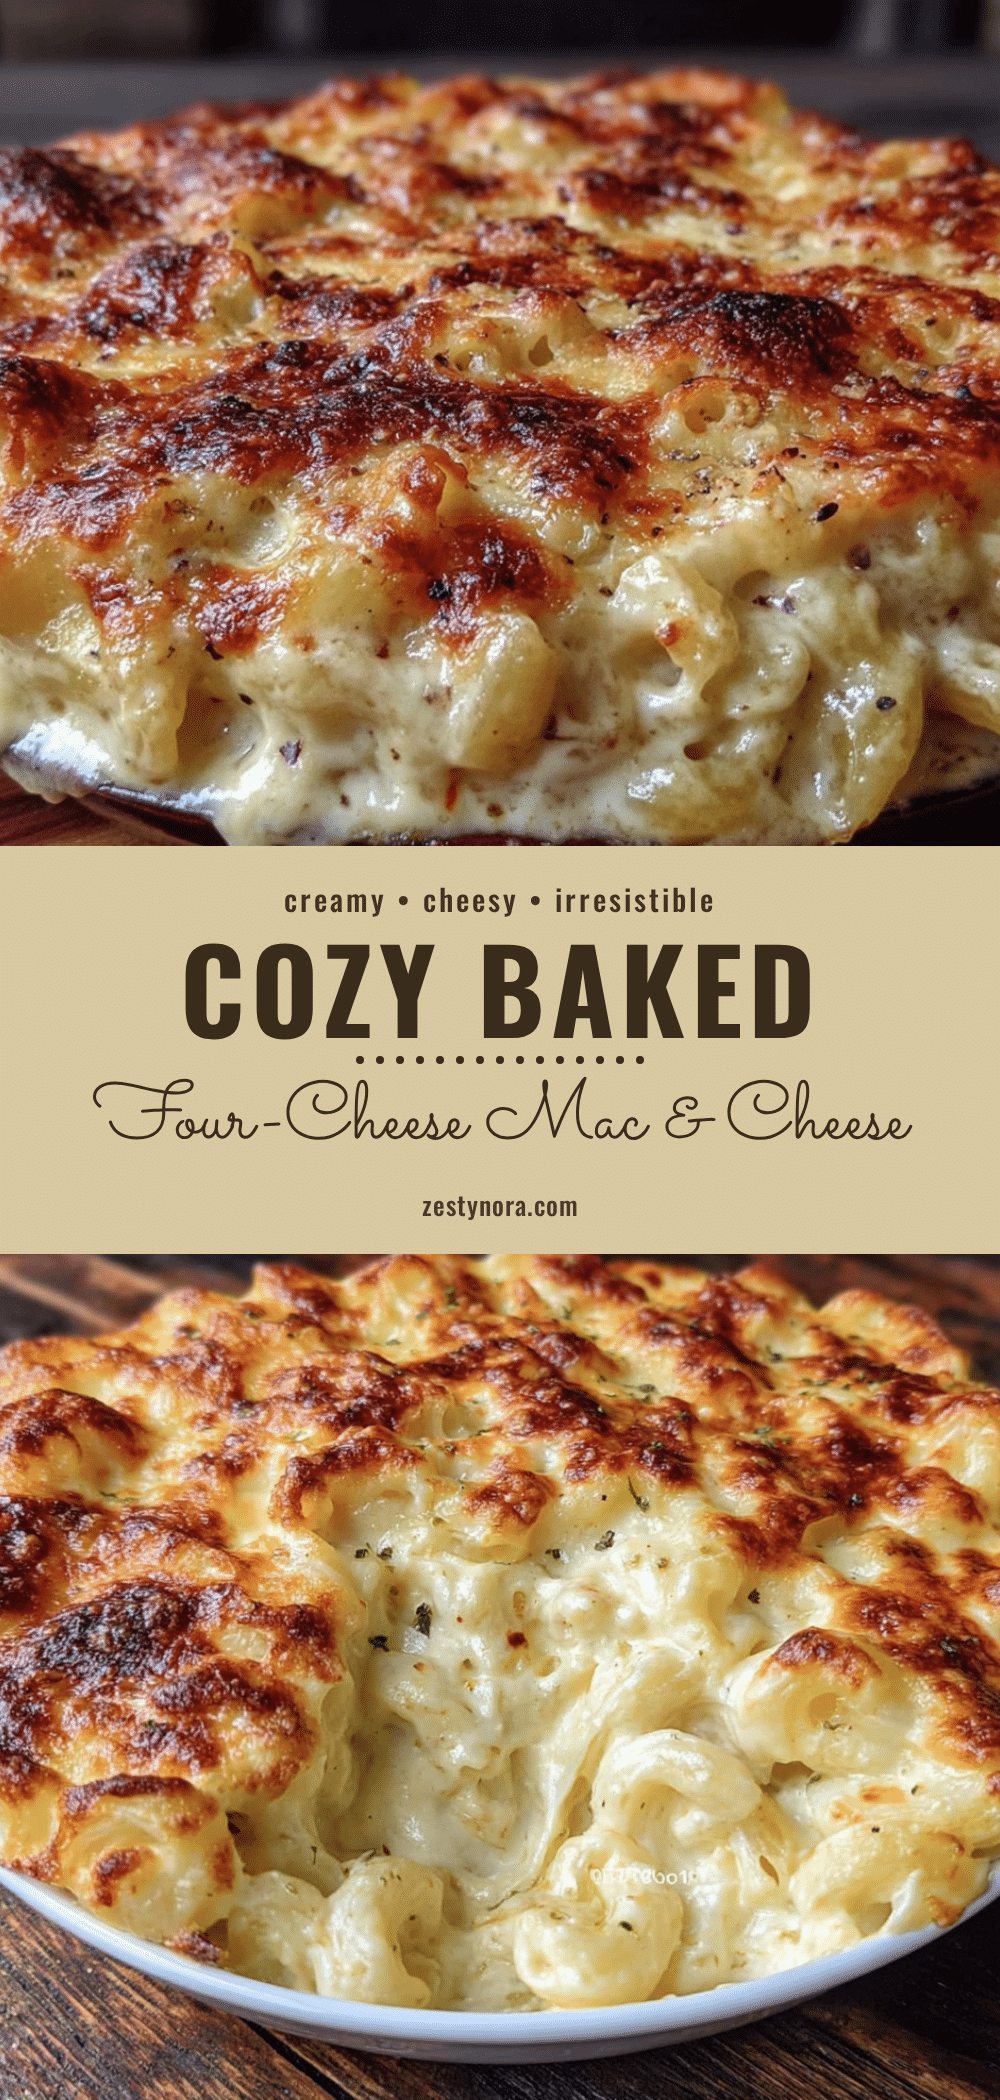
Easy Baked Four-Cheese Mac and Cheese for a Crowd
This baked four-cheese mac and cheese is ultra-creamy, topped with a golden, crispy panko crust, and perfect for feeding a crowd. It’s a comforting, family-approved dish that’s make-ahead friendly and uses simple ingredients.
- Prep Time: 20 minutes
- Cook Time: 25 minutes
- Total Time: 45 minutes
- Yield: 12 servings 1x
- Category: Main Course
- Cuisine: American
Ingredients
- 1 pound (454 g) dried elbow macaroni
- 4 tablespoons (56 g) unsalted butter
- 1/4 cup (31 g) all-purpose flour
- 2 cups (480 ml) whole milk
- 1 can (12 oz) evaporated milk
- 1 teaspoon (5 g) salt
- 1/2 teaspoon (1 g) black pepper
- 1/4 teaspoon (0.5 g) garlic powder
- 1/4 teaspoon (0.5 g) mustard powder
- 2 cups (226 g) sharp cheddar cheese, freshly shredded
- 1 cup (113 g) Gruyère cheese, freshly shredded
- 1 cup (113 g) mozzarella cheese, freshly shredded
- 4 oz (113 g) cream cheese, softened
- 1 cup (120 g) panko breadcrumbs
- 2 tablespoons (28 g) unsalted butter, melted
- 1/4 cup (28 g) Parmesan cheese, grated
Instructions
- Preheat your oven to 375°F (190°C). Lightly grease a 9×13-inch baking dish with butter or non-stick spray.
- Bring a large pot of generously salted water to a rolling boil. Add the elbow macaroni and cook according to package directions, but stop 1 minute before the suggested al dente time. Drain in a colander and set aside. Do not rinse.
- While the pasta cooks, shred the cheddar, Gruyère, and mozzarella. Toss them together in a large bowl. Set aside 1/2 cup of the shredded cheddar for the topping. Ensure the cream cheese is softened.
- In a large saucepan or Dutch oven, melt 4 tablespoons of butter over medium heat. Whisk in the flour and cook for 1-2 minutes, whisking constantly, until pale and golden (do not let it brown).
- Slowly pour in the whole milk and evaporated milk while whisking constantly. Continue whisking until the mixture is smooth and begins to thicken, about 3-4 minutes.
- Add the salt, black pepper, garlic powder, and mustard powder. Whisk to combine.
- Reduce heat to low. Add the softened cream cheese and whisk until completely melted and smooth. Gradually add the shredded cheese mixture (reserving 1/2 cup for topping), a handful at a time, whisking after each addition until fully melted and smooth, about 3-5 minutes.
- Remove the pot from heat. Add the drained pasta and stir gently with a wooden spoon until every piece is coated.
- Pour the mac and cheese mixture into the prepared baking dish and spread into an even layer.
- In a small bowl, combine the panko breadcrumbs, 2 tablespoons melted butter, grated Parmesan, and reserved 1/2 cup shredded cheddar. Stir until evenly coated. Sprinkle this mixture evenly over the mac and cheese.
- Bake on the middle rack for 20-25 minutes, until the sauce is bubbly around the edges and the topping is golden brown and crispy. For extra crunch, broil for the last 2-3 minutes, watching closely.
- Let the mac and cheese rest on the counter for at least 10-15 minutes before serving.
Notes
For best results, shred your own cheese from blocks; pre-shredded cheese contains anti-caking agents that can make the sauce grainy. Cook the pasta 1 minute less than al dente to avoid mushiness after baking. Let the dish rest for 10-15 minutes before serving to allow the sauce to set. To make ahead, assemble without the topping, cover, and refrigerate for up to 24 hours; add topping and bake, adding 5-10 minutes if needed.
Nutrition
- Serving Size: 1 serving (1/12 of r
- Calories: 500
- Sugar: 6
- Sodium: 680
- Fat: 28
- Saturated Fat: 16
- Carbohydrates: 38
- Fiber: 2
- Protein: 22
Keywords: baked mac and cheese, four-cheese mac and cheese, crowd-pleasing mac and cheese, creamy mac and cheese, easy mac and cheese