This was supposed to be a perfectly respectable batch of chocolate truffles. I had the cream measured, the chocolate chopped, and my fancy double boiler all set up. Then my phone rang, the cream boiled over, and by the time I got back to the stove, I was staring at a grainy, separated mess that looked nothing like the glossy ganache I’d planned. I was already running late for a Halloween potluck, and honestly, I almost just grabbed a bag of chips from the pantry and called it a day.
But I had a bag of Oreos sitting on the counter, and in a moment of pure desperation, I crushed them up, dumped them into the ruined chocolate, and started rolling the sticky mixture into balls. I dipped them in black candy melts, stuck some candy eyes on top, and walked into that party feeling like a fraud. You know that feeling when you’re sure everyone is about to figure out you have no idea what you’re doing? Yeah, that was me.
Then someone took a bite. Then another person. Then someone asked me for the recipe, and I had to stand there and explain that my “secret technique” was basically a kitchen meltdown. These Easy Black Cat Oreo Truffle Cookies became the thing I’m asked to bring every single Halloween now. They’re not fancy. They’re not complicated. They’re the happy accident that taught me to stop panicking when things go wrong and just keep rolling. And honestly? They turned out better than the original plan ever would have.
Why You’ll Love This Recipe
Let me tell you why these little guys have earned a permanent spot in my Halloween rotation. I’ve tested this recipe at least a dozen times now, tweaking the ratios and the dipping technique until it’s practically foolproof. Here’s what makes them special:
- No-Bake and Fast: You can have these from start to finish in about 30 minutes. No oven, no waiting, no complicated steps. Perfect for those evenings when you realize Halloween is tomorrow and you have nothing prepared.
- Simple Ingredients: Oreos, cream cheese, and candy melts. That’s the core of it. You probably already have the cream cheese, and the rest is a quick trip to any grocery store.
- Perfect for Halloween Parties: They look adorable on a dessert table, they’re easy to grab and eat standing up, and kids absolutely lose their minds over the cat faces.
- Crowd-Pleaser: I’ve brought these to work potlucks, neighborhood gatherings, and family dinners. Every single time, someone asks for the recipe. Even people who claim they don’t like sweets end up reaching for a second one.
- Unbelievably Delicious: The texture is what gets everyone. The creamy, almost fudge-like center from the crushed Oreos and cream cheese, coated in that snappy candy shell. It’s like a truffle and a cookie had a baby, and that baby is wearing a tiny cat costume.
What makes this version different from the other black cat cookies you’ll find online is the texture. I spent a lot of time figuring out the right ratio of Oreos to cream cheese so the truffle balls hold their shape without being too soft or too crumbly. And the dipping technique I’ll share with you? It keeps the candy coating smooth and crack-free, which means your cats actually look like cats and not like blobs that got caught in a rainstorm. This is the version I wish I’d had when I was frantically Googling “easy Halloween desserts” at 10 PM on October 30th.
What Ingredients You Will Need
This recipe uses simple, mostly pantry-friendly ingredients to create something that looks way more impressive than the ingredient list suggests. Here’s what you’ll need and why each one matters.
For the Truffle Base:
- 1 package (14.3 oz) regular Oreo cookies — Do not use double-stuffed or any fancy flavors for this. The regular Oreos have the perfect crumb-to-cream ratio for the truffle texture. I’ve tried it with other brands, and honestly, Oreos work best because the cream filling helps bind everything together.
- 8 oz block-style cream cheese, softened — This needs to be the block kind, not the spreadable tub version. The block has a firmer texture that gives the truffles structure. Let it sit out on the counter for about 30 minutes before you start so it blends smoothly. Cold cream cheese will leave you with lumps.
For the Coating:
- 12 oz black candy melts — I recommend the Wilton brand for the smoothest melting and best coverage. You can find them at most craft stores or online. Some brands are thicker and harder to work with, so stick with a trusted name if you can. (Pro tip: buy an extra bag in case you run low or need to thin the coating.)
- 1 tablespoon coconut oil or vegetable shortening — This is optional but highly recommended. Adding a tiny bit to your melted candy melts makes the coating thinner and easier to dip with, plus it gives a beautiful shine.
For the Decorations:
- Candy eyes — You can find these in the baking aisle at most grocery stores, especially around Halloween. I like the ones that are slightly domed because they look more like real cat eyes.
- Black decorating icing or a small piping bag with melted black candy melts — This is for drawing the ears and whiskers. The decorating icing in a tube is the easiest option if you’re short on time or patience.
- Orange or purple sprinkles (optional) — I sometimes add a few Halloween-colored sprinkles around the base of each cat for a festive touch. Totally optional, but cute.
Ingredient Substitutions:
- Gluten-free option: Use gluten-free chocolate sandwich cookies. The texture will be slightly different, but it works.
- Dairy-free option: Use dairy-free cream cheese and dairy-free chocolate chips instead of candy melts. The flavor will be a bit different, but the structure holds up well.
- White chocolate coating: If you can’t find black candy melts, you can use white chocolate chips or candy melts and color them with black oil-based food coloring. Water-based coloring will seize the chocolate and ruin it, so make sure you use oil-based.
Equipment Needed
You don’t need a fancy kitchen for these. Here’s the basic equipment that will make the process smooth and easy.
- Food processor — This is the fastest way to crush the Oreos into fine crumbs. If you don’t have one, you can put the cookies in a zip-top bag and crush them with a rolling pin. It takes a little longer and your arm might get tired, but it works just fine.
- Electric hand mixer or stand mixer — For mixing the crushed Oreos with the cream cheese. You can do this by hand with a sturdy spatula, but the mixer makes it much easier to get a uniform texture without overworking the mixture.
- Small cookie scoop or tablespoon — For portioning the truffle mixture into equal-sized balls. A #40 cookie scoop (about 1.5 tablespoons) is perfect. Consistent size means they’ll all look uniform on the tray.
- Baking sheet lined with parchment paper or a silicone baking mat — For holding the truffle balls while they chill and after they’re dipped.
- Microwave-safe bowl or double boiler — For melting the candy melts. The microwave is faster and more convenient, but a double boiler gives you more control if you’re worried about burning the chocolate.
- Fork or dipping tool — For dipping the truffle balls into the melted coating. A regular dinner fork works great. Some people use special chocolate dipping tools, but I’ve never found them necessary.
- Toothpicks — Handy for fixing any bare spots after dipping and for adding the candy eyes while the coating is still wet.
I picked up my cookie scoop at a kitchen supply store for about eight dollars, and it’s one of the best investments I’ve made for consistent baking. But honestly, a regular tablespoon works just as well if you’re careful about measuring.
Preparation Method
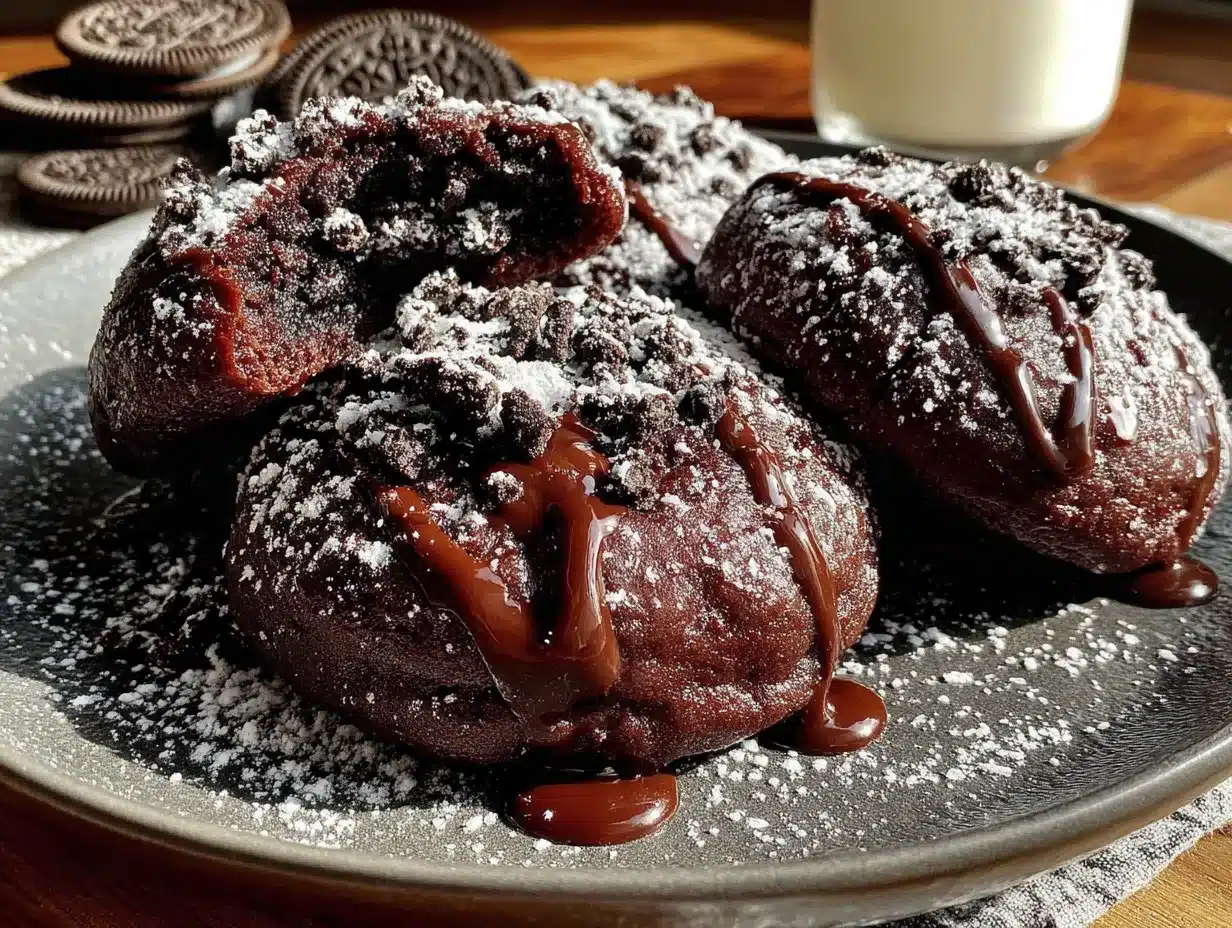
Alright, let’s make these little guys. I’ve broken everything down into clear steps with all the sensory cues and timing you’ll need. Read through once before you start so you know what’s coming.
Step 1: Crush the Oreos (5 minutes)
Place the entire package of Oreos — cookies and cream filling together — into your food processor. Pulse until you have fine, sand-like crumbs. You should not see any large chunks of cookie or streaks of white cream. The mixture should look uniform and feel slightly damp when you pinch it between your fingers. If you’re using the bag-and-rolling-pin method, make sure you crush them thoroughly. Any large pieces will create weird lumps in the truffle texture.
Step 2: Mix the Truffle Dough (3 minutes)
In a large mixing bowl, combine the crushed Oreo crumbs with the softened cream cheese. Beat on low speed with your hand mixer until everything is fully incorporated. The mixture will look dark, almost black, and have a consistency similar to play-dough. It should hold together when you squeeze a handful. If it seems too dry and crumbly, add another tablespoon of cream cheese. If it seems too sticky and wet, add a few more crushed Oreos. The texture should be firm enough to roll into balls without sticking to your hands.
Step 3: Roll the Truffle Balls (10 minutes)
Use your cookie scoop or a tablespoon to portion out the mixture. Roll each portion between your palms into a smooth ball, about 1 to 1.5 inches in diameter. Place each ball on the parchment-lined baking sheet. You should get about 24 to 28 truffle balls, depending on how large you roll them. Try to make them as uniform as possible so they all dip evenly later. If your hands get sticky, lightly dampen them with a little water or dust them with a tiny bit of powdered sugar.
Step 4: Chill the Truffle Balls (30 minutes minimum)
Place the baking sheet with the rolled truffle balls into the refrigerator. Let them chill for at least 30 minutes, or up to an hour. This step is non-negotiable. Cold truffle balls hold their shape much better when you dip them into the warm candy coating. If you try to dip room-temperature truffles, they’ll start to soften and fall apart in the melted coating. Trust me on this one — I learned the hard way and ended up with a tray of chocolate soup.
Step 5: Melt the Candy Coating (5 minutes)
About 5 minutes before you’re ready to dip, place the black candy melts in a microwave-safe bowl. Microwave in 30-second intervals, stirring thoroughly after each interval, until the coating is completely smooth and melted. Add the coconut oil or shortening if using, and stir until combined. The coating should be thin enough that it runs off a spoon in a steady stream. If it’s too thick, add a few more drops of coconut oil. Be careful not to overheat the candy melts, or they’ll seize up and become grainy and unusable.
Step 6: Dip the Truffle Balls (15 minutes)
Remove the chilled truffle balls from the refrigerator. Working with one ball at a time, drop it into the melted candy coating. Use a fork to gently push it down until it’s fully submerged. Lift the fork out, letting the excess coating drip back into the bowl. Gently tap the fork on the edge of the bowl to help smooth out the coating. Transfer the coated truffle to the parchment-lined baking sheet. While the coating is still wet, press two candy eyes onto the front of each truffle to create the cat’s face. Repeat with the remaining truffle balls. If the coating starts to thicken in the bowl as it cools, pop it back in the microwave for 15 seconds and stir.
Step 7: Add the Cat Features (10 minutes)
Once all the truffles are dipped and the coating has fully set (about 10 to 15 minutes at room temperature, or faster in the fridge), it’s time to make them look like cats. Use the black decorating icing or a small piping bag with melted black candy melts to draw two small triangles on top of each truffle for ears. Then draw three tiny whiskers on each side of the face. You can also add a tiny dot for a nose if you want, but I find the eyes and whiskers are enough to make them recognizable. Let the icing set for a few minutes before serving or storing.
Cooking Tips & Techniques
After making these more times than I care to count, I’ve picked up a few tricks that make the process smoother and the results more consistent. Let me save you some of the frustration I went through.
The Biggest Mistake I Made: The first time I dipped these, I didn’t chill them long enough. The truffle balls started to soften in the warm coating, and I ended up with these lumpy, misshapen blobs that looked nothing like cats. Now I always chill them for a full hour if I have the time. The colder they are, the cleaner the dip.
Timing and Multitasking: Here’s how I structure my time. While the truffle balls are chilling in the fridge, I set up my dipping station. I get the candy melts measured, the fork ready, and the candy eyes out on a plate. That way, when the truffles come out of the fridge, I can work through the dipping process without any interruptions. It takes about 15 minutes to dip all of them, and another 10 to add the decorations. You can easily do this while watching a movie or listening to a podcast.
Consistency Tip: If your candy coating is too thick, your cats will look lumpy and the coating will be uneven. If it’s too thin, it won’t cover properly and you’ll see the dark truffle peeking through. The perfect consistency is like warm honey — it coats the back of a spoon but still drips off in a steady stream. Adding the coconut oil or shortening is the easiest way to get there.
Temperature Matters: Work in a cool room if you can. If your kitchen is warm and humid, the candy coating will take longer to set, and the truffle balls might start to soften. I’ve made these on a hot summer day and had to pop the dipped truffles back in the fridge every few minutes to keep the coating from sliding off. Not ideal, but workable.
Variations & Adaptations
One of the best things about this recipe is how easy it is to change up. Here are a few variations I’ve tried and loved.
Pumpkin Spice Version: Add 1 teaspoon of pumpkin pie spice to the truffle mixture along with the cream cheese. Use orange candy melts instead of black, and decorate with tiny pumpkin faces instead of cat faces. I did this for a fall-themed party and they disappeared in minutes.
Peppermint Bark Version: Crush a few candy canes and mix them into the truffle mixture along with the Oreos. Use white candy melts for the coating, and sprinkle crushed candy canes on top while the coating is still wet. These are perfect for Christmas.
Dietary Adaptation — Lower Sugar: Use reduced-fat Oreos and reduced-fat cream cheese. The texture will be slightly less rich, but the structure holds up fine. You can also use sugar-free chocolate chips for the coating, though the melting behavior is a bit different and you’ll need to be extra careful not to overheat them.
Different Animal Shapes: If you’re not feeling the black cat theme, you can make these into any animal by changing the color of the coating and the decorations. Use pink coating and add small ears for pigs. Use white coating and add antlers for reindeer. The basic truffle is a blank canvas.
My Favorite Personal Variation: I once added a teaspoon of instant espresso powder to the truffle mixture, and it deepened the chocolate flavor in a way that was subtle but noticeable. It didn’t make the truffles taste like coffee — it just made them taste more like chocolate. I’ve done it ever since.
Serving & Storage Suggestions
These truffles are best served chilled or at cool room temperature. I usually take them out of the fridge about 10 minutes before serving so the coating softens slightly and the texture of the truffle center becomes creamy instead of firm. If you serve them straight from the fridge, they’re still delicious, just a bit harder.
Presentation Ideas: Arrange them on a black or orange platter for a Halloween party. You can also place each truffle in a small Halloween-themed cupcake liner for a more polished look. I’ve stacked them on a tiered serving tray before, and they look adorable at different heights.
What to Serve With Them: These pair beautifully with a glass of cold milk, a hot cup of coffee, or even a glass of red wine if you’re serving them at an adult gathering. They’re rich enough to stand alone, so you don’t need much else on the plate.
Storage Instructions: Store the finished truffles in an airtight container in the refrigerator. They’ll stay fresh for up to one week. The texture actually improves after a day or two as the flavors meld together. You can also freeze them for up to three months. To freeze, place the dipped and decorated truffles on a baking sheet in the freezer until solid, then transfer them to a freezer-safe container. Thaw in the refrigerator overnight before serving.
Reheating Note: You don’t need to reheat these. Just let them sit at room temperature for 10 to 15 minutes before serving if you want a softer texture. If you’ve frozen them, let them thaw in the fridge overnight, then bring them to room temperature for about 10 minutes before serving.
Nutritional Information & Benefits
I’m not going to pretend these are health food, because they’re not. They’re a treat, and that’s okay. But here’s a rough idea of what you’re looking at per truffle, based on a batch of 24.
| Nutrient | Amount Per Truffle |
|---|---|
| Calories | 180-200 |
| Total Fat | 10-12g |
| Saturated Fat | 6-7g |
| Carbohydrates | 22-25g |
| Sugar | 16-18g |
| Protein | 2-3g |
Potential Allergens: These truffles contain wheat (from the Oreos), dairy (from the cream cheese and candy melts), and soy (from the Oreos). If you’re serving them at a party where someone has allergies, it’s worth mentioning the ingredients so they can make an informed choice.
Health Perspective: Here’s how I think about it. These are a special occasion treat. They’re not something you eat every day, and that’s fine. The cream cheese does add a small amount of protein and calcium, and the Oreos provide… well, they provide joy. I’ve stopped feeling guilty about enjoying desserts like this. Life is short, and sometimes you need a black cat truffle cookie.
Conclusion
These Easy Black Cat Oreo Truffle Cookies started as a failed attempt at something fancy and ended up being one of my most-requested recipes. That’s the thing about cooking — sometimes the best dishes come from the moments when everything goes wrong and you just have to make it work anyway.
I love these because they’re forgiving. If your truffle balls aren’t perfectly round, that’s okay. If the ears are a little lopsided, that just gives your cats personality. The recipe works whether you’re a confident baker or someone who’s still figuring out how to soften cream cheese. And at the end, you have a tray full of adorable little cats that taste incredible and make everyone smile.
I’d love to hear how yours turn out. Did you add any twists? Did your kids help with the decorating? Did you find a better way to draw the whiskers? Drop a comment below and let me know. And if you share them on Pinterest or Instagram, tag me — I love seeing your versions. Until next time, happy baking, and may your truffles always be perfectly chilled before you dip them.
Frequently Asked Questions
Can I make these truffles ahead of time?
Absolutely. You can make the truffle balls and chill them up to two days before you plan to dip them. Or you can fully assemble and decorate them up to a week ahead and store them in the fridge. They actually taste better after a day or two.
My candy coating is too thick. What should I do?
Add a teaspoon of coconut oil or vegetable shortening and stir well. Microwave for 10 seconds if needed to help it incorporate. The coating should thin out nicely. Add more oil in small increments until you reach the right consistency.
Can I use a different type of cookie?
You can, but the texture will change. Oreos work best because of the cream filling that helps bind the truffle. If you use a different cookie, you may need to adjust the amount of cream cheese to get the right consistency.
My truffle mixture is too sticky to roll. What went wrong?
Your cream cheese might have been too soft or you might have used a little too much. Add a few more crushed Oreos to the mixture and stir until it firms up. You can also chill the mixture for 15 minutes before rolling.
How do I get the candy coating perfectly smooth?
The key is to make sure your truffle balls are very cold before dipping, and your coating is thin enough to drip off easily. Tap the fork gently on the edge of the bowl after lifting the truffle out. If you see any bare spots, use a toothpick to dab a little extra coating on while it’s still wet.
Pin This Recipe!
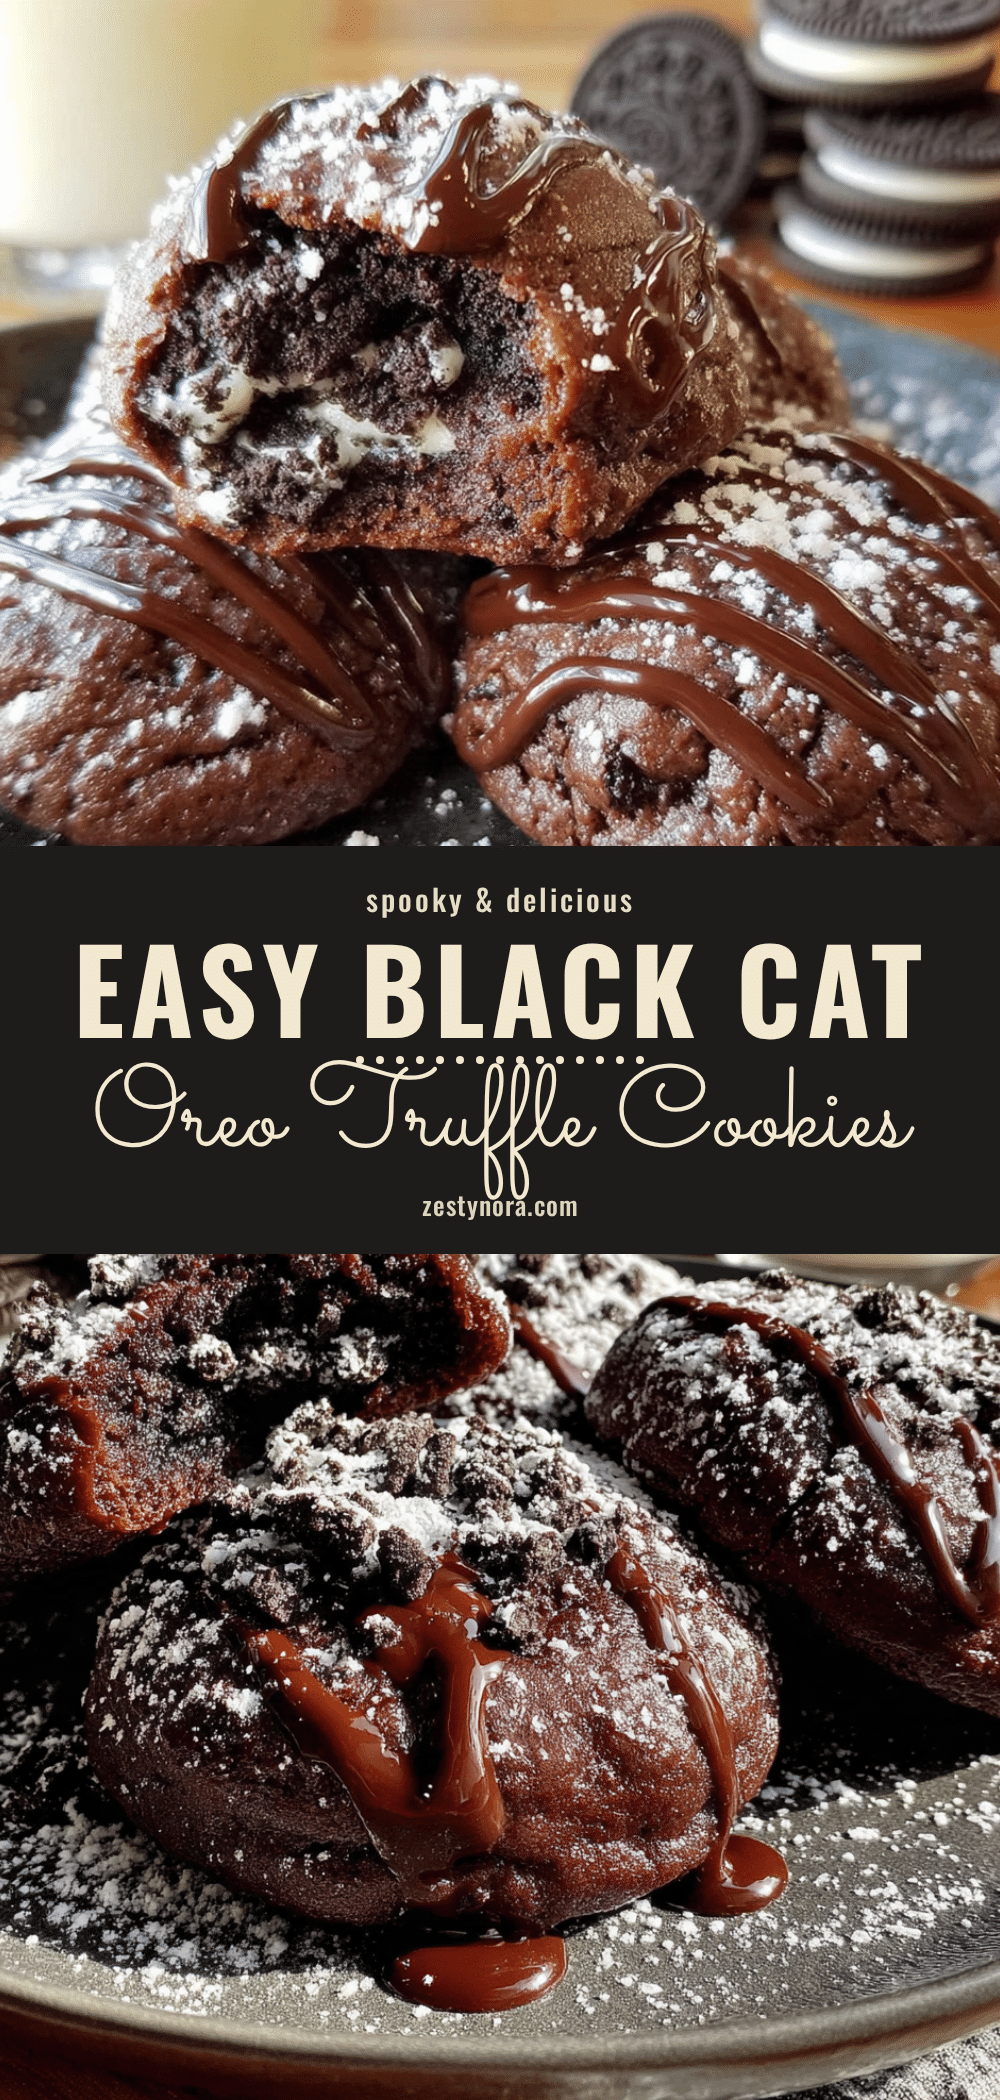
Easy Black Cat Oreo Truffle Cookies for Halloween

These no-bake Oreo truffle cookies are a happy accident turned Halloween favorite. Crushed Oreos and cream cheese are rolled into balls, dipped in black candy coating, and decorated to look like adorable black cats.
- Prep Time: 15 minutes
- Cook Time: 0 minutes
- Total Time: 30 minutes (plus 30 minutes chilling)
- Yield: 24 servings 1x
- Category: Dessert
- Cuisine: American
Ingredients
- 1 package (14.3 oz) regular Oreo cookies
- 8 oz block-style cream cheese, softened
- 12 oz black candy melts
- 1 tablespoon coconut oil or vegetable shortening (optional)
- Candy eyes
- Black decorating icing or melted black candy melts for ears and whiskers
- Orange or purple sprinkles (optional)
Instructions
- Crush the entire package of Oreos (cookies and cream filling) in a food processor until you have fine, sand-like crumbs.
- In a large mixing bowl, combine the crushed Oreo crumbs with the softened cream cheese. Beat on low speed until fully incorporated. The mixture should hold together when squeezed.
- Using a cookie scoop or tablespoon, portion the mixture and roll into smooth balls about 1 to 1.5 inches in diameter. Place on a parchment-lined baking sheet. You should get about 24 to 28 truffle balls.
- Chill the truffle balls in the refrigerator for at least 30 minutes (up to 1 hour).
- About 5 minutes before dipping, melt the black candy melts in a microwave-safe bowl in 30-second intervals, stirring after each, until smooth. Stir in coconut oil or shortening if using.
- Remove chilled truffle balls from the fridge. Drop one ball at a time into the melted coating, using a fork to submerge it. Lift the fork, let excess drip off, and transfer to the parchment-lined sheet. While the coating is still wet, press two candy eyes onto each truffle.
- Once coating has set (about 10-15 minutes), use black decorating icing or melted black candy melts to draw two small triangles on top for ears and three tiny whiskers on each side of the face. Let icing set before serving or storing.
Notes
Chill truffle balls thoroughly before dipping to prevent them from falling apart in the warm coating. If candy coating is too thick, add a teaspoon of coconut oil or shortening. For best texture, let truffles sit at room temperature for 10 minutes before serving.
Nutrition
- Serving Size: 1 truffle
- Calories: 190
- Sugar: 17
- Sodium: 120
- Fat: 11
- Saturated Fat: 6.5
- Carbohydrates: 23
- Fiber: 1
- Protein: 2.5
Keywords: Halloween cookies, Oreo truffles, black cat cookies, no-bake dessert, easy Halloween dessert


