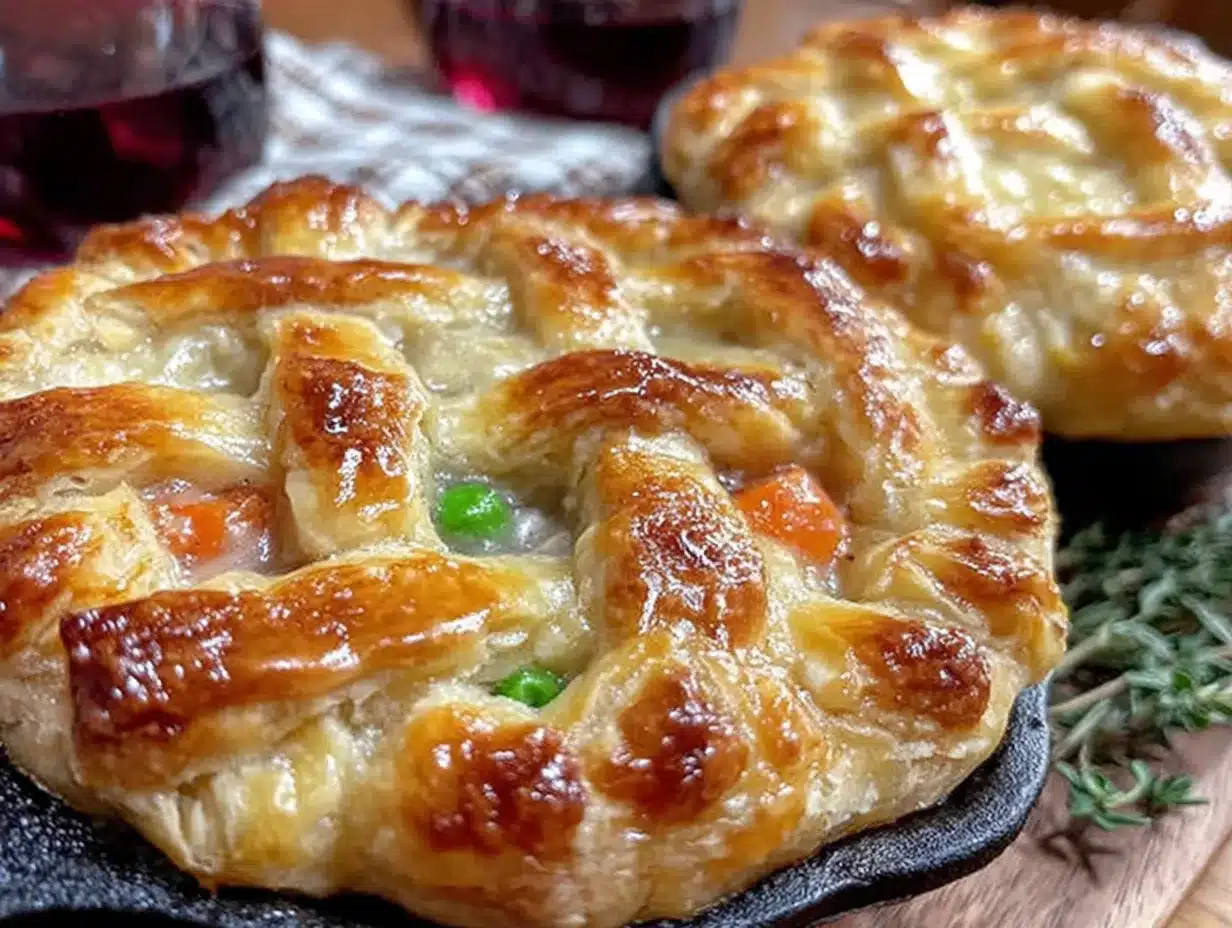
The first Friendsgiving I ever hosted, I made the mistake of trying to be fancy. A whole roasted turkey with truffle butter, a complicated gravy that required three separate stocks, and a pie that looked beautiful but tasted like a math problem. Everyone was polite, but the kitchen felt tense. The next year, my friend Carla showed up with something completely different. She walked in carrying a cast iron skillet full of these adorable mini chicken pot pies, still bubbling from her car ride over. The crust was golden, the filling was creamy, and everyone just stopped talking for a second. That was the moment I realized Friendsgiving isn’t about impressing people. It’s about feeding them something that feels like a hug.
These Cozy Friendsgiving Mini Chicken Pot Pies are that recipe for me now. They’re the dish I bring when I want to say, “I’m glad we’re doing this.” They’re smaller than a traditional pot pie, which means everyone gets their own little personal pie. No sharing, no fighting over the last bit of filling. Just pure, buttery, savory comfort in a cute little package. Honestly, I’ve made them for actual Thanksgiving dinners too, and they always steal the show. Maybe you’ve been there—standing in a grocery store aisle, wondering why holiday cooking has to be so stressful. These pies are the answer.
The best part? They come together faster than you’d think. No complicated pastry techniques, no obscure ingredients. Just good, honest food that makes people feel taken care of. I keep making them because every time I do, someone asks for the recipe. And that’s the highest compliment a cook can get, isn’t it?
Why You’ll Love This Recipe
I’ve tested this recipe about a dozen times now, tweaking the filling ratios and the crust technique until everything felt just right. What I love most is how forgiving it is. You don’t need to be a pastry chef to pull these off. The filling is thick and rich without being gluey, and the crust stays flaky even after reheating. Here’s why these mini pot pies are worth your time:
- Perfect for Friendsgiving: Individual portions mean no awkward slicing at the table. Everyone gets their own golden, bubbly pie.
- Make-Ahead Friendly: Assemble them the night before, pop them in the fridge, and bake when your guests arrive. The filling actually gets better overnight.
- Simple Ingredients: You probably have most of these in your pantry right now. No truffle oil or obscure spices required.
- Crowd-Pleaser: I’ve served these to picky eaters, vegetarians (with a mushroom version), and serious foodies. They all disappear.
- Unbelievably Cozy: There’s something about a personal pie that just hits different. It’s comfort food at its most personal.
What makes this version different from other pot pie recipes is the technique for the filling. Instead of a roux that can get lumpy, I use a combination of butter and cream cheese to create an ultra-smooth base. It sounds weird, I know, but trust me on this one. The cream cheese adds a subtle tang that cuts through the richness and keeps every bite interesting. I learned this trick from a caterer friend who makes pot pies for a living. She said the cream cheese stabilizes the sauce so it doesn’t break when you reheat it. I’ve never looked back.
These pies are the kind of food that makes you close your eyes after the first bite. They’re perfect for when you want to impress your friends without spending all day in the kitchen. And honestly, isn’t that what Friendsgiving is all about?
What Ingredients You Will Need
This recipe uses simple, wholesome ingredients to deliver bold flavor and satisfying texture without the fuss. Most of these are pantry staples, but I’ve included notes on where to find the best options. The ingredients are grouped by function to make assembly easier.
For the Filling
- Unsalted butter, 4 tablespoons (adds richness and helps create the silky sauce base)
- Yellow onion, 1 medium, diced (about 1 cup; sweet onions work too)
- Carrots, 2 medium, peeled and diced (add natural sweetness)
- Celery stalks, 2, diced (classic aromatic base)
- Garlic cloves, 3, minced (fresh is best here)
- All-purpose flour, 1/3 cup (thickens the filling)
- Chicken broth, 2 cups (low-sodium preferred; I like Swanson’s or homemade)
- Whole milk, 1 cup (or half-and-half for extra richness)
- Cooked chicken, 3 cups, shredded or diced (rotisserie chicken works great)
- Frozen peas, 1 cup (no need to thaw)
- Fresh thyme, 1 teaspoon, chopped (or 1/2 teaspoon dried)
- Salt, 1 teaspoon, plus more to taste
- Black pepper, 1/2 teaspoon, freshly ground
For the Crust
- Refrigerated pie crusts, 2 packages (14 ounces each; I prefer Pillsbury or Trader Joe’s brand for consistency)
- Egg, 1 large, beaten with 1 tablespoon water (for egg wash)
- Flaky sea salt, optional, for sprinkling on top
A few ingredient notes: For the chicken, I usually buy a rotisserie chicken from the grocery store. It saves time and adds a ton of flavor. If you have leftover turkey from Thanksgiving, that works beautifully too. The cream cheese is non-negotiable in my opinion—it really does make the sauce silky and stable. For a dairy-free version, you can use coconut cream and a plant-based butter, but the texture will be slightly different. I’ve also made this with leftover roasted vegetables instead of chicken, and it was surprisingly good.
Equipment Needed
You don’t need a fully stocked kitchen to make these pies, but a few specific tools will make your life easier. Here’s what I use:
- Large skillet or saucepan (12-inch works best for the filling; non-stick is fine but not required)
- Muffin tin (standard 12-cup; this is what creates the mini pie shape)
- Rolling pin (for rolling out the crust if needed; a wine bottle works in a pinch)
- 3-inch round cookie cutter (or a drinking glass with a similar diameter)
- Pastry brush (for egg wash; a clean paintbrush works too if you’re desperate)
- Mixing bowls (one large, one small)
- Cutting board and sharp knife
- Measuring cups and spoons
I bought my muffin tin at a thrift store for two dollars, and it works perfectly. If you don’t have a cookie cutter, just use the rim of a glass. The pies don’t need to be perfect circles—rustic is actually better for that homemade look. I’ve also made these in ramekins when I wanted bigger portions. Just increase the baking time by about 5 minutes.
Preparation Method
Let’s get cooking. This recipe makes 12 mini pot pies, perfect for a crowd. The total time is about 1 hour, with 30 minutes of active prep. I’ve broken it down into clear steps so you can follow along without stress.
- Preheat your oven to 400°F (200°C). Position a rack in the middle of the oven. While it heats, start the filling. In a large skillet over medium heat, melt the 4 tablespoons of butter. Let it foam and then subside. Add the diced onion, carrots, and celery. Cook, stirring occasionally, until the vegetables are softened but not browned—about 6 to 7 minutes. You want them to be tender enough to bite through easily.
- Add the minced garlic and cook for another 30 seconds until fragrant. Sprinkle the 1/3 cup of flour over the vegetables and stir constantly for 1 minute. This cooks the raw flour taste out. The mixture will look like a thick paste clinging to the vegetables. That’s exactly what you want.
- Slowly pour in the chicken broth while whisking continuously. Don’t dump it all at once or you’ll get lumps. Keep whisking until the sauce thickens, about 2 to 3 minutes. Then pour in the milk and whisk again. The sauce should be smooth and glossy. Let it simmer gently for 1 minute.
- Stir in the shredded chicken, frozen peas, fresh thyme, salt, and pepper. Turn off the heat. Taste the filling and adjust seasoning if needed. It should be well-seasoned because the crust will balance it out. Let the filling cool slightly while you prepare the crust. This step is important—if the filling is too hot, it will make the bottom crust soggy.
- Prepare your muffin tin. Lightly grease the cups with butter or non-stick spray. Unroll one package of refrigerated pie crust on a lightly floured surface. Use your 3-inch cutter to cut out 12 circles. Press each circle into a muffin cup, gently shaping it to fit the bottom and sides. Don’t worry if the edges stick up a bit—that’s fine.
- Fill each crust with about 1/4 cup of the chicken filling. Don’t overfill or the pies will overflow during baking. Leave a little space at the top. Now unroll the second pie crust and cut out 12 more circles. Place one circle on top of each filled pie. Press the edges together with your fingers or a fork to seal. Cut a small slit in the top of each pie to let steam escape.
- Brush the tops with the beaten egg wash. Sprinkle with flaky sea salt if using. Place the muffin tin on a baking sheet (to catch any drips) and bake for 20 to 25 minutes, until the crust is golden brown and the filling is bubbling up through the slits. Let them cool in the tin for 5 minutes before carefully removing them with a fork or small spatula.
A quick note: If the edges of your crust start browning too quickly, tent the tin loosely with foil for the last 5 minutes of baking. I learned this the hard way after my first batch came out with burnt edges and raw centers. Also, let the pies cool completely before storing—otherwise the steam will make the crust soggy.
Cooking Tips & Techniques
I’ve made these mini pot pies more times than I can count, and I’ve definitely had my share of failures. Here’s what I’ve learned so you don’t have to repeat my mistakes.
Don’t skip the cooling step. I know it’s tempting to rush, but if you pour hot filling into the raw crust, the bottom will turn into a sad, soggy mess. Let the filling sit for 10 to 15 minutes at room temperature before assembling. Your patience will be rewarded.
Use a light hand with the flour. When rolling out the crust, use just enough flour to prevent sticking. Too much flour will make the pastry tough. I keep a small bowl of flour nearby and dip my rolling pin in it instead of dusting the entire surface. It’s more controlled.
Multitask strategically. While the filling is cooling, prep your muffin tin and cut out your crust circles. This saves time and keeps your workflow smooth. I also like to set out all my ingredients before I start cooking. It’s a small thing, but it makes the whole process feel less chaotic.
Watch for visual cues. The pies are done when the crust is a deep golden brown and you can see the filling bubbling through the steam vents. If the filling isn’t bubbling, the inside might still be cold. Give it another 2 to 3 minutes. Every oven runs a little differently.
If your crust is too dry, add a tablespoon of ice water and mix gently. If it’s too sticky, add a tablespoon of flour. The dough should feel like playdough—pliable but not tacky. I once forgot to add the water entirely and ended up with crumbly crust that fell apart in the pan. Not my finest moment.
Variations & Adaptations
This recipe is endlessly adaptable. Here are a few variations I’ve tried and loved:
- Vegetarian Version: Swap the chicken for 2 cups of diced mushrooms and 1 cup of cooked lentils. Use vegetable broth instead of chicken broth. The mushrooms add a meaty texture that makes you forget the chicken is missing.
- Dairy-Free Adaptation: Use olive oil or vegan butter instead of regular butter. Replace the milk with unsweetened oat milk or coconut cream. The filling will be slightly thinner but still delicious.
- Spicy Twist: Add 1/2 teaspoon of smoked paprika and a pinch of cayenne pepper to the filling. Top with a sprinkle of chili flakes before baking. This version is great for a Friendsgiving with a little edge.
- Herb Garden Variation: Swap the thyme for fresh rosemary or sage. Add 2 tablespoons of chopped fresh parsley at the end for brightness. This is my go-to for fall gatherings.
- Individual Ramekin Version: If you don’t have a muffin tin, use 6-ounce ramekins. Increase the baking time to 25 to 30 minutes. The pies will be taller and more dramatic.
I once made a version with leftover Thanksgiving turkey, cranberry sauce swirled into the filling, and a sage crust. It was a little wild, but honestly? It worked. Don’t be afraid to experiment.
Serving & Storage Suggestions
Serve these mini pot pies warm, straight from the oven. I like to place them on a platter lined with a clean kitchen towel or a wooden board. They look beautiful with a sprinkle of fresh thyme leaves on top. For a Friendsgiving spread, pair them with a simple green salad dressed with lemon vinaigrette. The acidity cuts through the richness of the pies perfectly.
For drinks, a crisp white wine like Sauvignon Blanc or a light Pinot Noir works well. If you’re serving these for a cozy dinner, a mug of hot apple cider is also a great choice. The pies are substantial enough to be a main course, but they also work as part of a larger buffet.
Storage: Let leftover pies cool completely, then store them in an airtight container in the refrigerator for up to 4 days. The crust will soften slightly, but they’re still delicious. To reheat, place them on a baking sheet in a 350°F (175°C) oven for 10 to 12 minutes. The microwave works in a pinch, but the crust won’t be as crispy.
Freezing: These pies freeze beautifully. Assemble them completely but don’t bake. Place the muffin tin in the freezer until the pies are solid, then transfer them to a freezer bag. They’ll keep for up to 3 months. To bake from frozen, add 10 to 15 minutes to the baking time and cover with foil for the first half. The flavors actually deepen after freezing, so I often make a double batch and save some for later.
Nutritional Information & Benefits
Each mini pot pie (based on 12 servings) contains approximately:
- Calories: 310
- Protein: 18g
- Carbohydrates: 28g
- Fat: 14g
- Fiber: 3g
- Sodium: 520mg
These pies are a good source of protein from the chicken, which helps keep you full and satisfied. The carrots and peas provide vitamin A and fiber, while the celery adds a dose of vitamin K. The crust is definitely an indulgence, but that’s part of what makes these pies so comforting. If you’re watching your sodium, use low-sodium broth and skip the flaky salt on top.
For a lighter version, you can use a whole wheat pie crust or skip the top crust entirely and just bake the filling with a crumb topping made from oats and olive oil. It’s not the same, but it’s still good. I personally think the full-fat version is worth it for special occasions. Balance, you know?
Conclusion
These Cozy Friendsgiving Mini Chicken Pot Pies are everything I want in a holiday dish. They’re warm, they’re personal, and they make people feel cared for. The recipe is forgiving enough for a beginner but impressive enough for a seasoned cook. Whether you’re hosting your first Friendsgiving or your tenth, these little pies will earn you a spot on the invite list for years to come.
I love that I can make them ahead, that they travel well, and that they always get that happy silence at the table when everyone takes their first bite. That’s the moment I cook for. So go ahead—grab a muffin tin, pick up a rotisserie chicken, and make these for your people. They’ll thank you for it. And when you do, I’d love to hear how it goes. Drop a comment below or tag me in your photos. Happy Friendsgiving, friends.
Frequently Asked Questions
Can I use homemade pie crust instead of refrigerated?
Absolutely. Homemade crust works beautifully here. Just roll it out to about 1/8-inch thickness and cut your circles. The bake time should remain the same. I’ve used my grandmother’s butter crust recipe, and it’s divine.
Can I make these in advance for a party?
Yes! Assemble the pies completely, cover the muffin tin with plastic wrap, and refrigerate for up to 24 hours. Bake directly from the fridge, adding 2 to 3 minutes to the baking time. The filling actually gets more flavorful overnight.
What if I don’t have a muffin tin?
No problem. Use 6-ounce ramekins or even a standard 9-inch pie plate. For a pie plate, increase the baking time to 35 to 40 minutes. Just adjust your expectations for portion sizes.
Can I use leftover turkey instead of chicken?
Definitely. This is a fantastic way to use up Thanksgiving leftovers. The turkey is already cooked, so just shred it and add it to the filling. I’ve also used leftover roasted chicken from a Sunday dinner. It’s all good.
Why did my crust get soggy?
Soggy crust usually means the filling was too hot when you assembled the pies, or the pies weren’t baked long enough. Let the filling cool to room temperature before filling the crusts, and make sure your oven is fully preheated. Also, don’t skip the egg wash—it creates a barrier that helps keep the crust crisp.
Pin This Recipe!
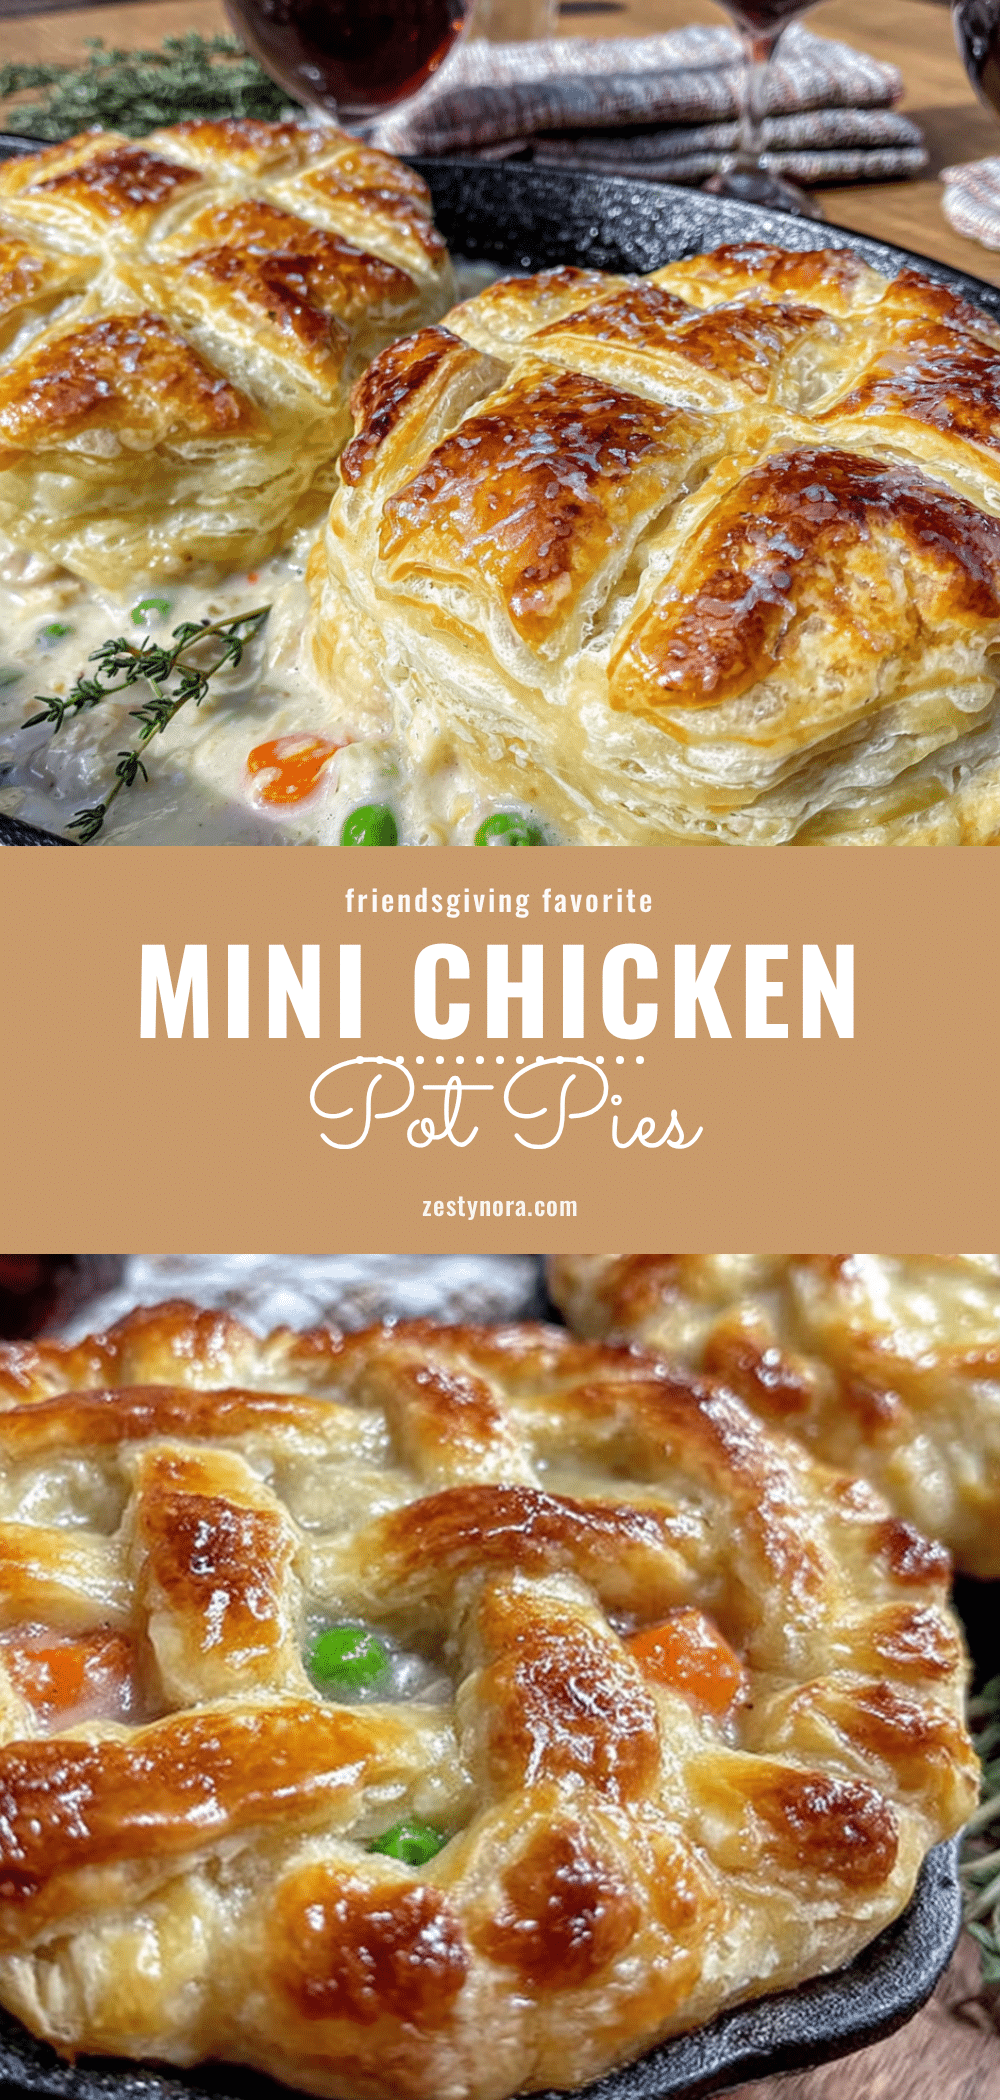
Cozy Friendsgiving Mini Chicken Pot Pies

These individual mini chicken pot pies are the ultimate comfort food for Friendsgiving. With a creamy, rich filling and a flaky golden crust, each person gets their own personal pie that feels like a warm hug.
- Prep Time: 30 minutes
- Cook Time: 25 minutes
- Total Time: 55 minutes
- Yield: 12 servings 1x
- Category: Main Course
- Cuisine: American
Ingredients
- 4 tablespoons unsalted butter
- 1 medium yellow onion, diced (about 1 cup)
- 2 medium carrots, peeled and diced
- 2 celery stalks, diced
- 3 garlic cloves, minced
- 1/3 cup all-purpose flour
- 2 cups low-sodium chicken broth
- 1 cup whole milk (or half-and-half)
- 3 cups cooked chicken, shredded or diced (rotisserie chicken works great)
- 1 cup frozen peas (no need to thaw)
- 1 teaspoon fresh thyme, chopped (or 1/2 teaspoon dried)
- 1 teaspoon salt, plus more to taste
- 1/2 teaspoon freshly ground black pepper
- 2 packages refrigerated pie crusts (14 ounces each, such as Pillsbury or Trader Joe’s)
- 1 large egg, beaten with 1 tablespoon water (for egg wash)
- Flaky sea salt (optional, for sprinkling)
Instructions
- Preheat your oven to 400°F (200°C). Position a rack in the middle of the oven.
- In a large skillet over medium heat, melt the 4 tablespoons of butter. Add the diced onion, carrots, and celery. Cook, stirring occasionally, until softened but not browned, about 6 to 7 minutes.
- Add the minced garlic and cook for another 30 seconds until fragrant. Sprinkle the 1/3 cup of flour over the vegetables and stir constantly for 1 minute to cook out the raw flour taste.
- Slowly pour in the chicken broth while whisking continuously to avoid lumps. Keep whisking until the sauce thickens, about 2 to 3 minutes. Then pour in the milk and whisk again until smooth and glossy. Let simmer gently for 1 minute.
- Stir in the shredded chicken, frozen peas, fresh thyme, salt, and pepper. Turn off the heat. Taste and adjust seasoning if needed. Let the filling cool slightly (about 10-15 minutes) to prevent soggy crust.
- Lightly grease a standard 12-cup muffin tin with butter or non-stick spray. Unroll one package of refrigerated pie crust on a lightly floured surface. Use a 3-inch round cookie cutter (or drinking glass) to cut out 12 circles. Press each circle into a muffin cup, gently shaping to fit the bottom and sides.
- Fill each crust with about 1/4 cup of the chicken filling, leaving a little space at the top. Unroll the second pie crust and cut out 12 more circles. Place one circle on top of each filled pie. Press the edges together with your fingers or a fork to seal. Cut a small slit in the top of each pie to let steam escape.
- Brush the tops with the beaten egg wash. Sprinkle with flaky sea salt if using. Place the muffin tin on a baking sheet and bake for 20 to 25 minutes, until the crust is golden brown and the filling is bubbling through the slits. If edges brown too quickly, tent loosely with foil for the last 5 minutes.
- Let the pies cool in the tin for 5 minutes before carefully removing them with a fork or small spatula. Serve warm.
Notes
Let the filling cool to room temperature before assembling to prevent soggy crust. For a dairy-free version, use olive oil or vegan butter and unsweetened oat milk or coconut cream. To make ahead, assemble completely, cover with plastic wrap, and refrigerate for up to 24 hours; bake directly from the fridge, adding 2-3 minutes. To freeze, assemble but don’t bake, freeze solid in the muffin tin, then transfer to a freezer bag for up to 3 months; bake from frozen, adding 10-15 minutes and covering with foil for the first half.
Nutrition
- Serving Size: 1 mini pot pie
- Calories: 310
- Sugar: 4
- Sodium: 520
- Fat: 14
- Saturated Fat: 7
- Carbohydrates: 28
- Fiber: 3
- Protein: 18
Keywords: mini chicken pot pie, friendsgiving, comfort food, individual pot pie, chicken pot pie, holiday appetizer, make-ahead