I was standing in the spice aisle of my local grocery store last November when a kid ran past me, clutching a paper bag from the bakery section. The smell hit me a second later—that warm, impossible mix of cinnamon, nutmeg, and cloves that somehow smells like comfort and anticipation all at once. And suddenly I was six years old, sitting on a cold linoleum floor in my aunt Margie’s kitchen, watching her pull a pie from the oven with oven-mitt-clad hands that looked way too big for her arms.
She passed away when I was twelve, and for years I didn’t make pumpkin pie. I bought them from the store, you know? The kind that comes in a flimsy tin with a crust that crumbles into dust. They were fine. But they never smelled like her kitchen. They never had that moment where the steam rises up and you catch the scent before you even see the pie.
Honestly, I spent about four autumns trying to recreate that exact feeling. I tried her recipe card—faded, splattered with what I hoped was vanilla extract—but something was always off. The filling was too dense or the crust was too tough. I mean, I almost gave up. But then I realized I was overthinking it. She wasn’t a perfectionist. She used canned pumpkin, store-bought butter, and a rolling pin that had seen better days. So I stopped trying to be perfect and started trying to be present.
This is that pie. The one that makes you close your eyes after the first bite. The one that tastes like someone you love is still in the kitchen. Maybe you’ve had that feeling—where a recipe feels like a hug from a memory. That’s what this pumpkin pie is for me, and I think it might become that for you too.
Why You’ll Love This Recipe
Let me tell you why this isn’t just another pumpkin pie recipe. I’ve tested this thing about seven times now—my neighbors are probably tired of being my taste-testers, but they keep showing up, so I think that’s a good sign. This pie has become my go-to for Friendsgiving, Thanksgiving dinner, and even random Tuesday nights when I need a little comfort.
- Flaky, Buttery Crust: This isn’t that soggy-bottom situation you get with store-bought crusts. We’re talking layers that shatter when you cut into them. It’s the kind of crust that makes people ask, “Did you make this from scratch?” with genuine surprise in their voice.
- Silky Smooth Filling: No graininess, no cracking on top. The secret is in how you temper the eggs and the exact temperature you bake it at. I learned this the hard way after one particularly sad-looking pie that looked like a topographical map.
- Perfectly Spiced: Not too sweet, not too spicy. It’s that Goldilocks balance where the pumpkin actually tastes like pumpkin and not just a sugar bomb.
- Make-Ahead Friendly: This is a lifesaver when you’re hosting. You can make the crust three days ahead and the filling a day before. Then you just assemble and bake while your guests are sipping wine and pretending to help.
- Impressive Without Stress: This pie looks like you spent hours on it, but honestly? The active time is about 30 minutes. The rest is just waiting and smelling amazing things happen in your oven.
This recipe is perfect for dinner parties, holiday gatherings, or potlucks where you want to bring something that says “I care” without saying “I spent all night on this.” It’s comfort food that feels special—the kind of pie that makes people linger at the table a little longer.
What Ingredients You Will Need
This recipe uses simple, wholesome ingredients that come together to create something truly special. Most of these are pantry staples, but I’ll share a few tips on what to look for to get the best results.
For the Flaky Crust
- 2 ½ cups (315g) all-purpose flour – I use King Arthur Flour for consistent results, but any brand works. Just don’t use self-rising flour.
- 1 teaspoon salt – Fine sea salt is best. It dissolves more evenly than kosher salt in the dough.
- 1 tablespoon granulated sugar – Just a touch to help with browning and a hint of sweetness.
- 1 cup (226g) unsalted butter, very cold and cut into small cubes – This is non-negotiable. The butter needs to be straight from the fridge. If it softens, your crust won’t be flaky.
- 6 to 8 tablespoons ice water – The water needs to be genuinely icy. I keep a cup of water with ice cubes in it while I’m working.
For the Pumpkin Filling
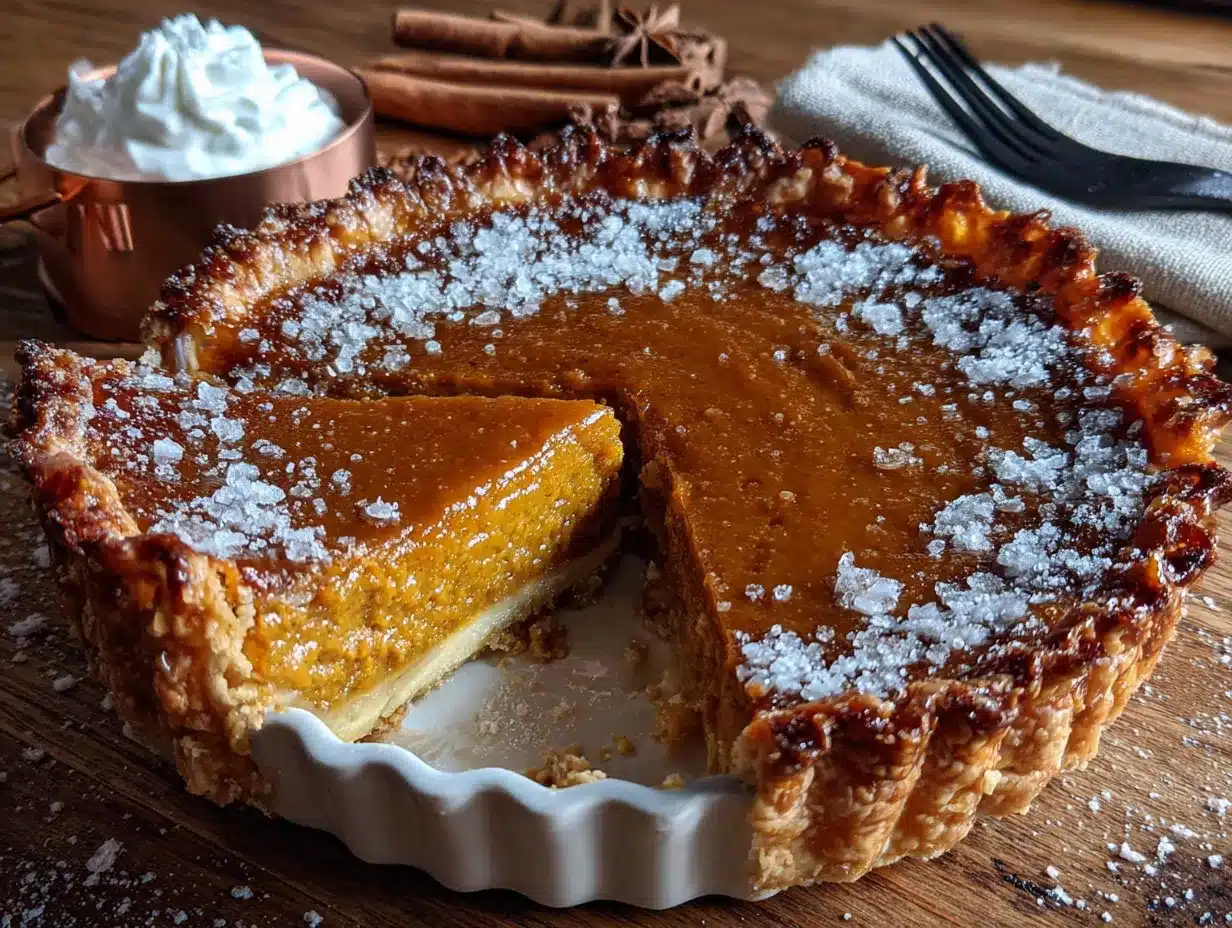
- 1 can (15 oz) pumpkin puree – Not pumpkin pie filling! Look for 100% pure pumpkin. I prefer Libby’s for its consistent texture and deep flavor.
- ¾ cup (150g) granulated sugar – You can reduce this to ½ cup if you prefer a less sweet pie.
- 1 teaspoon ground cinnamon – Fresh is best. If your cinnamon jar has been sitting in the cabinet for two years, replace it.
- ½ teaspoon ground ginger – Adds a little warmth without being overpowering.
- ¼ teaspoon ground cloves – A little goes a long way. Be careful not to overdo it.
- ¼ teaspoon ground nutmeg – Freshly grated is amazing here. It makes a noticeable difference.
- ½ teaspoon salt – Balances the sweetness and brings out the pumpkin flavor.
- 2 large eggs – Room temperature is key. Cold eggs can seize the filling and cause cracks.
- 1 can (12 oz) evaporated milk – This is the secret to a silky texture. Don’t substitute with regular milk; it’s too thin.
- 1 teaspoon vanilla extract – Pure vanilla, not imitation. It adds depth you can’t get any other way.
For the Egg Wash
- 1 large egg
- 1 tablespoon water
I recommend using organic eggs if you can—they tend to have brighter yolks, which gives the crust a beautiful golden color. And if you’re dairy-free, you can substitute the butter with a high-quality vegan butter stick (not the spreadable kind) for the crust. The filling can be made with full-fat coconut milk instead of evaporated milk, though the texture will be slightly different.
Equipment Needed
You don’t need a fancy kitchen to make this pie, but a few tools will make your life a lot easier.
- 9-inch pie dish – Glass or ceramic is best. Metal pie pans can cause the crust to brown too quickly. I love my Pyrex dish because I can see how the bottom crust is doing.
- Rolling pin – A standard rolling pin works great. If you don’t have one, a wine bottle works in a pinch—I’ve done it!
- Parchment paper – For rolling out the dough and for blind baking. It’s a lifesaver.
- Pie weights or dried beans – For blind baking the crust. I keep a bag of cheap dried beans just for this purpose.
- Large mixing bowls – One for the crust, one for the filling.
- Whisk – For the filling. A fork works too, but a whisk makes it smoother.
- Pastry cutter or two forks – For cutting the butter into the flour. You can also use your hands, but work quickly so the butter doesn’t warm up.
- Measuring cups and spoons – Accurate measurements matter in baking.
- Sharp knife or bench scraper – For cutting the butter and trimming the dough.
If you’re on a budget, skip the pie weights and use dried beans. They’re reusable and cost a fraction of the price. Just let them cool completely before storing them in a bag for next time.
Preparation Method
Step 1: Make the Crust Dough
In a large bowl, whisk together the flour, salt, and sugar. Add the cold butter cubes. Using a pastry cutter or your fingertips, work the butter into the flour until it looks like coarse meal with some pea-sized butter pieces remaining. This is crucial—those little butter chunks are what create the flaky layers. Drizzle 6 tablespoons of ice water over the mixture and stir with a fork until the dough starts to come together. If it seems dry, add the remaining water, one tablespoon at a time. The dough should hold together when you squeeze a handful. Turn it out onto a lightly floured surface, shape it into a disk, wrap it in plastic wrap, and refrigerate for at least 1 hour. Overnight is even better.
Step 2: Roll Out the Dough
On a lightly floured piece of parchment paper, roll the dough into a 12-inch circle, about ⅛-inch thick. Don’t worry if the edges crack a little—you can patch them. Carefully transfer the dough to your pie dish by flipping the parchment over and gently pressing the dough into the pan. Trim the overhang to about ½ inch, then fold it under and crimp the edges however you like. I do a simple pinch with my fingers. Place the crust in the fridge for 30 minutes to firm up.
Step 3: Blind Bake the Crust
Preheat your oven to 375°F (190°C). Line the chilled crust with parchment paper and fill it with pie weights or dried beans. Bake for 15 minutes, then remove the parchment and weights. Brush the crust with the egg wash (egg beaten with water) and bake for another 5 to 7 minutes, until it’s lightly golden. This step prevents that dreaded soggy bottom. Let the crust cool slightly while you make the filling.
Step 4: Make the Filling
In a large bowl, whisk together the sugar, cinnamon, ginger, cloves, nutmeg, and salt. In a separate bowl, whisk the eggs until they’re light and frothy. Gradually whisk the dry ingredients into the eggs until smooth. Add the pumpkin puree and vanilla extract, whisking until fully combined. Slowly pour in the evaporated milk while whisking constantly. The mixture should be smooth and silky, like a thick milkshake. Don’t overmix—just until everything is incorporated.
Step 5: Bake the Pie
Pour the filling into the pre-baked crust. Place the pie on a baking sheet (to catch any drips) and bake at 375°F (190°C) for 15 minutes. Then reduce the temperature to 350°F (175°C) and bake for another 40 to 50 minutes. The pie is done when the edges are set but the center still jiggles slightly when you gently shake the pan. It will continue to set as it cools. If the crust edges are browning too quickly, cover them with foil or a pie shield halfway through.
Step 6: Cool and Serve
Let the pie cool completely on a wire rack—this takes about 2 hours. Then refrigerate for at least 4 hours or overnight. This step is essential for clean slices. Serve cold or at room temperature with plenty of whipped cream.
Cooking Tips & Techniques
Here are the things I wish someone had told me the first time I made pumpkin pie.
Don’t skip the blind bake. I know it’s an extra step, but it’s the difference between a crust that holds up and one that turns into a sad, soggy mess. Trust me, I learned this the hard way when I brought a pie to a Friendsgiving and the bottom was basically raw dough. Not my finest moment.
Watch your oven temperature. Every oven runs differently. If your pie is browning too fast on top but the center is still liquid, tent it with foil. If it’s taking longer than the recipe says, don’t panic—just be patient. The jiggle test is more reliable than the timer.
Let it cool completely. I know it’s tempting to cut into a warm pie, but warm pumpkin pie is a mess. The filling needs time to set properly. I once served a warm pie to my family and it basically oozed onto the plate. We still ate it, but it wasn’t pretty.
Use a sharp knife. When you’re ready to slice, use a long, sharp knife and wipe it clean between cuts. This gives you those beautiful, clean slices that look like they came from a bakery.
Make it ahead. This pie actually tastes better the next day. The flavors meld together and the texture becomes even silkier. So make it a day before your gathering and save yourself the stress.
Variations & Adaptations
One of the best things about this recipe is how flexible it is. Here are some ways to make it your own.
Spice It Up: If you love a bolder spice profile, add ¼ teaspoon of cardamom or a pinch of black pepper. The pepper sounds weird, but it actually enhances the pumpkin flavor in a subtle way. I tried this on a whim last year and now I can’t go back.
Make It Dairy-Free: Use a high-quality vegan butter stick (like Miyoko’s or Earth Balance) for the crust. For the filling, substitute the evaporated milk with full-fat coconut milk. The texture will be slightly different—a little denser—but still delicious.
Gluten-Free Option: Use a 1:1 gluten-free flour blend for the crust. I’ve had good results with Bob’s Red Mill. Just note that the dough will be a bit more fragile, so handle it gently. You might need to patch a few cracks, but it still tastes great.
Pumpkin Spice Latte Twist: Add 1 tablespoon of instant espresso powder dissolved in 1 tablespoon of hot water to the filling. It gives the pie a subtle coffee flavor that pairs beautifully with the pumpkin. I made this for a brunch party and it was gone in 20 minutes.
Mini Pies: Use a muffin tin to make individual pies. Roll the crust, cut circles, press them into the muffin cups, blind bake, and fill. Bake for about 20 to 25 minutes. They’re perfect for parties where everyone wants their own little pie.
Serving & Storage Suggestions
This pie is best served cold or at room temperature. I personally prefer it straight from the fridge with a generous dollop of whipped cream. The contrast between the cold, silky filling and the flaky crust is just perfect.
For a dinner party, I like to set up a little pie bar. I put the pie on a beautiful plate, set out bowls of whipped cream, caramel sauce, and toasted pecans, and let guests customize their slices. It’s interactive and always gets people talking.
Storage: Cover the pie loosely with plastic wrap or foil and store it in the refrigerator for up to 4 days. The crust will stay flaky for about 2 days, but the flavor actually improves over time.
Freezing: You can freeze the fully baked and cooled pie for up to 2 months. Wrap it tightly in plastic wrap, then foil. Thaw it overnight in the refrigerator before serving. I’ve done this for holiday prep and it works beautifully.
Reheating: If you prefer warm pie, place individual slices on a baking sheet and warm them in a 300°F (150°C) oven for about 10 minutes. Don’t use the microwave—it will make the crust soggy.
One thing I love about this pie is that the flavors deepen after a day in the fridge. So if you’re hosting, make it a day ahead. Your future self will thank you.
Nutritional Information & Benefits
Here’s a rough estimate per slice (based on 8 servings):
- Calories: 380
- Fat: 22g
- Carbohydrates: 42g
- Protein: 6g
- Fiber: 3g
- Sugar: 24g
Pumpkin is packed with vitamin A, which is great for your eyes and immune system. It’s also rich in fiber and antioxidants. The eggs provide high-quality protein, and the butter… well, the butter makes life worth living. This isn’t a health food, but it’s made with real ingredients that nourish you in ways processed desserts just can’t.
If you’re watching your sugar intake, you can reduce the sugar to ½ cup without affecting the texture too much. The pie will be less sweet, but the pumpkin flavor will shine through more.
This recipe contains gluten, dairy, and eggs. For allergen-friendly options, check out the variations section above.
Conclusion
This pumpkin pie is more than just a dessert—it’s a moment. It’s the smell that fills your kitchen when friends are gathering. It’s the first bite that makes everyone at the table go quiet for a second. It’s the recipe I turn to when I want to feel connected to the people I love, even if they’re far away.
I hope you make this pie for your next gathering. I hope you customize it and make it your own—maybe add a little extra cinnamon, or top it with candied pecans, or serve it with a scoop of vanilla ice cream. Whatever you do, don’t stress about perfection. The best pies are the ones made with love, even if the crust cracks a little.
If you try this recipe, I’d love to hear about it. Leave a comment below and tell me how it turned out. Did your guests love it? Did you add your own twist? Share a photo on Pinterest and tag me—I can’t wait to see your beautiful pies!
Happy baking, friends. And remember: the secret ingredient is always doing it for the people you love.
Frequently Asked Questions
Can I use fresh pumpkin instead of canned?
Yes, but it requires extra work. Roast a small sugar pumpkin (not a carving pumpkin) at 400°F for 45 minutes until tender. Scoop out the flesh and puree it in a food processor. You’ll need about 1 ¾ cups of puree. Just note that fresh pumpkin has more water than canned, so you might need to drain it in a cheesecloth for 30 minutes to avoid a runny filling.
Why did my pie crust shrink?
This usually happens when the dough is overworked or not chilled enough. The gluten develops too much, causing the crust to pull away from the edges as it bakes. Make sure your butter is very cold, handle the dough as little as possible, and always chill it before baking. If your crust still shrinks, don’t worry—it’ll still taste amazing.
Can I make this pie gluten-free?
Absolutely! Use a 1:1 gluten-free flour blend for the crust. I’ve had good results with King Arthur Flour’s Measure for Measure blend. The dough will be a bit more delicate, so roll it between two sheets of parchment paper for easier handling. The filling is naturally gluten-free, so you’re good there.
How do I prevent cracks on top of my pie?
Cracks happen when the filling is overbaked or when there’s a sudden temperature change. Bake the pie until the edges are set but the center still jiggles slightly. Let it cool gradually on a wire rack, away from drafts. And don’t skip the step of bringing your eggs to room temperature—cold eggs can cause the filling to seize and crack.
Can I freeze the unbaked pie?
Yes, but I recommend freezing the crust and filling separately. Wrap the unbaked crust tightly in plastic wrap and foil, and freeze for up to 3 months. The filling can be frozen in an airtight container for up to 2 months. Thaw both in the refrigerator overnight, then assemble and bake as directed. For best results, don’t freeze a fully assembled unbaked pie—the crust can become soggy as it thaws.
Pin This Recipe!
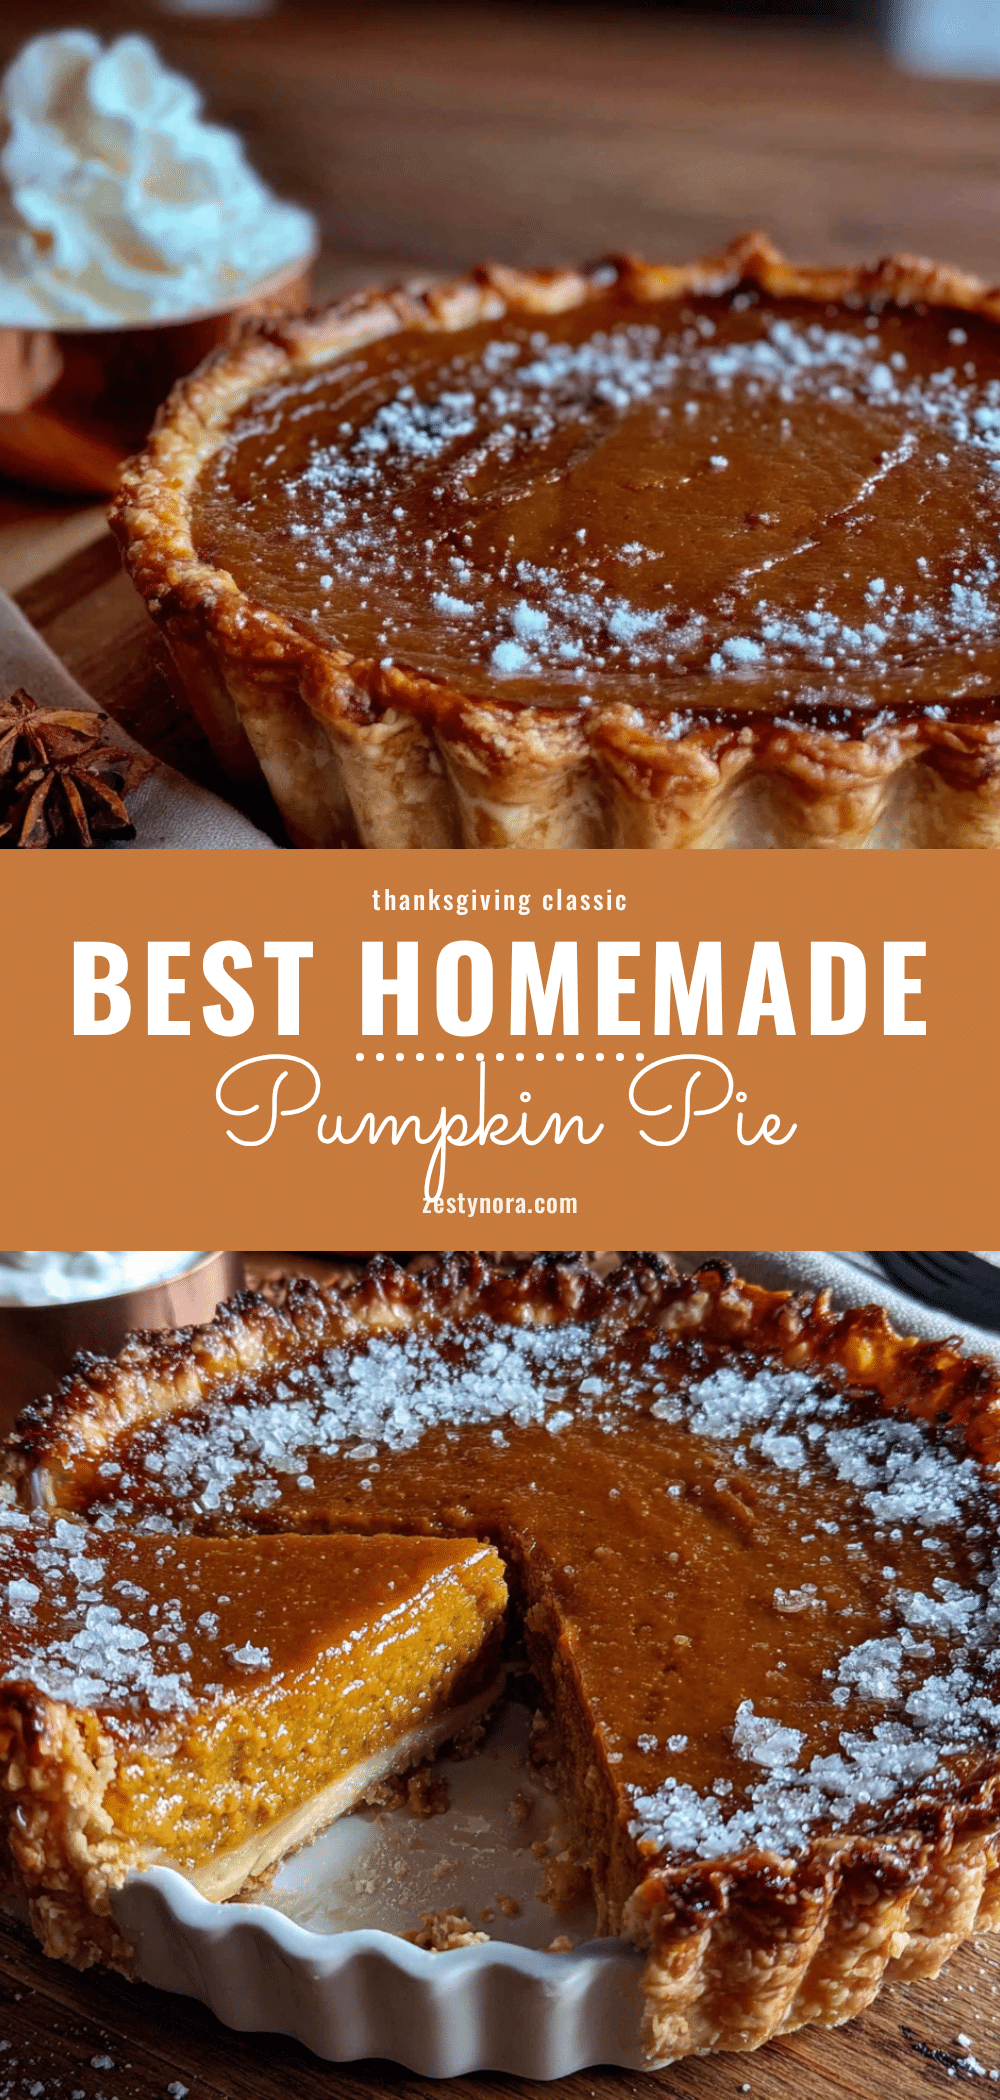
Best Homemade Pumpkin Pie with Flaky Crust
This pumpkin pie features a flaky, buttery crust and a silky smooth, perfectly spiced filling. It’s a comforting, make-ahead friendly dessert that tastes like a hug from a memory.
- Prep Time: 30 minutes
- Cook Time: 1 hour 5 minutes
- Total Time: 1 hour 35 minutes (plus chilling and cooling time)
- Yield: 8 servings 1x
- Category: Dessert
- Cuisine: American
Ingredients
- 2 ½ cups (315g) all-purpose flour
- 1 teaspoon salt
- 1 tablespoon granulated sugar
- 1 cup (226g) unsalted butter, very cold and cut into small cubes
- 6 to 8 tablespoons ice water
- 1 can (15 oz) pumpkin puree
- ¾ cup (150g) granulated sugar
- 1 teaspoon ground cinnamon
- ½ teaspoon ground ginger
- ¼ teaspoon ground cloves
- ¼ teaspoon ground nutmeg
- ½ teaspoon salt
- 2 large eggs
- 1 can (12 oz) evaporated milk
- 1 teaspoon vanilla extract
- 1 large egg (for egg wash)
- 1 tablespoon water (for egg wash)
Instructions
- Make the Crust Dough: In a large bowl, whisk together flour, salt, and sugar. Add cold butter cubes. Using a pastry cutter or fingertips, work the butter into the flour until it looks like coarse meal with some pea-sized butter pieces remaining. Drizzle 6 tablespoons of ice water over the mixture and stir with a fork until the dough starts to come together. If dry, add remaining water one tablespoon at a time. Shape into a disk, wrap in plastic wrap, and refrigerate for at least 1 hour.
- Roll Out the Dough: On a lightly floured piece of parchment paper, roll the dough into a 12-inch circle, about ⅛-inch thick. Transfer to a 9-inch pie dish, trim overhang to ½ inch, fold under, and crimp edges. Refrigerate for 30 minutes.
- Blind Bake the Crust: Preheat oven to 375°F (190°C). Line chilled crust with parchment paper and fill with pie weights or dried beans. Bake for 15 minutes. Remove parchment and weights. Brush crust with egg wash (egg beaten with water) and bake for another 5 to 7 minutes until lightly golden. Let cool slightly.
- Make the Filling: In a large bowl, whisk together sugar, cinnamon, ginger, cloves, nutmeg, and salt. In a separate bowl, whisk eggs until light and frothy. Gradually whisk dry ingredients into eggs until smooth. Add pumpkin puree and vanilla extract, whisking until combined. Slowly pour in evaporated milk while whisking constantly until smooth.
- Bake the Pie: Pour filling into pre-baked crust. Place pie on a baking sheet and bake at 375°F (190°C) for 15 minutes. Reduce temperature to 350°F (175°C) and bake for 40 to 50 minutes, until edges are set but center jiggles slightly. If crust edges brown too quickly, cover with foil halfway through.
- Cool and Serve: Let pie cool completely on a wire rack (about 2 hours). Refrigerate for at least 4 hours or overnight. Serve cold or at room temperature with whipped cream.
Notes
Don’t skip blind baking to avoid a soggy crust. Let the pie cool completely before slicing for clean slices. The pie tastes even better the next day. For dairy-free, use vegan butter and full-fat coconut milk. For gluten-free, use a 1:1 gluten-free flour blend.
Nutrition
- Serving Size: 1 slice
- Calories: 380
- Sugar: 24
- Sodium: 380
- Fat: 22
- Saturated Fat: 13
- Carbohydrates: 42
- Fiber: 3
- Protein: 6
Keywords: pumpkin pie, homemade pie, flaky crust, Thanksgiving dessert, fall baking, pumpkin dessert, holiday pie


