It was 11:47 PM on a random Tuesday, and I had a craving for chili that was so specific it felt almost aggressive. You know that feeling when only one food will do, and it has to be exactly right? The problem was, I didn’t have any beans in the pantry—not a single can. I had a pound of ground beef thawed in the fridge, a few sad-looking tomatoes on the counter, and a spice drawer that I honestly hadn’t organized since moving in. But I also had this stubborn idea that wouldn’t let go. What if I made a chili that was all about the beef, the heat, and the deep, smoky flavor—no beans to get in the way? I started pulling things out of the fridge, making a mess, and frankly, not caring. I burned my hand a little on the pot handle. I spilled chili powder on the stove. But thirty minutes later, I was spooning the most ridiculously good bowl of chili I’d ever made into a mug. It was thick, it was meaty, and it had this velvety richness that beans just can’t provide. That late-night experiment became my go-to recipe, and honestly, I haven’t looked back since. Maybe you’ve been there—wanting something hearty and fast, without a trip to the store. This is that chili.
Why You’ll Love This Recipe
This isn’t just another chili recipe. It’s the one you’ll make when you need dinner on the table fast, but you don’t want to compromise on flavor. I’ve tested this dozens of times, tweaking the spice blend and the cooking time until it was absolutely perfect. It’s the kind of recipe that makes you look like a pro, even on a busy weeknight.
- Quick & Easy: From start to finish, this chili is ready in just 30 minutes. Perfect for those nights when you’re short on time but still want a homemade meal.
- Simple Ingredients: You probably have most of these in your pantry right now. No fancy trips to a specialty store required.
- Perfect for Game Day or Cozy Nights: This chili is a crowd-pleaser. It’s great for a Super Bowl party, a casual dinner with friends, or a quiet night in.
- Unbelievably Delicious: The texture is what sets this apart. Without beans, the beef takes center stage, creating a rich, hearty, and deeply satisfying bowl of chili.
- Diet-Friendly: It’s naturally gluten-free, low-carb, and keto-friendly. You can enjoy a huge bowl without any guilt.
What makes this recipe different from the rest is the technique. I use a combination of ground beef and a little bit of tomato paste that gets caramelized in the pot. This simple step builds an incredible depth of flavor that you usually only get from simmering for hours. It’s comfort food, reimagined—faster, richer, and with all the soul-soothing satisfaction you crave.
What Ingredients You Will Need
This recipe uses simple, wholesome ingredients to deliver bold flavor and satisfying texture without any fuss. Most of these are pantry staples, making this a perfect last-minute meal.
- For the Chili Base:
- 2 tablespoons olive oil (or avocado oil, for a neutral flavor)
- 2 pounds ground beef (80/20 is ideal for flavor, but 90/10 works too)
- 1 large yellow onion, diced (about 1 ½ cups)
- 4 cloves garlic, minced
- 3 tablespoons tomato paste (I recommend the double-concentrated tube for extra flavor)
- For the Spice Blend:
- 2 tablespoons chili powder (use a good quality blend, like Gebhardt or Spice Islands)
- 1 tablespoon ground cumin
- 1 teaspoon smoked paprika (this is key for that deep, smoky flavor)
- 1 teaspoon dried oregano
- ½ teaspoon cayenne pepper (adjust to your heat preference)
- 1 teaspoon salt, plus more to taste
- ½ teaspoon black pepper
- For the Liquid & Finish:
- 1 (14.5-ounce) can fire-roasted diced tomatoes (with their juices)
- 1 cup beef broth (use low-sodium so you can control the salt)
- 1 tablespoon Worcestershire sauce (adds umami depth)
- Optional: 1 teaspoon brown sugar or a pinch of cinnamon (to balance acidity)
- For Serving (optional but recommended):
- Shredded cheddar cheese
- Sour cream or Greek yogurt
- Diced red onion
- Fresh cilantro
- Sliced jalapeños
Ingredient Selection Tips: For the beef, I prefer 80/20 ground chuck. It has enough fat to keep the chili moist and flavorful without being greasy. If you’re using a leaner blend, you might need to add a little extra oil. For the tomatoes, fire-roasted is non-negotiable here. They add a smoky sweetness that canned diced tomatoes just can’t match. If you can’t find them, you can substitute with regular diced tomatoes and add a ¼ teaspoon of liquid smoke.
Equipment Needed
You don’t need any fancy equipment for this recipe, which is part of its beauty. Here’s what you’ll need:
- Large Dutch oven or heavy-bottomed pot: A 5- to 6-quart pot is ideal. A heavy bottom ensures even heat and prevents burning. I use my trusty Le Creuset, but any heavy pot will do.
- Wooden spoon or spatula: For breaking up the beef and stirring.
- Chef’s knife and cutting board: For dicing the onion and mincing the garlic.
- Measuring spoons: For the spices.
- Can opener: Unless you buy the pull-tab cans.
Budget-Friendly Options: If you don’t have a Dutch oven, a large stainless steel pot or even a deep skillet will work. Just keep an eye on it and stir more frequently to prevent sticking. A cast-iron skillet is also a great option if you have one.
Preparation Method
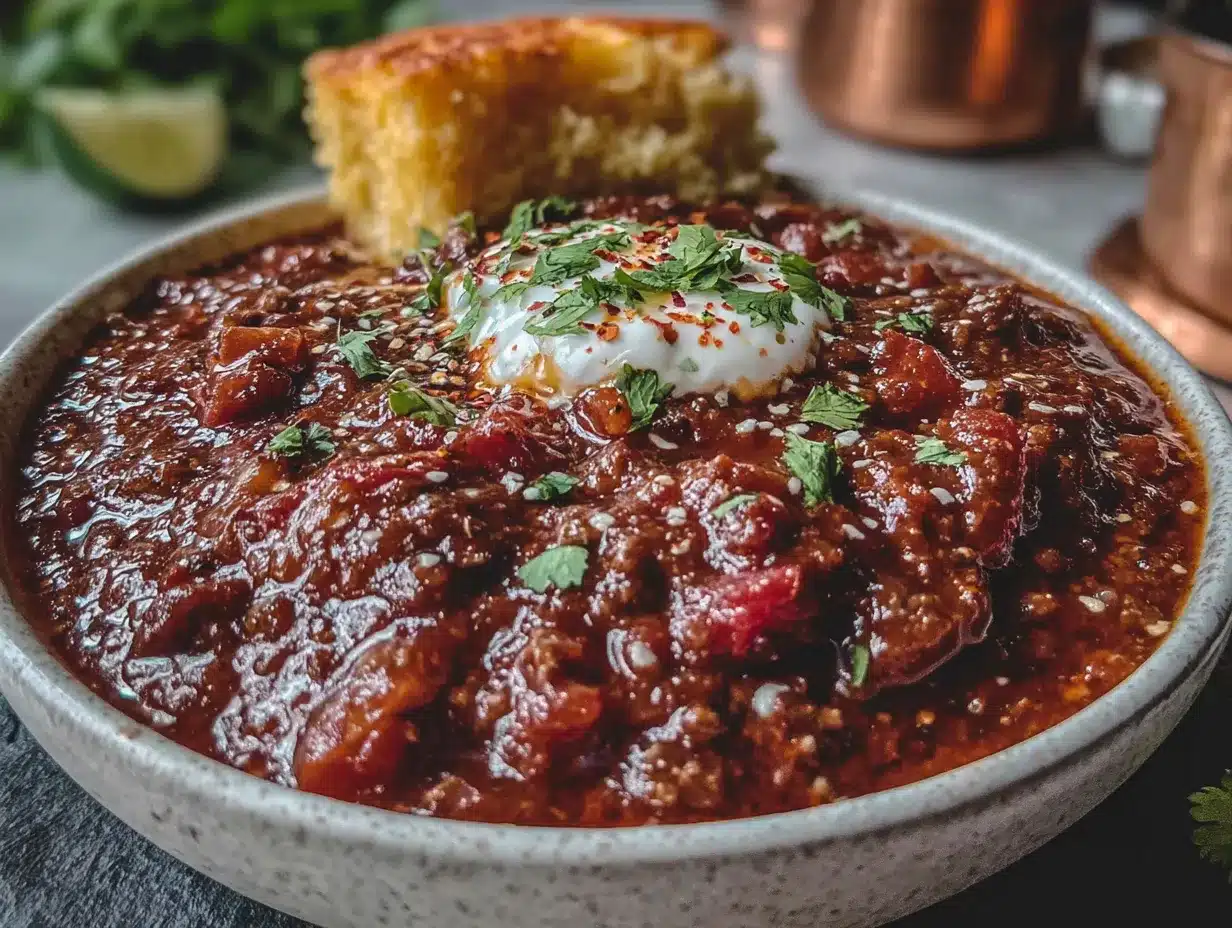
Let’s get cooking. This comes together fast, so have all your ingredients prepped and ready to go before you start.
- Brown the Beef (5 minutes): Heat the olive oil in your large pot over medium-high heat. Add the ground beef and cook, breaking it up with your spoon, until it’s browned and no longer pink. Don’t drain all the fat—leave about a tablespoon in the pot for flavor. If you’re using very lean beef, you might want to add an extra drizzle of oil.
- Sweat the Aromatics (3 minutes): Reduce the heat to medium. Add the diced onion to the pot with the beef. Cook for 2-3 minutes, stirring occasionally, until the onion is softened and translucent. Add the minced garlic and cook for another 30 seconds until fragrant. Be careful not to burn the garlic.
- Caramelize the Tomato Paste (2 minutes): This is the secret step. Push the beef and onions to one side of the pot. Add the tomato paste to the empty space and let it cook for about 1 minute, stirring it occasionally, until it darkens to a deep brick-red color. This caramelization adds incredible depth. Then, stir it all together.
- Bloom the Spices (1 minute): Sprinkle the chili powder, cumin, smoked paprika, oregano, cayenne, salt, and pepper over the beef mixture. Stir constantly for about 30-60 seconds. This “blooming” step wakes up the spices and makes them more aromatic. Your kitchen will start to smell amazing.
- Add the Liquids (2 minutes): Pour in the fire-roasted diced tomatoes with their juices, the beef broth, and the Worcestershire sauce. Stir everything together, scraping up any browned bits from the bottom of the pot. This is called deglazing, and it adds all that flavor back into your chili.
- Simmer and Thicken (15-20 minutes): Bring the chili to a gentle boil, then reduce the heat to low and let it simmer uncovered. Stir occasionally. The chili will thicken as it cooks. After 15 minutes, it should be thick and rich. If you like it even thicker, let it simmer for another 5-10 minutes. Taste and adjust the seasoning—maybe a pinch more salt or a dash of cayenne for heat.
- Rest and Serve (5 minutes): Remove the pot from the heat and let the chili rest for about 5 minutes. This allows the flavors to meld together. Ladle into bowls and top with your favorite fixings. I love a big dollop of sour cream and a shower of fresh cilantro.
Sensory Cues: When the tomato paste is caramelizing, it should look like a dark, rusty paste and smell intensely savory. When you add the spices, the aroma should be warm and smoky. The finished chili should be thick enough to coat the back of a spoon, not watery.
Cooking Tips & Techniques
Over the years, I’ve made every mistake in the book with chili. Here are my best tips to help you nail it every time.
- Don’t skip the tomato paste caramelization. I know it’s an extra step, but it’s the number one thing that gives this 30-minute chili a long-simmered flavor. It’s a game-changer.
- Toast your whole spices if you have them. If you’re using whole cumin seeds and coriander seeds, toast them in a dry pan for a minute before grinding. The flavor is exponentially better. For this recipe, pre-ground is fine, but blooming them in the hot fat is crucial.
- Watch your heat. Chili powder blends vary widely in heat. Start with 2 tablespoons, taste, and add more if you want. You can always add heat, but you can’t take it away. I once added a whole extra tablespoon of a very spicy chili powder and ended up with a pot that was almost inedible. Learn from my mistake.
- Let it rest. The flavors in chili really do improve after a short rest. If you have the time, let it sit for 15-20 minutes off the heat before serving. It’s even better the next day, so don’t be afraid to make it ahead.
- Multitasking is key. While the chili is simmering, you can prep your toppings, set the table, or make a quick side salad. This is a great recipe for a busy weeknight because the active cooking time is so short.
Variations & Adaptations
This recipe is a fantastic base, and you can adapt it in so many ways. Don’t be afraid to make it your own.
- Make it Smokier: Add one or two chipotle peppers in adobo sauce, finely minced, along with the tomatoes. This adds a fantastic smoky heat that’s completely different from smoked paprika. I tried this on a whim one night, and it was incredible.
- Vegetable-Packed Version: If you want to sneak in some veggies, add a diced bell pepper (any color) or a grated zucchini along with the onion. They’ll cook down and blend right into the chili, adding nutrients without changing the flavor much.
- Different Meats: Swap half the ground beef for ground pork, ground turkey, or even ground bison. Ground pork adds a lovely richness. If using ground turkey, be sure to use a blend with some fat (93/7) to keep it from drying out.
- Beer Chili: Replace the beef broth with a dark beer, like a stout or a porter. The beer adds a deep, malty flavor that’s wonderful in chili. Just let it simmer for an extra 5 minutes to cook off the alcohol.
- Keto/Low-Carb: This recipe is already low-carb! Just be mindful of your toppings. Skip the tortilla chips and serve it over cauliflower rice or a bed of shredded lettuce for a chili “bowl.”
Serving & Storage Suggestions
This chili is incredibly versatile. Here’s how to serve it and keep it for later.
- Serving Temperature & Presentation: Serve the chili piping hot in deep bowls. I love to set up a “topping bar” so everyone can customize their bowl. Classic toppings include shredded cheddar, sour cream, diced red onion, fresh cilantro, and sliced jalapeños. A squeeze of lime juice right before serving brightens everything up.
- Complementary Dishes: This chili is fantastic on its own, but it’s even better with a side. Try it with a slice of skillet cornbread, a simple green salad with a tangy vinaigrette, or some crispy tortilla chips for dipping. For a low-carb option, serve it with cauliflower rice or in a lettuce wrap.
- Storage Instructions: Let the chili cool completely before storing. Transfer it to an airtight container and refrigerate for up to 5 days. The flavors actually get better as they meld, so this is a great make-ahead meal. I often double the recipe and freeze half.
- Freezing: This chili freezes beautifully. Portion it into freezer-safe bags or containers. It will keep for up to 3 months. Thaw overnight in the refrigerator before reheating.
- Reheating: Reheat the chili gently on the stovetop over medium-low heat, stirring occasionally. You can also reheat individual portions in the microwave, stirring every 30 seconds. If the chili seems too thick after thawing, add a splash of beef broth or water to loosen it up.
Nutritional Information & Benefits
This chili isn’t just delicious—it’s also packed with good-for-you ingredients. Here’s a rough estimate per serving (based on 6 servings, without toppings).
| Nutrient | Amount Per Serving |
|---|---|
| Calories | 420 |
| Fat | 28g |
| Saturated Fat | 10g |
| Protein | 32g |
| Carbohydrates | 12g |
| Fiber | 3g |
| Sugar | 6g |
| Sodium | 780mg |
Health Benefits: This chili is an excellent source of high-quality protein from the beef, which is great for muscle repair and keeping you full. The tomatoes are rich in lycopene, a powerful antioxidant. The spices, like cumin and chili powder, have anti-inflammatory properties. This is a satisfying, nourishing meal that fits perfectly into a balanced diet. It’s also naturally gluten-free and low-carb, making it a great option for those with dietary restrictions.
Conclusion
This 30-minute no-bean beef chili is proof that you don’t need hours of simmering to get incredible, soul-warming flavor. It’s quick, it’s easy, and it’s made with ingredients you probably already have. I love this recipe because it’s so forgiving and adaptable. It’s become my go-to for busy weeknights, game day gatherings, and those cozy nights when only a bowl of chili will do. I really hope you give it a try and make it your own. Maybe you’ll add a little extra heat, or a different topping, or serve it over a baked potato. Whatever you do, let me know how it turns out! Drop a comment below and tell me your favorite chili topping, or share a photo of your bowl with me on social media. I can’t wait to hear what you think. Happy cooking!
Frequently Asked Questions
Can I make this chili in a slow cooker or Instant Pot?
Absolutely! For a slow cooker, brown the beef and aromatics on the stovetop first, then transfer everything to the slow cooker and cook on low for 4-6 hours or on high for 2-3 hours. For an Instant Pot, use the sauté function to brown the beef and aromatics, then add the remaining ingredients and pressure cook on high for 10 minutes. Quick release the pressure and serve.
How can I thicken my chili if it’s too thin?
If your chili is too thin after simmering, there are a few easy fixes. You can mash some of the beef against the side of the pot with a spoon to release its starches, which will help thicken it. Alternatively, you can mix 1 tablespoon of cornstarch with 2 tablespoons of cold water to make a slurry, then stir it into the simmering chili. Let it cook for another minute or two until it thickens.
Can I use a different type of ground meat?
Yes, you can! Ground turkey, chicken, or pork all work well. Just keep in mind that leaner meats like turkey can dry out more easily. If using ground turkey, I recommend a 93/7 blend and adding an extra tablespoon of olive oil to keep it moist. Ground pork adds a wonderful richness that’s fantastic in chili.
What if I don’t have fire-roasted tomatoes?
No problem! You can substitute with regular diced tomatoes. To add some of that smoky flavor back, you can add ¼ teaspoon of liquid smoke along with the tomatoes. Another option is to use a can of tomatoes with green chiles, like Rotel, for a different flavor profile.
How do I make this chili less spicy?
To make a milder chili, use a mild chili powder blend and skip the cayenne pepper. You can also add a dollop of sour cream or Greek yogurt when serving, as the dairy helps cut the heat. If you’re worried about it being too spicy, start with a smaller amount of chili powder and taste as you go. You can always add more heat, but you can’t take it away.
Pin This Recipe!
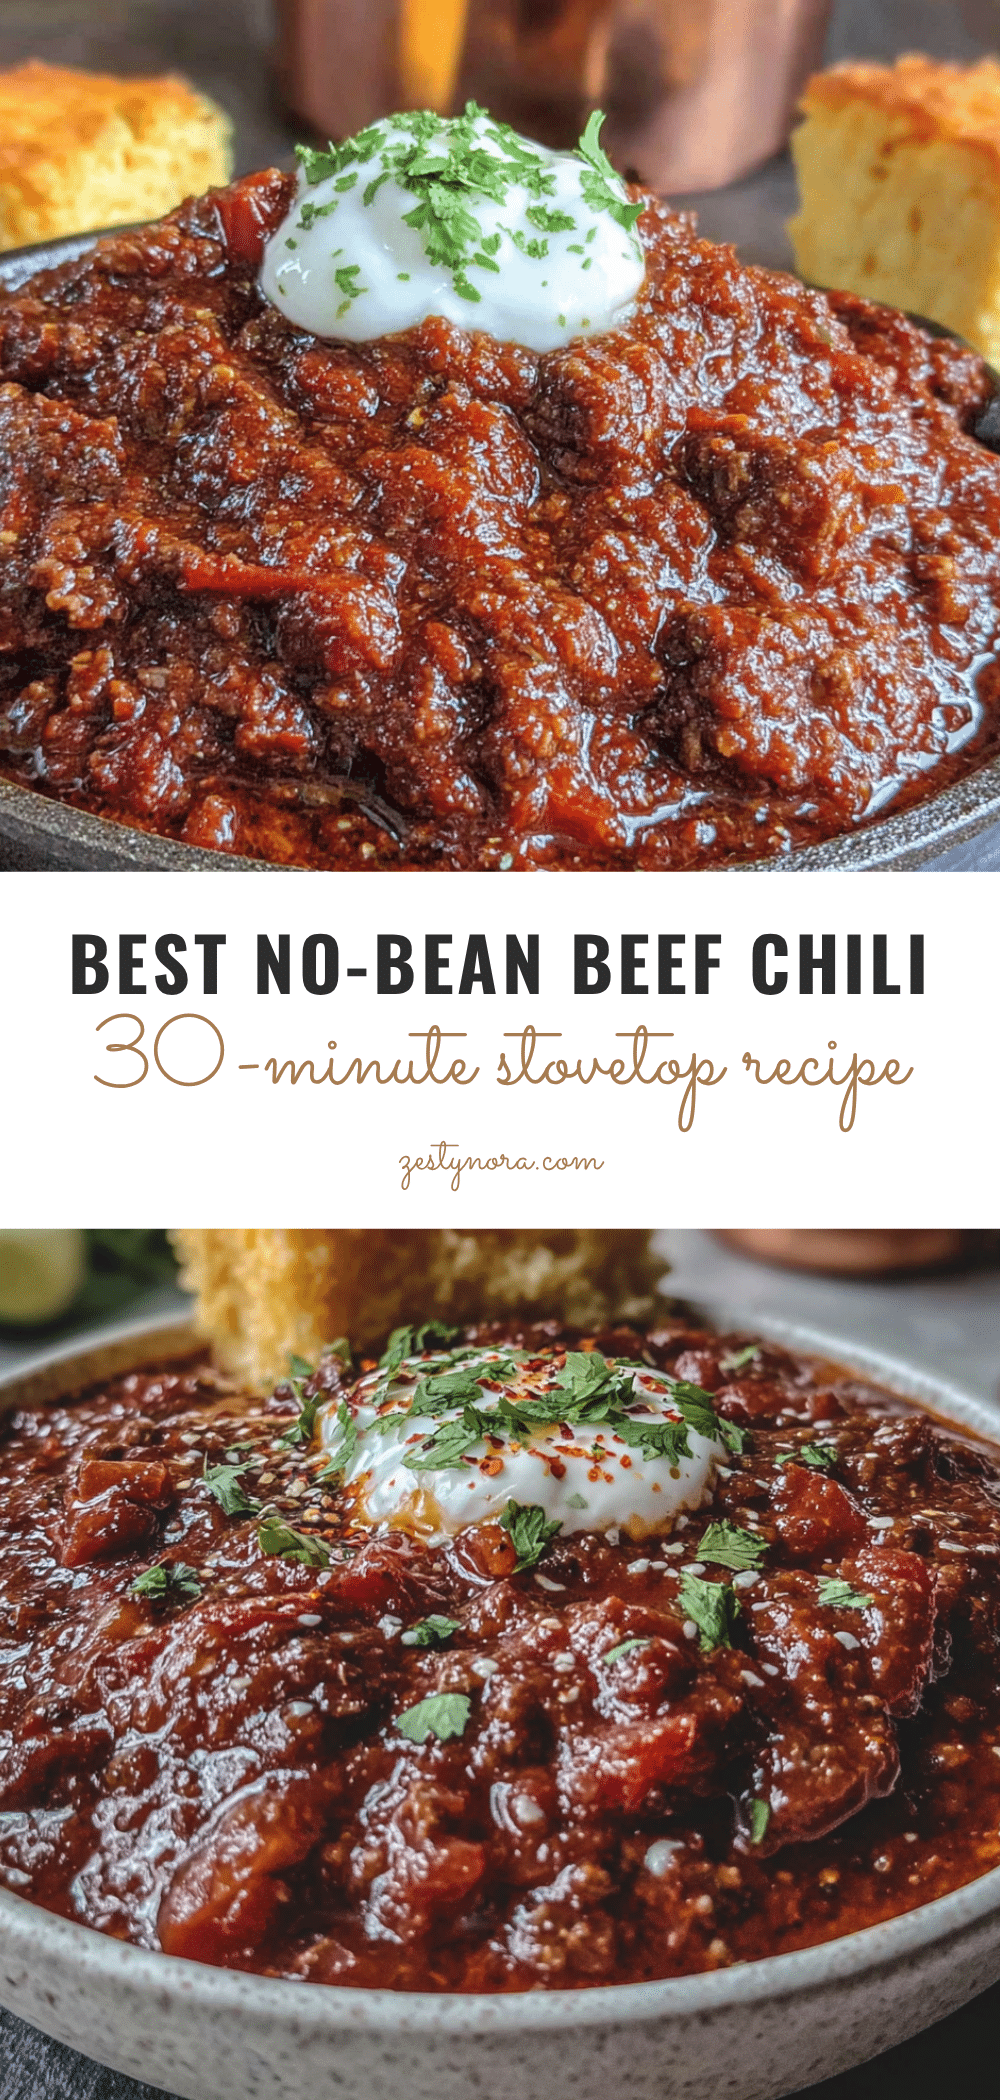
Best 30-Minute No-Bean Beef Chili Recipe

This 30-minute no-bean beef chili is proof that you don’t need hours of simmering to get incredible, soul-warming flavor. It’s quick, easy, and made with ingredients you probably already have.
- Prep Time: 10 minutes
- Cook Time: 20 minutes
- Total Time: 30 minutes
- Yield: 6 servings 1x
- Category: Main Course
- Cuisine: American
Ingredients
- 2 tablespoons olive oil
- 2 pounds ground beef (80/20 is ideal)
- 1 large yellow onion, diced (about 1 ½ cups)
- 4 cloves garlic, minced
- 3 tablespoons tomato paste
- 2 tablespoons chili powder
- 1 tablespoon ground cumin
- 1 teaspoon smoked paprika
- 1 teaspoon dried oregano
- ½ teaspoon cayenne pepper
- 1 teaspoon salt, plus more to taste
- ½ teaspoon black pepper
- 1 (14.5-ounce) can fire-roasted diced tomatoes (with juices)
- 1 cup beef broth (low-sodium)
- 1 tablespoon Worcestershire sauce
- 1 teaspoon brown sugar (optional, to balance acidity)
- Shredded cheddar cheese (for serving, optional)
- Sour cream or Greek yogurt (for serving, optional)
- Diced red onion (for serving, optional)
- Fresh cilantro (for serving, optional)
- Sliced jalapeños (for serving, optional)
Instructions
- Brown the Beef: Heat olive oil in a large pot over medium-high heat. Add ground beef and cook, breaking it up, until browned and no longer pink. Leave about 1 tablespoon of fat in the pot.
- Sweat the Aromatics: Reduce heat to medium. Add diced onion and cook for 2-3 minutes until softened. Add minced garlic and cook for 30 seconds until fragrant.
- Caramelize the Tomato Paste: Push beef and onions to one side. Add tomato paste to the empty space and cook for about 1 minute until it darkens to a deep brick-red color. Stir together.
- Bloom the Spices: Sprinkle chili powder, cumin, smoked paprika, oregano, cayenne, salt, and pepper over the mixture. Stir constantly for 30-60 seconds until aromatic.
- Add the Liquids: Pour in fire-roasted diced tomatoes with juices, beef broth, and Worcestershire sauce. Stir, scraping up any browned bits from the bottom of the pot.
- Simmer and Thicken: Bring to a gentle boil, then reduce heat to low and simmer uncovered for 15-20 minutes, stirring occasionally, until thickened. Taste and adjust seasoning.
- Rest and Serve: Remove from heat and let rest for 5 minutes. Ladle into bowls and top with desired toppings.
Notes
For best flavor, use 80/20 ground chuck and fire-roasted tomatoes. Caramelizing the tomato paste is a key step for depth. Let chili rest before serving for better flavor melding. Chili can be refrigerated for up to 5 days or frozen for up to 3 months.
Nutrition
- Serving Size: 1 serving (about 1 ½
- Calories: 420
- Sugar: 6
- Sodium: 780
- Fat: 28
- Saturated Fat: 10
- Carbohydrates: 12
- Fiber: 3
- Protein: 32
Keywords: 30-minute chili, no-bean chili, beef chili, quick chili, easy chili, gluten-free chili, low-carb chili, keto chili, game day chili