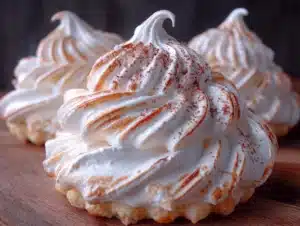
I was standing in the baking aisle of my local grocery store last October when the smell of vanilla extract hit me — and suddenly I was seven years old at my Aunt Clara’s tiny apartment on a rainy Saturday afternoon. She wasn’t actually my aunt, you know. She was my mom’s best friend from college, the kind of person who kept a jar of sprinkles on the counter year-round and let you lick the beaters clean. I hadn’t thought about her in years, but there I was, frozen in front of the confectioners’ sugar, remembering the way she’d whisper “watch closely” before tapping a wooden spoon to make the most perfect little ghosts appear on a baking sheet.
That day, Aunt Clara was making meringue cookies for a Halloween party she was throwing. I remember thinking they were magic — how could something that looked like fluffy clouds turn into crispy, melt-in-your-mouth ghosts? She let me pipe them myself, and honestly, mine looked more like lopsided snowmen than ghosts. But she didn’t care. She just laughed and said they had “character.” Maybe you’ve been there — that moment when a simple recipe becomes a memory you carry around without even realizing it.
I walked out of that store with three ingredients and a mission. These cozy ghost meringue cookies aren’t just a spooky sweet treat — they’re my attempt to hold onto that rainy afternoon, that tiny apartment, and the woman who taught me that baking doesn’t have to be perfect to be wonderful. Every time I make them, I get a little closer to that feeling. And let me tell you, it’s worth every single minute.
Why You’ll Love This Recipe
These cozy ghost meringue cookies are the kind of recipe that makes you look like a baking genius without actually having to be one. I’ve tested this version more times than I care to admit, and let me tell you — it works every single time. Here’s why this spooky sweet treat deserves a spot in your Halloween rotation:
- Only 3 Ingredients : Egg whites, sugar, and vanilla extract. That’s it. No fancy extracts, no specialty stores, no hunting down obscure ingredients at 9 PM.
- Naturally Gluten-Free & Low-Fat : Perfect for guests with dietary restrictions. These little ghosts are light, airy, and totally guilt-free.
- Kid-Approved & Adult-Loved : My niece calls them “boo bites,” and my neighbor — a grown man who claims he doesn’t like sweets — ate six of them in one sitting.
- Make-Ahead Friendly : They stay fresh for weeks in an airtight container. You can bake them days before your Halloween party and they’ll still be perfect.
- Endlessly Customizable : Add cocoa powder for chocolate ghosts, peppermint for a winter twist, or food coloring for a rainbow of spooky spirits.
What makes this recipe different from all the others? It’s the texture, honestly. Most meringue recipes leave you with cookies that are either too chewy or too brittle. My version — tested through six batches and one very sticky kitchen disaster — gives you that perfect crisp exterior with a light, airy center that dissolves on your tongue. It’s comfort food in ghost form.
This isn’t just another Halloween cookie recipe. It’s the one that makes you close your eyes after the first bite. It’s the one your kids will beg to make every October. And it’s the one that, honestly, might just become your new favorite stress-relief activity. There’s something deeply satisfying about watching those little ghosts come to life in your oven.
What Ingredients You Will Need
This recipe uses the simplest ingredients to create something truly magical. The beauty of meringue is that it’s all about technique, not a long shopping list. Here’s what you’ll need to bring these cozy ghost meringue cookies to life:
- 3 large egg whites, room temperature (cold eggs separate easier, but room-temperature whites whip up better — let them sit out for 30 minutes before starting)
- 3/4 cup (150g) granulated white sugar (regular white sugar works best; avoid confectioners’ sugar as it contains cornstarch and won’t give you the right structure)
- 1/2 teaspoon vanilla extract (pure vanilla extract adds warmth; imitation vanilla works fine but won’t have the same depth)
- Pinch of cream of tartar (optional but recommended — it stabilizes the egg whites and helps prevent weeping)
- Mini chocolate chips (for the ghost eyes — about 1/4 cup, or use black decorating gel for a smoother look)
Ingredient Selection Tips: For the best results, use fresh eggs. Older egg whites actually whip up better because they’re less viscous, but they can have a weaker structure. I recommend eggs that are about a week old for the perfect balance. If you’re using farm-fresh eggs, let them sit in the fridge for a few days before making meringue.
Brand Recommendations: I personally prefer Nielsen-Massey vanilla extract for its rich, floral notes, but honestly, any pure vanilla extract will work beautifully. For sugar, stick with a trusted brand like Domino or C&H — generic sugars sometimes have inconsistent crystal sizes that can affect the meringue.
Substitution Guidance: Need a vegan option? Aquafaba (the liquid from a can of chickpeas) works surprisingly well as an egg white substitute. Use 3 tablespoons of aquafaba per egg white, and whip it exactly as you would egg whites. For a sugar-free version, try monk fruit sweetener or erythritol, though the texture will be slightly different and the cookies may not be as crisp.
Equipment Needed
You don’t need a professional pastry kitchen to make these cozy ghost meringue cookies. Here’s what you’ll need, along with some tips from my own trial-and-error experiences:
- Electric mixer (stand mixer or hand mixer — I’ve used both, and honestly, a hand mixer works perfectly fine. Just be prepared for a 10-minute arm workout)
- Large mixing bowl (glass or metal works best; plastic bowls can retain grease that prevents egg whites from whipping properly)
- Piping bag with a round tip (or a zip-top bag with the corner snipped off — I’ve done both, and the zip-top bag is actually easier for beginners)
- Baking sheets lined with parchment paper (parchment is non-negotiable here; wax paper will stick, and silicone mats can make the ghosts spread too much)
- Kitchen scale (optional but recommended for accurate sugar measurements — meringue is finicky about ratios)
- Cooling rack (for letting the ghosts cool completely before storing)
Budget-Friendly Tip: Don’t have a piping bag? No problem. A sturdy zip-top bag with a tiny corner snipped off works just as well. I actually prefer it for these ghosts because you have more control over the shape. Just make sure the hole isn’t too big — you want about a 1/4-inch opening.
Maintenance Note: Make sure your bowl and beaters are completely clean and free of any grease. A tiny bit of oil can ruin your meringue. I wipe mine down with a little lemon juice or vinegar before starting — it’s an old pastry chef trick that really works.
Preparation Method
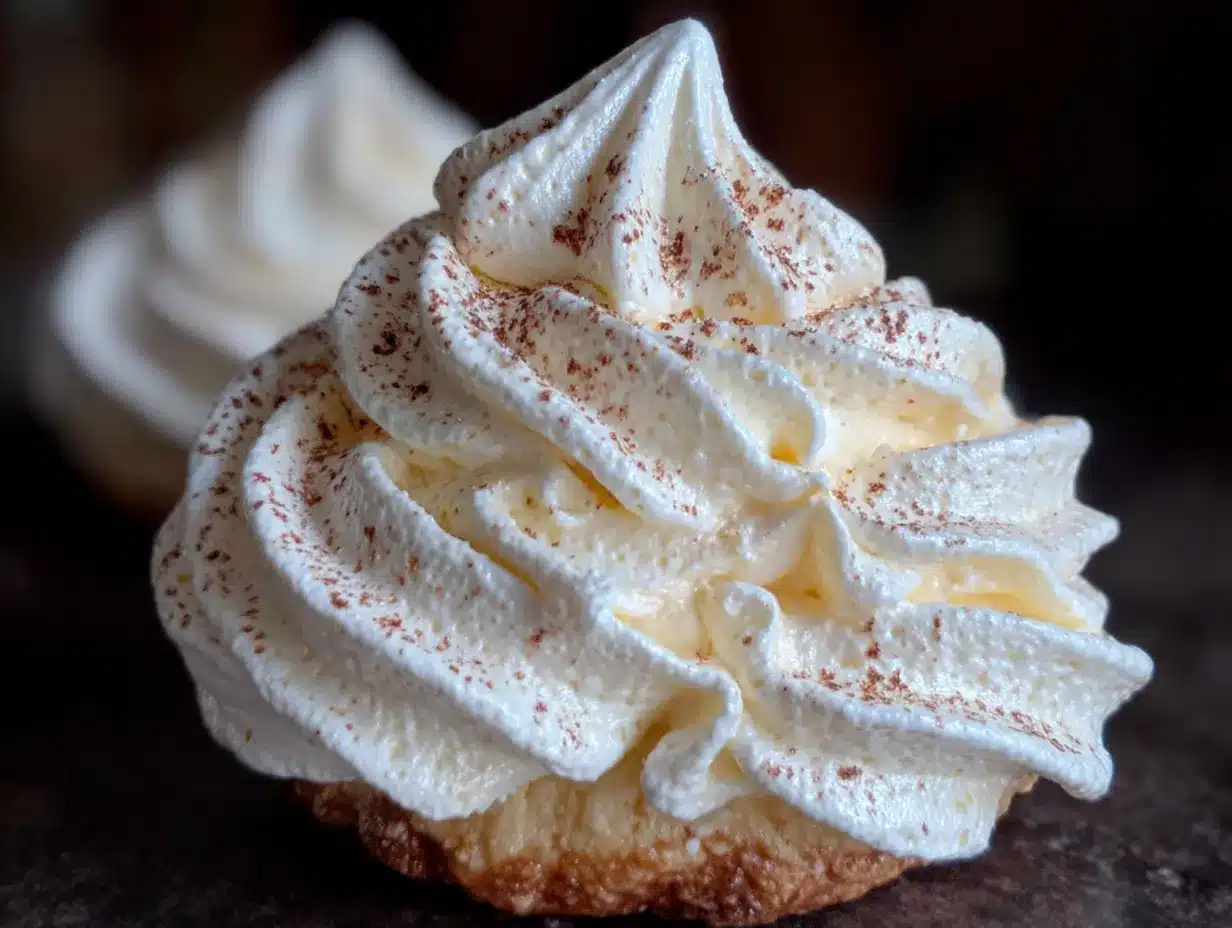
Making these cozy ghost meringue cookies is a gentle process — it rewards patience and punishes rushing. Here’s how to do it right, with all the little details I’ve learned the hard way:
- Preheat your oven to 200°F (95°C) and line two baking sheets with parchment paper. This low temperature is crucial — you’re drying the meringues, not baking them. If your oven runs hot, use an oven thermometer to verify the temperature. I learned this after my first batch turned brown and sad.
- Separate your eggs carefully. Crack each egg and let the white fall into a small bowl, then transfer it to your mixing bowl. This way, if one yolk breaks, you haven’t ruined all your whites. Any trace of yolk will prevent the whites from whipping properly — trust me, I’ve learned this the hard way three times.
- Let the egg whites come to room temperature. Cold egg whites won’t whip as high or as stable. Leave them on the counter for about 30 minutes. If you’re in a hurry, place the bowl in a warm water bath for 5 minutes, stirring gently.
- Add the cream of tartar (if using) and begin whipping on medium-low speed. After about 2 minutes, the whites will become frothy and start to form soft peaks. This is when you know it’s time to start adding the sugar.
- Add the sugar gradually — about one tablespoon at a time — while continuing to whip on medium speed. This should take about 3-4 minutes total. Adding the sugar too quickly can deflate your meringue. I once dumped it all in at once and ended up with flat, weepy ghosts. Never again.
- Once all the sugar is added, increase the speed to high and whip for another 5-7 minutes. You’re looking for stiff, glossy peaks — the meringue should hold its shape when you lift the beater. Rub a tiny bit between your fingers — if it feels gritty, keep whipping. It should feel smooth and silky.
- Add the vanilla extract and whip for another 30 seconds until combined. The meringue should be thick, glossy, and hold a stiff peak without collapsing.
- Transfer the meringue to your piping bag fitted with a round tip. If using a zip-top bag, fill it about halfway, seal the top, and snip off about 1/4 inch from one corner.
- Pipe the ghosts onto the prepared baking sheets. Hold the bag straight up and down, about 1/2 inch above the parchment. Squeeze gently to create a round base, then lift the bag slightly while continuing to squeeze to create the ghost’s body. Stop squeezing and pull upward to create a little tail. Leave about 2 inches between each ghost — they don’t spread much, but they need airflow.
- Add the eyes. Gently press two mini chocolate chips into each ghost while the meringue is still wet. You can also use black decorating gel for a smoother look. Work quickly — the meringue will start to form a skin within a few minutes.
- Bake for 1 hour and 30 minutes at 200°F (95°C). Do not open the oven door during baking — the sudden temperature change can cause your ghosts to crack or collapse. I know it’s tempting, but resist the urge.
- Turn off the oven and let the ghosts cool inside for at least 1 hour, or overnight if possible. This slow cooling process prevents cracking and ensures that perfect melt-in-your-mouth texture. The ghosts should lift easily off the parchment when they’re fully dry.
Sensory Cue: When they’re done, the ghosts should be light as air and sound hollow when tapped gently. They should be completely dry to the touch, not sticky or tacky. The chocolate chips should be firmly set but not melted.
Cooking Tips & Techniques
After more batches of meringue than I care to count, I’ve collected a few tricks that make all the difference. Here are the things I wish someone had told me before my first attempt:
The Humidity Rule: Meringue is notoriously finicky in humid weather. If it’s raining or particularly humid outside, your ghosts might turn out sticky or chewy instead of crisp. I learned this the hard way when I tried to make them during a summer thunderstorm — they never fully dried out. Save this recipe for a dry day, or run a dehumidifier in your kitchen for a few hours before baking.
The Bowl Test: Before you start whipping, test your bowl by wiping it with a paper towel. If the towel comes away clean, you’re good to go. If there’s any residue, wash the bowl with hot soapy water, dry it thoroughly, and wipe it down with a little lemon juice or vinegar. This removes any trace of grease that could sabotage your meringue.
The Sugar Test: This is the most important technique I’ve learned. After you think the meringue is done, rub a tiny bit between your thumb and forefinger. If it feels smooth and silky, you’re good. If it feels gritty or grainy, keep whipping. Undissolved sugar crystals can cause your meringue to weep or collapse.
Piping Consistency: If your meringue is too stiff to pipe smoothly, it’s overwhipped. If it’s runny and doesn’t hold its shape, it’s underwhiped. The perfect meringue should hold a stiff peak but still be pliable enough to pipe. Practice makes perfect here — don’t be discouraged if your first few ghosts look a little wonky.
My Biggest Failure: I once tried to make these on a rainy day using a plastic bowl that I thought was clean. The meringue never whipped past soft peaks, and I ended up with flat, sticky puddles instead of ghosts. I scraped the whole mess into the trash and started over with a metal bowl and a dry day. Lesson learned: respect the science of meringue, and it will reward you.
Variations & Adaptations
These cozy ghost meringue cookies are incredibly versatile. Here are some of my favorite ways to change them up, depending on the season or occasion:
Chocolate Ghosts: Replace 2 tablespoons of the granulated sugar with 2 tablespoons of unsweetened cocoa powder. Sift the cocoa powder with the sugar before adding it to the egg whites. The result is a darker, slightly chocolatey ghost that looks like it’s been haunting a cocoa factory. My friend’s kids call these “chocolate boos.”
Peppermint Specters: Replace the vanilla extract with 1/2 teaspoon of peppermint extract and add a drop of red food coloring for a pink tint. These are perfect for Christmas or winter-themed parties. Crush a few candy canes and sprinkle the pieces on top before baking for extra crunch.
Rainbow Spirits: Divide the meringue into several bowls and add different food colorings to each one. Pipe them as ghosts or simply as colorful swirls. My niece loves making these for birthday parties — she calls them “fairy ghosts.”
Vegan Aquafaba Ghosts: Replace the egg whites with 9 tablespoons (about 1/2 cup plus 1 tablespoon) of aquafaba (the liquid from a can of chickpeas). Whip it exactly as you would egg whites, adding the cream of tartar and sugar gradually. The texture is slightly different — a bit more delicate — but the flavor is surprisingly neutral. I tested this version for a vegan friend’s Halloween party, and honestly, no one could tell the difference.
Lemon Lavender Spirits: Replace the vanilla extract with 1/2 teaspoon of lemon zest and 1/4 teaspoon of culinary lavender extract. This combination gives the ghosts a floral, citrusy note that’s surprisingly elegant. Perfect for a spring or summer gathering.
Serving & Storage Suggestions
These cozy ghost meringue cookies are best served at room temperature — straight from the oven, or from an airtight container. Here’s how to make them shine:
Serving Temperature: Room temperature is ideal. If you’ve stored them in the fridge, let them sit out for 10-15 minutes before serving. The texture is best when they’re not cold — cold meringue can feel a bit dense.
Presentation Ideas: Arrange the ghosts on a platter with a few sprigs of rosemary for a “haunted forest” look. Dust them with a little powdered sugar for a snowy effect. Or place them on a bed of chocolate pudding for a “ghosts in the graveyard” dessert. My favorite presentation is simply piling them high on a white plate — their pale, ethereal shapes against the white background looks almost magical.
Complementary Beverages: These ghosts pair beautifully with a warm cup of hot cocoa, a spiced chai latte, or a glass of cold milk. For an adult gathering, try them with a dark stout or a creamy Irish coffee. The sweetness of the meringue balances the bitterness of coffee or dark beer perfectly.
Storage Instructions: Store the ghosts in an airtight container at room temperature for up to 2 weeks. Do not refrigerate — the moisture in the fridge will make them sticky. If you live in a humid climate, add a silica gel packet or a piece of dry bread to the container to absorb excess moisture.
Freezer Instructions: These ghosts freeze beautifully! Place them in a single layer in a freezer-safe container, separated by parchment paper. They’ll keep for up to 3 months. Thaw at room temperature for about 15 minutes before serving. The texture will be slightly less crisp, but they’re still delicious.
Flavor Development: Interestingly, these ghosts actually taste better after a day or two. The flavors meld together, and the texture becomes even more delicate. I often make them 2-3 days before I plan to serve them — they’re at their absolute best on day two.
Nutritional Information & Benefits
These cozy ghost meringue cookies are surprisingly light compared to most Halloween treats. Here’s what you need to know:
Per Ghost (approximate): Calories: 25 | Fat: 0g | Carbohydrates: 6g | Sugar: 6g | Protein: 0.5g | Sodium: 10mg
Health Benefits: Meringue cookies are naturally low in calories and fat-free. The egg whites provide a small amount of protein, and the sugar provides quick energy. They’re also gluten-free, dairy-free, and nut-free, making them a safe option for many dietary restrictions.
Dietary Considerations: These ghosts are naturally gluten-free, dairy-free, and nut-free. For a vegan version, use aquafaba instead of egg whites. For a sugar-free version, try monk fruit sweetener or erythritol — though the texture will be slightly different.
Potential Allergens: Eggs are the main allergen here. If you’re serving these at a party, make sure to label them clearly. The chocolate chips may contain dairy or soy depending on the brand.
My Personal Take: I love that these cookies let me enjoy something sweet without the heavy feeling that comes with most desserts. They’re light, airy, and satisfying in a way that doesn’t leave you reaching for a glass of water. Plus, they’re so low in calories that you can eat four or five without any guilt — not that I’ve ever done that. Okay, maybe I have.
Conclusion
These cozy ghost meringue cookies are more than just a Halloween treat — they’re a little piece of magic that you can create in your own kitchen. They’re the recipe that brings back memories of rainy afternoons and the people who taught us that imperfection is part of the charm. They’re the cookies that make kids giggle and adults smile.
I love this recipe because it proves that you don’t need fancy ingredients or complicated techniques to create something truly special. Three ingredients, a little patience, and a lot of love — that’s all it takes to make these little ghosts come to life. And honestly, isn’t that what cooking is all about?
So go ahead — preheat that oven, separate those eggs, and let yourself get lost in the process. Pipe your ghosts a little lopsided if you want. Give them googly eyes or no eyes at all. The beauty of this recipe is that there’s no wrong way to do it. Every ghost is perfect in its own spooky way.
I’d love to hear how your ghosts turn out! Drop a comment below and tell me about your experience — did you add any fun variations? Did your kids help you pipe them? Did you accidentally make a ghost that looks like a potato? (Been there, done that.) Share your photos and stories — I read every single comment, and honestly, they make my day.
Happy haunting, and happy baking!
Frequently Asked Questions
Why did my meringue ghosts turn out sticky or chewy?
This usually happens when there’s too much humidity in the air or when the meringue hasn’t been baked long enough. Make sure you’re baking on a dry day, and let the ghosts cool completely in the turned-off oven. If they’re still sticky after 1.5 hours, leave them in the oven for another 30 minutes.
Can I use liquid egg whites from a carton?
I wouldn’t recommend it. Carton egg whites are pasteurized differently and often contain stabilizers that prevent them from whipping properly. Fresh egg whites from whole eggs give you the best volume and stability. Trust me on this one — I tried it once, and it was a disaster.
How do I get my ghosts to look smooth instead of bumpy?
The key is to pipe them slowly and steadily. If you squeeze too quickly, you’ll get bumps and ridges. Also, make sure your meringue is whipped to stiff peaks — if it’s too soft, it won’t hold a smooth shape. A round piping tip (about 1/2 inch) helps create a clean, smooth surface.
Can I make these ahead of time for a party?
Absolutely! These ghosts actually taste better after a day or two. Store them in an airtight container at room temperature for up to 2 weeks. Just make sure they’re completely cool and dry before storing — any residual moisture can make them sticky.
Why did my meringue collapse while baking?
This usually happens when the oven temperature is too high or when you open the oven door during baking. Make sure your oven is at exactly 200°F (95°C) and resist the urge to peek. Also, make sure your egg whites are whipped to stiff peaks before piping — underwhiped meringue will collapse.
Pin This Recipe!
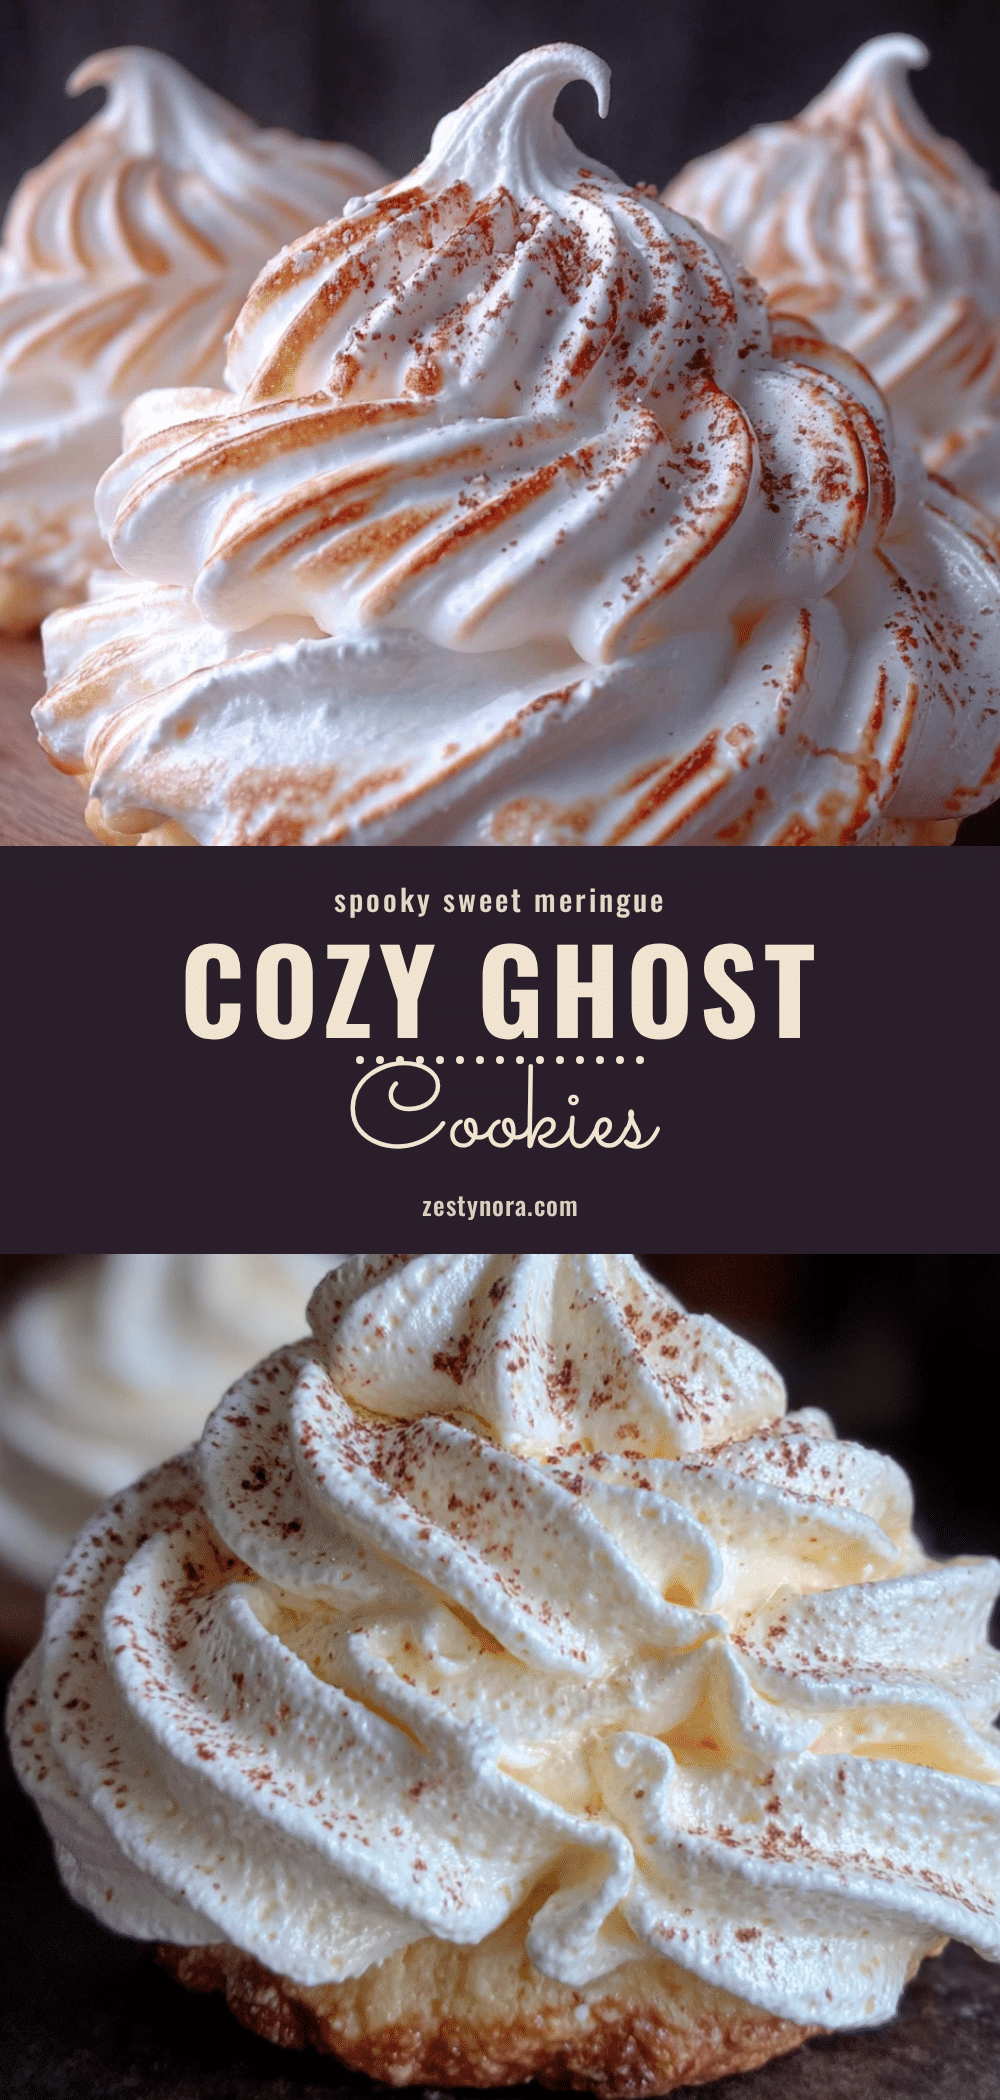
Cozy Ghost Meringue Cookies: Easy 3-Ingredient Recipe

These light, airy ghost-shaped meringue cookies are made with just three ingredients and are perfect for Halloween. Naturally gluten-free and low-fat, they’re a fun, spooky treat that kids and adults love.
- Prep Time: 15 minutes
- Cook Time: 1 hour 30 minutes
- Total Time: 2 hours 45 minutes (includes cooling time)
- Yield: 24 servings 1x
- Category: Dessert
- Cuisine: American
Ingredients
- 3 large egg whites, room temperature
- 3/4 cup (150g) granulated white sugar
- 1/2 teaspoon vanilla extract
- Pinch of cream of tartar (optional but recommended)
- Mini chocolate chips (for ghost eyes, about 1/4 cup)
Instructions
- Preheat your oven to 200°F (95°C) and line two baking sheets with parchment paper.
- Separate your eggs carefully, transferring each white to a small bowl before adding to the mixing bowl to avoid yolk contamination.
- Let the egg whites come to room temperature (about 30 minutes).
- Add the cream of tartar (if using) and begin whipping on medium-low speed until frothy and soft peaks form (about 2 minutes).
- Add the sugar gradually, about one tablespoon at a time, while continuing to whip on medium speed (3-4 minutes total).
- Once all sugar is added, increase speed to high and whip for 5-7 minutes until stiff, glossy peaks form. The meringue should feel smooth and silky when rubbed between fingers.
- Add the vanilla extract and whip for another 30 seconds until combined.
- Transfer the meringue to a piping bag fitted with a round tip (or a zip-top bag with a 1/4-inch corner snipped off).
- Pipe ghosts onto the prepared baking sheets: hold the bag straight up, squeeze to create a round base, then lift slightly while squeezing to form the body, and pull upward to create a tail. Leave 2 inches between ghosts.
- Gently press two mini chocolate chips into each ghost for eyes while the meringue is still wet.
- Bake for 1 hour and 30 minutes at 200°F (95°C). Do not open the oven door during baking.
- Turn off the oven and let the ghosts cool inside for at least 1 hour, or overnight, until completely dry and they lift easily off the parchment.
Notes
For best results, use fresh eggs about a week old. Avoid making meringue on humid or rainy days. Ensure all equipment is completely clean and grease-free. The ghosts taste even better after a day or two. Store in an airtight container at room temperature for up to 2 weeks. For vegan option, use aquafaba (3 tablespoons per egg white).
Nutrition
- Serving Size: 1 ghost
- Calories: 25
- Sugar: 6
- Sodium: 10
- Carbohydrates: 6
- Protein: 0.5
Keywords: Halloween cookies, meringue cookies, ghost cookies, 3-ingredient recipe, gluten-free dessert, low-fat cookies, spooky treats, easy baking