I was standing in the baking aisle of our local grocery store last Tuesday, staring at a box of chocolate pudding mix like it held the secrets of the universe. The air conditioning hummed overhead, and somewhere a kid was whining for sugary cereal. But me? I was frozen in place, because that cheap little box—the one I hadn’t bought in maybe fifteen years—suddenly smelled like my Aunt Rose’s kitchen on a sticky July afternoon.
Suddenly I was seven years old, sitting cross-legged on her linoleum floor while she pulled out a bag of crushed Oreos and those little clear plastic cups. “Watch this, kiddo,” she’d said, and she layered dark pudding and crumbled cookies until it looked exactly like a pot of dirt. Then she plopped a gummy worm on top, and I thought she was the cleverest person alive. She passed away about five years ago, and honestly, I haven’t thought about those dirt cups in ages. But standing there in that grocery store, I could feel the cool floor under my legs and hear her laugh when I asked if we were really supposed to eat dirt.
I grabbed the box, threw in some Oreos and gummy worms, and headed home. Let me tell you—the first bite was like time travel. That creamy chocolate pudding against the crunch of cookie “dirt” and the chewy little worm? It was her, exactly. And I realized something: this is the kind of dessert you make when you want to bring people together without any stress. Maybe you’ve been there, needing a crowd-pleaser that looks impressive but takes almost no effort. These easy chocolate dirt cups are it. They’re the dessert that makes everyone smile—kids, adults, that one cousin who claims they don’t eat sweets. I’ve been making them for every party since, and they never, ever fail.
Why You’ll Love This Recipe
Look, I’ve tested a lot of party desserts over the years. Some are gorgeous but take three hours. Others are quick but taste like cardboard. These easy chocolate dirt cups hit that sweet spot where they’re both ridiculously simple and genuinely delicious. Here’s why they’ve become my go-to for every gathering:
- 10 Minutes to Make: No oven, no stove, no complicated steps. You can whip these up while someone’s pouring drinks at the door.
- 5 Simple Ingredients: Chocolate pudding mix, milk, Oreos, gummy worms, and whipped topping. That’s it. Nothing fancy.
- Perfect for Parties: They’re individual servings, so no slicing or plating. Guests grab one and go. Ideal for potlucks, birthdays, barbecues, or literally any event where people gather.
- Crowd-Pleaser: I’ve served these at a backyard cookout with burgers and at a fancy dinner party. Both times, people ate two. Kids beg for them, and adults secretly love them too.
- Customizable: You can dress them up for holidays, change the candy, or make them dairy-free. They’re endlessly adaptable.
What makes these dirt cups different from every other version? It’s the texture. I add a little extra crushed Oreo on top right before serving so you get that satisfying crunch against the silky pudding. And I use a specific trick with the pudding—letting it set just slightly before layering—so it doesn’t soak into the cookies and turn mushy. I learned that the hard way after one soggy batch that looked like brown soup. Never again!
This recipe isn’t just good—it’s the kind that makes you close your eyes after the first bite. It’s comfort food reimagined: nostalgic, playful, and somehow exactly what you need after a long week. Perfect for impressing guests without stress, or turning a simple meal into something memorable.
What Ingredients You Will Need
This recipe uses simple, everyday ingredients to create something that feels special. Most of these are probably already in your pantry, which is exactly why I love it for last-minute hosting.
For the Pudding Base
- 1 box (3.9 oz) instant chocolate pudding mix – I prefer Jell-O brand for its consistent texture, but store brands work fine too. Make sure it’s the instant kind, not cook-and-serve, or the timing gets thrown off.
- 2 cups cold milk – Whole milk gives the creamiest result, but 2% works well. For a richer version, you can use half-and-half (trust me, it’s incredible).
- 1 cup frozen whipped topping, thawed – Cool Whip is classic, but any brand works. You can also whip fresh heavy cream with a tablespoon of powdered sugar if you’re feeling fancy—it adds a lovely lightness.
For the “Dirt” and Decorations
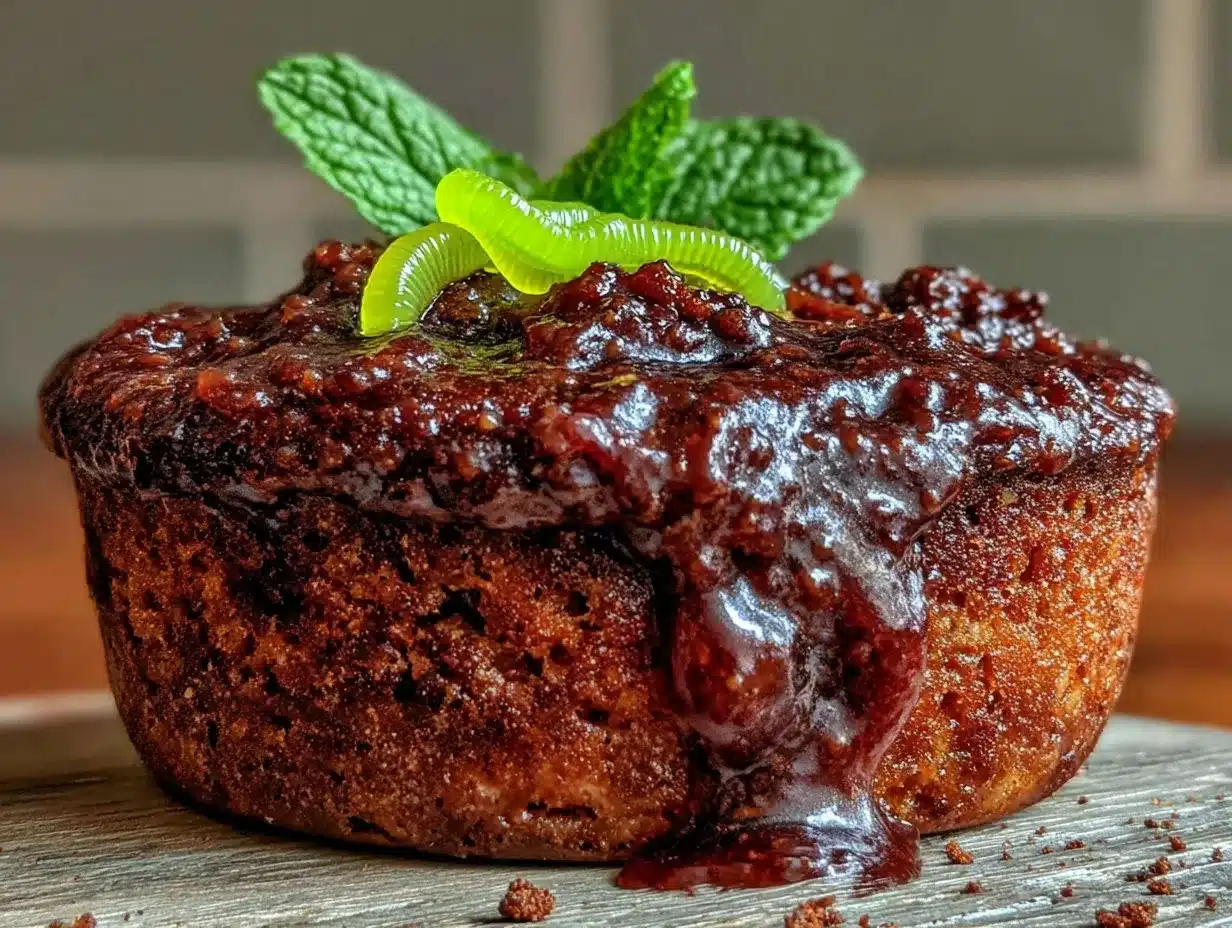
- 1 package (14.3 oz) Oreo cookies – Regular Oreos are perfect. Don’t bother removing the cream filling—it adds flavor and helps the crumbs stick together. I’ve tried using chocolate graham crackers in a pinch, but they don’t get that dark, earthy color that makes these look so convincing.
- Gummy worms – About 2-3 per cup, depending on size. I like the sour ones for a little tangy contrast, but classic fruit-flavored worms work great too.
- Optional: extra whipped topping for garnish – Some people like a dollop on top with a worm perched on it. I say go for it—it looks adorable.
Ingredient Selection Tips
For the best results, use cold milk straight from the fridge. Warm milk makes the pudding take longer to set, and nobody wants to wait. If you’re making these for a party, I recommend buying an extra pack of Oreos—someone always ends up snacking on them while you’re crushing them. It’s practically a law of nature.
Substitution Guidance
Need a dairy-free version? Use almond milk or oat milk (unsweetened) and a dairy-free whipped topping like CocoWhip. The texture will be slightly thinner, but still delicious. For gluten-free, look for gluten-free chocolate sandwich cookies—they exist and work perfectly. And if you’re serving these at a Halloween party, swap the gummy worms for gummy spiders or eyeballs for a spooky twist.
Equipment Needed
You don’t need much for these easy chocolate dirt cups, which is part of the beauty. Here’s what you’ll want on hand:
- Large mixing bowl – For whisking the pudding. Any size works, but bigger means less splashing.
- Whisk or electric mixer – A whisk works fine, but an electric mixer makes the pudding come together in about 30 seconds. I use a hand mixer because I’m impatient.
- Measuring cups – For the milk. A liquid measuring cup with a spout is easiest.
- Small cups or serving dishes – Clear plastic cups are classic (you can see the layers!), but small mason jars, ramekins, or even paper cups work. I’ve used everything from juice glasses to mini flower pots from the craft store.
- Food processor or zip-top bag and rolling pin – For crushing the Oreos. A food processor gives the most even crumbs, but honestly, I often just throw the cookies in a bag and smash them with a rolling pin. It’s oddly therapeutic.
- Spatula – For scraping every last bit of pudding into the cups. Waste not, want not.
If you don’t have a food processor, don’t sweat it. The bag-and-rolling-pin method works perfectly, and it’s actually fun to do with kids or friends. Just make sure the bag is sealed tight, or you’ll have cookie dust everywhere. I learned that one the hard way—my kitchen looked like a chocolate crime scene.
Preparation Method
Let’s get to the fun part. Here’s how to make these easy chocolate dirt cups step by step. Trust me, it’s almost too simple.
- Crush the Oreos (5 minutes): Place all the Oreos in a food processor and pulse until they become fine crumbs. If you’re using the bag method, put them in a sturdy zip-top bag, squeeze out the air, and smash with a rolling pin until you have a mixture of fine crumbs and some small chunks. You want a few slightly bigger pieces for texture—it makes the “dirt” look more realistic. Set aside about 1/4 cup of crumbs for topping later.
- Make the pudding (3 minutes): In a large bowl, whisk together the instant chocolate pudding mix and cold milk. Whisk for about 2 minutes, until the mixture thickens. It will be quite thin at first, then suddenly it’ll start to set. That’s your cue. If you’re using an electric mixer, beat on low speed for about 1 minute.
- Fold in the whipped topping (1 minute): Gently fold the thawed whipped topping into the pudding using a spatula. This makes the pudding lighter and fluffier, almost like a mousse. Don’t overmix—you want streaks of white to disappear, but stop as soon as it’s combined. Taste it here. I dare you not to eat a spoonful.
- Layer the cups (5 minutes): Spoon about 1 tablespoon of crushed Oreos into the bottom of each cup. Then add a layer of pudding (about 1/4 cup), followed by another tablespoon of cookie crumbs. Repeat the layers until you reach the top, finishing with a cookie crumb layer. You want about 2-3 layers of each, depending on cup size.
- Add the gummy worms (2 minutes): Gently press 2-3 gummy worms into the top cookie layer so they look like they’re crawling out of the dirt. You can also tuck one halfway into the side of the cup for a peek-a-boo effect. Get creative—this is where the fun happens.
- Chill (at least 30 minutes): Refrigerate the cups for at least 30 minutes before serving. This allows the pudding to fully set and the flavors to meld. If you’re making them ahead, they can sit in the fridge for up to 24 hours. Just hold off on adding the gummy worms until right before serving, or they’ll get soggy and lose their chewiness.
- Garnish and serve (2 minutes): Right before serving, sprinkle the reserved cookie crumbs on top for that fresh, crunchy finish. Add a final gummy worm or a small dollop of whipped cream if you’re feeling extra. Serve cold and watch them disappear.
A few notes from experience: If your pudding seems too thin after whisking, give it another minute—sometimes it just needs a little more time to thicken. If it’s too thick, you might have over-whisked or used too little milk. Don’t panic; just stir in a tablespoon of milk at a time until it loosens up. And if you’re making these for a party, double the recipe. Seriously. I’ve never made too many.
Cooking Tips & Techniques
I’ve made these easy chocolate dirt cups more times than I can count, and I’ve definitely made my share of mistakes. Here’s what I’ve learned so you don’t have to repeat my errors.
The biggest mistake? Not letting the pudding set before layering. If you pour warm, runny pudding over the Oreos, the cookies absorb the liquid and turn into a sad, soggy mess. Let the pudding sit in the bowl for 3-4 minutes after whisking—it should be thick but still spoonable. That’s the sweet spot.
Another common issue: Using the wrong type of pudding. Instant pudding is non-negotiable here. Cook-and-serve pudding requires boiling and cooling, which takes forever and doesn’t set up the same way. I grabbed the wrong box once, and let’s just say it was a pudding disaster. Read the label carefully.
Pro tip for texture: Reserve about a quarter of your Oreo crumbs for the very top. The ones in the middle will soften slightly from the pudding, which is nice, but that final layer of crunchy crumbs is what makes people go “wow.” It’s the difference between good dirt cups and unforgettable ones.
Timing strategy for hosting: Here’s how I handle these for parties. I crush the Oreos and make the pudding the night before, layering everything into cups. I refrigerate them overnight without the gummy worms. Then, about 10 minutes before guests arrive, I add the worms and the fresh crumb topping. They look perfect, and I’m not scrambling at the last minute.
Consistency tip: If you’re using a dairy-free milk alternative, the pudding might set up a little softer. That’s okay—just add an extra 1/4 cup of whipped topping to help it hold its shape. And if you’re making these in hot weather, keep them chilled until serving. Nobody wants warm dirt cups.
Variations & Adaptations
One of the best things about this recipe is how easy it is to change up. Here are some of my favorite variations:
Holiday Themes
For Halloween, use orange and black gummy worms or add candy eyeballs. For Christmas, swap the worms for crushed candy canes and use white chocolate pudding. For Easter, pastel gummy bunnies or mini chocolate eggs work perfectly. I did a Fourth of July version once with blueberry pudding and red, white, and blue sprinkles—it was a hit.
Dietary Adaptations
For a gluten-free version, use gluten-free chocolate sandwich cookies (Kinnikinnick makes great ones). For dairy-free, use almond milk and dairy-free whipped topping. For lower sugar, use sugar-free pudding mix and reduced-fat Oreos. I’ve tried all three, and honestly, the dairy-free version is almost indistinguishable from the original.
Flavor Twists
Try using white chocolate or butterscotch pudding instead of chocolate for a totally different vibe. Add a layer of fresh berries (raspberries or sliced strawberries) between the pudding and cookies for a fruity pop. Or drizzle caramel sauce over the top before adding the worms—it sounds extra, but it’s incredible.
Grown-Up Version
For an adults-only gathering, add a tablespoon of Kahlúa or Bailey’s to the pudding mixture. You can also use chocolate stout in place of some of the milk for a deeper, more complex flavor. Just be sure to label these clearly so kids don’t grab them!
Serving & Storage Suggestions
These easy chocolate dirt cups are best served cold, straight from the fridge. I like to set them out on a tray with a little sign that says “Dig In!”—it always gets a laugh. For presentation, clear cups let everyone see the layers, which is half the fun. If you’re feeling fancy, arrange them on a bed of fake grass or chocolate “soil” on a platter.
What to serve alongside: These pair beautifully with fresh fruit (strawberries or watermelon balance the richness), or with a simple vanilla cake for a dessert spread. For a party, I’ll often make a batch of these and a batch of fruit skewers—something for everyone.
Storage: Keep leftover dirt cups covered in the refrigerator for up to 3 days. The texture is best within 24 hours, but they’re still tasty after that. If the Oreo crumbs get too soft, just sprinkle a fresh layer on top before serving.
Freezing: You can freeze these! Make them without the gummy worms, wrap each cup tightly in plastic wrap, and freeze for up to 1 month. Thaw in the refrigerator overnight, then add the worms and fresh crumbs before serving. The pudding gets a slightly icier texture, but it’s still delicious—almost like a frozen mousse.
Reheating? Nope. These are meant to be cold. If someone tries to microwave them, gently take the cup away and explain the error of their ways.
Nutritional Information & Benefits
Let’s be real—these are a treat, not a health food. But here’s a rough breakdown per serving (based on 8 servings from one batch):
| Nutrient | Amount Per Serving |
|---|---|
| Calories | 280-320 |
| Total Fat | 12g |
| Saturated Fat | 5g |
| Carbohydrates | 45g |
| Sugar | 32g |
| Protein | 4g |
| Calcium | 8% DV |
On the bright side, the milk provides calcium and protein, and the Oreos… well, they provide joy. If you’re watching your sugar intake, the sugar-free version cuts the sugar by about half. And there’s something to be said for a dessert that brings people together—that’s a different kind of nutrition, you know?
Potential allergens: milk, wheat, soy (in the cookies and pudding). Always check labels if you’re serving guests with allergies.
Conclusion
I made these easy chocolate dirt cups for a block party last summer, and by the time I got to the table with my tray, three neighbors had already asked for the recipe. Two of them made them for their own parties the following week. That’s the thing about this dessert—it’s not complicated, it’s not fancy, but it makes people happy. And honestly, isn’t that what we’re all after when we cook for others?
I hope you give these a try for your next gathering. Customize them however you like—make them spooky for Halloween, festive for Christmas, or just because it’s Tuesday. They’ll be a hit no matter what. And if you come up with a fun variation, I’d love to hear about it. Drop a comment below and tell me how yours turned out. Or better yet, tag me in your photos—I never get tired of seeing those little worms poking out of the dirt.
Happy hosting, friends. Go make some memories.
Frequently Asked Questions
Can I make these dirt cups ahead of time?
Absolutely! You can assemble them up to 24 hours in advance. Just wait to add the gummy worms and the final crumb topping until right before serving to keep everything fresh and crunchy.
Can I use homemade chocolate pudding instead of instant?
You can, but it changes the texture and takes more time. Homemade pudding is thinner and won’t set as firmly, so the layers may blend together. If you go that route, let the pudding cool completely and thicken before layering.
How many servings does this recipe make?
This depends on your cup size. Using standard 5-ounce cups, you’ll get about 6-8 servings. For smaller shot-glass-sized cups (great for parties!), you can get 12-15. I usually aim for 8 generous portions.
Can I use a different cookie for the dirt?
Sure! Chocolate graham crackers, chocolate wafer cookies, or even crushed brownies work well. Just keep in mind that the color should be dark to look like dirt. Vanilla wafers won’t give you that same effect, but they’ll still taste good.
How do I keep the gummy worms from getting soggy?
Add them right before serving, not during assembly. If you’re making these ahead, store the worms separately and press them into the top layer just before bringing out the dessert. This keeps their chewy texture intact.
Pin This Recipe!
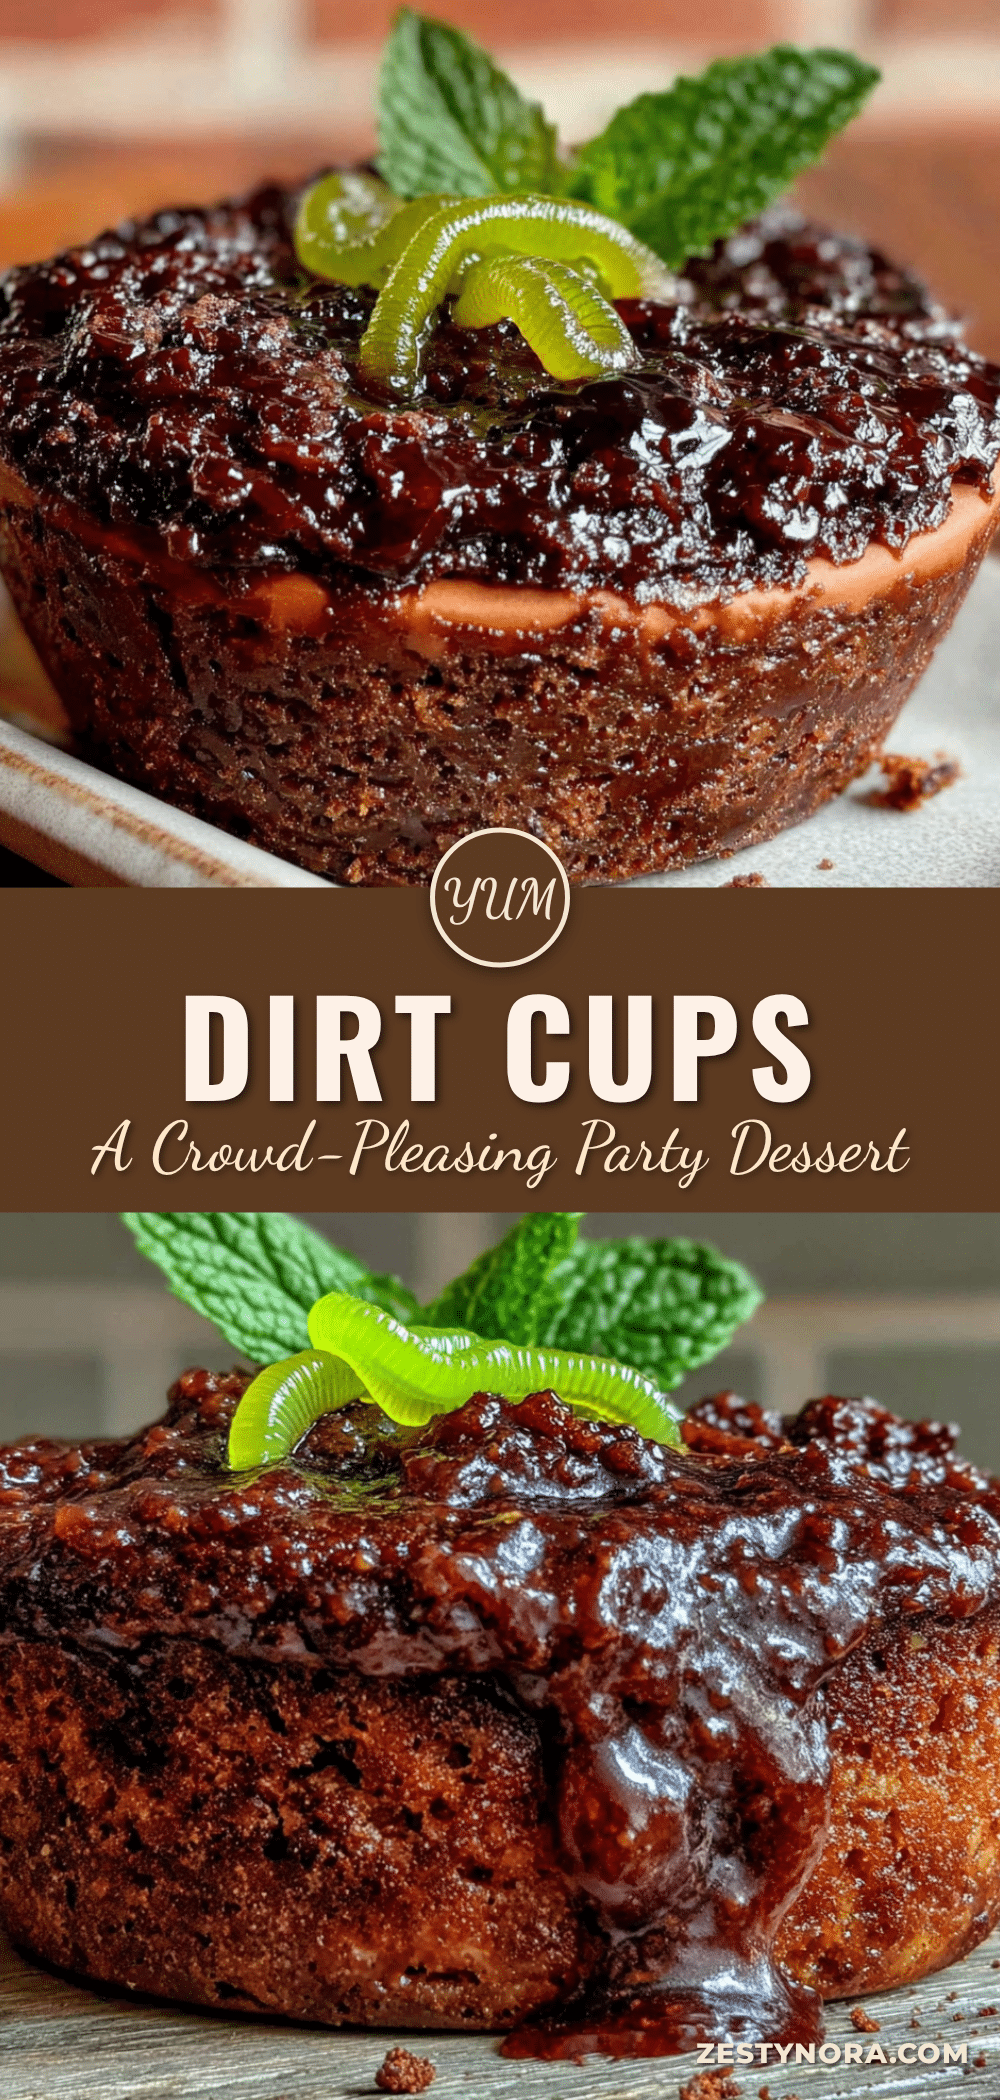
Easy Chocolate Dirt Cups: Best 10-Minute No-Bake Dessert
These easy chocolate dirt cups are a nostalgic, no-bake dessert made with creamy chocolate pudding, crushed Oreos, and gummy worms. Ready in just 10 minutes, they’re perfect for parties and guaranteed to make everyone smile.
- Prep Time: 10 minutes
- Cook Time: 0 minutes
- Total Time: 40 minutes (includes 30 minutes chilling)
- Yield: 8 servings 1x
- Category: Dessert
- Cuisine: American
Ingredients
- 1 box (3.9 oz) instant chocolate pudding mix
- 2 cups cold milk
- 1 cup frozen whipped topping, thawed
- 1 package (14.3 oz) Oreo cookies
- Gummy worms (about 2-3 per cup)
- Optional: extra whipped topping for garnish
Instructions
- Crush the Oreos: Place all Oreos in a food processor and pulse until fine crumbs form. Alternatively, place in a zip-top bag and crush with a rolling pin. Set aside about 1/4 cup of crumbs for topping.
- Make the pudding: In a large bowl, whisk together instant chocolate pudding mix and cold milk for about 2 minutes until thickened. If using an electric mixer, beat on low for 1 minute.
- Fold in the whipped topping: Gently fold the thawed whipped topping into the pudding using a spatula until just combined. Do not overmix.
- Layer the cups: Spoon about 1 tablespoon of crushed Oreos into the bottom of each cup. Add a layer of pudding (about 1/4 cup), then another tablespoon of cookie crumbs. Repeat layers until cups are full, finishing with a cookie crumb layer.
- Add the gummy worms: Gently press 2-3 gummy worms into the top cookie layer so they appear to be crawling out of the dirt.
- Chill: Refrigerate cups for at least 30 minutes before serving to allow pudding to set.
- Garnish and serve: Just before serving, sprinkle reserved cookie crumbs on top. Add a final gummy worm or dollop of whipped cream if desired. Serve cold.
Notes
For best results, use cold milk straight from the fridge. Let pudding set for 3-4 minutes after whisking before layering to prevent soggy cookies. Add gummy worms just before serving to keep them chewy. For dairy-free version, use almond milk and dairy-free whipped topping. For gluten-free, use gluten-free chocolate sandwich cookies. Can be assembled up to 24 hours in advance (add worms and fresh crumbs before serving).
Nutrition
- Serving Size: 1 cup (5 oz)
- Calories: 300
- Sugar: 32
- Sodium: 380
- Fat: 12
- Saturated Fat: 5
- Carbohydrates: 45
- Fiber: 1
- Protein: 4
Keywords: chocolate dirt cups, no-bake dessert, easy dessert, Oreo dessert, pudding cups, party dessert, kid-friendly dessert


