I want these ghost cookies to float perfectly on the plate right now and I have all the egg whites except the patience to wait for them to dry. It is 6 PM on a Tuesday and the kitchen is quiet, but my mind is loud with the image of those crisp, white mounds looking like little spectral visitors. I know I said I would make the cozy small batch pumpkin snickerdoodle cookies instead, but let’s face it, that dough is too heavy for this specific craving. I need something light, airy, and dangerously crunchy. There is a strange comfort in making meringue. It is just sugar and air, really, but it feels like magic when it turns into something that looks like it belongs in a haunted house.
The oven has been preheating for ten minutes. I am staring at the bowl of glossy whites, wondering if I should add the cream of tartar or just hope for the best. Honestly, I always hope for the best, but then I remember the time I skipped the stabilizer and ended up with soup instead of snow. That was a messy Tuesday. I don’t want messy. I want these crispy ghost meringue cookies to hold their shape. I want them to be sturdy enough to handle a child’s grip but delicate enough to shatter with a satisfying snap.
I grab the piping bag. It feels slippery in my hands. I think about how these little ghosts will look lined up on the baking sheet, waiting for their turn in the heat. It’s not just about the taste, though the vanilla bean paste is going to make it smell incredible. It’s about the presentation. The little candy eyes need to go on before they cool, or they won’t stick. I need to be quick. I need to be precise. But mostly, I just need to trust the process. These cookies are simple, but they demand respect. If you rush them, they crack. If you underbeat them, they melt. I am not rushing. I am taking a breath. I am ready to make some spooky, sweet magic.
Why You’ll Love This Recipe
There is a specific kind of joy in making desserts that look like they require a degree in chemistry but actually just require a whisk and some elbow grease. These crispy ghost meringue cookies are the perfect intersection of spooky aesthetics and simple ingredients. I have tested this recipe more times than I care to admit, trying different sugar ratios and piping tips, and this version is the one that finally made me close my eyes after the first bite. It is that good.
Here is why this recipe stands out from the crowd:
* **Quick & Easy**: Unlike complex buttercreams or layered cakes, these come together in about 20 minutes of active prep time. The rest is just waiting, which is perfect for busy weeknights or last-minute Halloween prep.
* **Simple Ingredients**: You likely already have everything in your pantry. Egg whites, sugar, vanilla, and candy eyes. No fancy grocery trips needed. It is pantry-friendly baking at its finest.
* **Perfect for Parties**: These are great for Halloween parties, classroom treats, or spooky dinner parties. They are small, bite-sized, and easy to grab without making a mess.
* **Crowd-Pleaser**: Kids love the ghost shape, and adults love the crisp texture. They are a hit with all ages, especially those who prefer lighter desserts over heavy chocolate cakes.
* **Unbelievably Delicious**: The texture is next-level. They are crunchy on the outside and melt-in-your-mouth on the inside. The vanilla flavor is pure and bright, not cloying.
* **What Makes It Different**: Many meringue recipes result in cookies that are too chewy or stick to the roof of your mouth. By using a specific drying technique and ensuring the peaks are stiff, these cookies achieve a shatteringly crisp texture that feels sophisticated. It’s not just a sugar cookie; it’s a culinary trick.
* **Emotional Connection**: This recipe isn’t just good—it is the kind that makes you smile when you see them lined up on the counter. It’s comfort food reimagined for Halloween. Perfect for impressing guests without stress, or turning a simple afternoon into something memorable.
What Ingredients You Will Need
This recipe uses simple, wholesome ingredients to deliver bold flavor and satisfying texture without the fuss. The beauty of meringue is that it relies on the quality of its few components. Since there is no fat or flour to hide behind, every ingredient plays a crucial role in the final structure and taste.
* **Egg Whites**: You will need large egg whites, room temperature. Room temperature whites whip up to a greater volume than cold ones. I usually separate eggs while they are cold because it is easier, then let them sit out for 30 minutes. Use about 3 large egg whites for this batch. Make sure there is not a single drop of yolk in the bowl, or the whites won’t whip properly.
* **Granulated Sugar**: Superfine or caster sugar is ideal because it dissolves faster, but regular granulated sugar works fine if you whisk a bit longer. You will need 3/4 cup (150g). I recommend using a high-quality organic cane sugar for the cleanest taste.
* **Cream of Tartar**: This is the secret weapon. It stabilizes the egg whites and prevents them from collapsing. You only need 1/4 teaspoon. It also helps keep the meringue white and bright.
* **Vanilla Bean Paste**: For the best flavor, use vanilla bean paste. It adds specks of vanilla and a rich aroma. If you don’t have paste, 1 teaspoon of pure vanilla extract works well. Avoid artificial flavoring here; you want real vanilla taste.
* **Candy Eyes**: These are essential for the ghost look. You can find them at any craft store or baking supply shop. Look for edible sugar eyes. You will need about 12-15 pairs, depending on the size of your ghosts.
* **Optional Food Coloring**: If you want a slightly spooky tint, you can add a tiny drop of purple or green food coloring. However, I prefer them stark white for a classic ghost look. If you do add color, mix it into the sugar before adding it to the whites to avoid streaks.
Equipment Needed
You do not need a lot of fancy gear to make these cookies, but having the right tools makes the process much smoother.
* **Stand Mixer or Hand Mixer**: A stand mixer is preferred for consistency, but a hand mixer works well too. You need to whip the whites for several minutes, and a mixer saves your arm.
* **Glass or Metal Bowl**: Avoid plastic bowls. Plastic can retain grease, which prevents the egg whites from whipping up. Glass or stainless steel is best.
* **Piping Bag and Tip**: A large piping bag with a round tip (like a Wilton 1M or 2A) creates the classic ghost shape. You can also use a zip-top bag with a corner cut off if you don’t have a piping bag.
* **Baking Sheets**: Use heavy-gauge baking sheets. Thin sheets can cause the bottoms of the meringues to burn. Line them with parchment paper or a silicone baking mat.
* **Spatula**: A rubber spatula is helpful for scraping down the sides of the bowl to ensure even mixing.
* **Oven Thermometer**: Ovens are often inaccurate. An inexpensive oven thermometer ensures you are baking at the correct low temperature.
Preparation Method
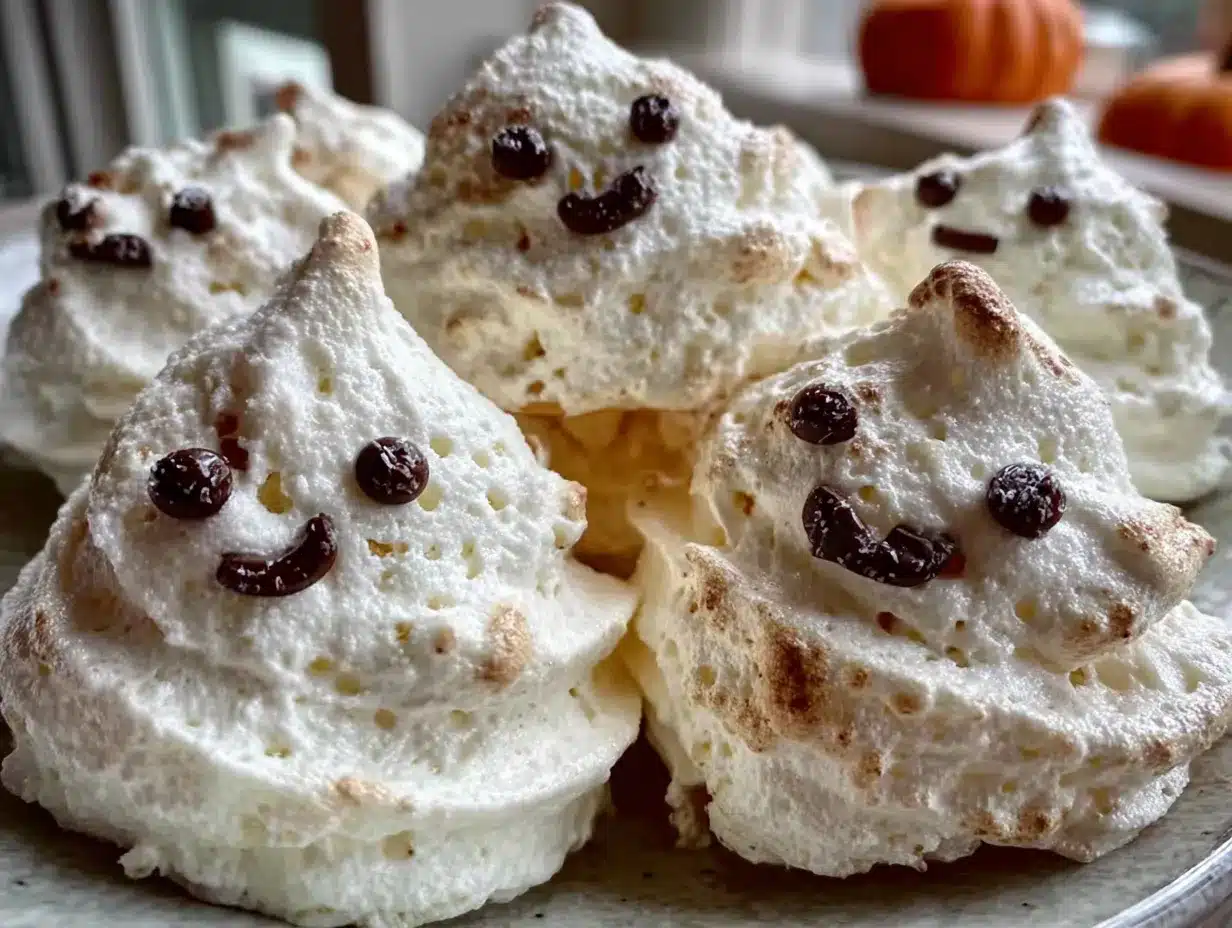
1. **Preheat and Prep (5 minutes)**
Start by preheating your oven to 200°F (95°C). This low temperature is crucial. You want to dry out the meringues, not bake them. Line two large baking sheets with parchment paper. This prevents sticking and makes cleanup a breeze.
2. **Whip the Egg Whites (3 minutes)**
In a clean, grease-free bowl, beat the room temperature egg whites on medium speed until they are foamy and bubbly. This usually takes about one minute. You are looking for a consistency similar to whipped cream but still liquid.
3. **Add Cream of Tartar (1 minute)**
Sprinkle the cream of tartar over the foamy whites. Increase the speed to high. Beat for another minute until soft peaks form. Soft peaks mean the tips curl over when you lift the beaters.
4. **Gradually Add Sugar (5-7 minutes)**
This is the most important step. With the mixer running on high, slowly pour in the granulated sugar, one tablespoon at a time. Do not dump it all in at once. Adding it slowly helps it dissolve completely. Beat for 5 to 7 minutes total after starting to add the sugar. The mixture should become thick, glossy, and hold stiff peaks. Stiff peaks mean the tips stand straight up when you lift the beaters. The mixture should look like marshmallow fluff.
5. **Add Vanilla (1 minute)**
Turn the mixer to low and add the vanilla bean paste. Mix just until combined. Be careful not to overmix at this stage, or you might deflate the air you just whipped in.
6. **Pipe the Ghosts (5 minutes)**
Transfer the meringue to a piping bag fitted with a large round tip. Pipe the meringue onto the prepared baking sheets. To make a ghost, hold the bag perpendicular to the sheet and pipe a round mound. Then, pipe a smaller mound on top for the head. Drag the tip slightly upward to create a tapered bottom. You want them to look like little floating spirits. Leave about 2 inches between each ghost, as they won’t spread much.
7. **Bake and Dry (1.5 – 2 hours)**
Place the baking sheets in the preheated oven. Bake for 1.5 to 2 hours. The meringues are done when they are dry to the touch and release easily from the parchment paper. They should still be white. If they start to turn brown, your oven is too hot. Turn off the oven and let them cool completely inside with the door slightly ajar. This residual drying helps prevent cracking.
8. **Add Eyes (5 minutes)**
Once the cookies are completely cool, attach the candy eyes. You can use a tiny bit of melted chocolate or just press them gently into the meringue. They should stick on their own due to the slight stickiness of the surface.
Cooking Tips & Techniques
Making meringue can feel intimidating, but it is really just about science and patience. Here are some tips to ensure success.
* **Grease-Free Zone**: Any trace of fat (egg yolk, butter, oil) will prevent egg whites from whipping. Wipe your bowl and beaters with a paper towel dipped in vinegar before you start. It sounds extreme, but it works.
* **Room Temperature Whites**: Cold egg whites are harder to whip to high volume. Let them sit out for 30 minutes before you begin.
* **Dissolve the Sugar**: If you rub a bit of the meringue between your fingers and it feels gritty, you need to whip it longer. The sugar must be fully dissolved for a smooth, glossy finish.
* **Low and Slow**: Do not increase the temperature. High heat will cause the meringues to puff up and then collapse, or turn them yellow. The goal is dehydration, not cooking.
* **Patience with Cooling**: Do not remove the cookies from the oven while they are still warm. They are fragile when hot. Let them cool completely in the turned-off oven to maintain their structure.
Variations & Adaptations
While classic white ghosts are timeless, there are fun ways to twist this recipe.
* **Spooky Colors**: Add a drop of gel food coloring (purple, orange, or green) to the sugar before mixing. Gel colors are better than liquid because they don’t add extra moisture.
* **Chocolate Drizzle**: Once the ghosts are cool and have eyes, drizzle them with melted dark chocolate for a “ghostly” web effect. This adds a rich contrast to the sweet meringue.
* **Gluten-Free**: This recipe is naturally gluten-free, making it perfect for those with celiac disease or gluten sensitivities. Just ensure your candy eyes are certified gluten-free.
* **Egg-Free Option**: For a vegan version, you can use aquafaba (the liquid from a can of chickpeas). Whip it like egg whites and add the same amount of sugar and cream of tartar. The texture will be slightly less crisp but still delicious.
* **Flavor Twists**: Try adding a teaspoon of almond extract instead of vanilla for a marzipan-like flavor. Or add a pinch of cinnamon for a spicy kick.
Serving & Storage Suggestions
These cookies are best served at room temperature. They are delicate, so handle them gently.
* **Presentation**: Arrange them on a platter with other Halloween treats. They look great on a tiered stand or scattered among faux spiderwebs.
* **Beverage Pairing**: Serve with hot coffee, tea, or a glass of cold milk. The crisp texture pairs well with warm drinks.
* **Storage**: Store in an airtight container at room temperature for up to one week. They are sensitive to humidity, so if you live in a humid climate, keep them in the fridge in an airtight container.
* **Freezing**: You can freeze the baked, undecorated meringues for up to three months. Thaw them in the container to prevent condensation. Add the eyes after thawing.
* **Flavors Over Time**: The flavor stays consistent, but the texture may soften slightly over time if not stored properly. Freshly made is always best.
Nutritional Information & Benefits
These cookies are light and airy, with very little fat content since they are made primarily of egg whites and sugar.
* **Calories**: Approximately 25-30 calories per ghost.
* **Carbohydrates**: About 6g per cookie, mostly from sugar.
* **Protein**: 1g per cookie from the egg whites.
* **Fat**: 0g.
* **Dietary Notes**: They are gluten-free and can be made vegan. They are not suitable for those with egg allergies.
* **Wellness Perspective**: While they are high in sugar, they are a small treat. Enjoy them in moderation as part of a balanced diet. The egg whites provide a good source of protein, making them a slightly better option than some other sugary snacks.
Conclusion
These crispy ghost meringue cookies are a fun, easy, and delicious way to celebrate Halloween. They are simple to make but look impressive, making them perfect for parties or gifts. I love this recipe because it brings back childhood memories of baking with my grandmother, but with a spooky twist. It is a recipe that encourages creativity and fun in the kitchen.
I encourage you to try this recipe and customize it to your liking. Add different colors, drizzles, or flavors. Share your creations with friends and family. I would love to hear how they turn out for you. Leave a comment below with your photos and tips.
Happy baking, and happy Halloween!
FAQs
Why are my meringues sticky?
If your meringues are sticky, they likely need more time in the oven. The low temperature dries them out slowly. Leave them in the oven for an additional 30 minutes and check again.
Can I use liquid egg whites?
Yes, you can use pasteurized liquid egg whites from a carton. They work just as well as fresh eggs and are convenient.
How do I keep the meringues white?
Use a clean, grease-free bowl and avoid overmixing. Also, ensure your oven temperature is not too high, as heat can cause browning.
Can I make these ahead of time?
Yes, you can make them up to a week in advance. Store them in an airtight container to keep them crisp.
Why did my meringues deflate?
Deflation usually happens if the sugar was not fully dissolved or if the egg whites were not whipped to stiff peaks. Make sure to whip for the full time recommended in the recipe.
Pin This Recipe!
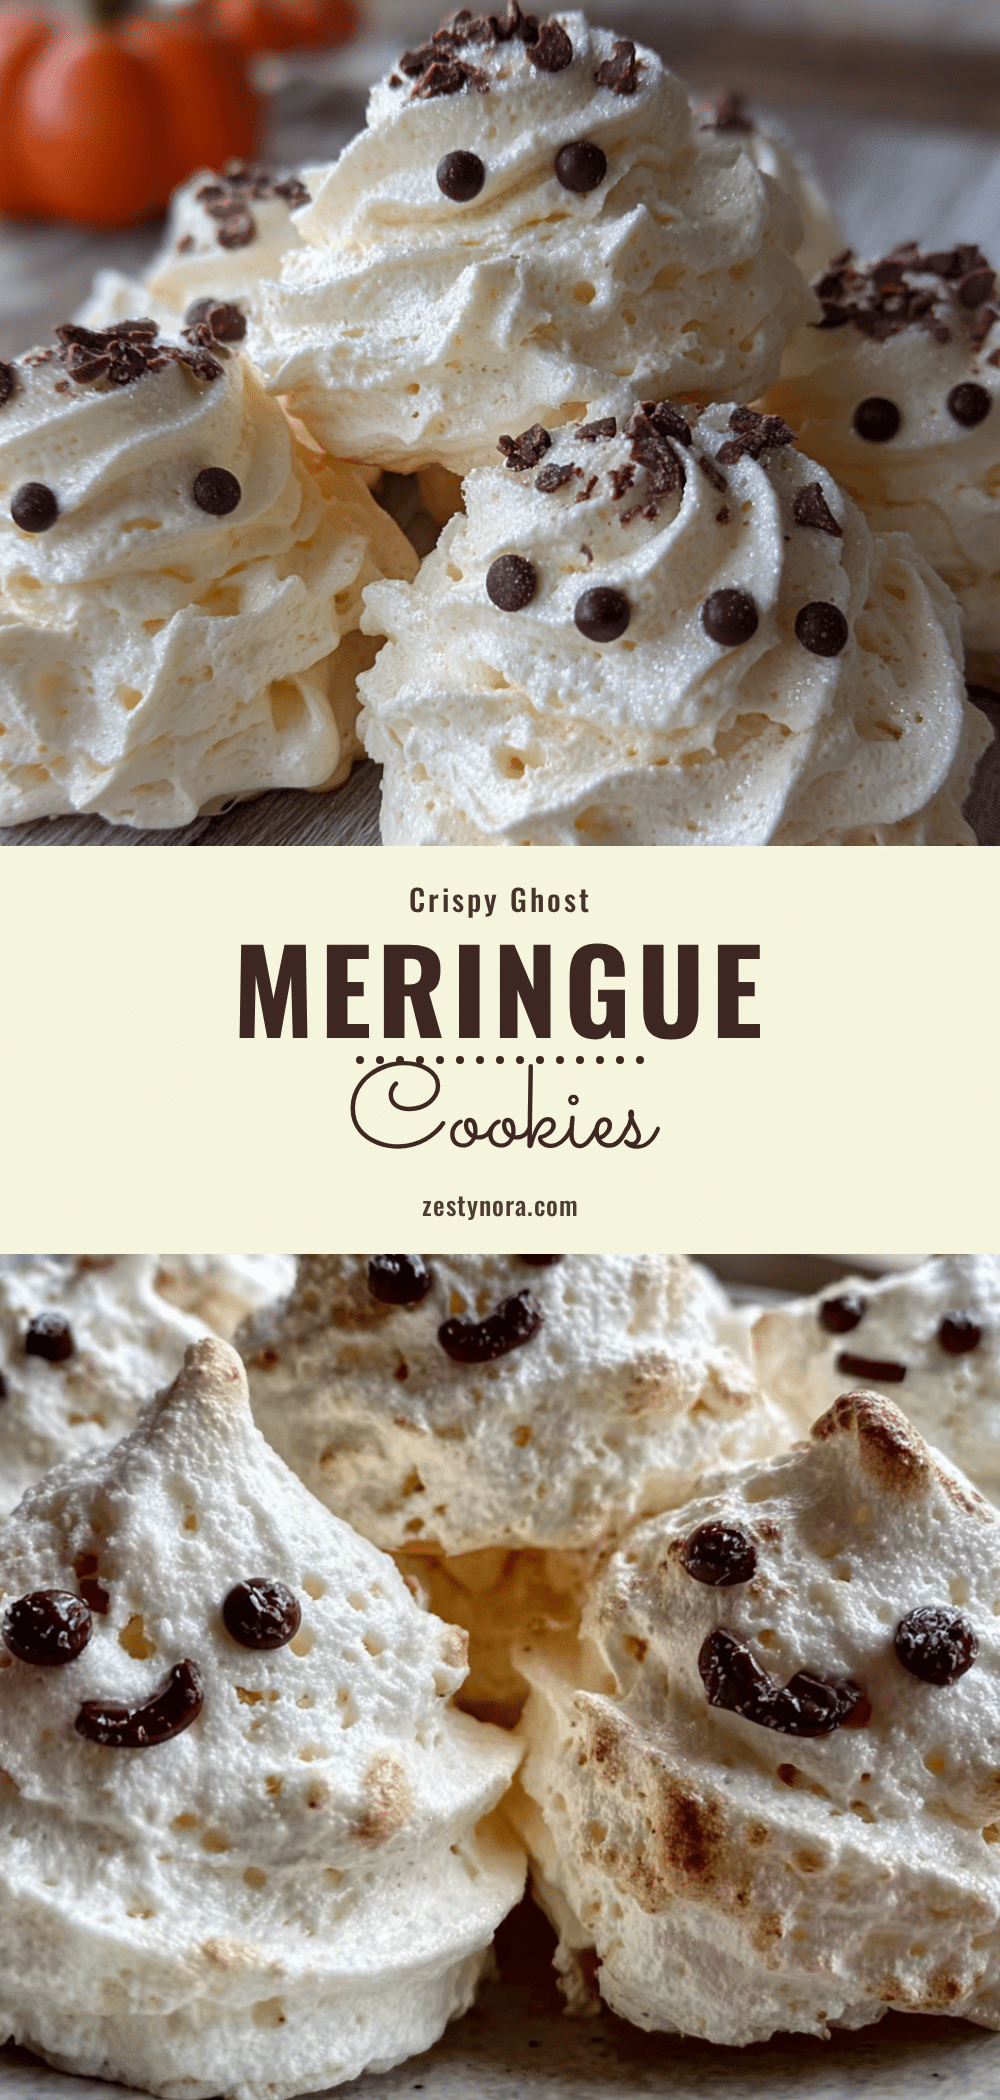
Crispy Ghost Meringue Cookies: 5 Easy Halloween Treats
Light, airy, and dangerously crunchy meringue cookies shaped like ghosts, perfect for Halloween parties and spooky treats.
- Prep Time: 20 minutes
- Cook Time: 1.5 - 2 hours
- Total Time: 2 hours 20 minutes
- Yield: Approximately 12-15 cookies 1x
- Category: Dessert
- Cuisine: American
Ingredients
- 3 large egg whites, room temperature
- 3/4 cup (150g) granulated sugar
- 1/4 teaspoon cream of tartar
- 1 teaspoon vanilla bean paste (or pure vanilla extract)
- 12–15 pairs edible candy eyes
- Optional: Gel food coloring (purple, orange, or green)
Instructions
- Preheat oven to 200°F (95°C). Line two large baking sheets with parchment paper.
- In a clean, grease-free glass or metal bowl, beat egg whites on medium speed until foamy and bubbly (about 1 minute).
- Sprinkle cream of tartar over the whites. Increase speed to high and beat for another minute until soft peaks form.
- With mixer on high, slowly add sugar one tablespoon at a time. Beat for 5-7 minutes until mixture is thick, glossy, and holds stiff peaks.
- Turn mixer to low and add vanilla bean paste. Mix just until combined.
- Transfer meringue to a piping bag fitted with a large round tip. Pipe round mounds for bodies and smaller mounds for heads, dragging the tip upward to create a tapered ghost shape. Leave 2 inches between ghosts.
- Bake for 1.5 to 2 hours until dry to the touch and release easily from parchment. Do not let them brown.
- Turn off oven and let cookies cool completely inside with the door slightly ajar to prevent cracking.
- Once completely cool, attach candy eyes using a tiny bit of melted chocolate or by pressing gently into the surface.
Notes
Ensure all equipment is completely grease-free, as any fat will prevent egg whites from whipping. Use room temperature egg whites for better volume. If the meringue feels gritty between fingers, whip longer to dissolve sugar. Do not remove cookies from oven while warm as they are fragile.
Nutrition
- Serving Size: 1 ghost cookie
- Calories: 28
- Sugar: 6
- Carbohydrates: 6
- Protein: 1
Keywords: Halloween, meringue, ghost cookies, easy dessert, gluten-free, vegan option, spooky treats, party snacks