For a while, I just accepted that nachos at a tailgate were going to be a sad, soggy mess by the second quarter. You know the scene—a giant aluminum tray of chips drowning in a pool of congealed cheese, with everyone awkwardly digging for the few chips that are still crunchy. It was a problem I wrestled with for three full football seasons. I tried layering differently, using less sauce, even serving the chips on the side. Nothing worked. The gap was real: I wanted a build-your-own setup that actually stayed crispy, let people customize, and didn’t require a science degree to execute.
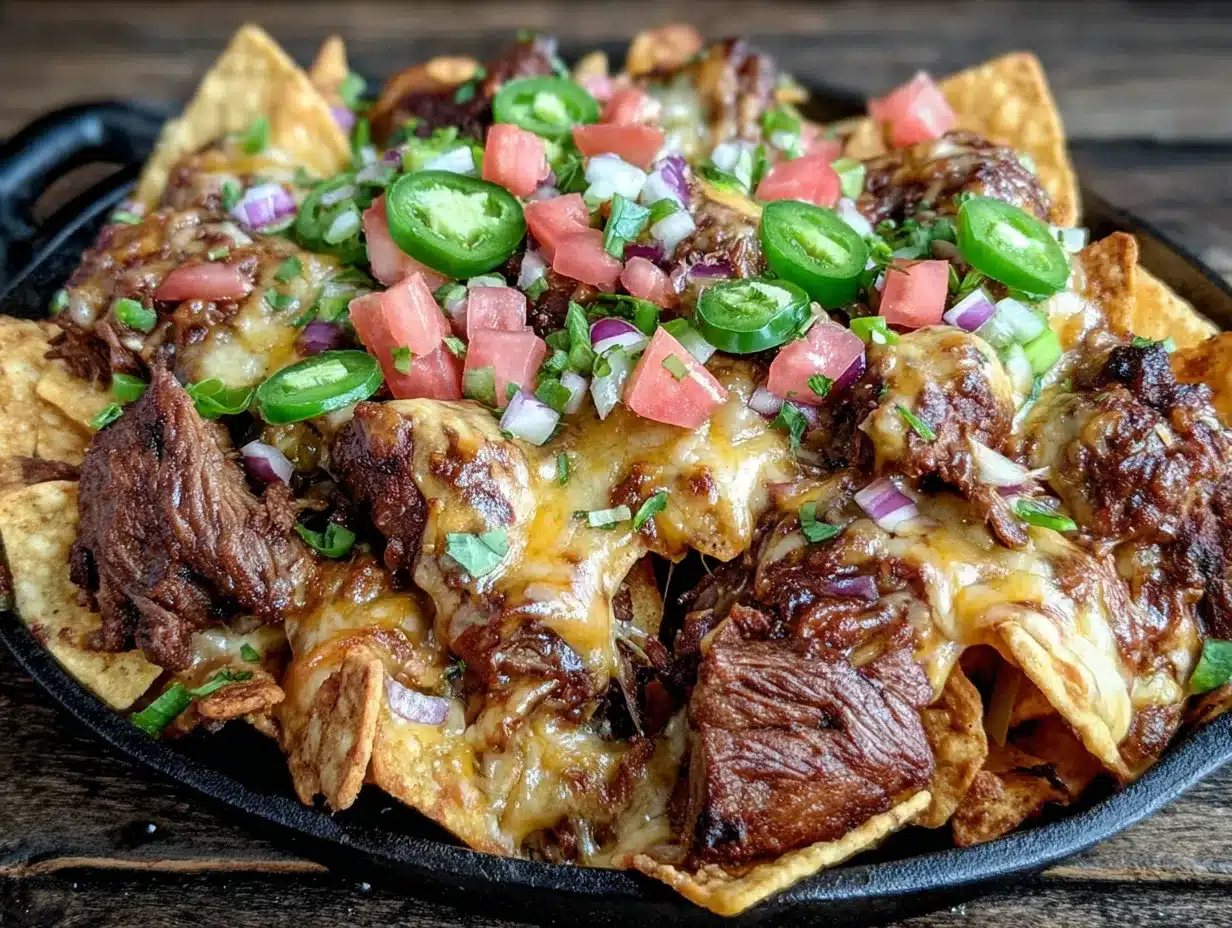
The solution hit me mid-season during a particularly cold game. (Honestly, the best ideas come when you’re shivering and hungry.) Instead of one big tray, I grabbed a few sheet pans, divided the toppings, and let everyone fend for themselves. It was chaos—the good kind. People were building little towers of chips, piling on seasoned beef, and drizzling cheese sauce like they were abstract artists. That messy, glorious experiment turned into the Ultimate Tailgate Loaded Nacho Bar you see here. It’s the kind of setup that makes everyone at the party happy because, let’s face it, everyone has strong opinions about nachos.
This isn’t just another dip recipe. It’s a system. A strategy for feeding a crowd without stress. The chips stay crunchy, the toppings stay hot, and the whole thing feels like a celebration. I still remember the first time I set this up at a tailgate—a friend took one bite, looked at me with pure disbelief, and said, “Why has no one thought of this before?” That’s the moment I knew I was onto something special. This recipe is that feeling in every bite.
Why You’ll Love This Ultimate Tailgate Loaded Nacho Bar
Look, I’ve tested this setup about a dozen times—at game days, birthday parties, and even a casual Tuesday dinner when I just needed something fun. Every single time, it delivers. Here’s why this isn’t your average nacho platter:
- Build-Your-Own Fun: Everyone gets to be the chef of their own plate. No more fighting over who got the last jalapeño or picking off ingredients you don’t like.
- Stays Crunchy for Hours: Because you’re building individual plates, the chips don’t get soggy. This is the secret to happy nacho eating.
- Simple Ingredients, Big Flavor: You don’t need fancy stuff. Ground beef, canned beans, block cheese—these are pantry heroes that come together like magic.
- Perfect for a Crowd: This recipe scales beautifully. Feeding four or forty? Just double or triple the toppings.
- Totally Customizable: Vegetarian? No problem. Gluten-free? Easy. Spice lover? Load it up. This bar adapts to you.
What makes this different from every other nacho recipe out there? It’s the technique. I use a velvety homemade cheese sauce that stays smooth instead of seizing up, and I season the beef with a secret blend of chili powder and smoked paprika that tastes like it simmered all day. Plus, the bar setup means everyone gets exactly what they want. It’s not just food—it’s an experience. The kind of meal that makes people linger, laugh, and go back for seconds. Honestly, it’s comfort food at its most social.
What Ingredients You Will Need
This recipe uses simple, wholesome ingredients to deliver bold flavor and satisfying texture without the fuss. Most of these are probably in your kitchen right now, which is exactly how I like it.
For the Seasoned Beef
- 1 lb ground beef (80/20 works best for flavor; drain excess fat)
- 1 tbsp chili powder (adds warmth and depth)
- 1 tsp smoked paprika (my secret weapon for that smoky tailgate taste)
- 1 tsp cumin (earthy and essential)
- 1/2 tsp garlic powder
- 1/2 tsp onion powder
- Salt and pepper to taste
- 1/4 cup water (helps blend the spices into a sauce)
For the Cheese Sauce
- 2 tbsp unsalted butter
- 2 tbsp all-purpose flour
- 1 1/2 cups whole milk (don’t use skim; it won’t be as creamy)
- 2 cups sharp cheddar cheese, shredded (I prefer Tillamook or Cabot for best melt)
- 1/2 tsp mustard powder (brings out the cheese flavor)
- Pinch of cayenne (optional, for a little kick)
For the Nacho Bar
- 1 large bag (13-16 oz) restaurant-style tortilla chips (the sturdy ones, not thin rounds)
- 1 can (15 oz) black beans, drained and rinsed
- 1 cup pico de gallo or fresh salsa
- 1 cup sour cream
- 1 cup guacamole (store-bought or homemade)
- 1/2 cup pickled jalapeños
- 1/2 cup sliced black olives
- 1/2 cup chopped fresh cilantro
- 1 cup diced tomatoes
- 1 cup shredded lettuce
- 1 lime, cut into wedges
Ingredient Tips: For the cheese sauce, always shred your own cheese from a block. Pre-shredded cheese has anti-caking agents that make it grainy when melted. Trust me on this one—I learned the hard way. For the beef, if you want to save time, you can use leftover taco meat or even shredded chicken. And if you’re feeding a crowd that loves heat, double up on the pickled jalapeños and add a drizzle of habanero peach hot sauce for a sweet-spicy kick.
Equipment Needed
- Large skillet or frying pan (for cooking the beef)
- Medium saucepan (for the cheese sauce)
- Wooden spoon or spatula
- Whisk (for smooth cheese sauce)
- Cutting board and knife
- Small bowls and serving spoons (for the bar setup)
- Sheet pans or large platters (for holding chips and toppings)
- Slow cooker or chafing dish (optional but great for keeping toppings warm)
If you don’t have a slow cooker, no worries. I’ve used a simple baking dish set over a candle warmer at tailgates before—it works in a pinch. For the cheese sauce, a good whisk is your best friend. A flat whisk works even better because it gets into the corners of the pan. And honestly, any sturdy sheet pan will do for holding the chips. You don’t need fancy equipment here—just what you’ve got.
Preparation Method
Let’s get cooking. This whole setup comes together in about 30 minutes, so you’ll have plenty of time to enjoy the pre-game festivities.
- Cook the beef: Heat your large skillet over medium-high heat. Add the ground beef and cook, breaking it up with a spoon, until browned—about 6-8 minutes. Drain off any excess fat (leave about a tablespoon for flavor). Reduce heat to medium.
- Season the beef: Add the chili powder, smoked paprika, cumin, garlic powder, onion powder, salt, and pepper to the skillet. Stir to coat the meat. Pour in the 1/4 cup water and let it simmer for 2-3 minutes until the liquid thickens into a sauce. The meat should look glossy and smell incredible. Set aside and keep warm.
- Make the cheese sauce: In a medium saucepan, melt the butter over medium heat. Whisk in the flour and cook for 1 minute—this gets rid of the raw flour taste. Slowly pour in the milk while whisking constantly. Keep whisking until the mixture thickens, about 3-4 minutes. It should coat the back of a spoon.
- Add the cheese: Remove the saucepan from the heat. Add the shredded cheddar cheese, mustard powder, and cayenne (if using). Whisk until completely smooth and melted. If the sauce seems too thick, add a splash of milk. If it’s too thin, let it sit for a minute—it will thicken as it cools.
- Warm the beans: In a small bowl, microwave the drained black beans for 1 minute, or heat them in a small saucepan. You want them warm, not boiling.
- Set up the bar: Arrange your tortilla chips on a large platter or divide them into individual bowls. Place the seasoned beef, cheese sauce, warm black beans, pico de gallo, sour cream, guacamole, pickled jalapeños, olives, cilantro, diced tomatoes, shredded lettuce, and lime wedges in separate bowls. Let everyone build their own masterpiece.
- Pro tip for serving: If you’re at an actual tailgate, transfer the cheese sauce to a small slow cooker on the “warm” setting. Do the same with the beef. This keeps everything hot and gooey for hours.
Sensory cue: When the cheese sauce is ready, it should look like liquid gold—smooth, glossy, and thick enough to coat a chip without dripping off immediately. The beef should smell smoky and rich, with the spices blooming as they hit the hot pan. If your kitchen smells like a stadium concession stand, you’re doing it right.
Cooking Tips & Techniques
I’ve made this recipe about a dozen times, and I’ve learned a few things the hard way. Here’s what I wish someone had told me:
- Don’t skip the flour step in the cheese sauce. I once tried to make a “quick” sauce by just melting cheese into milk. It turned into a clumpy mess. The flour creates a stable base that keeps everything silky.
- Use block cheese, not pre-shredded. I know it’s more work, but pre-shredded cheese has cellulose (wood pulp, basically) that stops it from melting smoothly. Your sauce will thank you.
- Keep the chips separate until serving. If you pile toppings on the whole platter at once, the bottom layer turns to mush. That’s why the bar setup works—it’s nacho insurance.
- Warm your serving bowls. Pop them in the microwave for 30 seconds before adding hot toppings. Cold bowls suck the heat right out of your food.
- Double the cheese sauce. Seriously. People go wild for it, and you’d rather have too much than run out. It’s also amazing on mini corn dog muffins the next day.
One mistake I made early on was using thin tortilla chips. They couldn’t handle the weight of the toppings and broke into pieces. Stick with the thick, restaurant-style chips—they’re built for this job. And here’s a timing tip: prep all your toppings first, then cook the beef and cheese sauce last. That way everything is hot and ready at the same time.
Variations & Adaptations
This recipe is a canvas, and you’re the artist. Here are some ways to make it your own:
- Vegetarian Version: Skip the beef and double up on the black beans. Add sautéed bell peppers and onions, or use crumbled tofu seasoned with taco seasoning. It’s just as satisfying.
- Spicy Lover’s Edition: Add chopped chipotle peppers in adobo to the beef while it simmers. Top with fresh sliced serranos and a drizzle of habanero peach hot sauce for a serious kick.
- Breakfast Nacho Bar: Swap the beef for scrambled eggs and chorizo. Use the same cheese sauce, and top with avocado and salsa verde. It’s a game-changer for brunch tailgates.
- Gluten-Free Adaptation: This recipe is naturally gluten-free if you use corn tortilla chips and skip the flour in the cheese sauce. Instead, use 1 tbsp cornstarch mixed with 2 tbsp cold water to thicken the milk before adding cheese.
- Dairy-Free Option: Use vegan butter, oat milk, and your favorite dairy-free shredded cheese. I’ve tried this with Violife cheddar-style shreds, and it’s surprisingly good—just add a pinch of nutritional yeast for extra cheesiness.
My personal favorite variation? I once added leftover slow cooker tailgate chili as a topping option alongside the beef. It was overkill in the best way possible. People were building these towering plates of chili-nacho hybrids that defied all logic. No regrets.
Serving & Storage Suggestions
This nacho bar is best served immediately, while everything is hot and the chips are crunchy. Set it up buffet-style with the chips at one end and the toppings lined up so people can build their plates in an assembly line. I like to put the cheese sauce and beef in small slow cookers if I’m serving outdoors—they stay warm for hours.
What to serve alongside: This bar is a meal on its own, but if you want to round it out, pair it with a fresh cowboy caviar for dipping, or a simple cucumber salad for a refreshing contrast. For drinks, cold beer or margaritas are the obvious choice. For a non-alcoholic option, limeade or sparkling water with a squeeze of lime works beautifully.
Storage: Store leftover beef and cheese sauce separately in airtight containers in the fridge for up to 4 days. The cheese sauce will thicken when cold—just reheat it gently on the stovetop with a splash of milk, whisking until smooth. Don’t microwave it; it can separate. The chips and fresh toppings (salsa, guac, lettuce) should be stored separately and are best used within a day.
Reheating: For the beef, reheat in a skillet over medium heat with a splash of water. For the cheese sauce, low and slow is the way to go. And here’s a tip: the flavors of the beef actually get better overnight as the spices meld. So don’t be afraid to make it a day ahead.
Nutritional Information & Benefits
Per serving (approximate, based on 8 servings): 450 calories, 28g fat, 35g carbs, 22g protein, 4g fiber, 5g sugar. These values will vary based on how much of each topping you pile on—and let’s be honest, you’re going to pile it on.
This meal isn’t health food, but it does have some redeeming qualities. The black beans add fiber and plant-based protein. The tomatoes and cilantro provide a dose of vitamins A and C. And the cheese sauce—well, it has calcium. That counts for something, right? If you’re watching your sodium, use low-sodium chips and beans, and go easy on the pickled jalapeños.
For those with dietary concerns: this recipe contains dairy (cheese, milk, butter) and gluten (if using flour in the sauce). It can be made gluten-free with the cornstarch substitution above, and dairy-free with vegan alternatives. Always check your chip labels for hidden ingredients if you’re cooking for someone with allergies.
My take? This is a celebration meal. It’s not about counting calories—it’s about enjoying the moment with people you care about. One plate of loaded nachos won’t derail your wellness goals. But it might make your Sunday a whole lot better.
Conclusion
This Ultimate Tailgate Loaded Nacho Bar is more than a recipe—it’s a party strategy. It solves the age-old problem of soggy nachos, gives everyone the freedom to customize, and turns a simple snack into the main event. Whether you’re watching the big game, hosting a get-together, or just want a fun dinner that feels like a celebration, this setup delivers every single time.
I love this recipe because it reminds me that the best meals are the ones we share. There’s something special about watching a room full of people light up as they build their perfect plate of nachos. It’s messy, it’s loud, and it’s absolutely wonderful. So go ahead—set up that bar, invite your people, and make some memories. And when you do, I’d love to hear about it. Drop a comment below with your favorite topping combination, or tag me in your photos. Let’s keep this nacho party going!
Frequently Asked Questions
Can I make the cheese sauce ahead of time?
Yes, you can make it up to 2 days in advance. Store it in the fridge and reheat gently on the stovetop with a splash of milk, whisking until smooth. Avoid the microwave—it can cause the sauce to separate.
What’s the best way to keep the nachos warm at a tailgate?
Use small slow cookers or chafing dishes for the beef and cheese sauce. Keep the chips in a separate bowl and let everyone build their plates fresh. This keeps the chips crunchy and the toppings hot.
Can I use ground turkey instead of beef?
Absolutely. Ground turkey works great, just add a little olive oil to the pan since turkey is leaner. The same seasoning blend will work perfectly.
How do I prevent the cheese sauce from getting lumpy?
The key is low heat and constant whisking. Always shred your own cheese from a block—pre-shredded cheese has anti-caking agents that cause lumps. And add the cheese off the heat, not while the pan is still on the burner.
What are the best chips for a loaded nacho bar?
Go for thick, restaurant-style tortilla chips. They’re sturdy enough to hold heavy toppings without breaking. Avoid thin rounds or flavored chips—they’ll crumble under the weight.
Pin This Recipe!
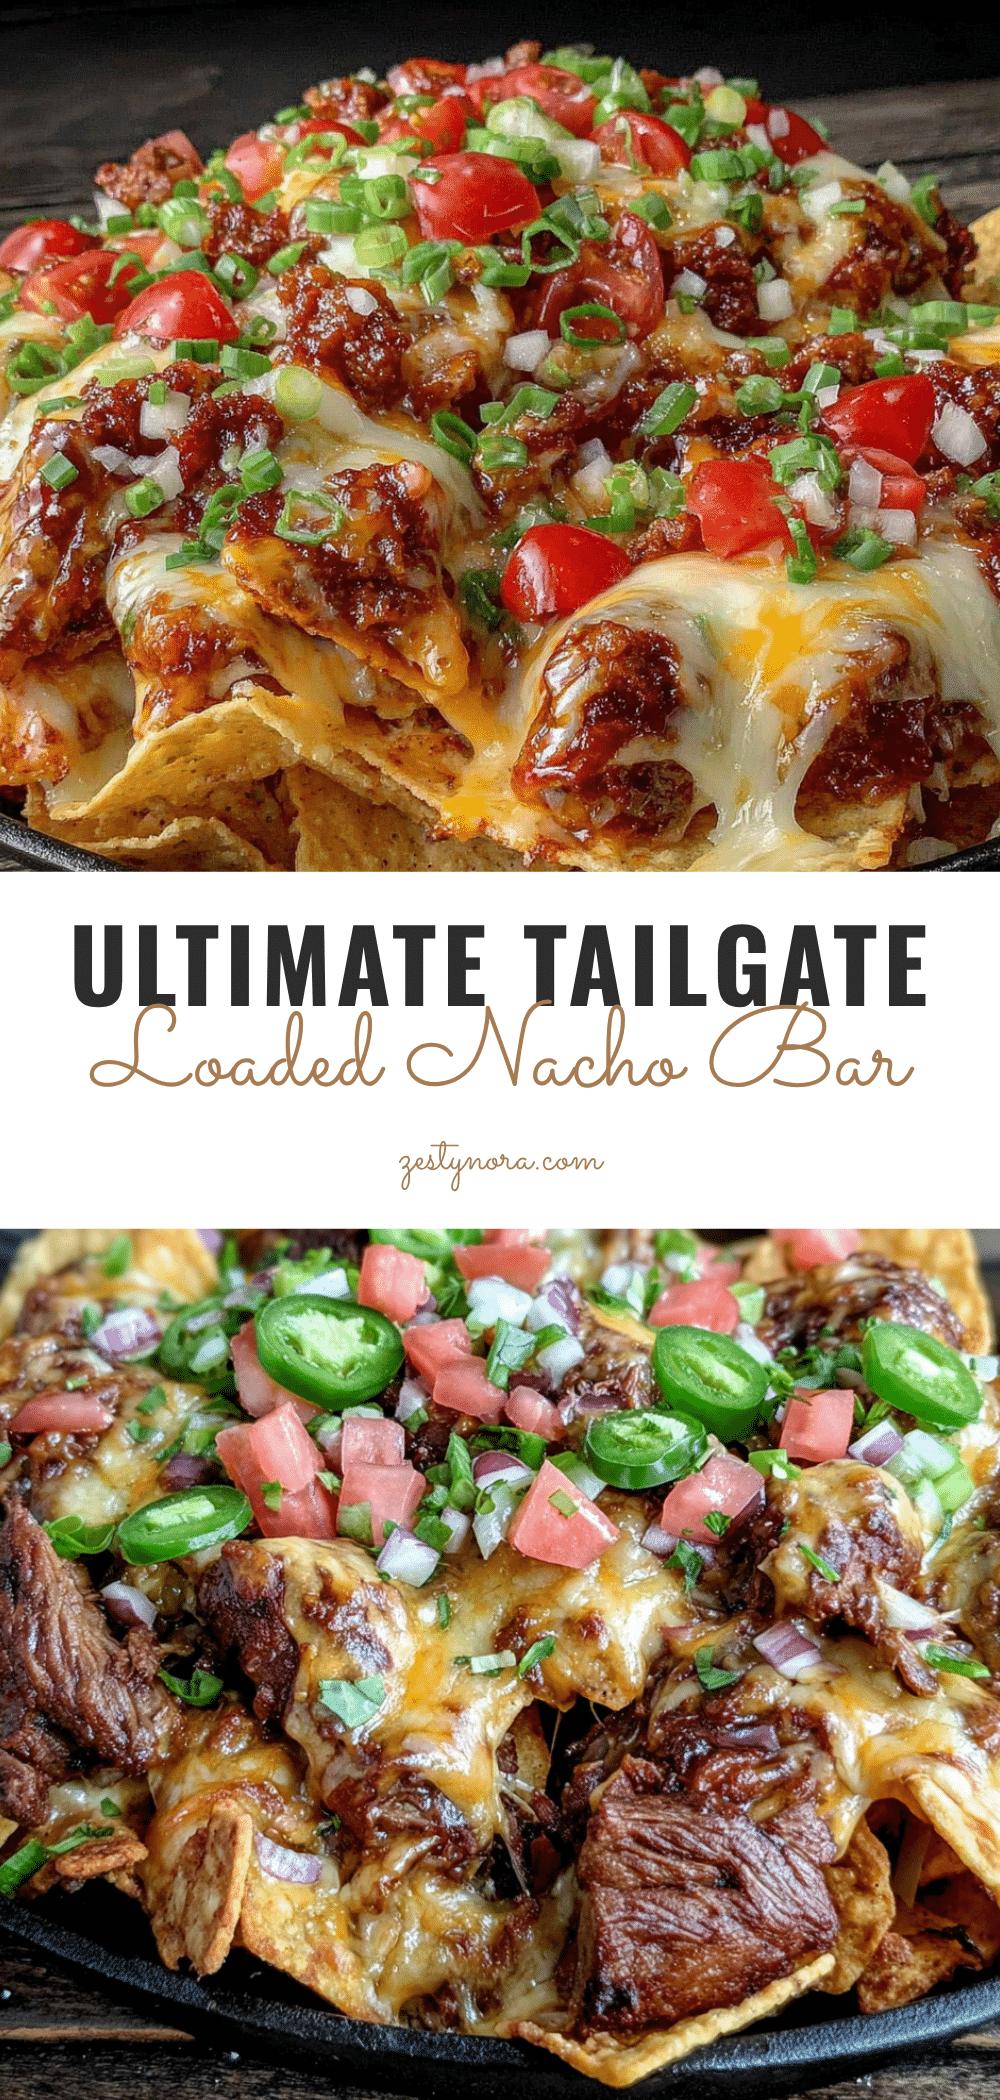
Ultimate Tailgate Loaded Nacho Bar – Easy Party Recipe
A build-your-own nacho bar that keeps chips crunchy and lets everyone customize their plate. Perfect for game days, parties, or any gathering where you want stress-free, crowd-pleasing food.
- Prep Time: 15 minutes
- Cook Time: 20 minutes
- Total Time: 35 minutes
- Yield: 8 servings 1x
- Category: Main Course
- Cuisine: Mexican-American
Ingredients
- 1 lb ground beef (80/20 works best for flavor; drain excess fat)
- 1 tbsp chili powder
- 1 tsp smoked paprika
- 1 tsp cumin
- 1/2 tsp garlic powder
- 1/2 tsp onion powder
- Salt and pepper to taste
- 1/4 cup water
- 2 tbsp unsalted butter
- 2 tbsp all-purpose flour
- 1 1/2 cups whole milk (don’t use skim; it won’t be as creamy)
- 2 cups sharp cheddar cheese, shredded (I prefer Tillamook or Cabot for best melt)
- 1/2 tsp mustard powder
- Pinch of cayenne (optional, for a little kick)
- 1 large bag (13–16 oz) restaurant-style tortilla chips (the sturdy ones, not thin rounds)
- 1 can (15 oz) black beans, drained and rinsed
- 1 cup pico de gallo or fresh salsa
- 1 cup sour cream
- 1 cup guacamole (store-bought or homemade)
- 1/2 cup pickled jalapeños
- 1/2 cup sliced black olives
- 1/2 cup chopped fresh cilantro
- 1 cup diced tomatoes
- 1 cup shredded lettuce
- 1 lime, cut into wedges
Instructions
- Cook the beef: Heat your large skillet over medium-high heat. Add the ground beef and cook, breaking it up with a spoon, until browned—about 6-8 minutes. Drain off any excess fat (leave about a tablespoon for flavor). Reduce heat to medium.
- Season the beef: Add the chili powder, smoked paprika, cumin, garlic powder, onion powder, salt, and pepper to the skillet. Stir to coat the meat. Pour in the 1/4 cup water and let it simmer for 2-3 minutes until the liquid thickens into a sauce. The meat should look glossy and smell incredible. Set aside and keep warm.
- Make the cheese sauce: In a medium saucepan, melt the butter over medium heat. Whisk in the flour and cook for 1 minute—this gets rid of the raw flour taste. Slowly pour in the milk while whisking constantly. Keep whisking until the mixture thickens, about 3-4 minutes. It should coat the back of a spoon.
- Add the cheese: Remove the saucepan from the heat. Add the shredded cheddar cheese, mustard powder, and cayenne (if using). Whisk until completely smooth and melted. If the sauce seems too thick, add a splash of milk. If it’s too thin, let it sit for a minute—it will thicken as it cools.
- Warm the beans: In a small bowl, microwave the drained black beans for 1 minute, or heat them in a small saucepan. You want them warm, not boiling.
- Set up the bar: Arrange your tortilla chips on a large platter or divide them into individual bowls. Place the seasoned beef, cheese sauce, warm black beans, pico de gallo, sour cream, guacamole, pickled jalapeños, olives, cilantro, diced tomatoes, shredded lettuce, and lime wedges in separate bowls. Let everyone build their own masterpiece.
- Pro tip for serving: If you’re at an actual tailgate, transfer the cheese sauce to a small slow cooker on the ‘warm’ setting. Do the same with the beef. This keeps everything hot and gooey for hours.
Notes
For the cheese sauce, always shred your own cheese from a block. Pre-shredded cheese has anti-caking agents that make it grainy when melted. Use thick, restaurant-style tortilla chips to prevent breakage. Double the cheese sauce if feeding a crowd. Prep all toppings first, then cook the beef and cheese sauce last so everything is hot at the same time.
Nutrition
- Serving Size: 1 serving (approxima
- Calories: 450
- Sugar: 5
- Sodium: 800
- Fat: 28
- Saturated Fat: 12
- Carbohydrates: 35
- Fiber: 4
- Protein: 22
Keywords: nachos, tailgate, party food, loaded nachos, game day, build your own, cheese sauce, ground beef, crowd-pleaser